roasted baby artichokes

copy-of-img_4919

Dave and I have gotten into the habit of choosing a nice bottle of wine to open on Saturday, and then I plan a meal around it. The last two times, I’ve scheduled ambitious main dishes and starches, and then planned to get whatever vegetable looked good at the store that would be easy to cook while I focused on the rest of the meal.
copy-of-img_4810

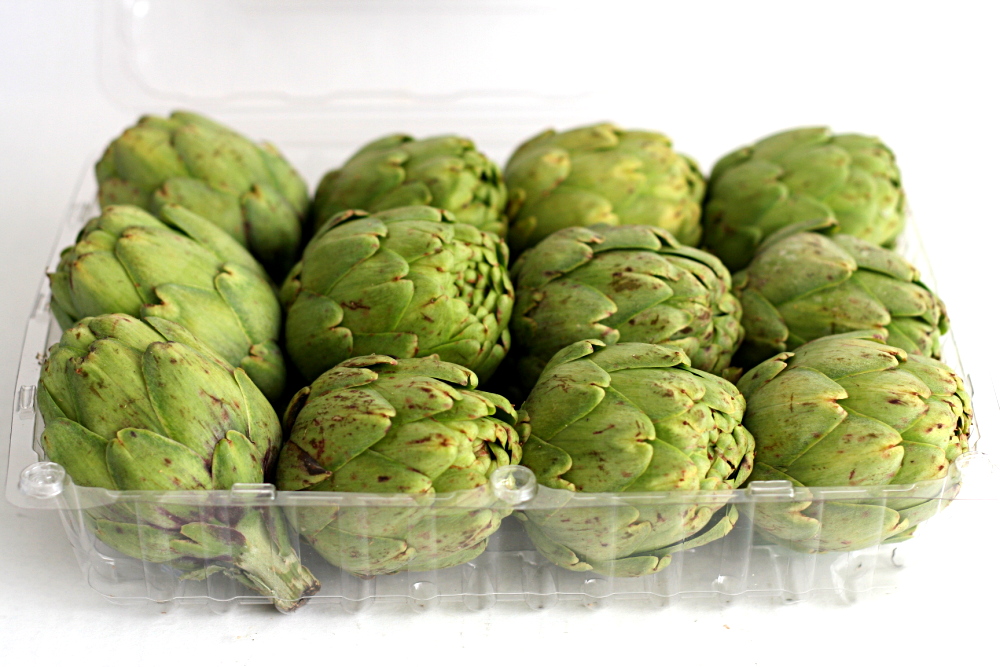
And then I’ve come home with artichokes, which are certainly not known for being low-maintenance. But now that I’ve cooked artichokes a few times, I’m not nearly as intimidated by them. I especially love roasting these baby artichokes, which is the easiest and definitely the best way I’ve ever prepared artichokes.
copy-of-copy-of-img_4898

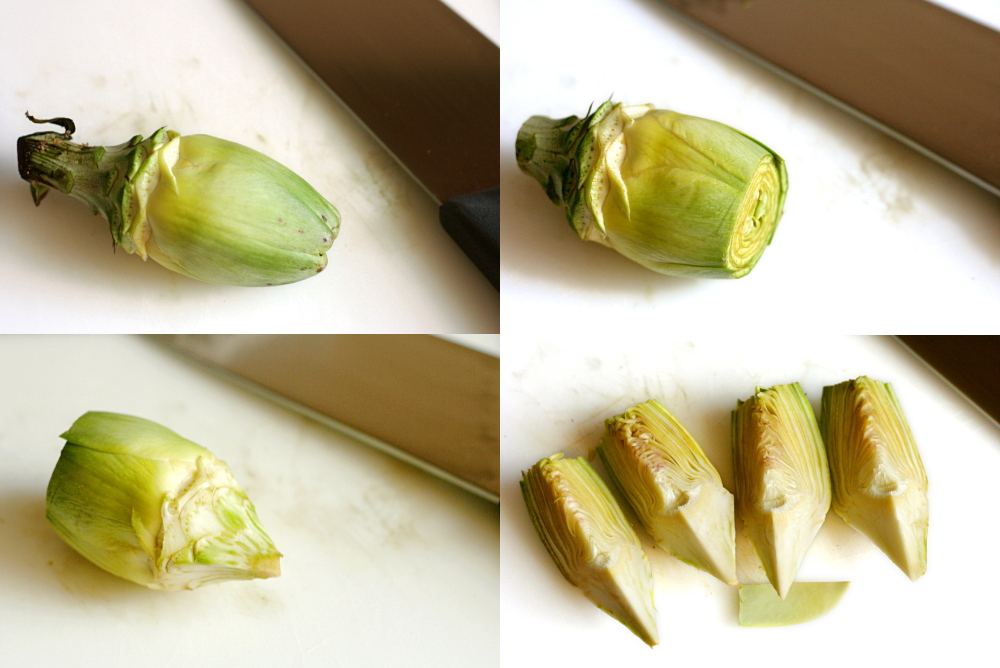
A lot of fuss is made about prepping artichokes, but now that I’m familiar with the process, it isn’t so bad. And the baby artichokes are quite a bit easier, because the fuzzy inedible choke inside the artichoke isn’t developed. There are basically three steps. 1) Pop off the leaves that are mostly green. 2) Cut off the top of the leaves and the bottom of the stem. 3) Trim off the dark green remnants of the leaves near the top of the stem. It really only takes maybe a minute per artichoke.
copy-of-img_4907

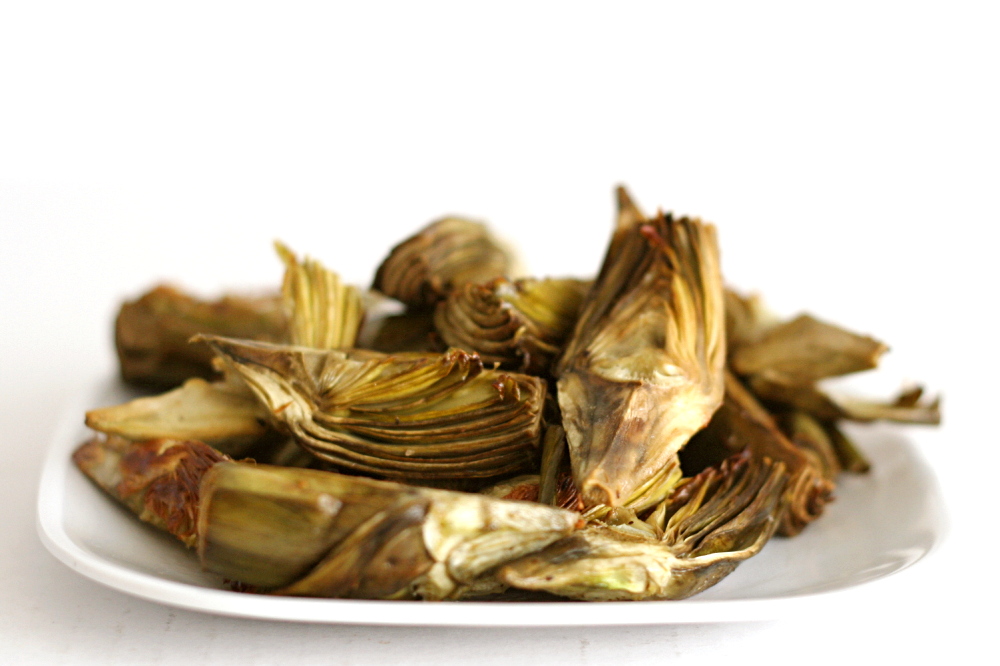
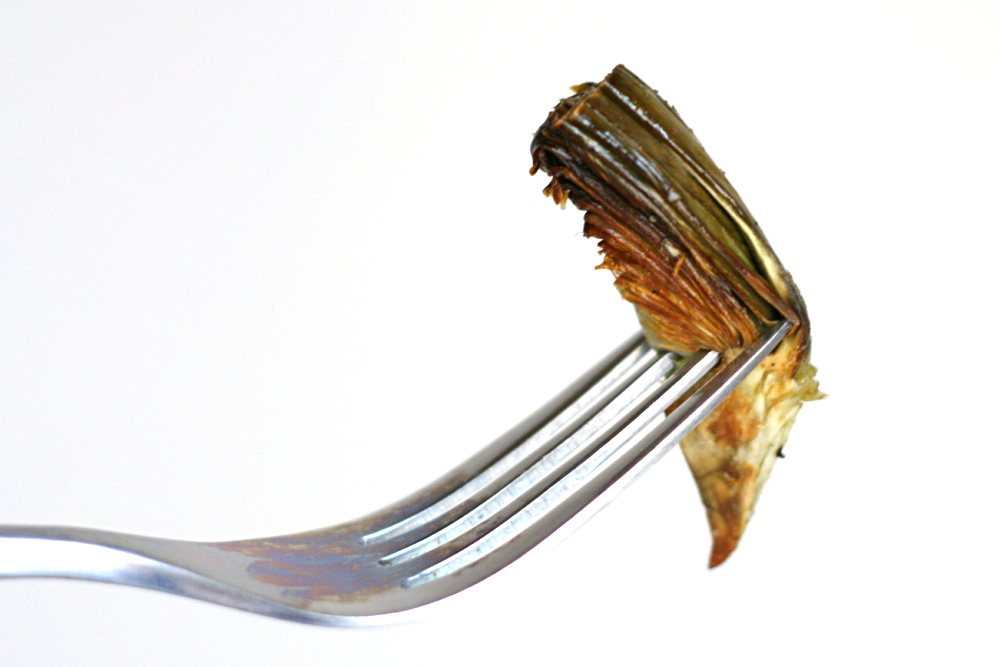
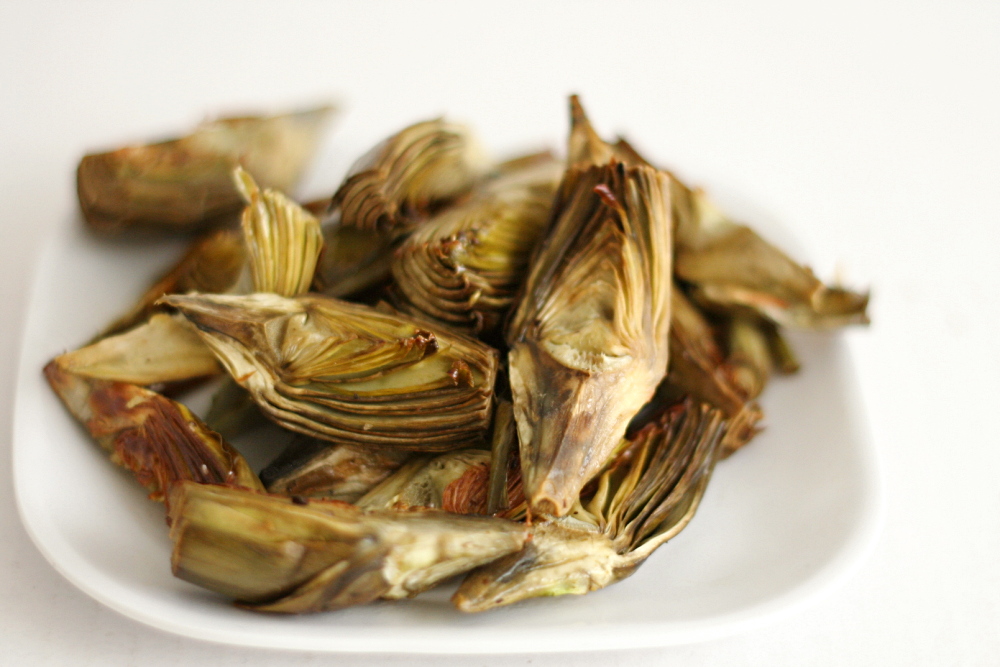
And then it’s just like roasting any other vegetable. I quartered the artichokes, seasoned them and sprinkled a bit of olive oil over them, then roasted them until they were browned and tender.

What I love about this method, besides how easy it is, is that there’s really nothing to taste except for the artichoke. It’s the most artichokey way that I’ve eaten artichokes. And they do have a great flavor on their own, with no need for marinades or gussied-up mayonnaise or whatever else. It’s the fanciest plain vegetable I’ve ever served.
copy-of-img_4916

One year ago: Cheesecake Pops (these were a huge mess) and Fluted Polenta and Ricotta Cake

Roasted Baby Artichokes

I’ve seen recipes that require the artichokes to be boiled or steamed before roasting. This may be necessary with large ‘chokes, but I had no problem with the little guys getting tender just from roasting.

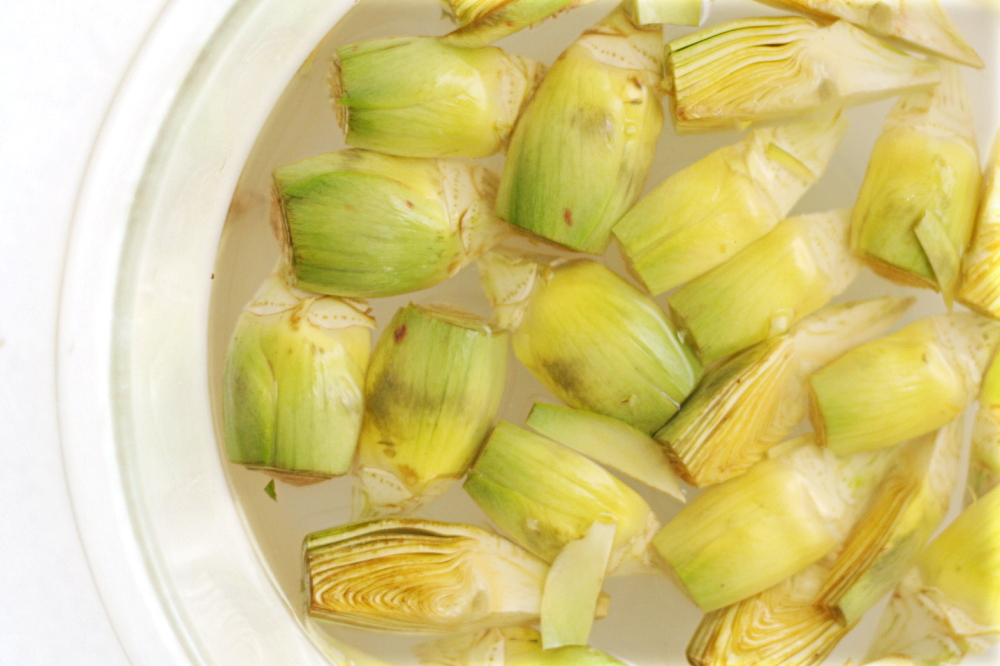
This is probably very anti-foodie of me, but I just squirted a bunch of bottled lemon juice into a bowl of water to make acidulated water. I didn’t have lemons.   I considered skipping the acidulated water entirely, but the artichokes pretty much immediately started turning an unappetizing shade of brown.

3-4 servings

juice of one lemon
12 baby artichokes
1½ tablespoon olive oil
½ teaspoon salt
pinch pepper
½ teaspoon lemon juice

1. Preheat the oven to 425 degrees.

2. Trim the artichokes: Put the lemon juice into a bowl with 2-3 quarts of water. Working with one artichoke at a time, pop off the outer leaves until you reach the inner yellowish leaves. Cut off the top ½-inch of the leaves and all but ½-inch of the stem. Trim away the darker green leaf remnants around the base of the stem. Quarter the artichoke and place in the bowl of water. Repeat with the remaining artichokes.

3. Put the oil, salt and pepper on a baking sheet. Dry the artichokes, place them on the baking sheet with the oil and seasoning, and stir to coat with oil.

4. Roast for 20-30 minutes, stirring once or twice, until tender and browned on the outside. (I usually just eat one to see if they’re done.) Remove the pan from the oven, drizzle the lemon juice over the artichokes, and serve.
copy-of-img_4917

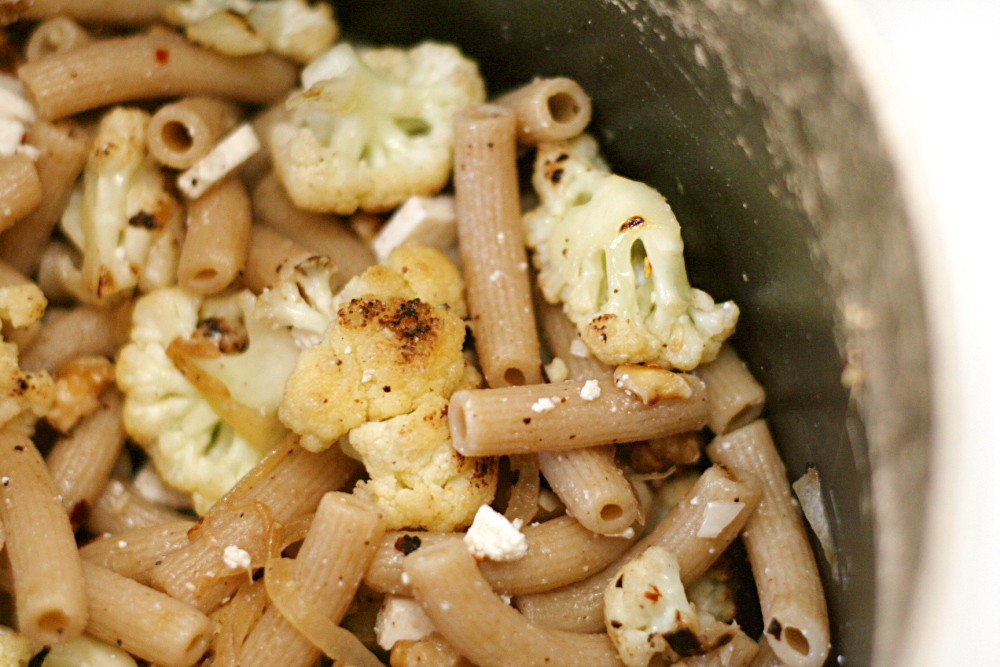
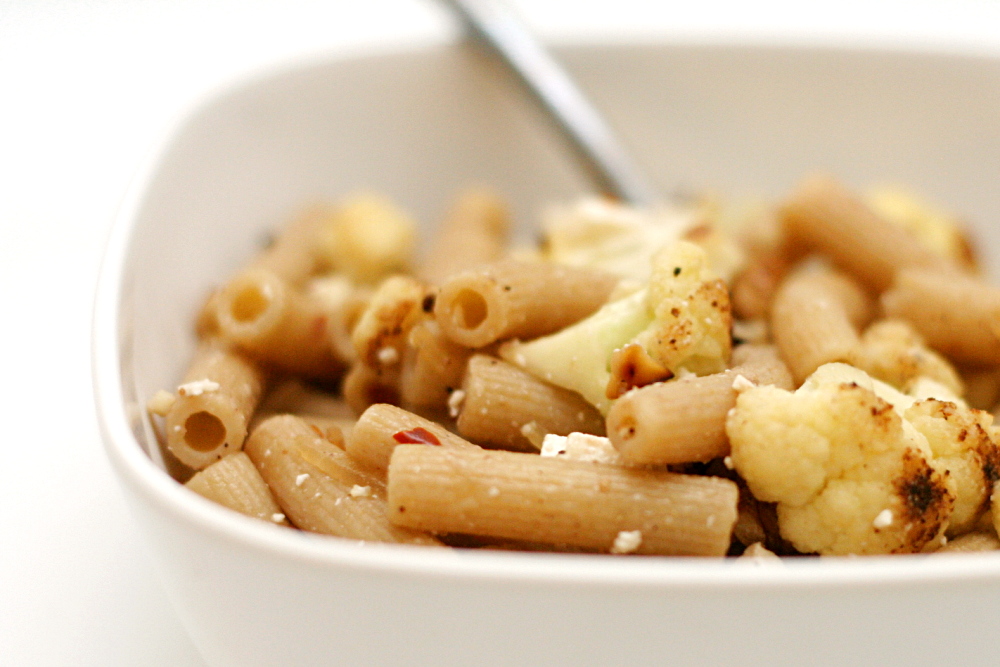
pasta with cauliflower, walnuts, and ricotta salata

copy-of-img_3235

I was recently reminded me of why I unabashedly (okay, maybe a little abashedly) stole Smitten Kitchen’s “one year ago” idea (although all the cool kids are doing it these days it seems). I’ve had this pasta recipe bookmarked since she posted it, and every week when I plan my meals, I consider it, and then pass over it. I didn’t realize I’d been doing this for an entire year until I saw this recipe featured from one year ago.

copy-of-img_3220

Seriously, I love pasta, and we eat it one or twice a week. Also, cauliflower? My favorite vegetable, ever since I was a kid. And quick vegetarian meals are our standard weeknight fare. And, I’ve been meaning to try ricotta salata for ages. I was outrageously overdue for making this recipe.

copy-of-img_3217

But, when I finally made it, I thought it had a lot more potential than it did flavor. The problem is that the recipe’s original author, Alice Waters, took a very easygoing, flexible route with the recipe, providing only approximate ingredient quantities and no recommended cooking times.

copy-of-img_3223

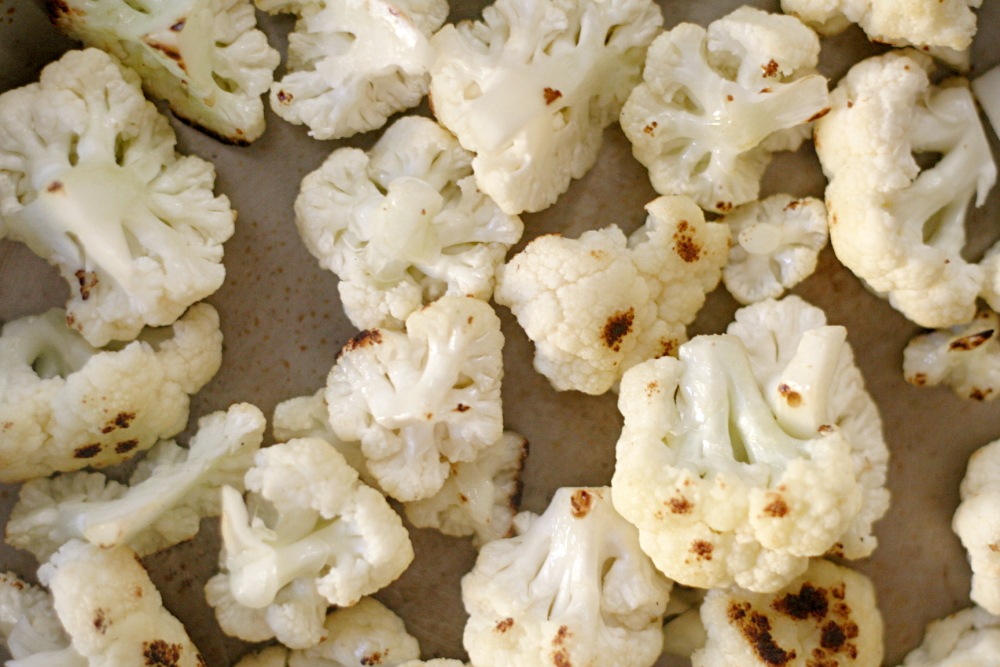
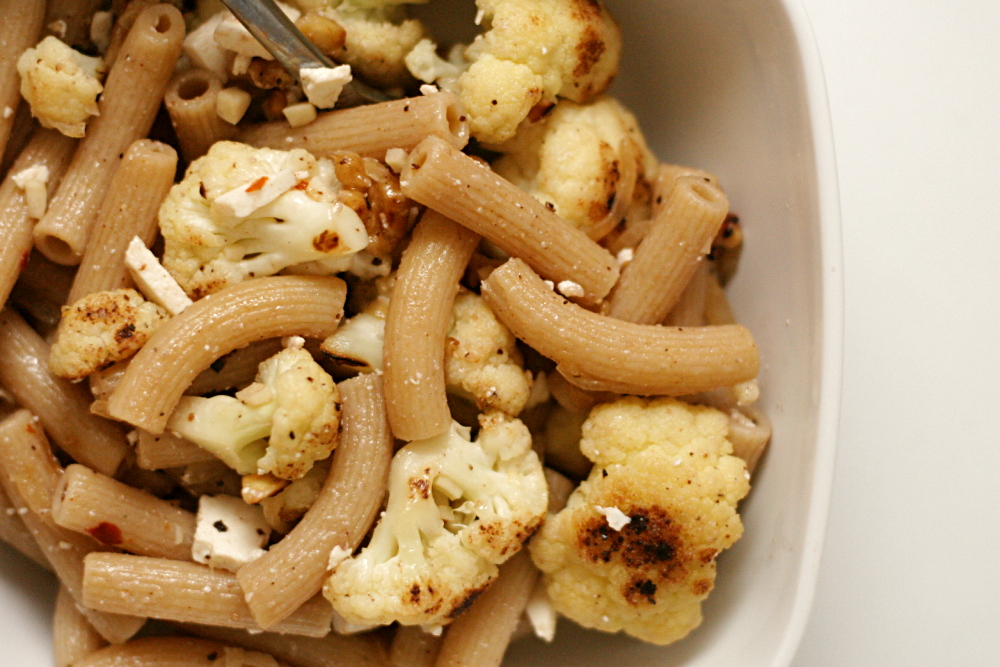
In a nutshell, the cauliflower is pan-roasted, then onions and crushed red pepper are added, then garlic, then lemon juice, white wine vinegar, and toasted walnuts. All of that is mixed with pasta and soft cheese. It’s a nice combination of ingredients and you’d be hard-pressed to make it bad, but ‘not bad’ is generally not my goal for food.

copy-of-img_3225

The next time I made it, in an effort to bump up the flavor, I decreased the pasta significantly. (You could also think of it as increasing the cauliflower, onion, garlic, red pepper flakes, and walnuts.) I’ve also quantified things. Willy-nilly, splash of this, pinch of that recipes drive me crazy and usually end up underseasoned.

Other than the ratio of pasta to everything else, the recipe really isn’t so different from the original. And hopefully it’s reproducible now, so you can have the exact same spicy, fresh flavor from this dish that I enjoyed.

copy-of-img_3228

One year ago: Breakfast Strata with Mushrooms, Sausage, and Monterey Jack

Whole Wheat Pasta with Cauliflower, Walnuts and Ricotta Salata (from Chez Panisse Vegetables via Smitten Kitchen)

Serves 4

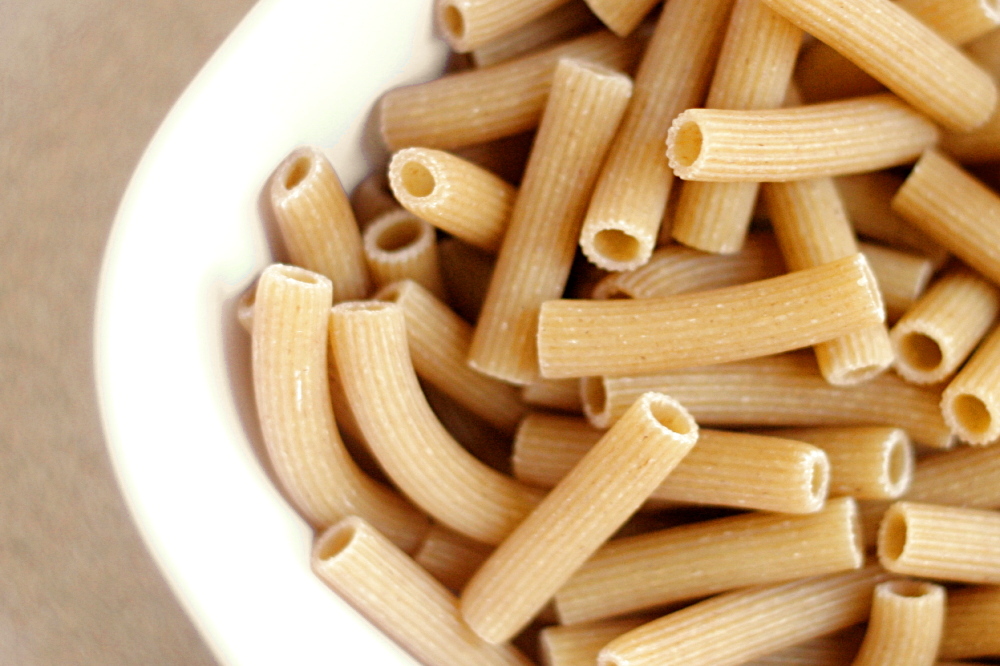
10 ounces whole-wheat pasta
½ cup walnuts
1 tablespoon olive oil (not extra virgin)
2 small heads cauliflower, cut into 1.5-inch florets
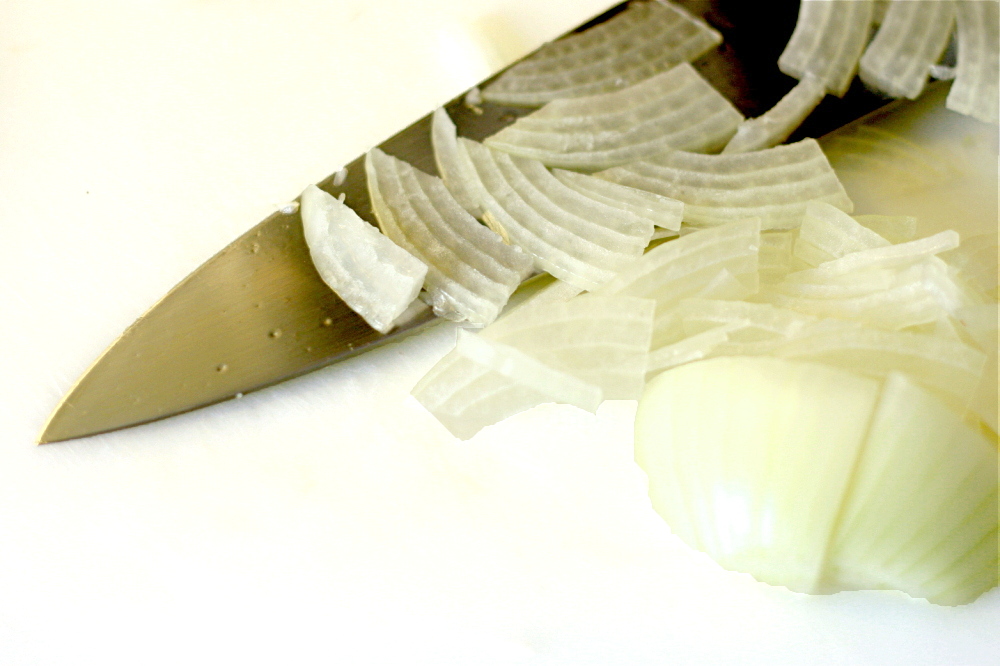
1 large or 2 small onions, sliced very thin
4 cloves garlic, minced
½ teaspoon salt, plus more for the pasta cooking water
¼ teaspoon black pepper
½ teaspoon crushed red pepper
1 tablespoon lemon juice
4 ounces ricotta salata, chopped
extra virgin olive oil, for serving (optional)

1. Bring 3 to 4 quarts water to a rapid boil over high heat. Add 1 tablespoon salt and the pasta. Cook according to package instructions. Before draining the cooked pasta, put about 1 cup pasta cooking water in a separate bowl and set aside. After draining the pasta, return it to the cooking pot.

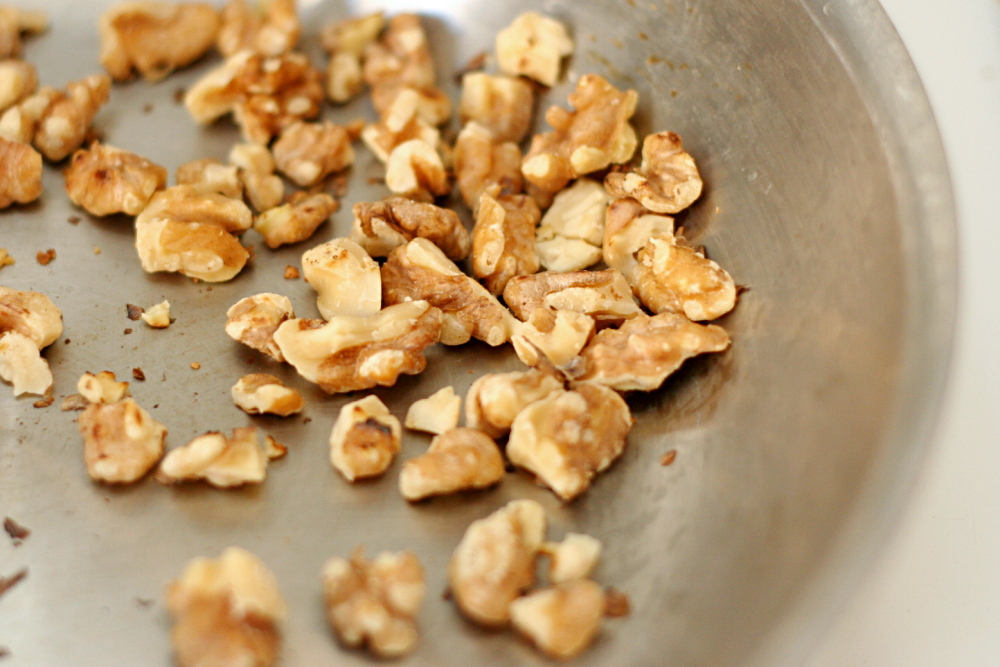
2. Meanwhile, toast the walnuts in a large, not nonstick pan over medium heat until fragrant. Put the walnuts in a small bowl and set aside.

3. Heat 1 tablespoon olive oil in the same pan over medium heat. When hot, add cauliflower and cook, stirring occasionally, until softened, 4-5 minutes. Add onions, red pepper, salt, and black pepper. Continue cooking and stirring until the onions are softened and the cauliflower is crisp-tender. Stir in the garlic, then immediately remove the pan from the heat. Add the lemon juice, walnuts, and cheese.

4. Stir the cauliflower mixture into the pasta. Add enough of the reserved pasta cooking water to moisten the mixture. Adjust the seasonings to taste and serve, garnishing each plate with a drizzle of extra virgin olive oil, if desired.

copy-of-img_3233

pan-roasted asparagus

copy-of-img_3654

Asparagus was part of one of my worst eating experiences. I was spending a few weeks traveling, working with one of the top researchers in my field. She’s an intimidating woman, known for her arrogance and her temper. Fortunately, what little contact I had with her was generally pleasant. She even invited me to her house for dinner a couple times.

copy-of-img_3646

The first time, she served chicken, asparagus and rustic bread she’d bought at a bakery. The asparagus was horrendous. It was grossly overcooked, plus too little of the woody barely chewable ends had been trimmed. It was all I could do to eat it without gagging, but I had to be polite, especially since I was sort of scared of my host.

copy-of-img_3648

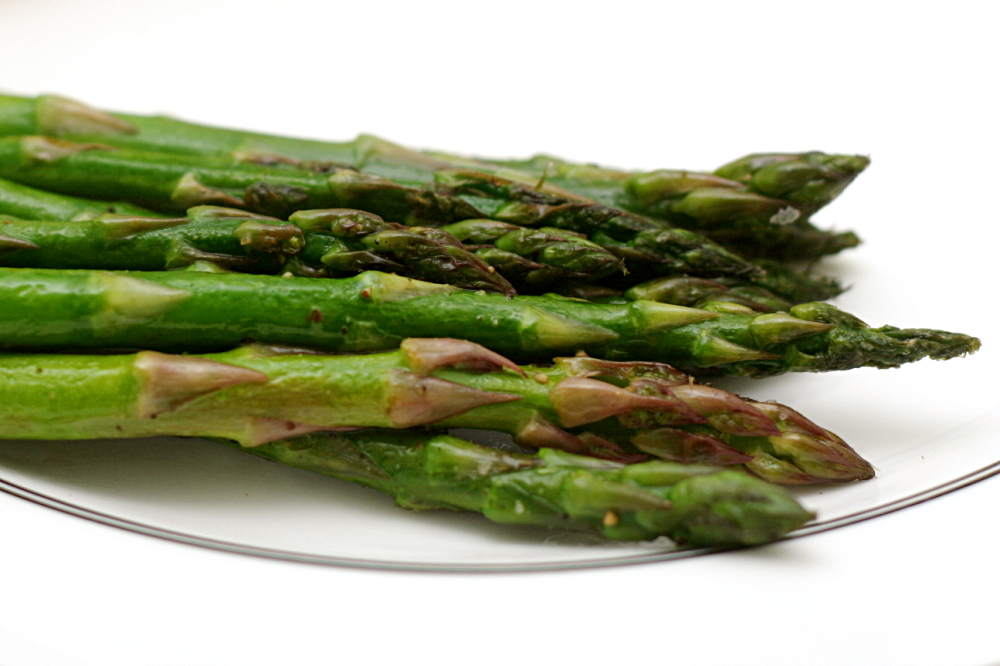
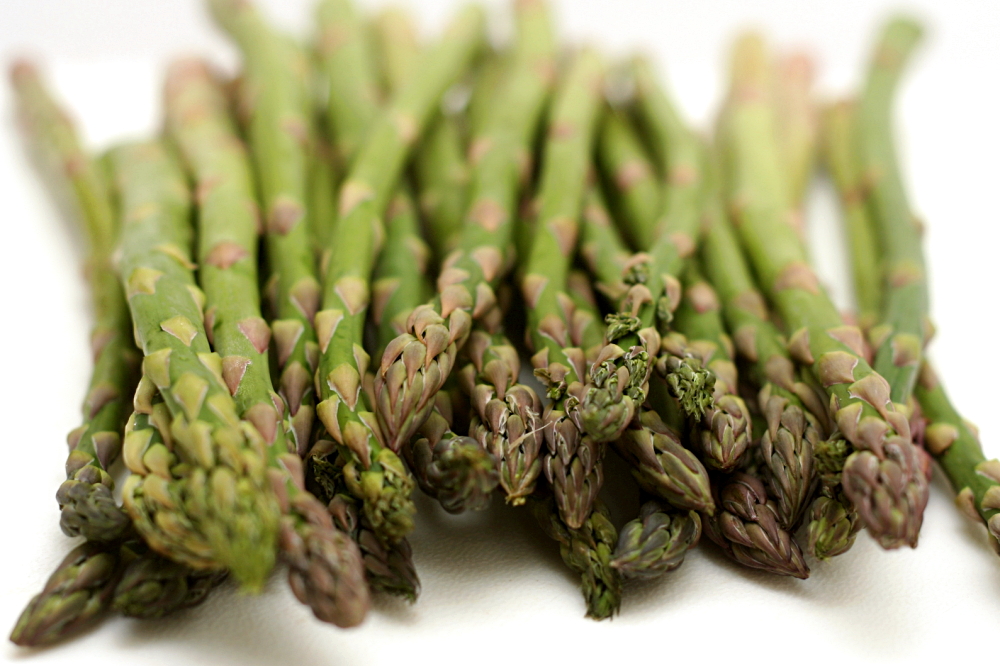
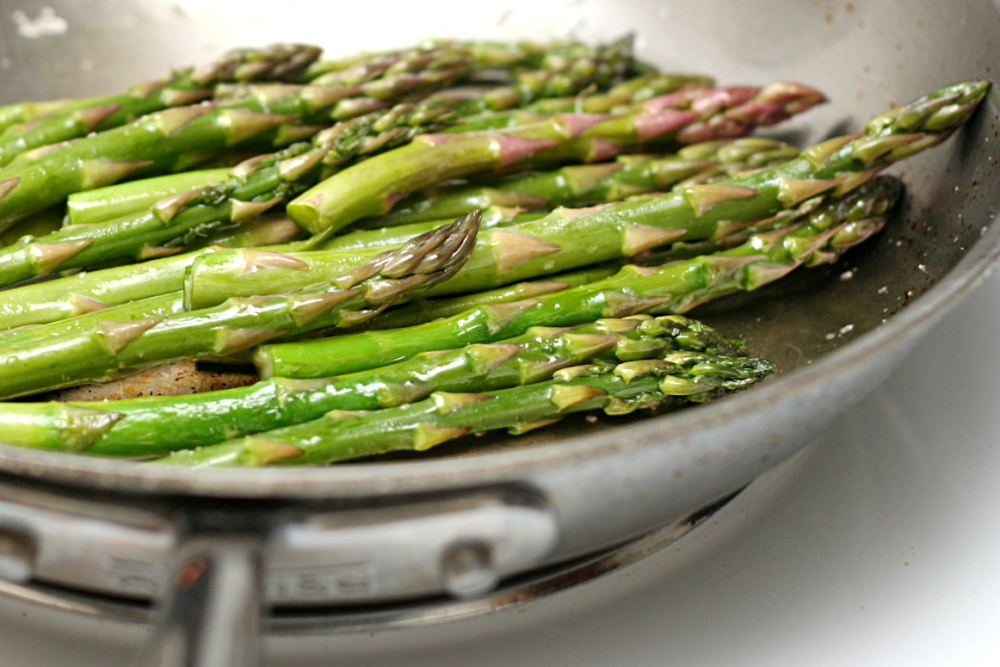
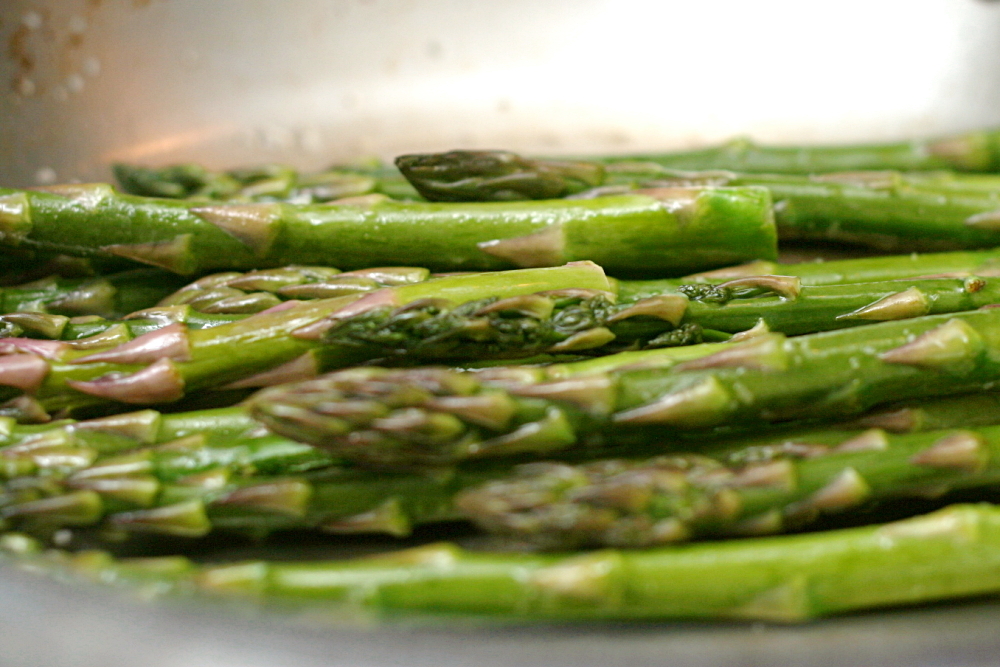
This is not that asparagus. This is lightly browned, tender but still crisp at the center. It’s also easy – just put the asparagus and some salt in a lightly oiled, hot, not nonstick pan, and cook it for a few minutes, giving the pan an occasional shake. Squeeze on some lemon juice, grind a bit of black pepper over the top, and try to erase all of your bad vegetable memories.

copy-of-img_3650

One year ago: Sichuan Green Beans

Pan-Roasted Asparagus

Serves 2

Note: Choose thin (less than ½-inch in diameter) asparagus for this recipe, as the thicker stalks won’t cook through evenly. Trim the asparagus by bending each stalk until it snaps. To double the recipe, use a 12-inch skillet.

1 teaspoon olive oil
8 ounces asparagus, washed and trimmed (see Note)
generous pinch salt
1 teaspoon lemon juice
freshly ground black pepper

Heat the oil in a medium not nonstick skillet over medium heat until it’s hot. (I judge based on the viscosity of the oil – the thinner, the hotter.) Add the asparagus in a single layer and stir or shake to coat with oil. Continue to cook the asparagus until it’s crisp-tender, 5-8 minutes.

copy-of-img_3644

pasta with roasted red pepper sauce

copy-of-img_3718

I read the Pioneer Woman’s cooking blog, even though I don’t find too many recipes there that are my style.  Ree tends to add more butter, more oil, and more cream to her dishes. And yes, all of those things make food very good. But it’s a safe bet that I live a more sedentary life than Ree does on her ranch, so I can’t be adding extra butter to everything I cook.

copy-of-img_3672

Occasionally, though, Ree makes a dish that does click with me, like this one. It’s an easy, fairly healthy, vegetarian, one-dish pasta meal. That is exactly how we normally eat.

copy-of-img_3700

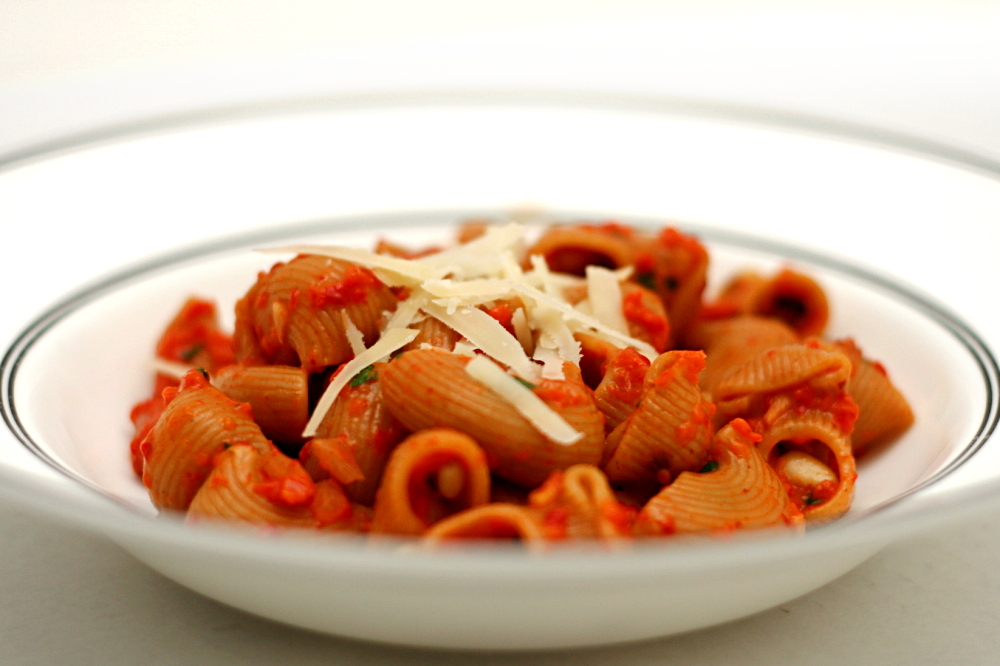
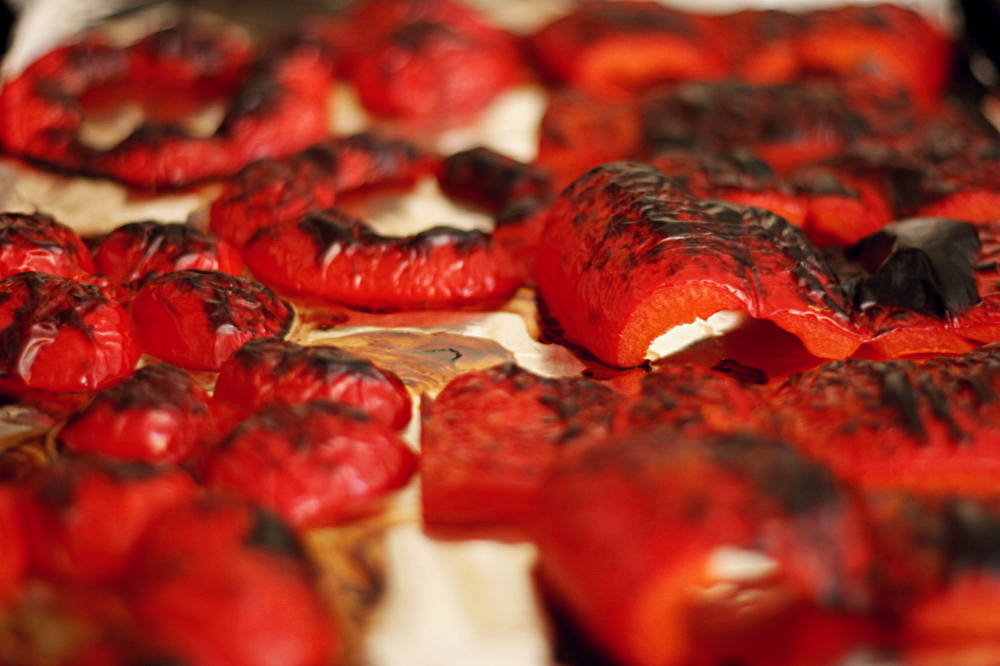
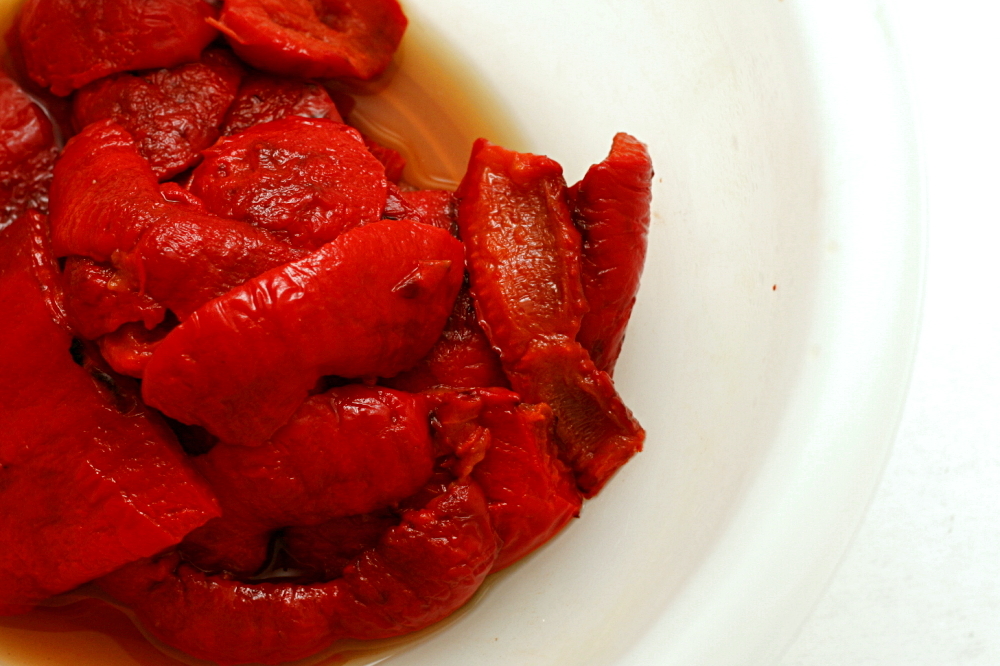
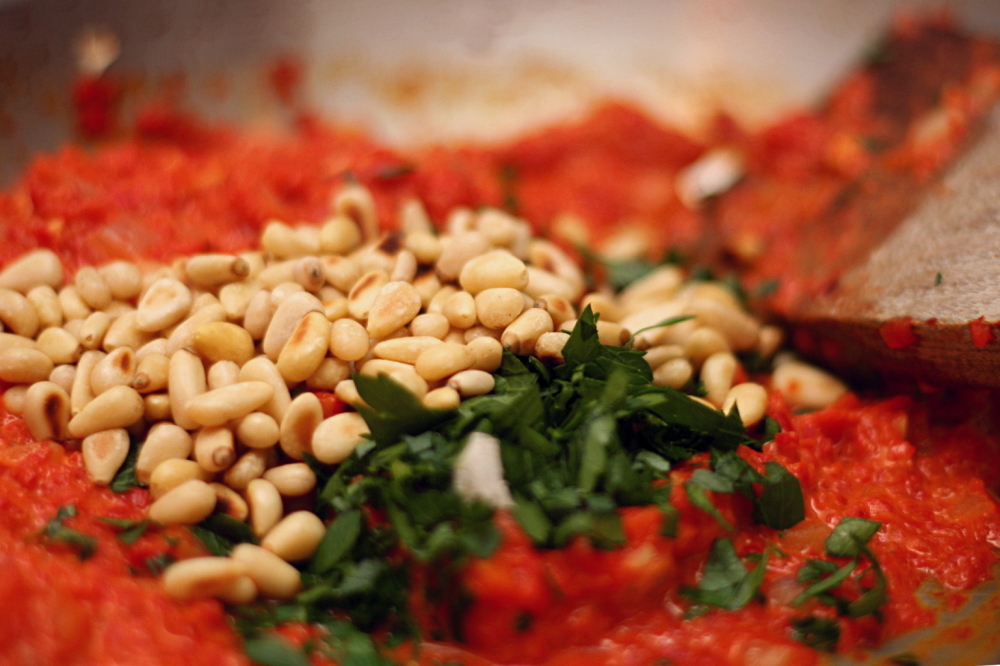
The sauce is simply sautéed onions and garlic with pureed roasted red peppers, pine nuts, and heavy cream stirred in. I used less cream than Ree, of course, and I decided to keep the pine nuts whole instead of grinding them with the roasted peppers. I’m sure either way is fine; recipes as straightforward as this are easy to adapt to your preferences.

copy-of-img_3707

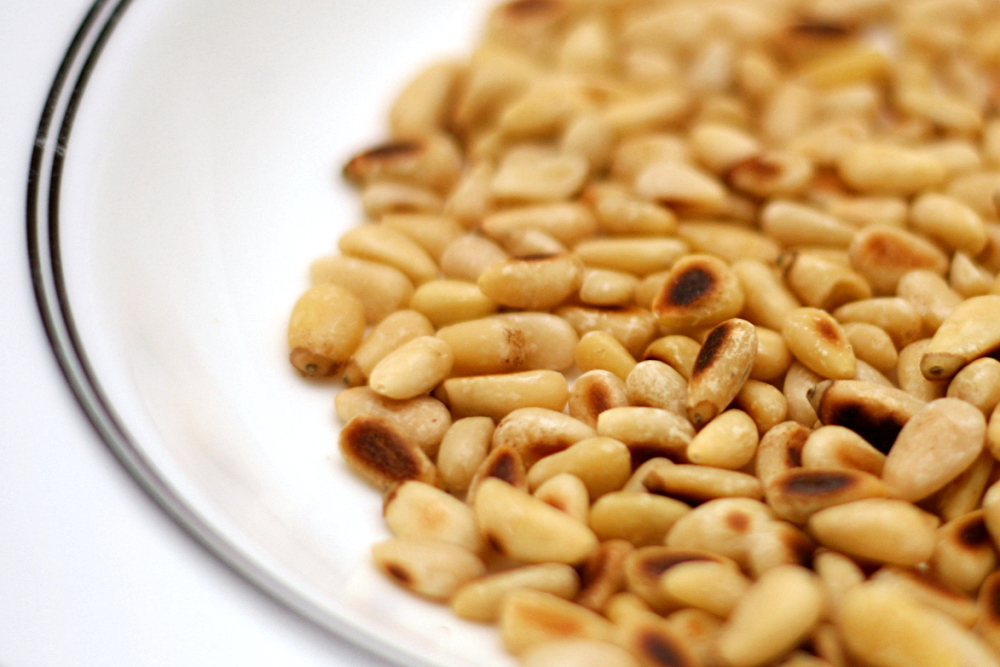
I also burnt the pine nuts and under-roasted the peppers, but these aren’t changes that I recommend that you make. Fortunately, this pasta is so good that even that couldn’t ruin it.

copy-of-img_3712

One year ago: Blueberry Poppy Seed Brunch Cake

Pasta with Roasted Red Pepper Sauce (adapted from The Pioneer Woman Cooks)

Note from Bridget: This is fairly similar to the original recipe, in that it uses the same ingredients in almost the same proportions, but I’ve changed the directions slightly, mostly to give them some more detail. You can roast the peppers a few days advance, and keep them refrigerated (or frozen) either peeled or unpeeled. Also, Ree warns that this dish needs quite a bit of salt, and I found this to be the case. Please don’t be afraid to add salt at the end until the sauce has some flavor!

Serves 2

2 red bell peppers
6 ounces dry pasta
salt
2 tablespoons pine nuts
2 teaspoons olive oil
½ medium onion, finely diced
2 cloves garlic, minced
2 tablespoons heavy cream
1 tablespoon minced flat leaf parsley
fresh Parmesan, shaved, grated or shredded

1. Adjust an oven rack to the top position and heat the broiler. Line a baking sheet with foil. Cut a ½-inch ring off the tops and bottoms of the peppers. Remove the seeds and stems, then cut the remaining cylinders of pepper in half lengthwise, into two wide strips. Lay the strips of pepper and the rings skin-side up on the foil-lined pan, pushing the strips down. Broil until thoroughly blackened, 6-8 minutes. Put the broiled peppers in a bowl; cover the bowl and set aside for at least 10 minutes.

2. Bring a large pot of water to a boil. Once boiling, add 1 tablespoon salt and the pasta. Cook the pasta according to the package instructions, until al dente. Drain and return to the cooking pot.

3. Meanwhile, heat a medium skillet, preferably not nonstick, over medium heat. Add the pine nuts and toast, shaking the pan occasionally, until golden brown and fragrant, 3-6 minutes. Remove the pine nuts from the pan and set aside.

4. Peel the skins off of the peppers. Add them to a blender or food processor and purée.

5. Add the olive oil to the now-empty skillet over medium heat. Once heated, add the onion. Sauté, stirring occasionally, until softened and just browned around the edges, about 5 minutes. Add the garlic and cook until fragrant, about 1 minute, then stir in the red pepper puree and ½ teaspoon salt. Pour in the cream and toasted pine nuts, and stir until the sauce is evenly heated. Check for seasoning, adding additional salt if necessary.

6. Add the sauce to the cooked pasta, and stir over medium-high heat until everything is heated and the pasta absorbs some of the sauce. Serve, topping each portion with parsley and Parmesan.

copy-of-img_3714

black bean squash burritos

copy-of-img_3454

One of my (many) goals for this year was to cook less. And boy have I. My cooking and baking was getting out of hand there for a while and getting in the way of other things I needed to be doing. Like working. But I swung too far in the other direction, because do you realize that I haven’t posted a non-baked recipe in a month? In fact, I almost ran out of anything I could post about. Now I’m getting back on track with trying new, easy, healthy dinner recipes.

copy-of-img_3437

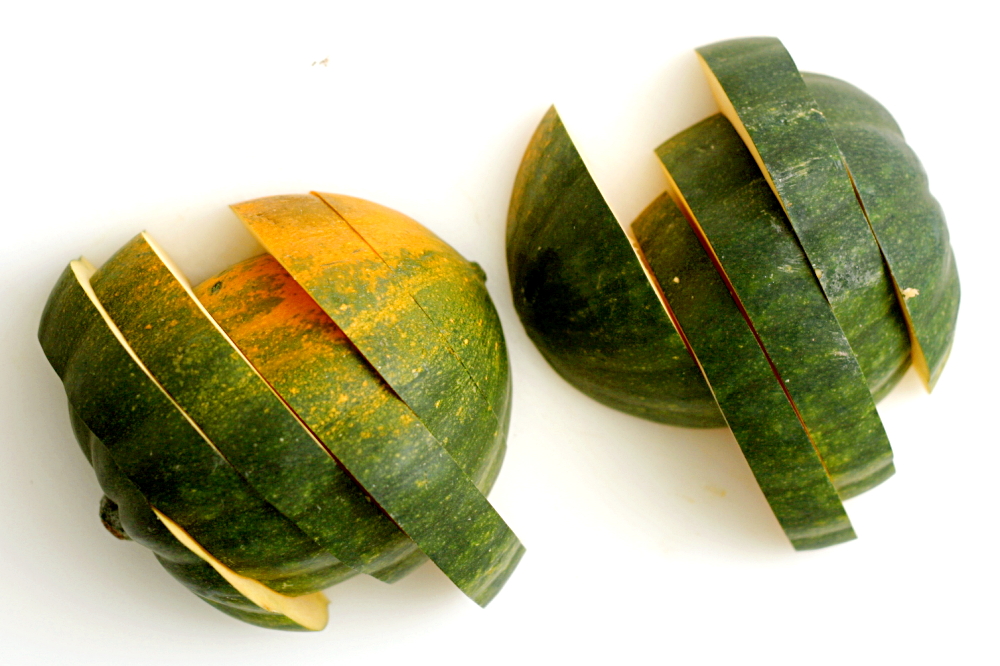
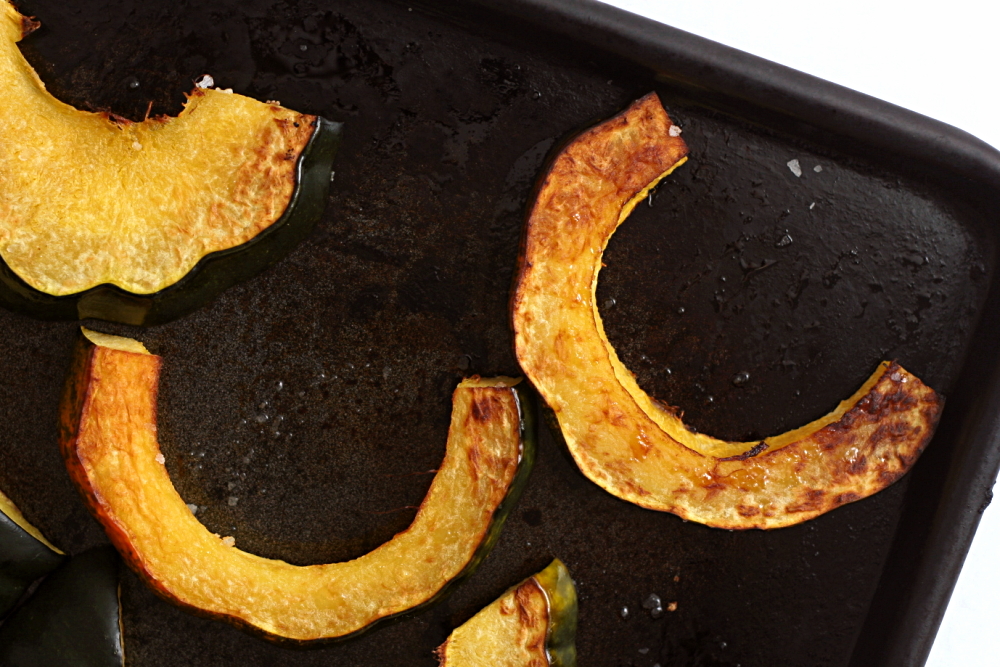
Black bean and squash burritos have been on my radar for a while, but then when I finally decided to make them, I couldn’t find a recipe. I ended up just writing my own. For the squash, I knew I wanted to avoid peeling and dicing it while it was raw, as that whole process always ends up pissing me off. So I sliced the squash, seasoned it, rubbed it in just a little olive oil, and roasted it until it was soft and browned.

copy-of-img_3445

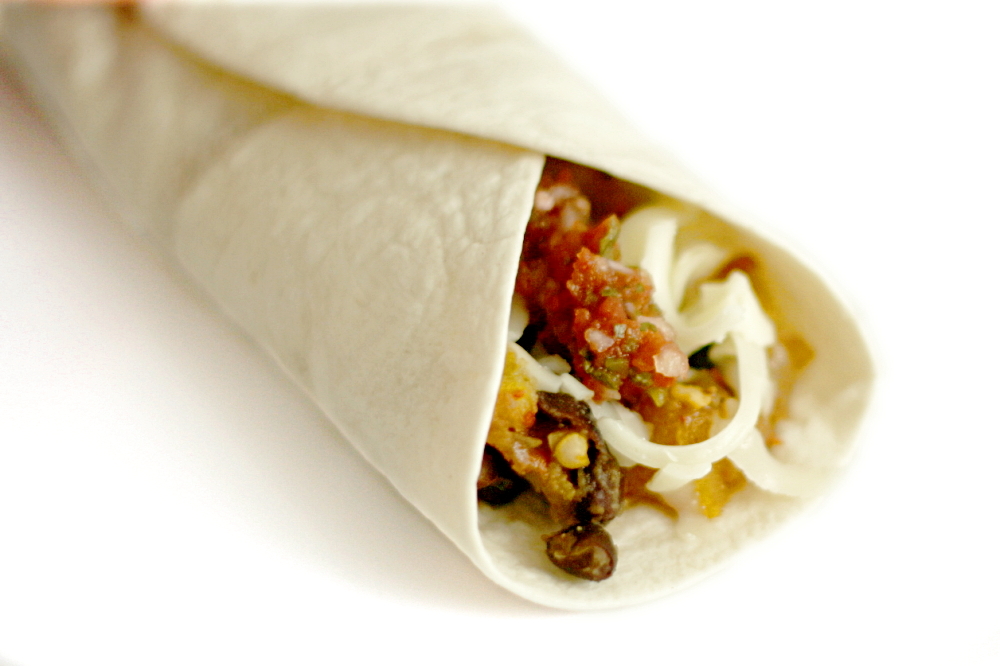
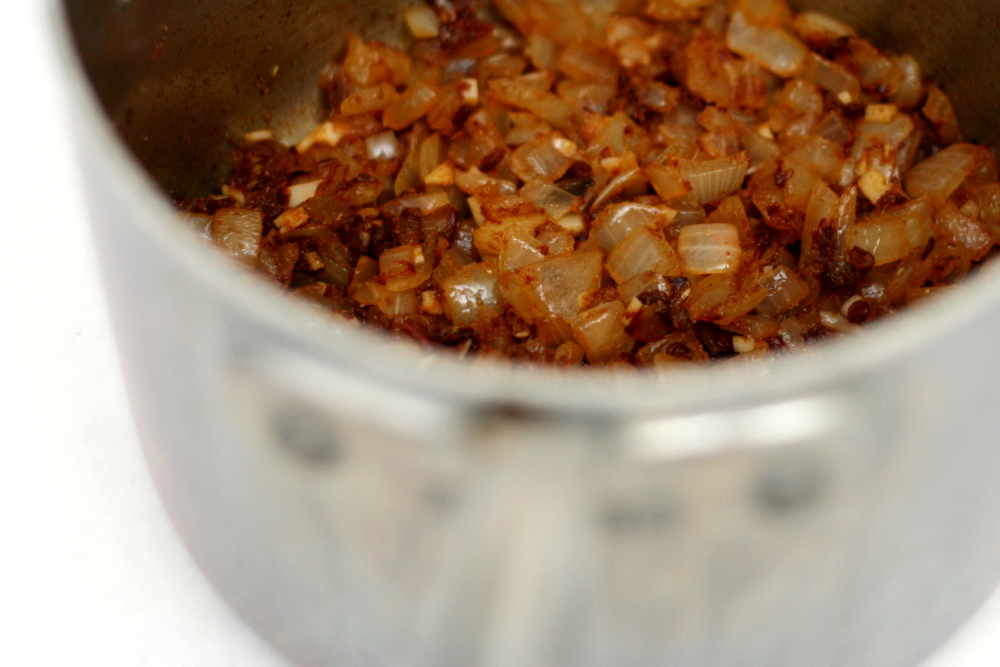
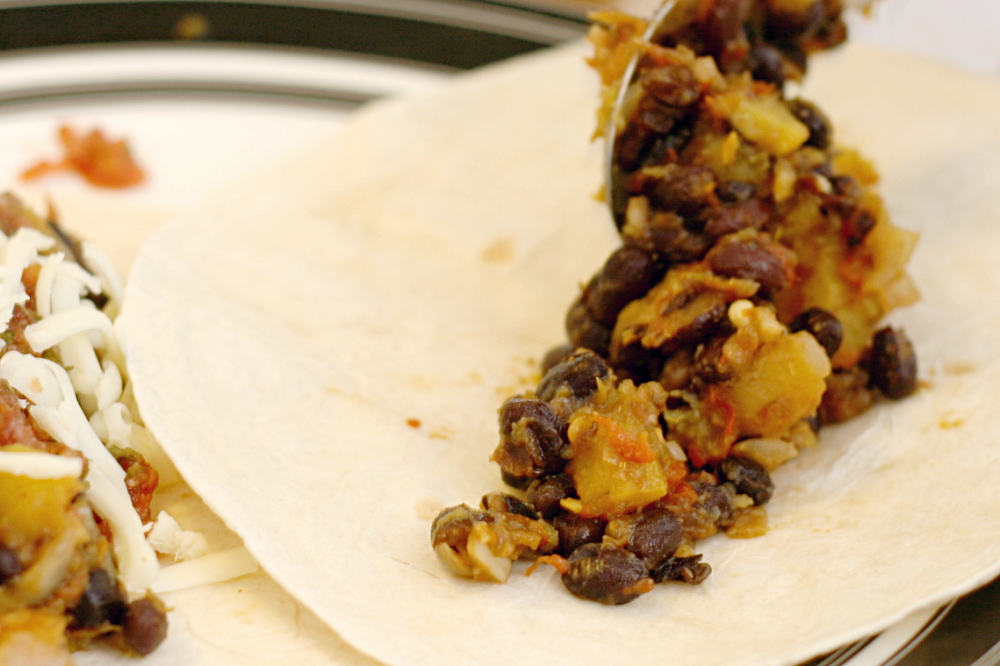
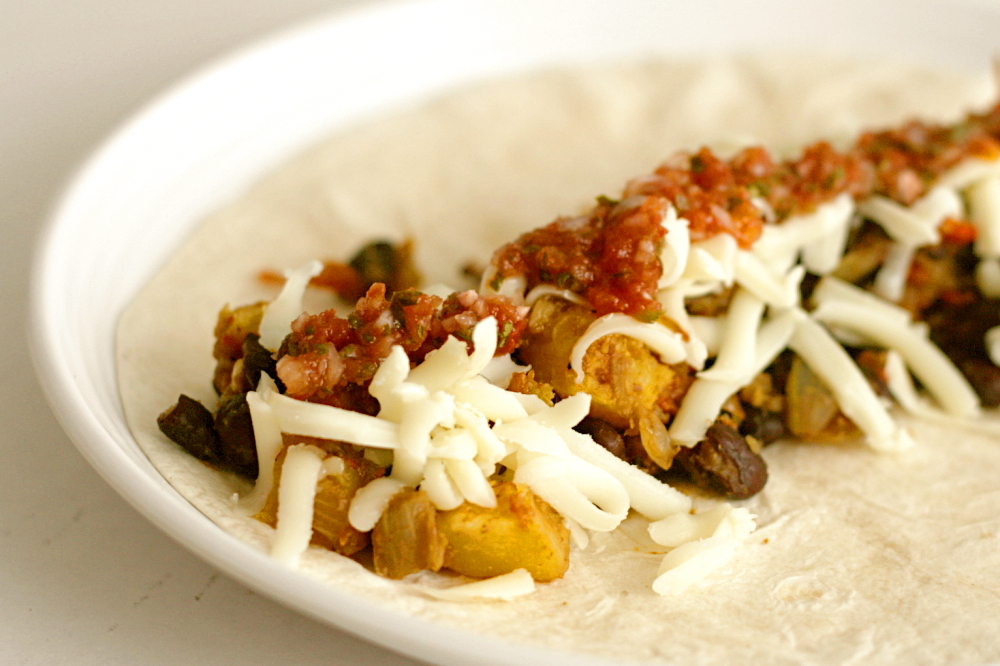
While the squash was in the oven, I sautéed some onions, then added garlic and spices before stirring in green chiles and black beans. When the squash was done, I pulled the peels off and roughly chopped the flesh, which I threw into the pot with the beans. That simple mixture was my main filling, and I served it with salsa and cheese.

copy-of-img_3246

I thought they were really good. And they’re so easy, and they’re healthy, and cheap. An overall success in my book. Dave…um, he thought they were fine. His exact words were, “I like regular burritos better.” I told them he should judge these based on their own merits instead of comparing them to something else, and he said, “Too squashy.” Pbbth. Whatever. I thought they were seriously tasty.

copy-of-img_3449

One year ago: Gooey Chocolate Cake – my first recipe with Tuesdays with Dorie

Squash and Black Bean Burritos

Note: The burritos are also good when they’re made with chipotle chiles instead of green chiles.  If you go that direction, I’d use four, and more if you like a lot of spice.

Serves 4-6

2 small acorn squash
salt and pepper
2 tablespoons olive oil
2 medium onions, chopped small
4 cloves garlic, minced
2 teaspoons ground cumin
1 teaspoon ground coriander
8 ounces green chiles, diced
2 (15-ounce) cans black beans, rinsed and drained
10 (7-inch) flour tortillas, warmed
salsa
4 ounces queso fresco, crumbled, or shredded cheddar (about 1 cup)

1. Adjust an oven rack to the middle position and heat the oven to 450F. Halve the squash and scoop out the seeds. Cut each half into ¾-inch slices. Spread 2 teaspoons of olive oil on a baking sheet and lay the squash slices on the oil, turning each slice over to thinly coat each side. Generously season with salt and pepper. Roast until the squash is browned on the edges and tender throughout, about 20 minutes.

2. Heat 4 teaspoons olive oil in a medium saucepan over medium heat until shimmering. Add onion and sauté, stirring occasionally, until just browned around the edges, 5-7 minutes. Add garlic, cumin, and coriander. Cook, stirring constantly, for about 30 seconds, until fragrant. Stir in the chiles, beans and a pinch of salt. Lower the heat to low, cover, and heat just to warm.

3. When the squash has cooled enough to handle, peel the skin off of each slice. Roughly chop the squash into ¼- to ½-inch pieces and stir into the black beans.

4. Layer the squash-black bean mixture, salsa, and cheese in center of each tortilla. Fold and serve.

copy-of-img_3446

chicken artichoke pesto calzones

copy-of-img_2248

I hardly ever cook large roasts of meat, but when I do, I find like I like the leftovers even more than the original meal. I had lots of fun after Thanksgiving, and found that pot roast makes an amazing soup and sandwich. And roast chicken, to be honest, hardly ever impresses me served plain with dinner, but once it’s cooled and mixed with mayonnaise for some chicken salad, I am one happy camper.

copy-of-copy-of-img_2225

This time, though, I forwent the mayonnaise for something more interesting. I happened to come across a recipe for chicken artichoke pizza when I had shredded roast chicken, artichokes, and pizza dough in the freezer. I was practically forced to make it. Plus it sounded delicious.

copy-of-img_2230

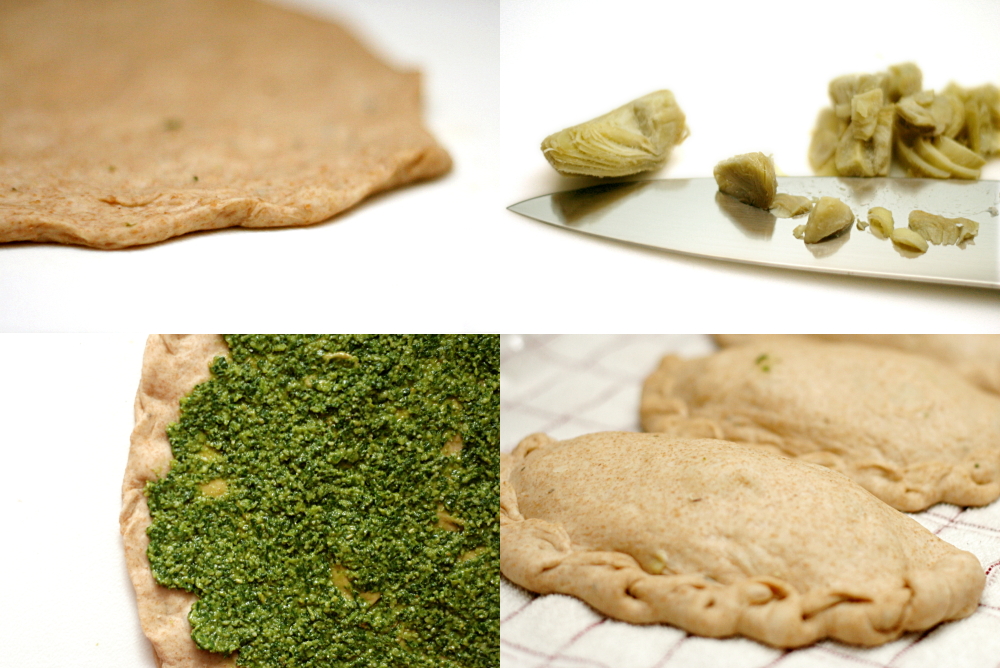
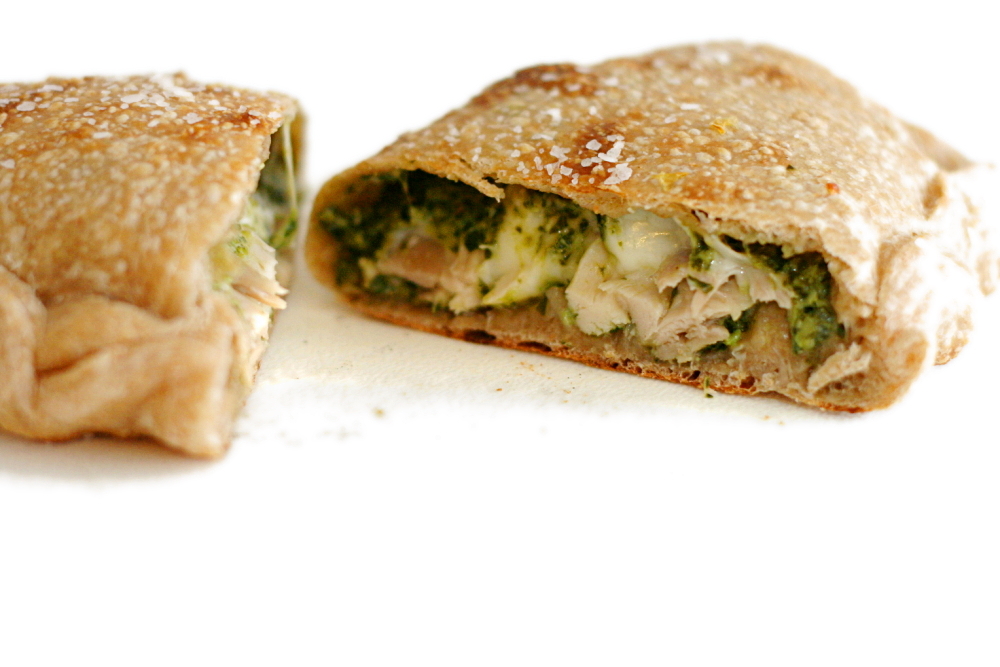
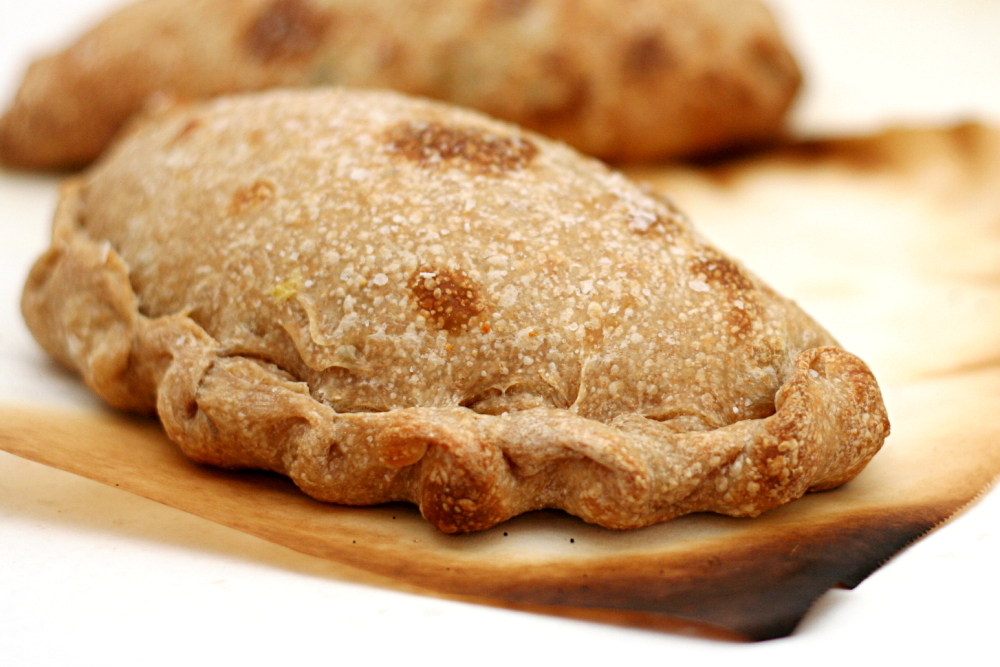
I made calzones instead of pizza mostly just because I hadn’t made them in a while, but I do think that the sizable chunks of shredded chicken that I wanted to use would be more appropriate in a calzone. Calzones, though, are undoubtedly more work than pizza. Instead of rolling out one round of dough for every 2-3 people, you’re rolling out one per person, and once the ingredients are added, the edges need to be crimped.

The extra work was worth it for me, because I really enjoyed these calzones. Pesto, chicken, and artichokes are a great combination, and it can only get better with cheese.

copy-of-img_2253

One year ago: (Almost) No-Knead Bread

Chicken Artichoke Pesto Calzones (ingredients adapted from Stefany’s pizza, which is adapted from allrecipes; calzone method adapted from Cooks Illustrated)

Serves 8

I used mozzarella because I had it, but I think fontina would be even better.

2½ pounds pizza dough (a full recipe of this one would be perfect)
1 cup pesto
1 cup frozen artichokes, defrosted and roughly chopped
2 cups shredded cooked chicken
2 cups (8 ounces) shredded mozzarella or fontina cheese
olive oil for brushing

1. Adjust the oven rack to the lowest position, set a pizza stone on the oven rack, and heat the oven to 500 °F (260°C) for at least 30 minutes. Turn the risen dough out onto an unfloured work surface. Divide the dough into eight equal pieces. Gently reshape each piece of dough into a ball. Cover with plastic wrap or a damp kitchen towel, and let the dough rest at least 15 minutes but no more than 30 minutes.

2. Working with one piece of dough at a time and keeping the other pieces covered, stretch and pull the dough into a 7- to 8-inch round. (I don’t like to roll pizza dough, but I suppose you could if you prefer.) Set it aside while you stretch out the remaining rounds of dough. You’ll want to form and fill just four at a time, and then work on the other four while the first set bakes. (Cooks Illustrated stacks the rounds with squares of parchment paper in between; I like to use a kitchen towel.)

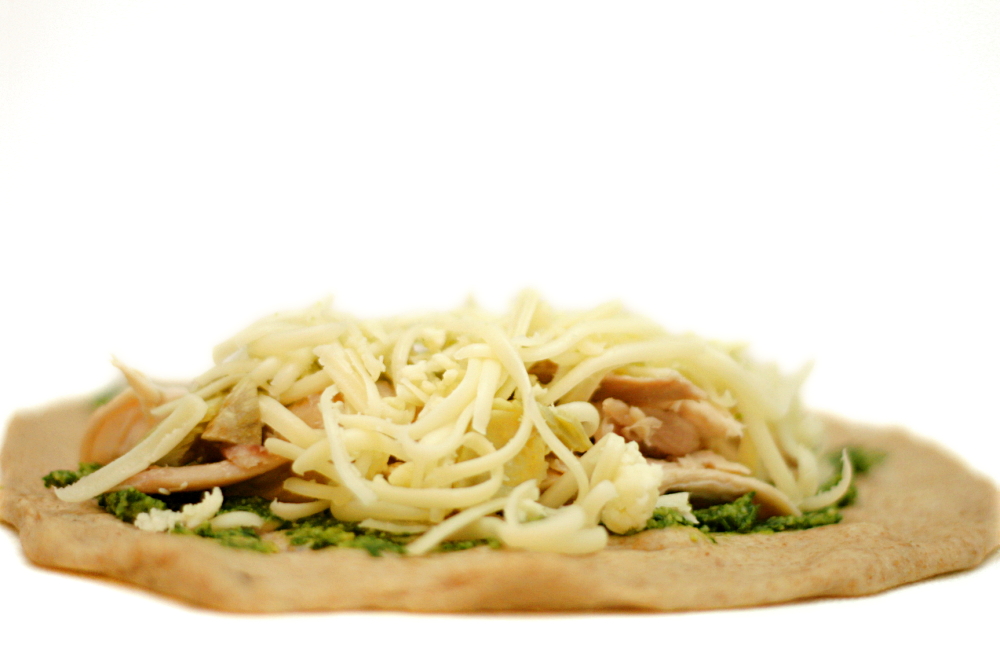
3. Spread 2 tablespoons pesto onto each round of dough, leaving about a 1-inch border around the edge. Divide the toppings evenly between the eight dough rounds, forming a pile in the center of the bottom half of each dough round and leaving a 1-inch border uncovered.

copy-of-img_2236

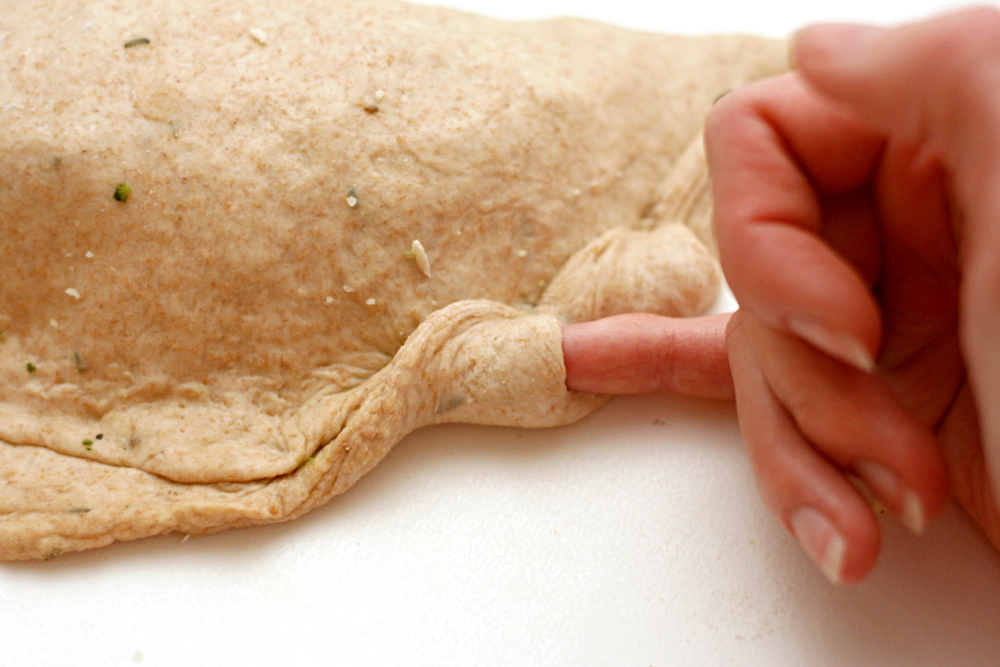
4. Fold the top half of the dough over the filling-covered bottom half, leaving ½-inch border uncovered. (The photo above shows how the dough doesn’t overlap all the way. Look at the left half of the photo, where the dough isn’t crimped yet.) With your fingertips, lightly press around the silhouette of the filling and out to the edge to lightly seal the dough shut.

5. Beginning at one end of the seam, place your index finger diagonally across the edge and gently pull the bottom layer of the dough over the tip of your index finger; press into the dough to seal. (Hopefully the same picture  helps illustrate this.) Repeat the process until the calzone is fully sealed.

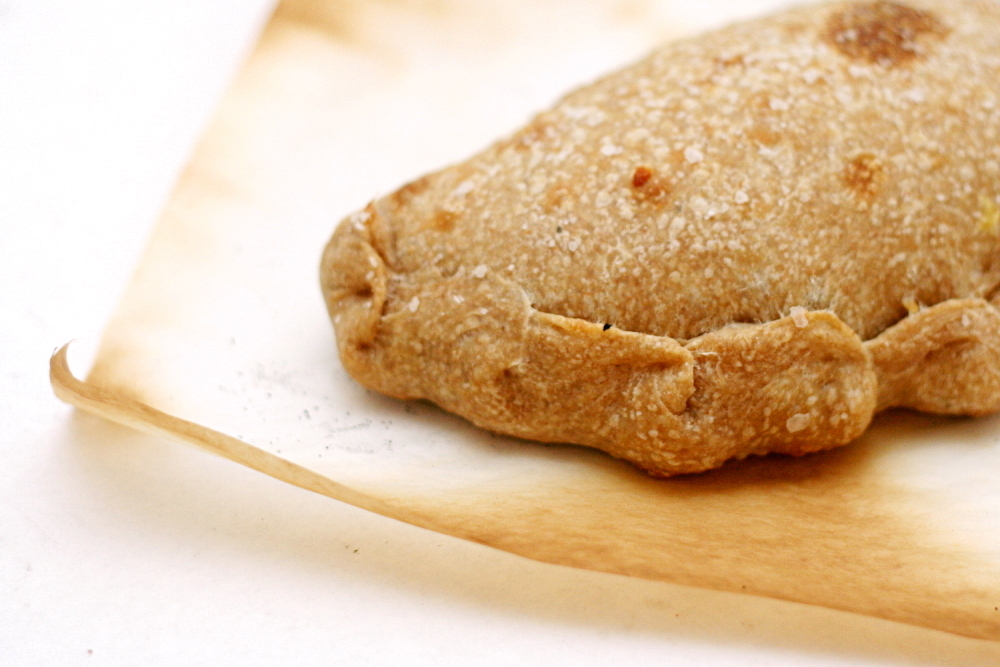
6. With a pastry brush, brush the tops and sides of the calzones with olive oil. Carefully transfer the calzones to parchment paper; slide the calzones on the parchment onto a pizza peel or rimless baking sheet, then slide the calzones with parchment onto the hot pizza stone, spacing them evenly apart. Bake until the calzones are golden brown, about 11 minutes; use a pizza peel or rimless baking sheet to remove the calzones with the parchment to a wire rack. Remove the calzones from the parchment, cool 5 minutes, and serve. While the first batch of calzones bakes, form the second batch and bake them after removing the first batch from the oven.
copy-of-img_2245

spinach bread

copy-of-img_2073

Someone asked me recently if I save posts for certain times when I think they’ll be more popular. I said that I didn’t; I just post when I have something ready, although I usually have a bit of a queue to choose from. But then I realized that I had just made green bread, and of course it’s more fun to look at green bread near the middle of March than it is in February!

copy-of-copy-of-img_2039

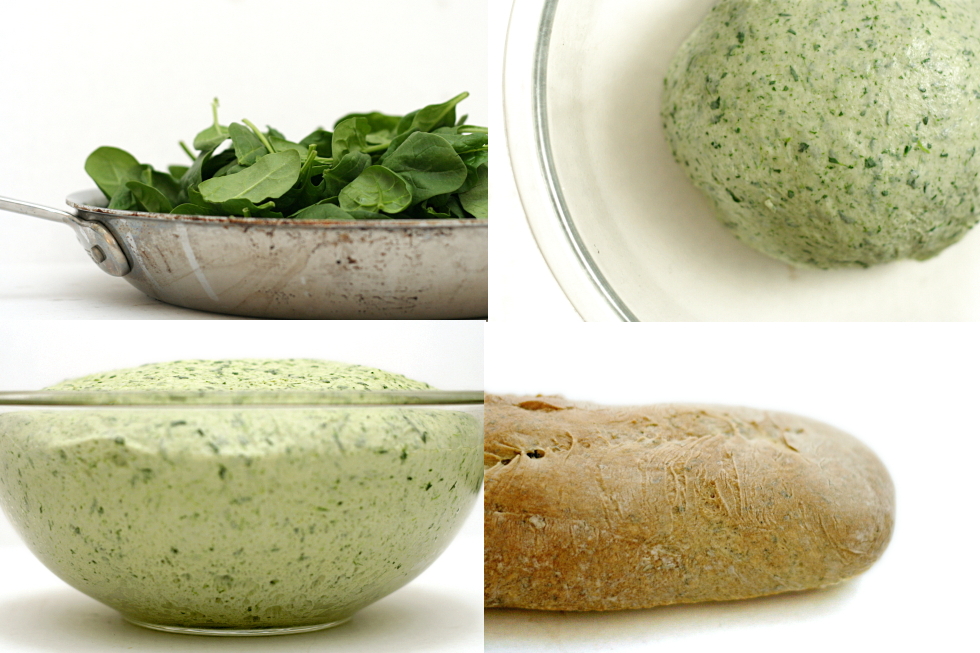
The color comes from cooked spinach, which I recently said that I don’t like, but when I said that, I meant I don’t like it plain. I like it quite a bit when it’s mixed in with dough. Seriously, what doesn’t get better when you mix it with flour?

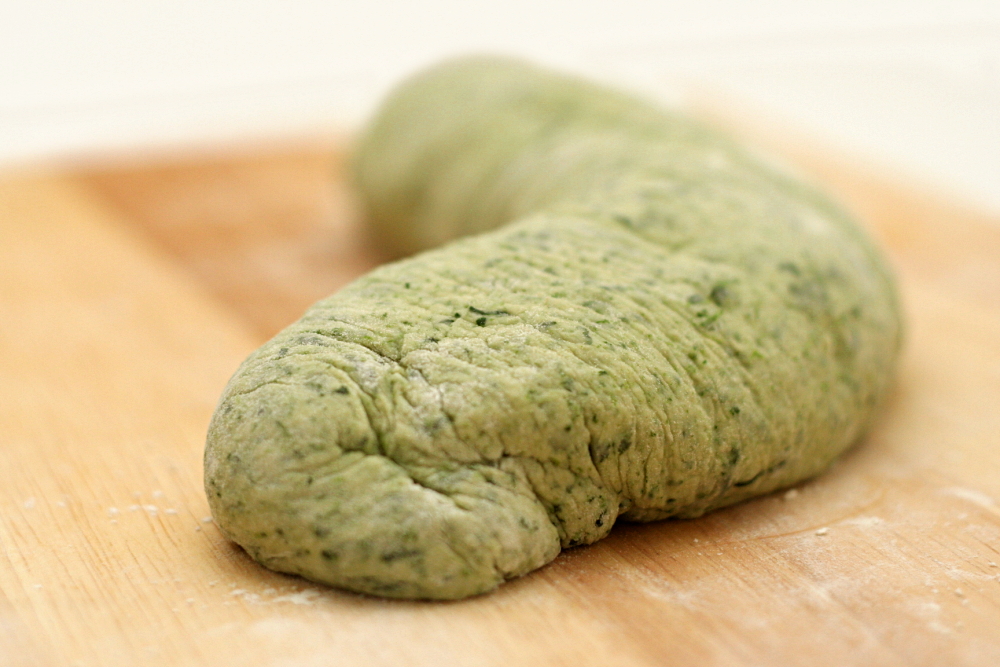
copy-of-img_2055(I didn’t bake it like this; I was just enjoying the caterpillar resemblance.)
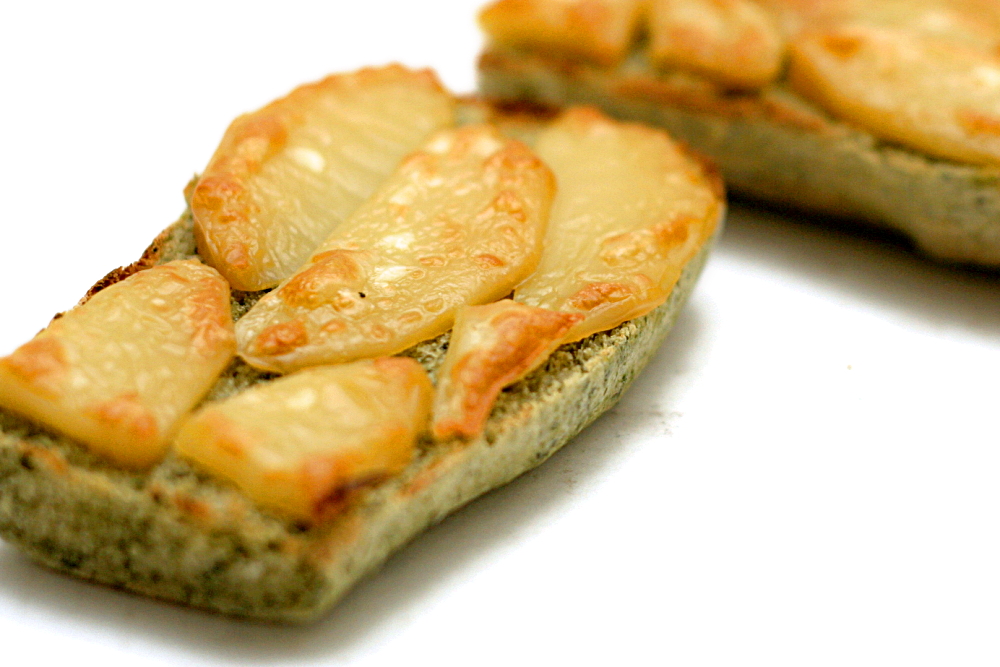
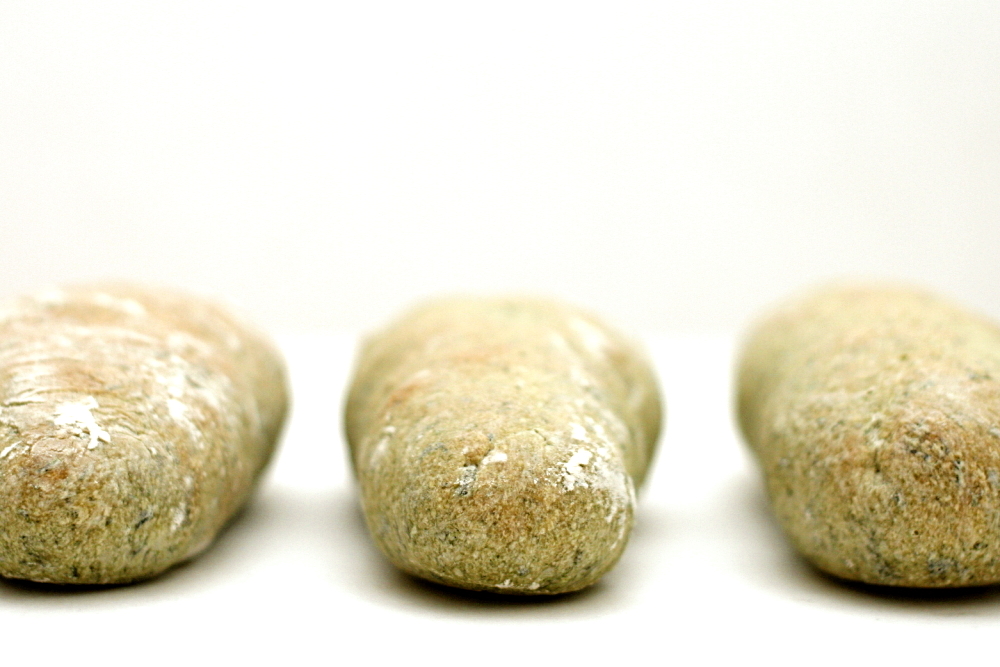
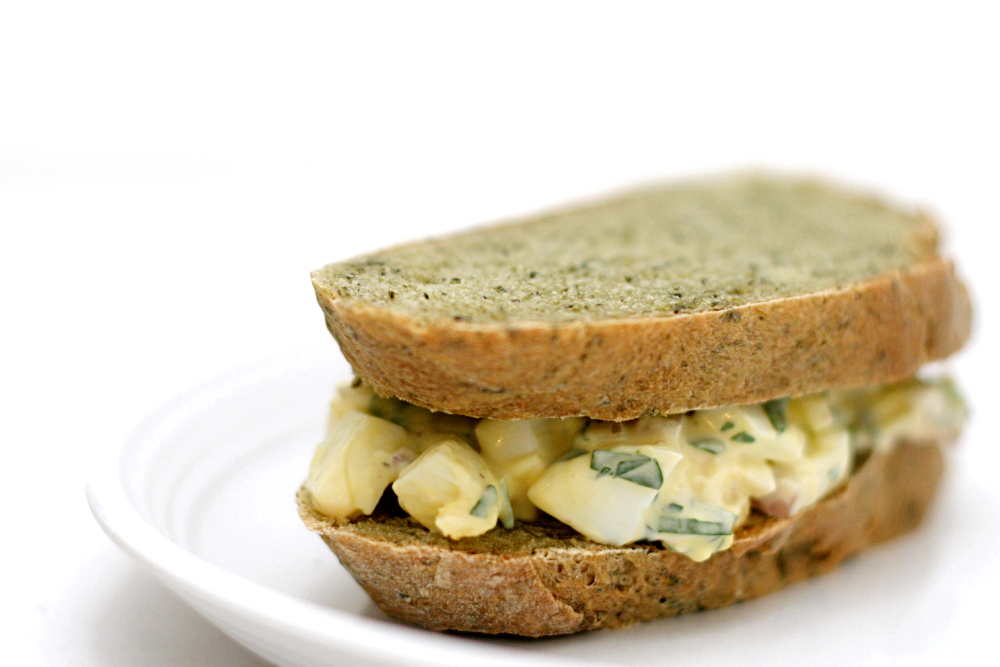
The finely chopped cooked spinach is kneaded into fairly traditional bread dough, which is then treated like any other bread – it rises, is shaped, proofed, baked, and cooled. The result is a spring green, pleasantly spinachy, tender loaf of bread, which can then be made into the best egg salad sandwich ever, or a mean grilled cheese. Which would be perfect served along some green beer for St. Patrick’s Day, don’t you think?

copy-of-img_2056

One year ago: Spaghetti and Meatballs

Spinach Bread (adapted from Ultimate Bread, by Eric Treuille and Ursula Ferrigno)

You could probably use frozen spinach for this instead of cooking your own. The instructions are for a long loaf, but you can make this bread into pretty much any shape you want.

5 ounces spinach
2 teaspoons instant yeast
3½ cups (17.5 ounces) unbleached flour
2 teaspoons salt
1 cup water, room temperature
1 tablespoon vegetable or canola oil

1. Place cleaned spinach leaves and any water that clings to them in a nonreactive soup kettle. (If you’re using pre-washed bagged spinach, add 2 tablespoons water to the pot). Cover and cook over medium-high heat until spinach wilts, 2-4 minutes. Cool spinach slightly and squeeze out the excess liquid. Chop very finely, or puree in a food processor.

2. Mix the flour, salt, and yeast in the bowl of a standing mixer fitted with dough hook. Turn machine to low and slowly add the water, then the spinach and oil. When dough comes together, increase the speed to medium and mix until dough is smooth and satiny, stopping machine two or three times to scrape dough from hook if necessary, about 10 minutes. If after 5 minutes, the dough sticks to the sides of the bowl, add more flour, 1 tablespoon at a time.

3. Lightly oil a large bowl. With floured (or lightly oiled) hands, shape the dough into a ball and transfer it to the bowl, rolling it to coat with the oil. Cover the bowl with plastic wrap or a damp towel. Let rise until doubled in size, about 1 to 1½ hours. Press to deflate, then let rest for 10 minutes.

4. Gently pat the dough into a rough rectangle. Fold the bottom third of dough, letter style, up to the center and press to seal, creasing surface tension on the outer edge. Fold the remaining dough over the top and use the edge of your hand to seal the seam closed and to increase the surface tension all over. Press evenly with the palms of both hands and roll the dough backward and forward until it is 10 inches in length. Line a sheet pan with baking parchment. Place the loaf on the pan and lightly dust with flour. Cover loosely with plastic wrap.

5. Proof at room temperature for about 45 minutes, or until the loaves have grown to about twice their original size.

6. About half an hour into the second rise, place a baking stone* on the bottom rack of the oven and preheat the oven to 450F.

7. Using a very sharp knife or a serrated bread knife, cut 5 diagonal slashes, each about ¼ to ½-inch deep, across the top of the loaf. (Alternatively, cut one long slash that extends for the length of the loaf.)

8. Transfer the dough on the parchment paper to a peel or the back of a sheet pan. Transfer the dough to the baking stone. Close the oven and reduce the temperature to 400 degrees. Bake until golden brown and the temperature is around 200 degrees** at the center, 30-40 minutes.

9. Transfer the loaves to a cooling rack and cool for at least 1 hour before slicing and serving.

*If you don’t have a baking stone, simply bake the loaf on a baking sheet at 400F for 45 minutes.

**If you don’t have an instant-read thermometer, tap the bottom of the hot baked loaf. It should sound hollow when the bread is done baking.

copy-of-img_2060

roasted kale

copy-of-img_2179

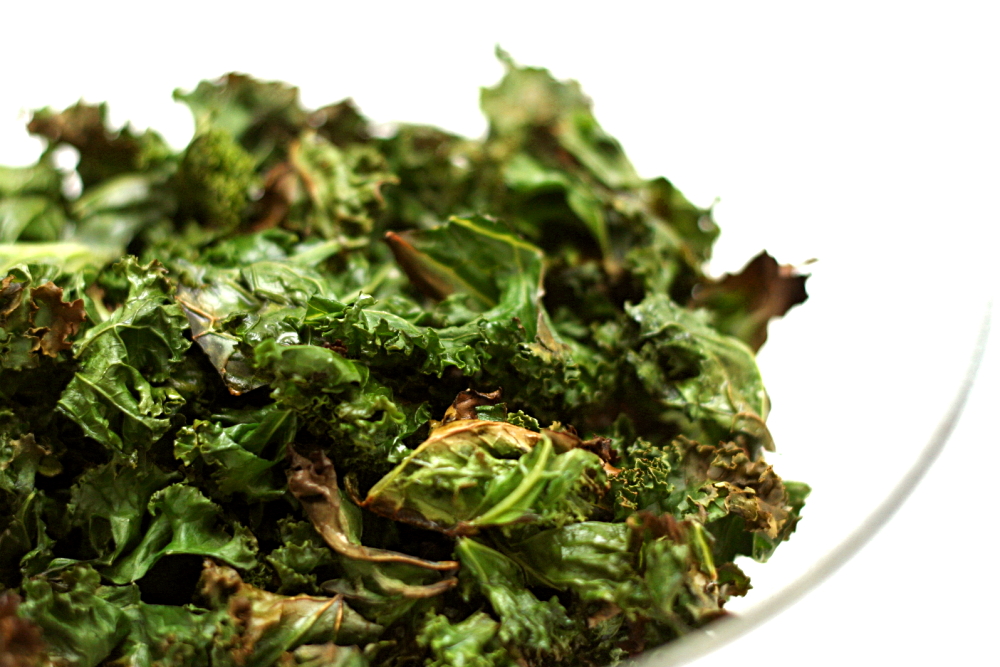
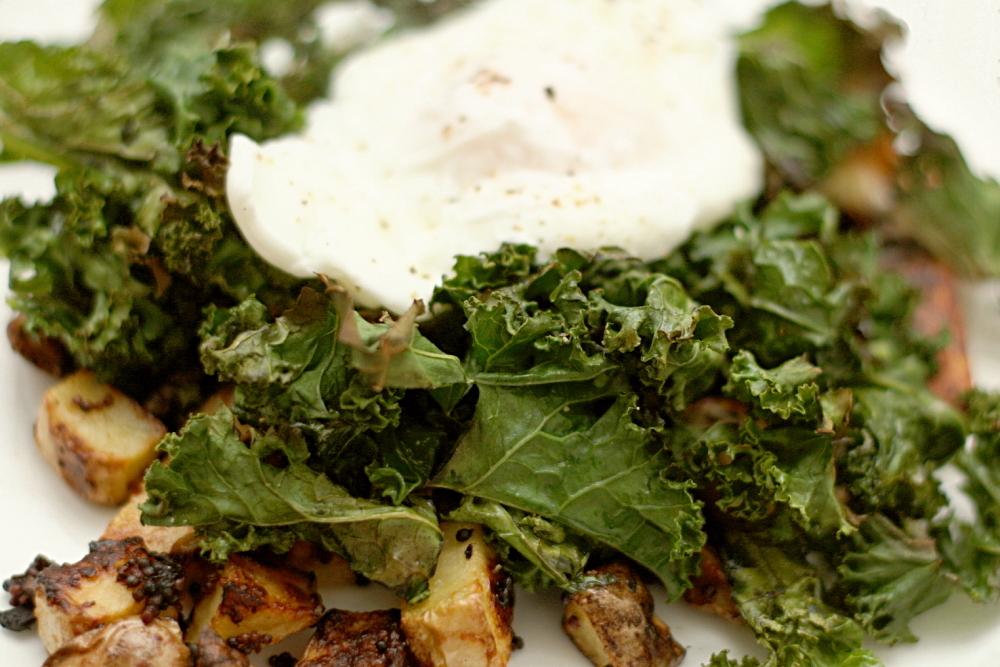
I would not have predicted a couple years ago that kale would become one of my favorite vegetables. Or that one of my favorite ways to eat it would be topped with an egg.

copy-of-img_2164

I recognize that the dark olive green color of cooked kale may appear unappetizing. Furthermore, it’s a leafy green vegetable, which we’re trained from childhood to distrust. To be honest, I still don’t even like cooked spinach – too mushy, if not in reality, then certainly in my mind.

copy-of-img_2171

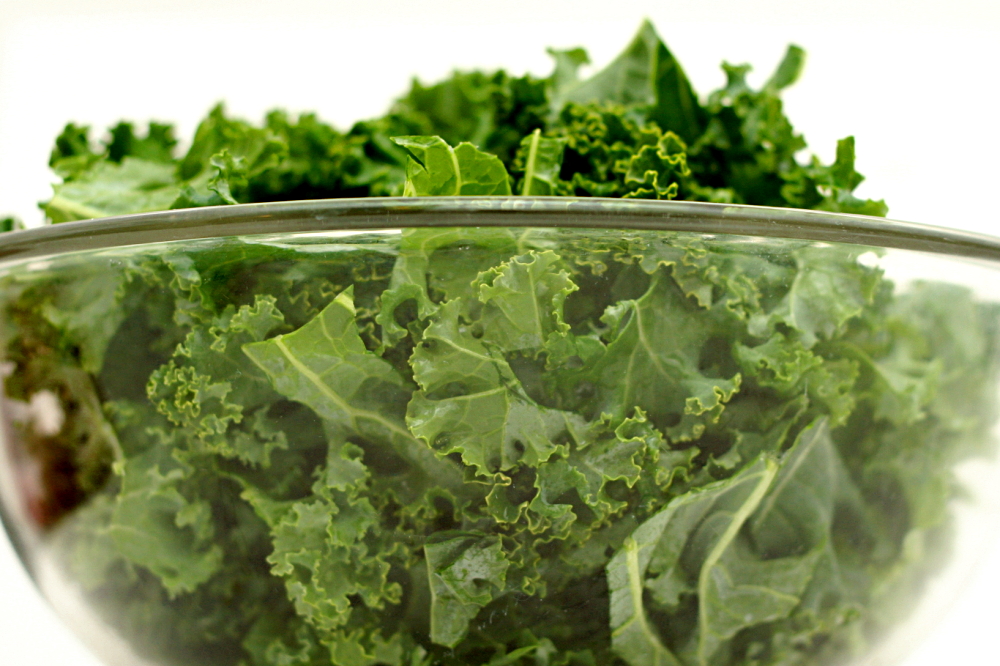
Kale, though, retains a nice crunch after it’s cooked, because it’s much heartier than spinach. It has an earthy flavor, which I know makes it sound like it tastes like dirt, but to me, it’s more of an umami-type meaty flavor.

The problem is that the only way I had prepared kale before this was by braising it, which, although delicious, takes at least half an hour. This roasted method takes, I kid you not, only ten minutes in the oven, and the kale is just as tasty.

copy-of-img_2171

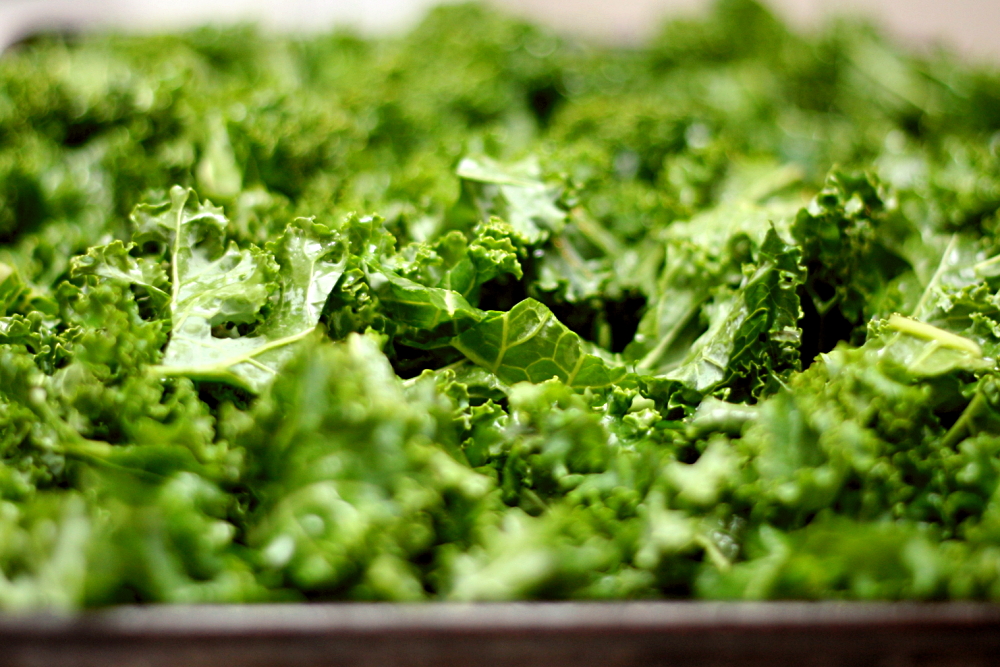
The texture of roasted kale is a little different from braised. Some of the leaves, those on the edges of the baking pan I suppose, were a little crispy, while some of the kale was more moist. Both textures were fine by me.

With a lovely poached egg on top, and some mustardy roasted potatoes, kale makes a delicious, hearty, easy, and healthy meal.

copy-of-img_2174

One year ago: Banana Walnut Pancakes

Roasted Kale (slightly reworded from Tuesday Recipe)

Serves 2, generously

1 bunch kale (about ½ pound)
extra-virgin olive oil
sea salt or kosher salt
sherry vinegar or red wine vinegar

1. Preheat the oven to 425F. Cut the stems off the kale and discard; rinse and shake the leaves dry. Stack the leaves and cut them crosswise into strips about 1 inch wide. Put the kale in a big bowl and drizzle with enough olive oil to coat well (about 2 tablespoons). Sprinkle with a generous pinch of salt, then gently toss the leaves. Spread the kale on a large rimmed baking sheet and pop it in the oven. Set the bowl aside without washing it.

2. Roast the kale until some of the leaves are tinged with brown, about 7 minutes. Remove baking sheet and stir the kale around, then put it back in the oven for another 3 minutes or so until all the leaves are starting to crisp. Immediately put the leaves back in the bowl you first tossed them in, then drizzle with another tablespoon of oil and a few splashes of vinegar. Toss kale with the tongs, taste, and add more oil, vinegar, or salt as needed. Toss again and serve right away.

copy-of-img_2176

vegetarian chili

copy-of-img_1785

When my sister plans meals for once-a-month freezer cooking, she usually tests a small batch of a recipe before making a larger batch to freeze. This is good practice, I recently learned. A few months ago, I made vegetarian chili to bring on a camping trip, and even though I was experimenting with the recipe, I was confident enough that it would turn out great that I made a huge batch and froze half. Mistake!

copy-of-img_1768

There are a lot of recipes where I think ground meat is just extraneous, and chili is a great example. There are so many other flavorings in chili that it doesn’t usually taste beefy, and the beans provide plenty of protein, so the meat isn’t nutritionally required either. It’s just filler, and expensive, sort of unhealthy filler at that.

When I noticed that my favorite vegetarian chili recipe was very similar to my favorite beef chili recipe, except for the beef, I decided to combine parts of each that I liked. Where I screwed up the first time was in not taking into account that with less filler, I’d need less tomatoes as well. The result was (a huge pot of) chili-flavored spaghetti sauce (that I had to share with friends on the camping trip – sorry guys!).

copy-of-img_1787

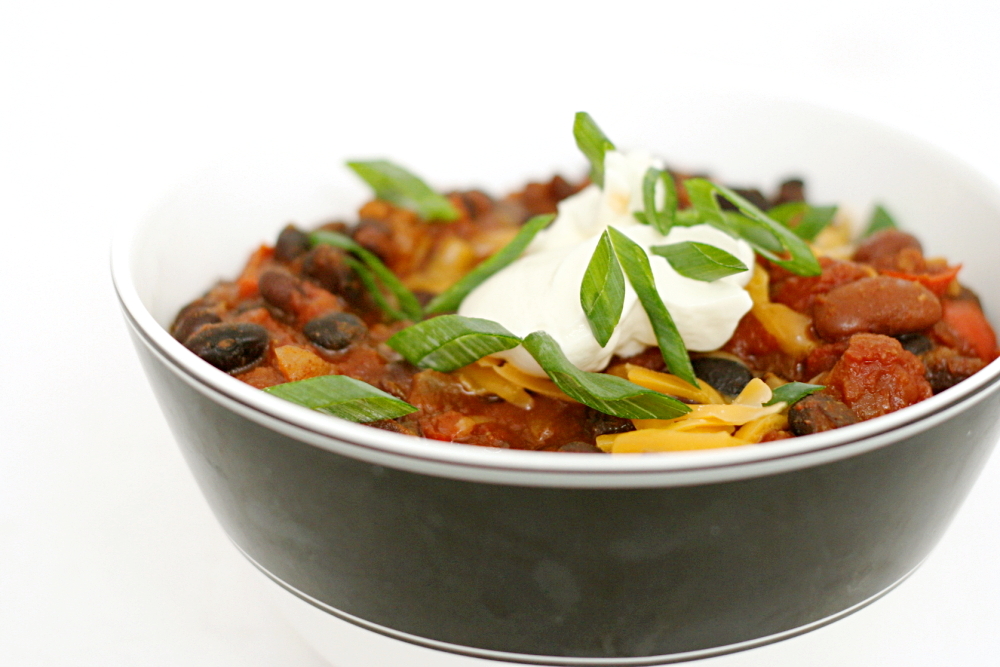
And before I could give it another try, I had to finish all of the frozen way-too-tomatoey stuff in the freezer. When I did finally make vegetarian chili again, I knew exactly what changes I wanted to make. I made a smaller batch this time, just in case, but wouldn’t you know it that I totally nailed it this time with a rich, spicy, meaty-even-without-meat bowl of chili that gets even better when topped with an assortment of garnishes.

copy-of-copy-of-img_1786

One year ago: Salmon Cakes, Flaky Biscuits, Hashed Brussels Sprouts – I made almost this exact same meal again recently (different biscuits though), and it’s just so good.  Restaurant quality food for sure.

Vegetarian Chili (adapted substantially from Jeanne Lemlin’s Vegetarian Classics and Cooks Illustrated’s The New Best Recipe)

I like to chop up the tomatoes a bit before adding them to the chili. I usually just stick a pair of kitchen shears into the can of tomatoes and start snipping.

I’ve never actually added the butter, in an effort to reduce the fat in the recipe. However, I’m guessing it helps mimic the richness that beef would provide.

2 tablespoons olive (or vegetable) oil
2 medium onions, diced
1 medium red bell pepper, cored, seeded, and finely diced
6 garlic cloves, minced or pressed through a garlic press
3 tablespoons chili powder
1 tablespoon ground cumin
1½ teaspoons ground coriander
¾ teaspoon red pepper flakes
1 teaspoon dried oregano
⅛ teaspoon cayenne pepper
1 (28-ounce) can diced tomatoes, undrained
2 (15-ounce) cans kidney beans, drained and rinsed
1 (15-ounce) can black beans, drained and rinsed
½ teaspoon salt
1 tablespoon soy sauce
1 tablespoon butter (optional)
Garnishes: lime wedges, sour cream, cheddar cheese, scallions, red onion, cilantro

1. Heat the oil in a large Dutch oven over medium heat. Stir in the onions, bell pepper, garlic, and spices and sauté, stirring occasionally, until the vegetables are softened and beginning to brown, about 10 minutes.

2. Add the tomatoes, beans, salt, and soy sauce. Increase the heat to medium-high and bring the chili to a boil, then reduce the heat to low. Cook, covered, at a low simmer for one hour, stirring occasionally. If the chili is too thin, cook uncovered until it’s your preferred consistency. Stir in the butter and serve with the garnishes.

crispy bagel roll

copy-of-img_1619

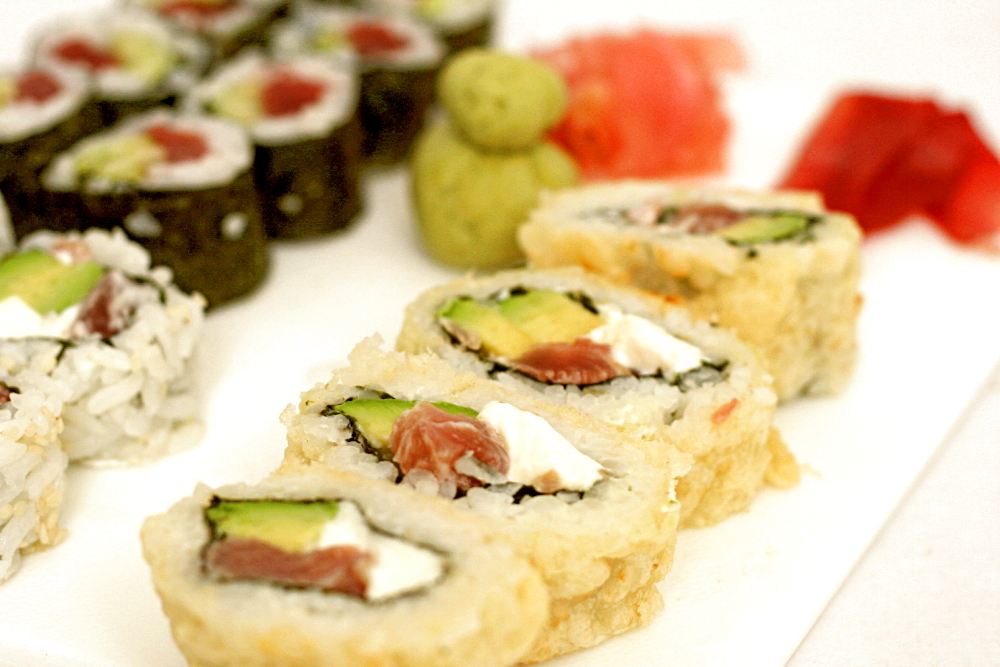
A third grader was telling me once about her favorite restaurant, and she said that it served “eggs and bagels and bacon and everything good.” That’s kind of how this sushi roll is – full of fish and cream cheese and avocado and everything good. And then it’s fried.

copy-of-img_1601

The first time Dave and I tried sushi, we were visiting friends, who took us to one of their favorite sushi restaurants. We ordered a crispy bagel roll, and it was so good! I haven’t found even one restaurant since then that serves anything similar. After almost two years of my friends mentioning that they went out for sushi and enjoyed the crispy bagel roll, I decided I’d have to try to re-create it at home.

copy-of-img_1602

I made sushi rolls a few times last year, and it wasn’t a disaster, but it was a lot of work, and I always ended up frustrated because my dull chef’s knife couldn’t cut through the nori. But since then, I’ve acquired a new knife and new inspiration from Jen, who makes homemade sushi seem so approachable.

copy-of-img_1605

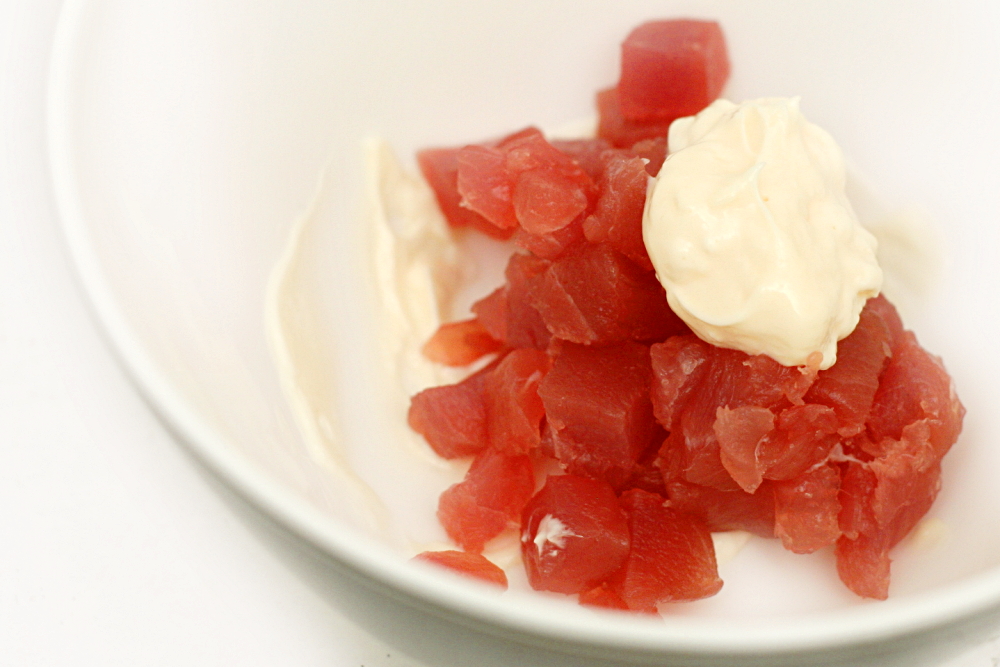
Bagel rolls aren’t original to the restaurant I had them at, but recipes differ slightly. I looked up their menu and found that their version includes pretty much all of my favorite sushi ingredients – fish, cream cheese, avocado – everything good indeed. If I recall, they serve theirs with aioli, but I opted to just mix the mayonnaise with the fish before forming the roll.

copy-of-img_1606

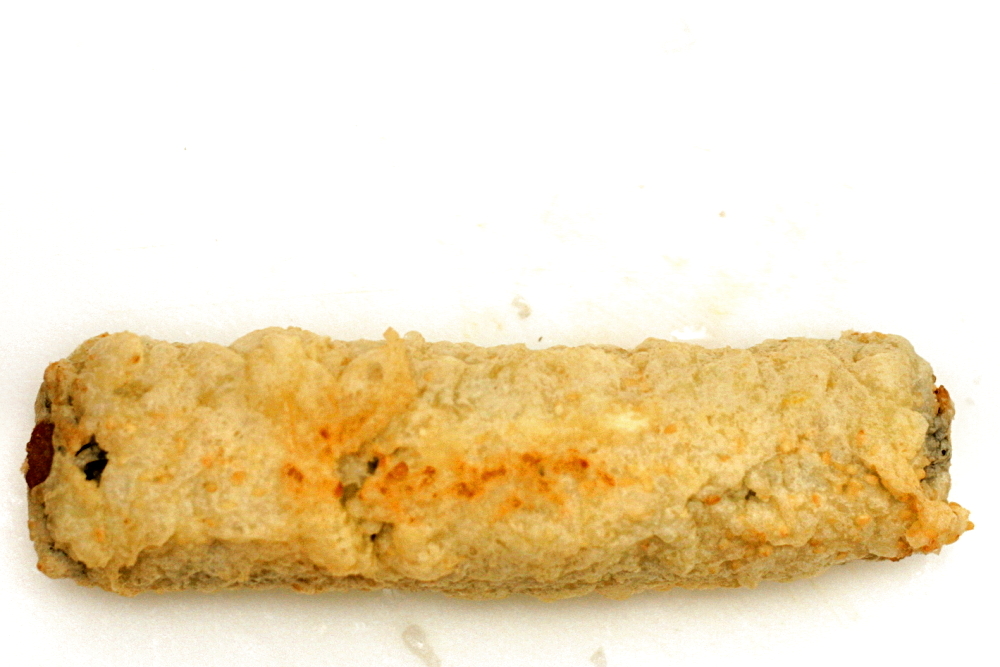
And then there’s the “crispy” part. The rolls are delicious without frying, so if you want to stop here, be my guest! Making tempura batter, heating oil, and deep-frying the rolls adds a significant amount of work to an already labor-intensive meal. But it’s a fun way to give this roll a different flavor profile than a lot of other sushi rolls.

copy-of-img_1610

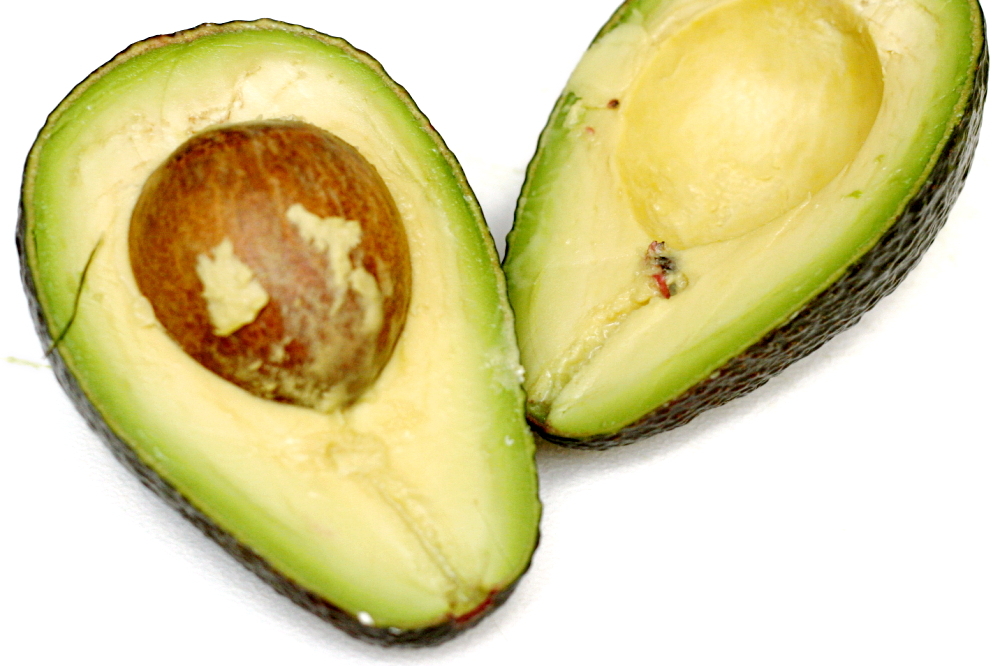
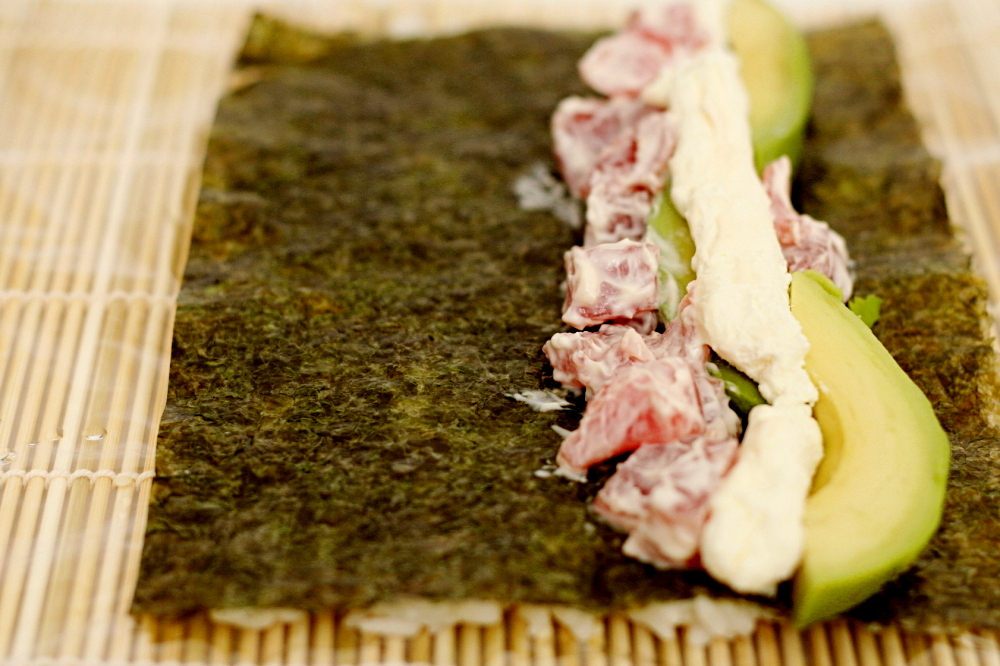
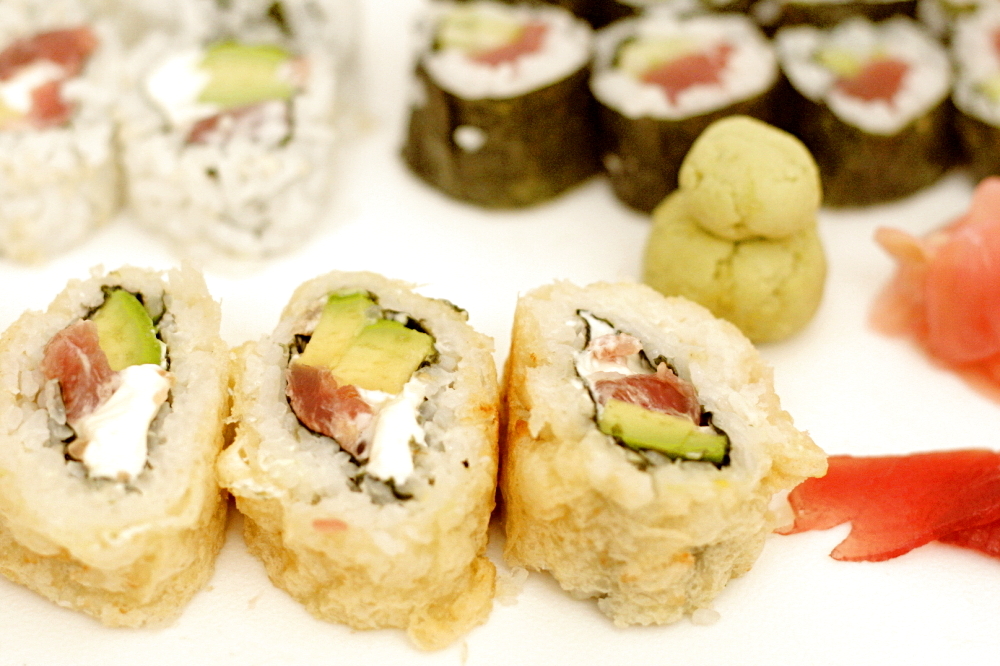
This roll lends itself especially well to being made at home, because it calls for smoked salmon, so there’s no worry about finding or working with quality raw fish. (Um, except that the pictures show tuna, because we love tuna. But smoked salmon makes more sense in this roll.) Plus, the roll is full of everything good. How can you go wrong?

copy-of-img_1614

One year ago: Olive Oil Bread

Bagel Rolls (rice recipe adapted from Alton Brown)

Unfortunately, I can’t share the tempura batter recipe I used because it’s I recipe I tested for Cooks Illustrated, and it isn’t published yet. However, I think this one would work fine. I fried the rolls until they were just slightly browned. I didn’t want the filling to cook, or even get warm really.

The only part of making homemade sushi that I haven’t nailed down is how much of the sheet of nori to use. The whole sheet is too much and ends up forming a spiral, but a half sheet isn’t quite enough to fit the fillings. I ended up using about 3/5 of the sheet and saving the scraps for sushi bowls.

Makes 4 rolls, serving 2 people

Rice:
1 cup sushi rice
1 cup water
1 tablespoon rice vinegar
1 tablespoon sugar
½ teaspoon salt

Filling:
4 (8- by 7-inch) sheets nori (see comments above)
4 ounces smoked salmon
1 tablespoon mayonnaise
1 avocado, sliced
2 ounces cream cheese
2 teaspoons sesame seeds

For serving:
Wasabi
Pickled ginger
Soy sauce

Rice:
Rinse rice and let drain for 30-60 minutes. (I often skip this without any huge loss in quality.)

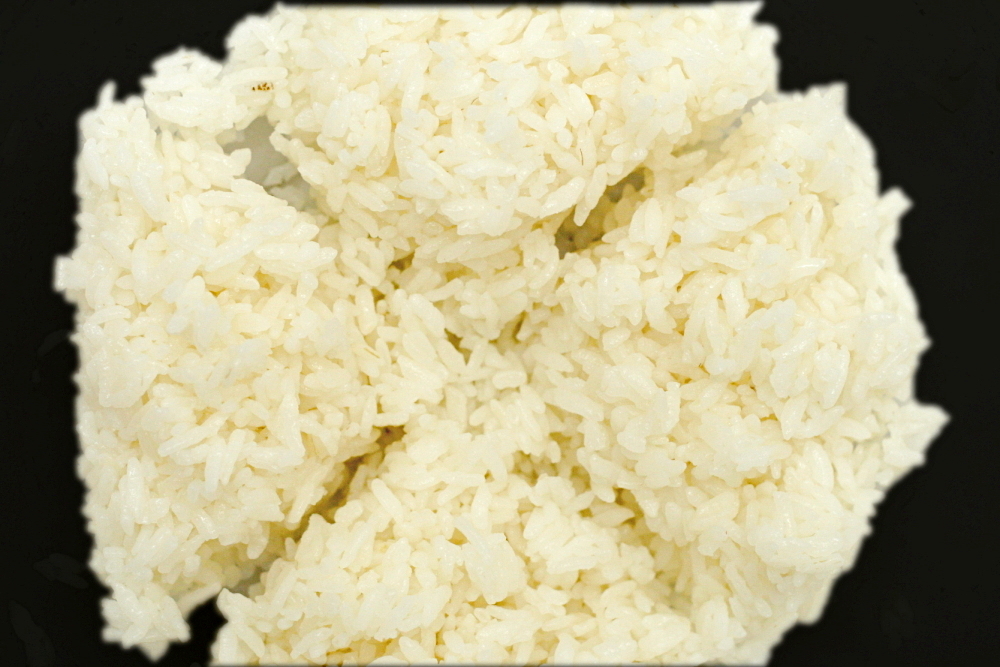
Place the rice and water into a medium saucepan and place over high heat. Bring to a boil, uncovered. Once it begins to boil, reduce the heat to the lowest setting and cover. Cook for 15 minutes. Remove from the heat and let stand, covered, for 10 minutes.

Heat the rice vinegar, sugar and salt (either in a small pot on the stove or in the microwave) until the sugar is dissolved. Transfer the rice into a large wooden or glass mixing bowl and add the vinegar mixture. Fold and cut thoroughly to combine and coat each grain of rice with the mixture. Fan until rice is near room temperature. Do not

Chop the salmon into approximately ⅛-inch pieces and mix it with the mayonnaise. Fill a small bowl with tap water and place it near where you’ll be doing the rolling.

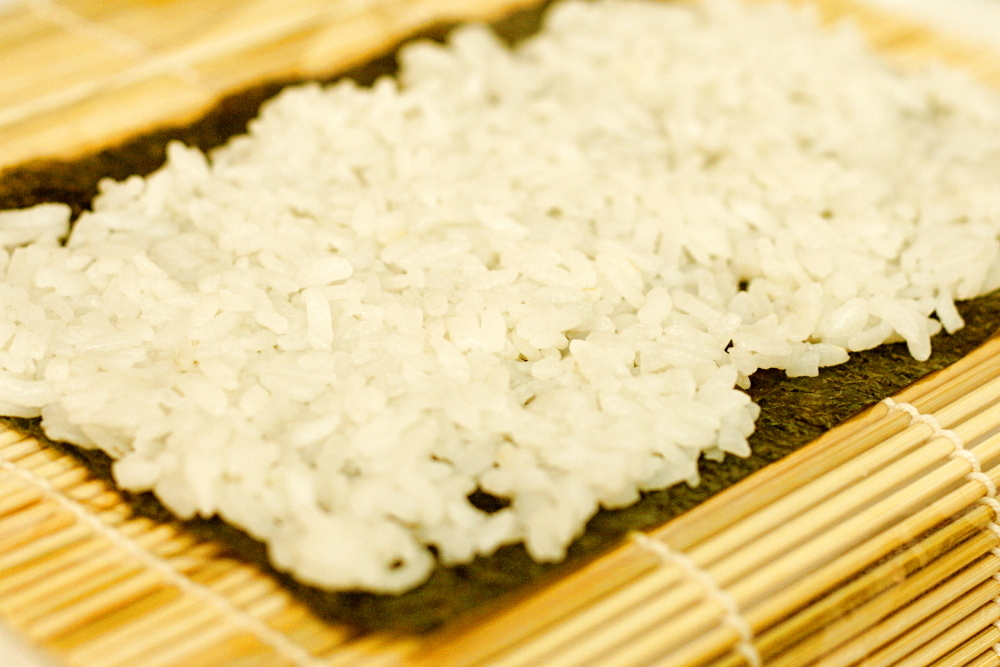
Lay a sheet of plastic wrap over a bamboo rolling mat. Lay 1 sheet of nori, shiny side down, on the plastic wrap. Wet your fingers with water and spread ¼ of the rice evenly onto the nori. Sprinkle the rice with ½ teaspoon sesame seeds. Flip the nori over so that the rice faces down onto the plastic wrap. Place ¼ of salmon mixture, the avocado, and the cream cheese in the middle of the nori. Use the plastic wrap to roll the nori and rice around the fillings, as tight as possible without squeezing the fillings out. Use the bamboo mat to shape and compact the roll. Leave the roll covered in the plastic wrap while you use the remaining ingredients to make three more rolls.

If you’re frying the sushi rolls: Heat 2-3 quarts of canola, vegetable, or peanut oil to 400C in a Dutch oven that holds at least 5 quarts. Remove the plastic wrap from a roll. Dip the entire roll into tempera batter. Fry one roll at a time for about 2 minutes, until the batter is firm and slightly browned. Drain on a cooling rack. Repeat with the remaining rolls, making sure that the oil is at 400 degrees before adding the next roll.

Remove the plastic wrap from the rolls (if you didn’t fry them). Cut each roll in half, then half again and again to make 8 pieces for each roll. Serve with wasabi, pickled ginger and soy sauce.

copy-of-img_1615