summer fresh tomato sauce

tomato sauce 5

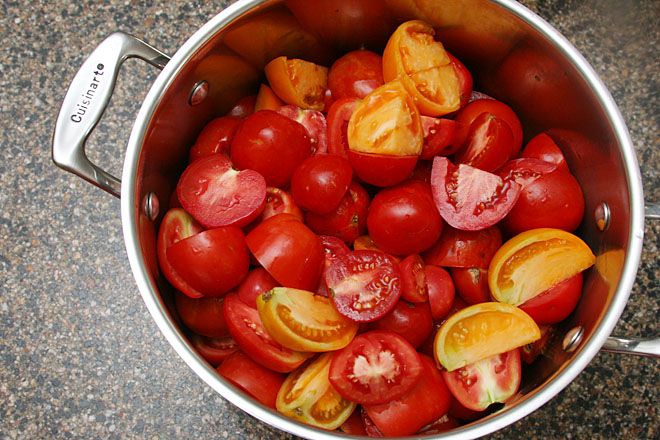
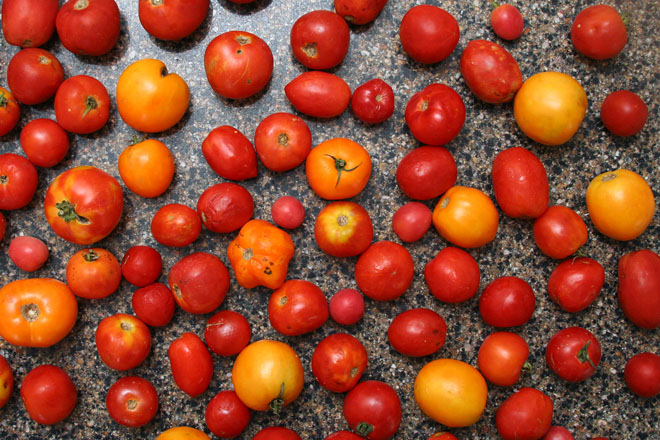
My requirements for the perfect tomato sauce made from fresh tomatoes were very specific – the same issues that everyone has with removing enough liquid from the tomatoes without cooking away all the fresh flavor that makes them so special, plus one more – I did not want to peel the tomatoes. I hate peeling tomatoes. I hate using a vegetable peeler to peel them, and I hate cutting an X into the bottom of each one, then boiling them, then dipping them in cold water, and then pulling the peels off. I cooked sixteen pounds of tomatoes into this batch of sauce, which was well over fifty tomatoes. I do not want to individually peel fifty tomatoes.

tomato sauce 1

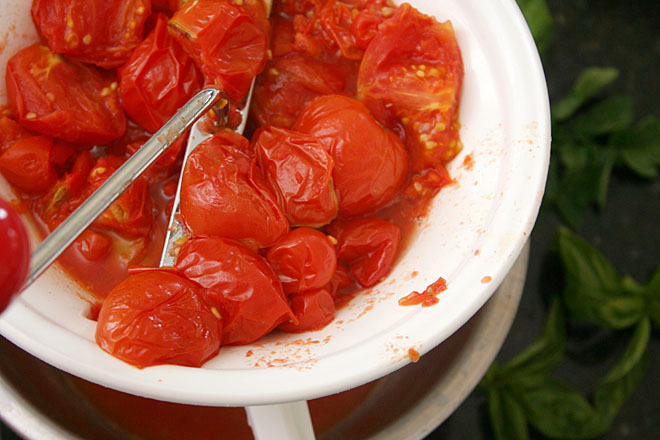
This recipe satisfies all of those requirements, with an added bonus – you don’t even have to core the tomatoes. The tomatoes, very roughly chopped, are cooked down slightly to soften them, then pressed through a food mill – the mill strains out the seeds, cores, and peels. For a batch this large, it’s still a somewhat tedious process, but nothing compared to the prospect of coring and peeling each tomato individually.

tomato sauce 2

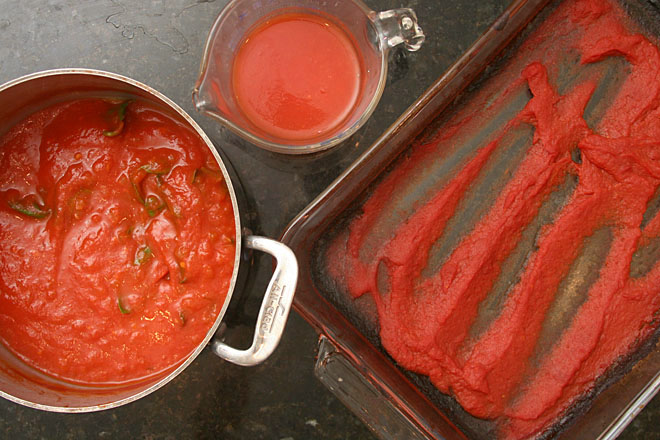
From there, the fresh tomato puree is divided into three portions – one portion is simmered on the stovetop with aromatics until it reaches a sauce consistency. Another is kept fresh, with no cooking at all. If just these two portions were combined, the resulting sauce would be too liquidy, so the final portion is transferred to a baking pan and roasted until it’s thick and slightly caramelized.

tomato sauce 8

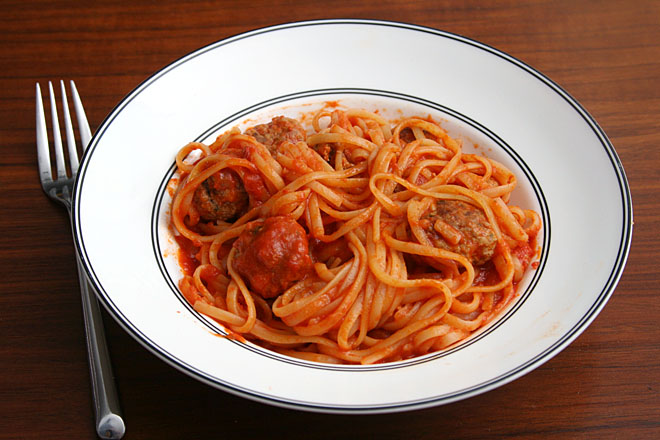
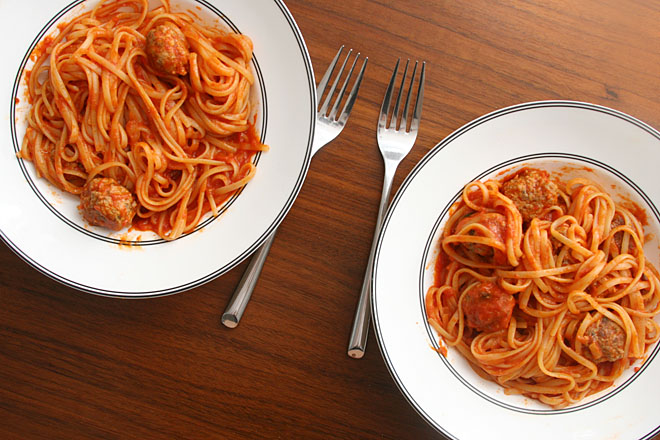
These three mixtures each have something different to offer to the final sauce, and the combination of them makes a sauce with the best that tomatoes have to offer in any form – the bright summeriness of uncooked tomatoes, the deep savoriness of roasted tomatoes. It’s thick enough for anything you’d normally use tomato sauce for – meatballs and spaghetti like we did here, pizza, lasagna. All that, and the only real work you have to do is quarter the tomatoes and push them through a food mill. This has become my summer staple, with extra in the freezer to hoard as long as I can stand.

tomato sauce 9

Printer Friendly Recipe
Summer Fresh Tomato Sauce
(slightly adapted from Serious Eats)

The original recipe starts with 25 pounds of tomatoes. The largest batch I’ve made was 16 pounds, but I’ve also made much smaller batches with just a handful of tomatoes. I’ve based my recipe on ten pounds because it’s a nice round number.

While the recipe recommends any variety of tomato, I’d be hesitant to use all cherry tomatoes, which could make the sauce too sweet. Also, wetter variety of tomatoes will take longer to reduce to a sauce or paste consistency.

If you’re scaling this recipe up or down, put about 40% of the puree in the oven, leave 10% uncooked, and cook the remaining 50% on the stove.

Makes about 1 quart of sauce, although it will depend on the type(s) of tomatoes used

10 pounds tomatoes, any variety, quartered, or halved if small
1 tablespoon olive oil
1 small yellow onion, chopped fine
salt
1 clove garlic, minced
2 sprigs fresh basil
1 small tomato plant cutting with about 5 leaves attached (optional)

1. Heat the oven to 300 degrees. In a large (7- or 8-quart) stockpot over medium heat, cook the tomatoes, covered, until they begin to soften and release their liquid. (You may need to do this in multiple batches, depending on the size of your largest pot and the size of the batch you’re making.) Transfer the tomatoes to a food mill on the finest setting set over a large bowl and press the tomatoes through. Discard the skins and seeds that accumulate in the food mill.

2. Spray two 9-by-13-inch (or similarly sized) baking pans with cooking spray (or grease lightly with olive oil). Pour 3½ cups of tomato puree into each of the pans. Transfer the pans to the oven and roast, stirring occasionally, until the puree has reduced to a paste and leaves a clean trail when a spatula is dragged through it, 2 to 4 hours.

3. Pour another 1½ cups of tomato puree into a small container. Set aside.

4. In a large saucepan over medium heat, cook the onion and a pinch of salt, stirring occasionally, until translucent, 4 to 5 minutes. Add the garlic and cook, stirring constantly, until fragrant, about 1 minute. Add the remaining tomato puree and cook, stirring very occasionally, until thick enough to coat the back of a spoon, 1 to 2 hours. Remove from the heat, add the basil and tomato leaves (if using) and set aside for about 5 minutes. Remove the basil and tomato leaves and discard them.

5. Combine the three mixtures, and add salt to taste. Serve, refrigerate for up to 5 days, or freeze.
tomato sauce 4

garlic-roasted mushrooms

garlic mushrooms 5

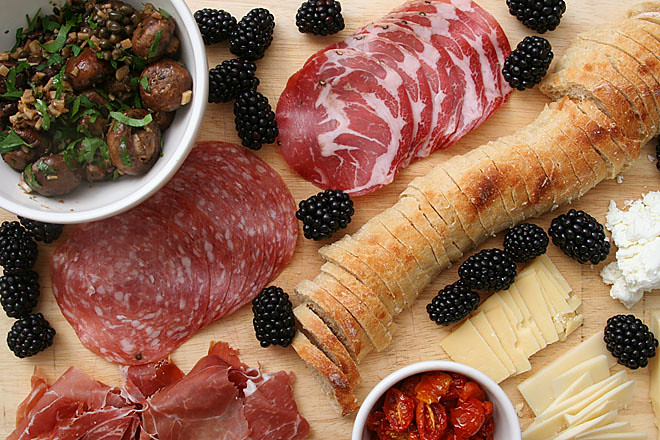
I’ve learned that when I make an antipasto tray for myself, it should be a meal and not an appetizer – it’s so delicious that I want plenty. And a meal, even one that I don’t claim to be healthy, requires a vegetable. And a meal as good as this one needs something that can hold its own with so many of my favorite foods.
garlic mushrooms 2

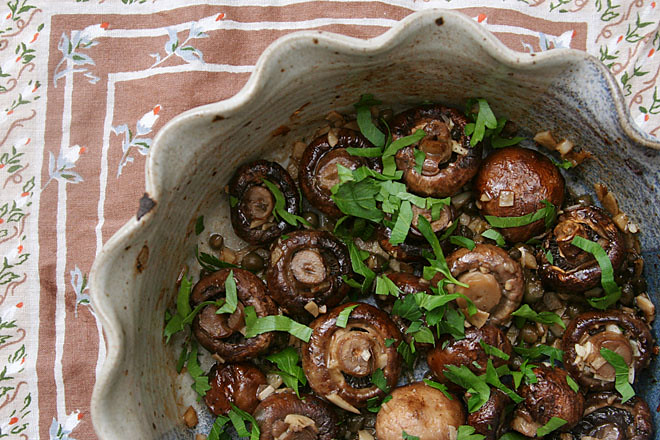
Usually I default to tomatoes, either simply roasted or made into sun-dried tomato jam. But I’ve made that jam so many times, I needed a new staple. These mushrooms fit in just right – the garlicky strong flavors stand up to the cured meats, the mushrooms make a nice bite with a toothpick, and the liquid on the bottom of the dish doesn’t go to waste when there’s bread nearby.

garlic mushrooms 3

It also helps that it’s an easy dish. If my dinner plan is to put cheese, salami, and bread on a tray, it’s probably because I don’t want to cook. Throwing mushrooms into a pretty baking dish with garlic, salt, oil, and butter is about all I’m willing to do. And fortunately, that’s all that’s necessary to turn a tray of snacks into a meal.

garlic mushrooms 4

Printer Friendly Recipe
Garlic-Roasted Mushrooms (barely adapted from Gourmet via Smitten Kitchen)

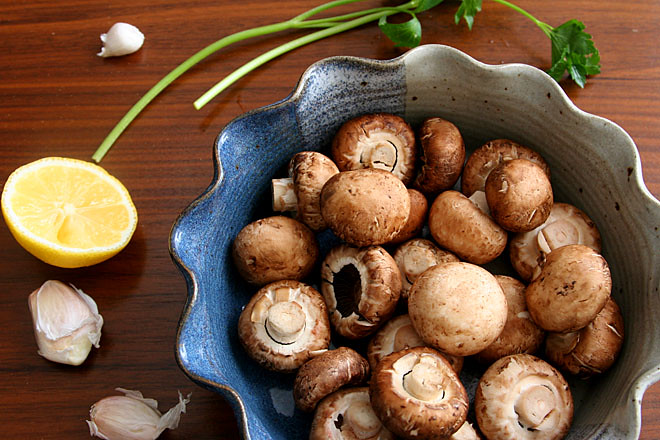
1 pound cremini or button mushrooms, halved lengthwise if large
2 tablespoons capers, drained
3 large garlic cloves, minced
1 tablespoon olive oil
salt and black pepper
2 tablespoons unsalted butter, cut into pieces
2 teaspoons fresh lemon juice
¼ cup chopped flat-leaf parsley

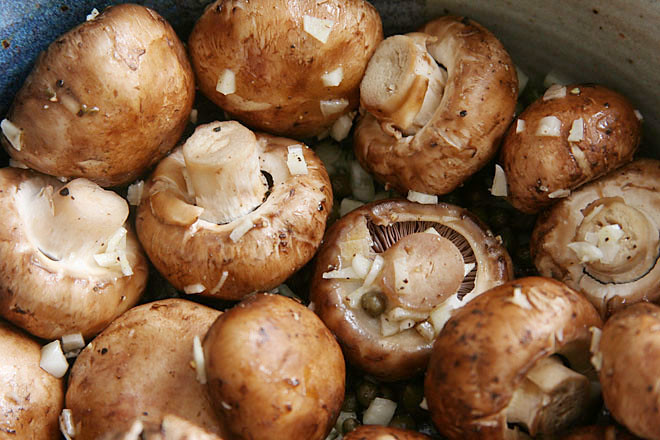
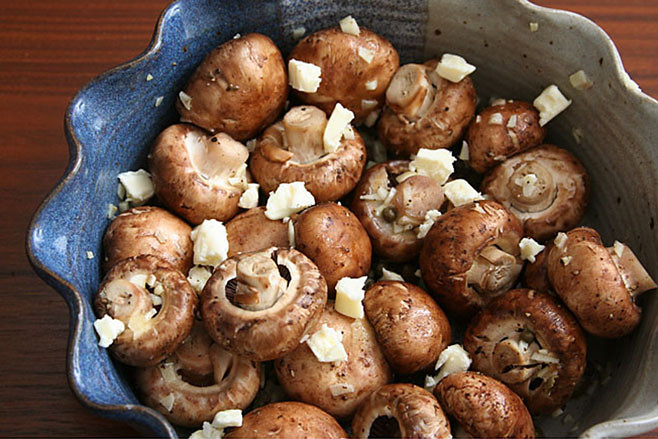
Adjust an oven rack to the middle position and heat the oven to 450 degrees. In a medium baking dish, combine the mushrooms, capers, garlic, oil, ⅛ teaspoon salt, and a pinch of pepper; stir to evenly coat the mushrooms. Dot the butter on top of the mushrooms. Transfer to the oven and roast, stirring occasionally, until the mushrooms are tender and golden, 15 to 20 minutes. Stir in lemon juice and parsley; serve.

garlic mushrooms 1

quinoa with roasted brussels sprouts, pine nuts, and parmesan

quinoa brussels sprouts pine nuts 4

We had a great visit with family over Thanksgiving, but not nearly so nice a homecoming. Instead of the hour or two of relaxing we were picturing after a long day of travel home, we had half an inch of water covering the entire house, caused by a leak in the hose that feeds the refrigerator’s icemaker. This also put a kink in my plans to eat healthier after a week of pie, cookies, and cheesecake.

quinoa brussels sprouts pine nuts 1

Fortunately, I hoard freezer meals. If I make a recipe that freezes well and makes enough for multiple meals, I freeze some, but then I have trouble convincing myself to ever eat them. What if I need those one day?

quinoa brussels sprouts pine nuts 2

Well, I need them now. We ate hastily defrosted chili in between stunned shop-vaccing the first night, squash-black bean burritos the next night while we watched contractors cut into the walls and set out fans, and four cheese lasagna over the weekend when we were staying in a hotel but had an out-of-town friend’s housekey.

quinoa brussels sprouts pine nuts 3

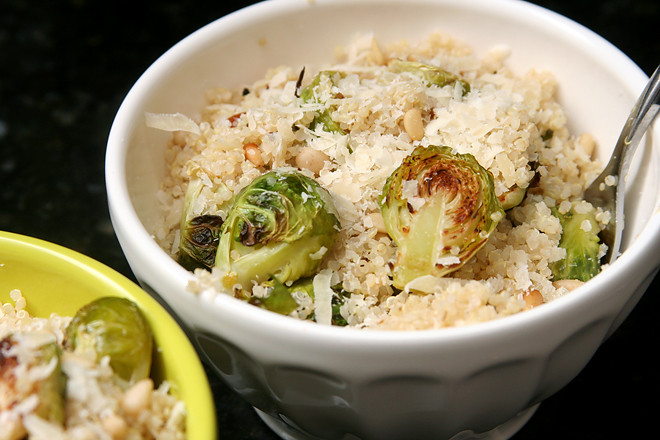
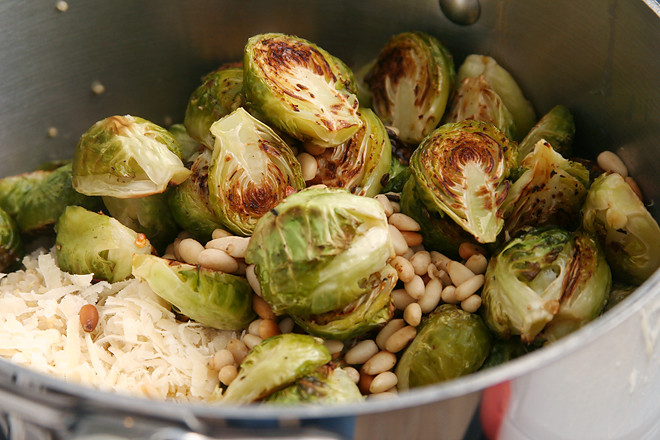
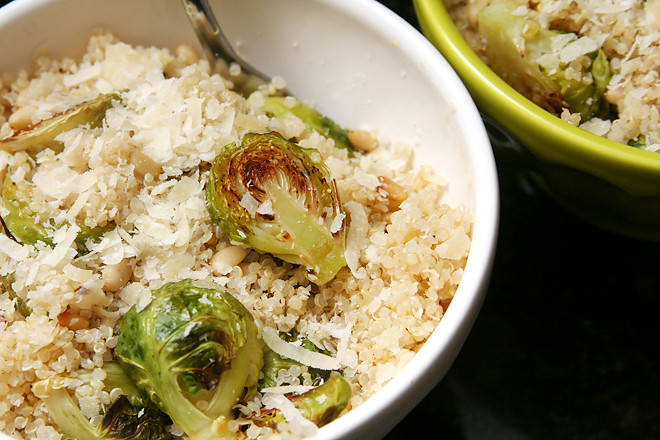
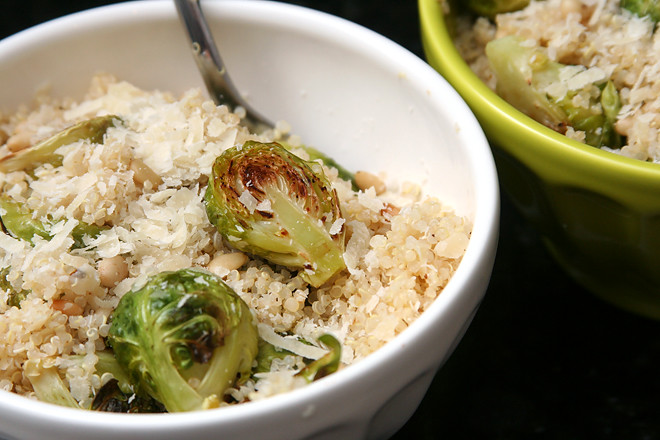
I’m quickly depleting my freezer stash, so while things are somewhat stabilized and we’re living at home in our torn up house before reconstruction begins, I’m still keeping things very simple. This has become a staple. It’s not quite as easy as dumping a ziploc bag of stew into a pot and heating it up, but it’s straightforward enough to make in a kitchen full of boxes in between doing load after load of laundry. Best of all, it tastes like comfort food to us – maybe not tomato soup and grilled cheese level of comfort, but close enough for something so healthy. But now it’s time to start thinking about building my freezer stash back up to help get us through reconstruction.

quinoa brussels sprouts pine nuts 6

Printer Friendly Recipe
Quinoa with Roasted Brussels Sprouts, Pine Nuts, and Parmesan (adapted from a recipe I adapted from Gourmet)

Serves 4

1½ cups water
salt
1 cup quinoa, rinsed and drained
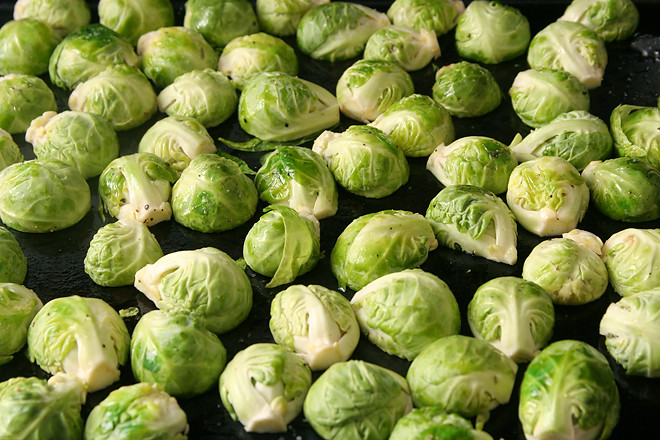
2 pounds brussels sprouts, trimmed and halved lengthwise
black pepper
2 tablespoons olive oil, divided
½ cup (6 ounces) pine nuts
2 cloves garlic, minced
¼ teaspoon red pepper flakes
3 tablespoons lemon juice
1 cup (2 ounces) parmesan, shredded

1. Place a rimmed baking sheet in the middle of the oven and heat the oven to 450 degrees. In a large saucepan over high heat, bring the water and ½ teaspoon salt to a boil. Add the quinoa, reduce the heat to low, cover, and cook for 15 minutes. Without removing the lid, remove the pot from the heat and set aside for another 15 minutes.

2. While the quinoa cooks, remove the heated baking sheet from the oven and spread 1 tablespoon of oil over its surface. Place the brussels sprouts on the sheet, generously season with salt and pepper, and stir to coat with the oil. Arrange the sprouts cut-side down. Transfer to the oven and cook for 12 minutes.

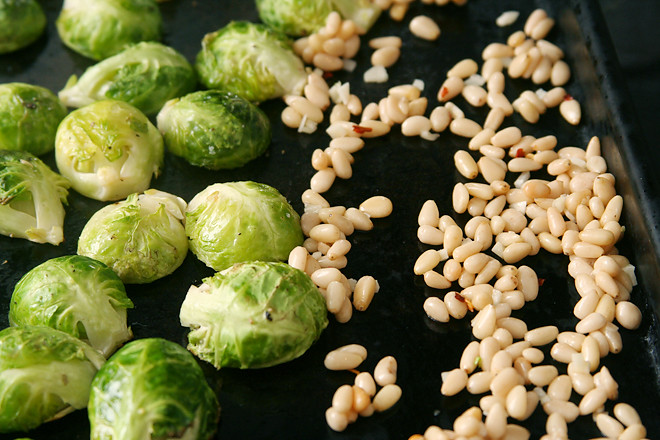
3. Meanwhile, in a small bowl, combine the remaining 1 tablespoon olive oil, the pine nuts, garlic, and red pepper flakes. After the brussels sprouts have roasted for 12 minutes, add the pine nut mixture to the baking sheet and roast for an additional 2-3 minutes, until the brussels sprouts are browned and tender and the nuts are just toasted. (Keep an eye on the nuts; they burn easily.)

4. Stir the lemon juice into the quinoa, then add the roasted sprouts and pine nuts and the parmesan. Stir to combine; serve immediately.

quinoa brussels sprouts pine nuts 5

stovetop macaroni and cheese

stovetop mac and cheese 8

There are three things that lead to difficulties with self-control for me – chocolate chip cookie dough, macaroni and cheese, and alcohol. I’ve found a handful of tricks for dealing with the alcohol one (although tiki drinks can be tricky since even one can be strong enough to lower my resistance to more!), but with the other two, the best way I’ve found of controlling them is not to be around them. We normally eat macaroni and cheese maybe once a year, even though it’s one of my favorite foods.

stovetop mac and cheese 3

I’ve told myself for years that when I got pregnant and couldn’t drink alcohol or eat cookie dough, I’d make up the extra calories with macaroni and cheese. It turns out that making up extra calories hasn’t been an issue; since I got that positive test back in May, all I’ve wanted to eat is dessert. Pasta is tasting extra delicious too, and yes, especially when it’s coated in cheese.

stovetop mac and cheese 4

I love the baked recipe I’ve been making for years, but then someone mentioned the blue box mac and cheese, and while I haven’t had severe cravings, maybe I’m more suggestible than I would normally be. I couldn’t stop thinking about that blue box. Unfortunately, the last time I bought it, I distinctly remember being disappointed that it was bland and mushy.

stovetop mac and cheese 5

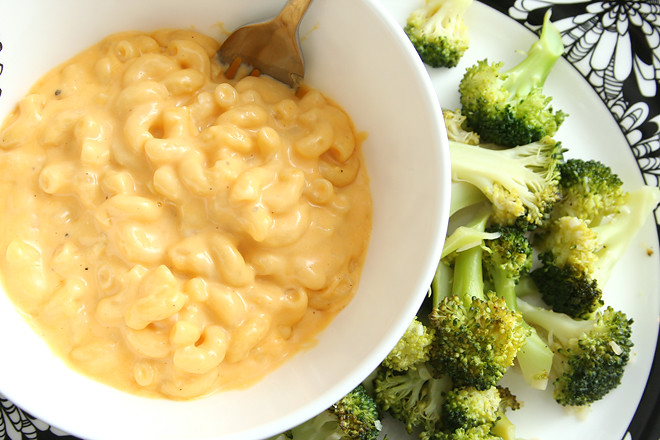
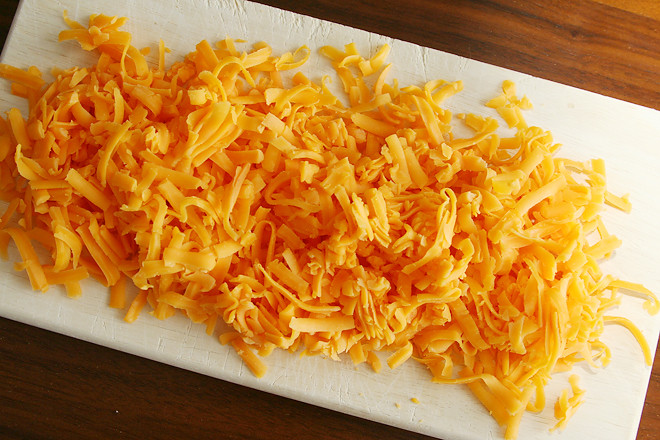
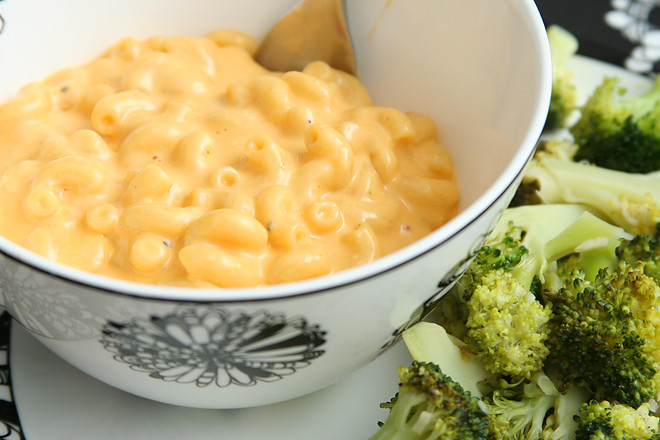
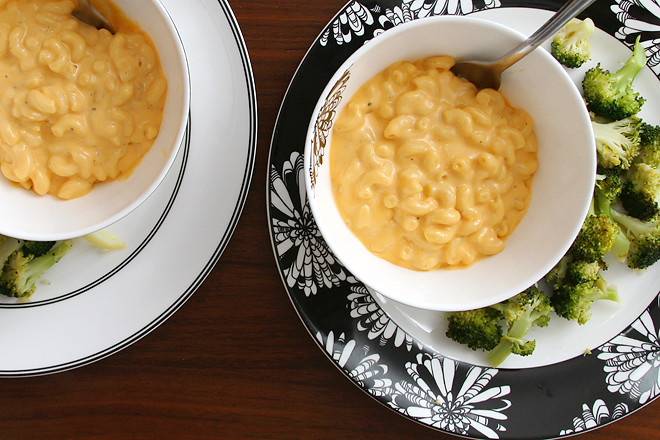
I figured there had to be a way to make a creamy, smooth sauce using real ingredients. It turns out, the most popular recipes for stovetop mac and cheese aren’t so different from the blue box; you still coat the cooked pasta with butter, then add milk and cheese – except in this case, that cheese is real shredded cheddar, not a powder. And it tastes reminiscent of that blue box, in the best possible way. Plus, the pasta doesn’t dissolve in my mouth before I get to chew it! This is so good and so easy that maybe one day, my daughter will be nostalgic for this recipe instead of that blue box.

stovetop mac and cheese 7

Printer Friendly Recipe
Stovetop Macaroni and Cheese (not really adapted from Cook’s Illustrated)

I’ve only made this with all cheddar cheese. Monterey jack could make the sauce smoother, but it won’t be as flavorful. I tried a different recipe that called for a combination of cheddar and American cheese, and, while the sauce was creamier, the flavor of the American cheese dominated, and I prefer cheddar. With just cheddar, the sauce is plenty smooth and creamy for me.

So far, I’ve only made a half recipe (multiple times), using a 5-ounce can of evaporated milk. It seems like plenty of liquid.

2 large eggs
1 (12-ounce) can evaporated milk
¼ teaspoon hot pepper sauce
2 teaspoons table salt
¼ teaspoon ground black pepper
1 teaspoon dry mustard, dissolved in 1 teaspoon water
8 ounces elbow macaroni
4 tablespoons unsalted butter
12 ounces sharp cheddar cheese, American cheese, or Monterey Jack cheese, grated (about 3 cups)

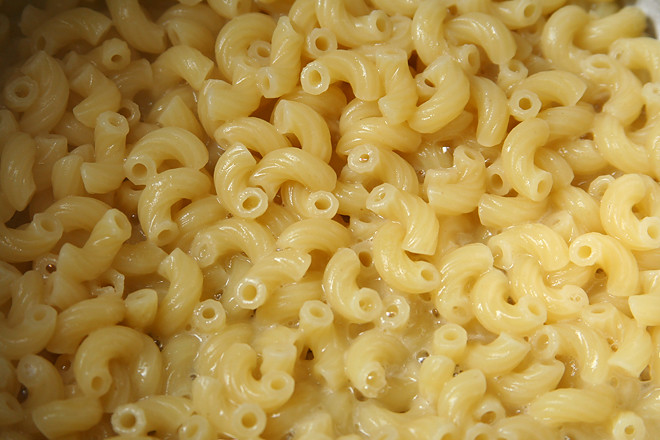
1. Meanwhile, heat 2 quarts water to boil in large heavy-bottomed saucepan or Dutch oven. Add 1 1/2 teaspoons of the salt and macaroni; cook until almost tender, but still a little firm to the bite. Drain and return to pan over low heat. Add butter; toss to melt.

2. Meanwhile, mix eggs, 1 cup of the evaporated milk, pepper sauce, 1/2 teaspoon of the salt, pepper, and mustard mixture in small bowl; set aside.

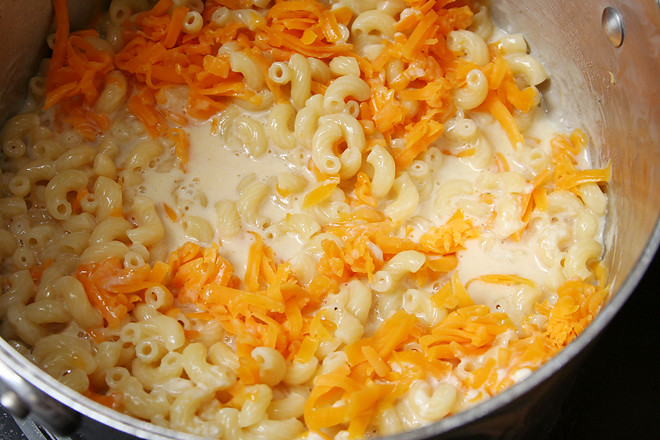
3. Pour egg mixture over buttered noodles along with three-quarters of the cheese; stir until thoroughly combined and cheese starts to melt. Gradually add remaining milk and cheese, stirring constantly, until mixture is hot and creamy, about 5 minutes. Serve immediately.

stovetop mac and cheese 6

crostini topped with ricotta and braised zucchini

zucchini ricotta crostini 6

I often prepare elaborate multicourse meals just for me and Dave. Almost invariably, when I ask him to name his favorite course, it’s the meat, and just as often, mine is the carbs, although sometimes I make an exception for artichokes. This meal left me with a tough choice – bread is always a favorite, especially topped with cheese and vegetables cooked well, but I was also really pleased with the sauce I’d made from my homegrown tomatoes to serve over pasta. Dave, unsurprisingly, chose the ribeye.

zucchini ricotta crostini 4

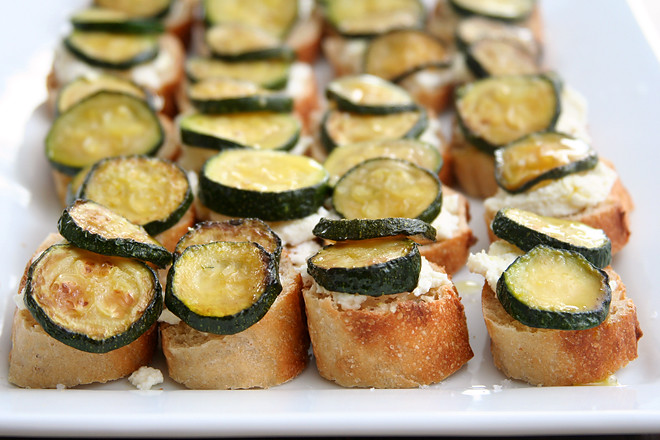
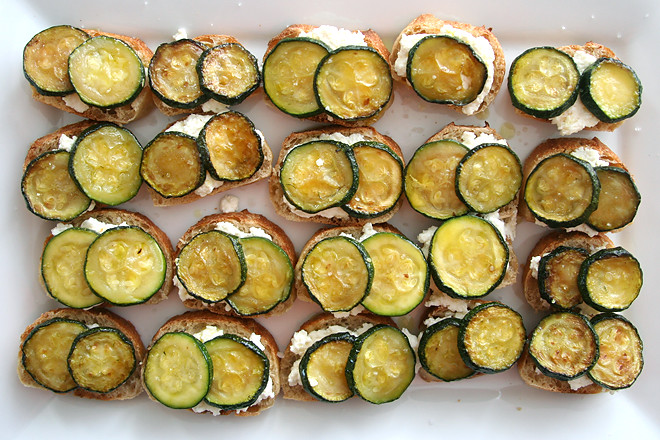
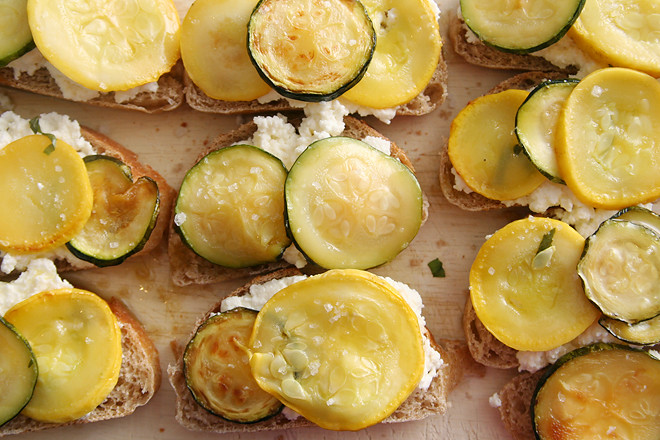
I was being stingy with the tomato sauce, both because it took longer to prepare and because my garden gives me more zucchini than tomatoes, so I certainly ate the most of this one. It might seem bland – neither ricotta nor zucchini is known for their strong flavors – but good bread, a generous drizzle of olive oil, and a sprinkle of large-grained sea salt add plenty of interest.

zucchini ricotta crostini 5

Considering that these toasts include a starch, a protein, and a vegetable, I could have skipped the pasta (and hoarded the sauce instead) and meat entirely! Dave might have missed his steak, but I certainly wouldn’t have minded filling up on these. Who needs multiple courses when the first one is so good?

zucchini ricotta crostini 7

Printer Friendly Recipe
Crostini with Ricotta and Braised Zucchini (inspired by Annie’s Eats; zucchini adapted from Rachel Eats via Orangette)

Makes about 24 small toasts, depending on the size of your bread

If you have a flaked salt, kosher or Maldon, it adds a fun crunch when sprinkled on top.

2 tablespoons extra virgin olive oil, plus more for drizzling
1 clove garlic, peeled and smashed
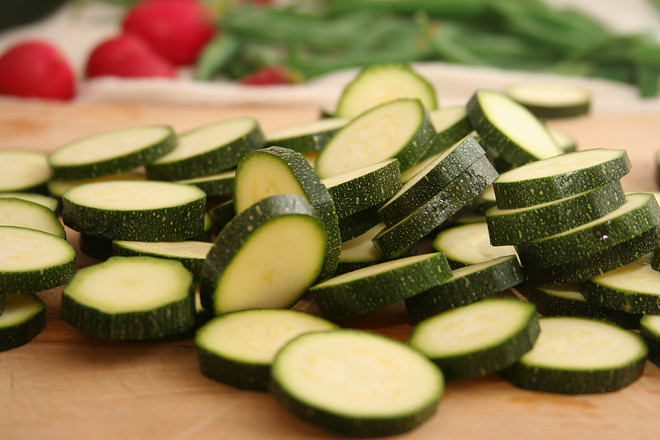
3 small to medium zucchini (about 12 ounces), ends trimmed, sliced ¼-inch thick
¼ teaspoon salt, plus more for sprinkling
1 small sprig basil, leaves removed and torn (optional)
1 (12-inch) baguette, sliced ¼-inch thick
1½ cups ricotta cheese

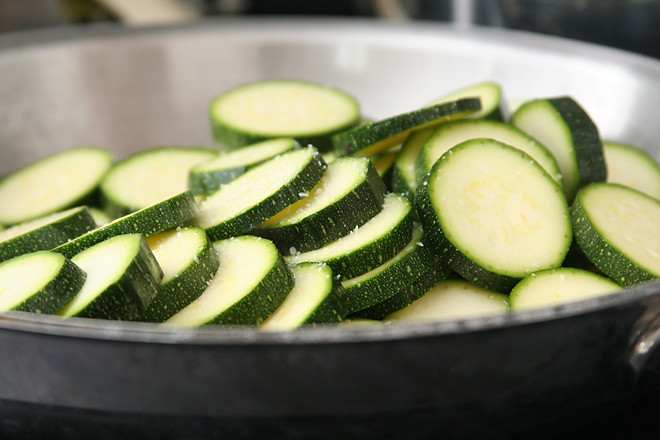
1. In a medium nonstick skillet, heat the oil and garlic over medium-low heat, stirring occasionally, until the garlic is lightly golden, 4-5 minutes. Remove and discard the garlic. Add the zucchini and salt to the skillet; cook, stirring occasionally, until the zucchini is softened and lightly browned in spots, 25-30 minutes. Stir in the basil leaves, if using.

2. Meanwhile, heat the broiler. Arrange the bread in a single layer on a baking sheet. Broil until just golden. Flip each slice of bread and return the baking sheet to the oven; lightly toast the second side.

3. Spread some ricotta over each slice of toast. Top with a layer of zucchini, then drizzle with olive oil and sprinkle with salt.

zucchini ricotta crostini 3

pizza with zucchini, goat cheese, and lemon

zucchini goat cheese pizza 3

Thank god for my zucchini plant. Despite some cucumber beetles and slugs, it is growing quite nicely. This is in contrast to most of my other plants. The tomatoes, peppers, and cucumber plants are all just barely holding on, and of course I can’t figure out what’s wrong with them. Seeing the huge, green zucchini plant and cutting off a zucchini every few days makes me feel much better.

zucchini goat cheese pizza 1

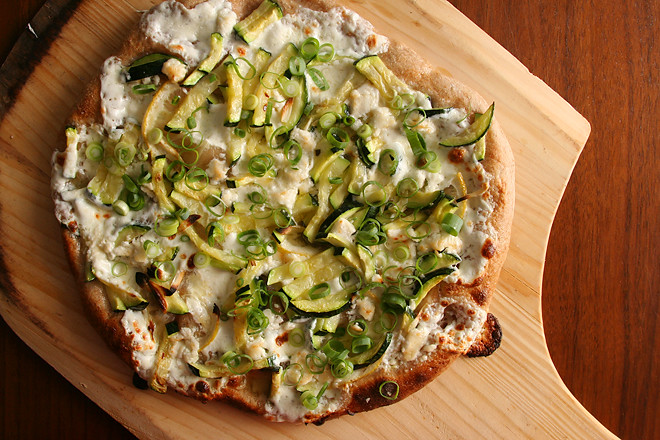
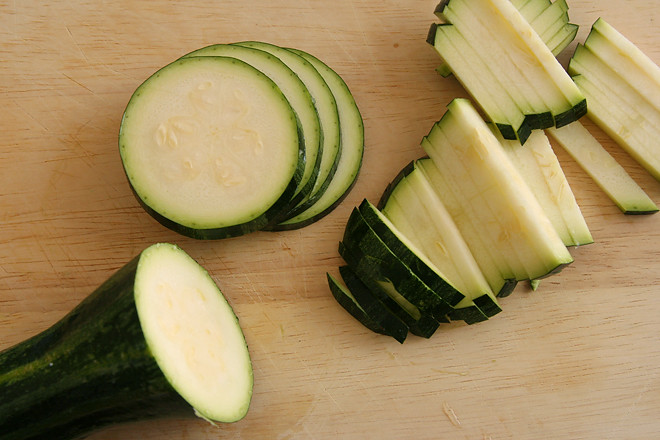
Almost all of my zucchinis so far have gone into enchiladas with goat cheese and black beans, but I saved one for a light, summery pizza. The zucchini is julienned and salted to draw out liquid, so it doesn’t waterlog the pizza. If you’re lucky, it might brown a bit in the oven too.

zucchini goat cheese pizza 2

I’m not completely sold on the slices of lemon called for in the original recipe; even sliced paper-thin, they still caused a few shockingly lemony bites. I did like the hit of tartness though, so I think a quick squeeze of lemon juice on the just-baked pizza would be a nice substitute. I’ll have to try that next time; since my garden apparently won’t be producing gazpacho ingredients, I’ll just make more zucchini pizza.

zucchini goat cheese pizza 4

Printer Friendly Recipe
Pizza with Zucchini, Goat Cheese, and Lemon Pizza (adapted from The Food Lab)

Makes one 10-inch pizza

I use a baking steel, not a baking stone. I’ve found that it makes for a lighter crust with a crisper base. However, if you leave the parchment paper on the steel under the broiler for the full five minutes, it will burn to a blackened flaky crisp. After one minute under the broiler, I use a spatula to lift the edge of the pizza and pull out the parchment paper with tongs.

¾ pound pizza dough (⅓ of this recipe)
1 small zucchini
1 clove garlic, minced
½ teaspoon salt
2 teaspoons olive oil
4 ounces fresh mozzarella, diced into 1-inch cubes
2 ounces goat cheese, crumbled
2 teaspoons lemon juice
2 scallions, thinly sliced

1. Place a pizza stone on a rack about 5 inches below the broiler and heat the oven as high as it goes for at least 45 minutes. Shape the dough into a ball; cover and set aside for about 30 minutes to allow the gluten to relax.

2. Slice the zucchini into rounds ⅛-inch thick, then slice each round into slivers ⅛-inch thick. In a small bowl, combine the zucchini, garlic, and salt; set aside for 30 minutes.

3. Drain the zucchini, then transfer it to a kitchen towel; squeeze it as dry as possible. Transfer the zucchini back to the empty bowl, add the oil, and stir to evenly coat it.

4. Gently flatten the dough, then pick it up and stretch it out to about 10 inches, trying to keep it as circular as possible. Curl your fingers and let the dough hang on your knuckles, moving and rotating the dough so it stretches evenly. If it tears, piece it together. If the dough stretches unevenly, put it down and gently tug on the thick spots.

5. Line a pizza peel (or the back of a baking sheet) with parchment paper and transfer the round of dough to the peel, rearranging it to something reasonably circular. Top with the mozzarella, then the zucchini and goat cheese. Transfer the pizza with the parchment paper to the hot pizza stone.

6. Immediately turn the oven off and the broiler on (to high, if yours has settings). Bake the pizza for about 5 minutes, until the bottom crust is spotty browned. Transfer the pizza to a cooling rack and drizzle the lemon juice evenly over the top, then evenly distribute the scallions over the pizza. Cool about 5 minutes before slicing and serving.

carrot-ricotta ravioli

carrot ricotta ravioli 4

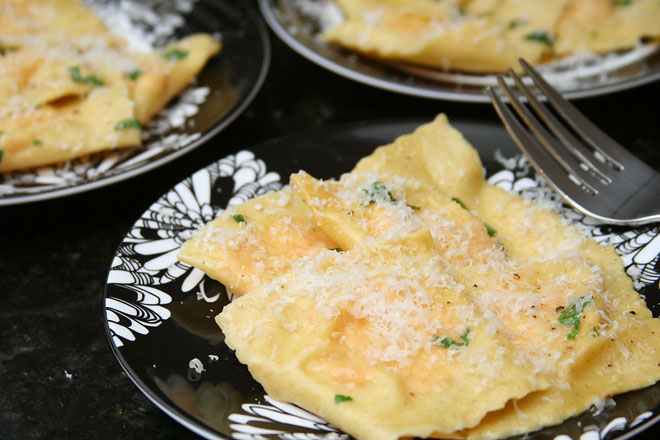
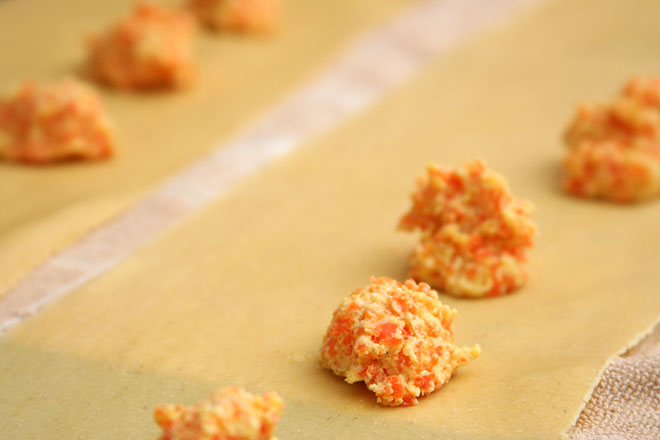
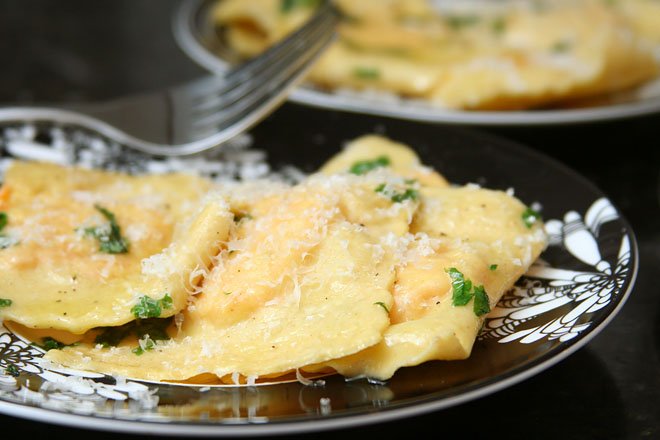
I recently made potstickers, and it reminded me how much easier dumplings like these ravioli are to make with homemade dough than with those little square wonton wrappers. With homemade pasta, you have a long strip of dough; after you drop dollops of filling along the strip, you can just fold the whole thing over at once, sealing the long end before cutting in between the filling. Contrast this with individually folding and sealing each square of dough when you use pre-made wonton wrappers. Granted, my method based on homemade dough can only make square dumplings, but it’s so easy that I’m tempted to make square potstickers from now on to avoid individually sealing each one.

carrot ricotta ravioli 1

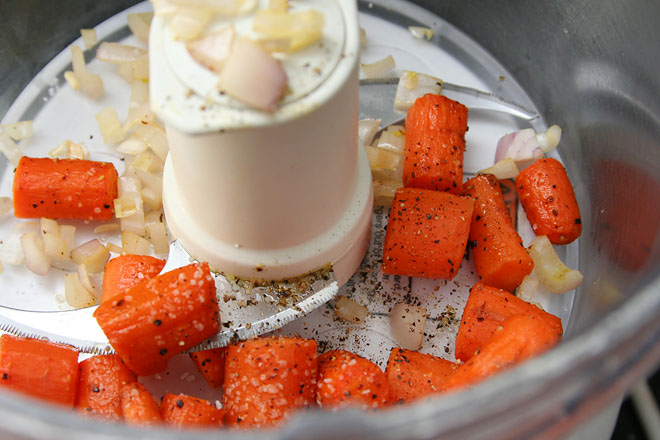
This is an easy filling too. The carrots and shallots are roasted in large chunks, browning and sweetening in the oven. The vegetables are transferred to the food processor with ricotta and parmesan, and then your filling is made with the touch of a button.

carrot ricotta ravioli 2

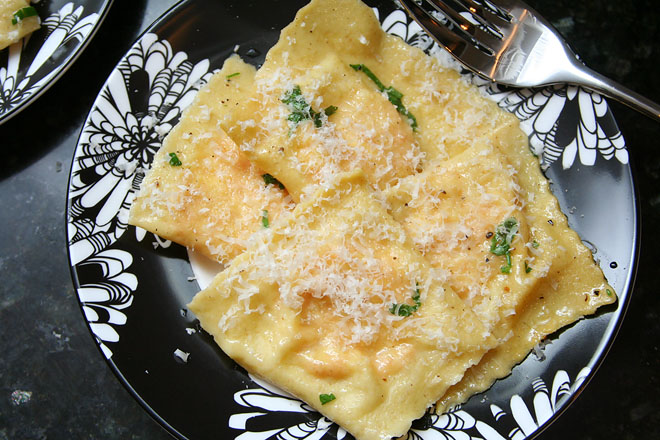
The sauce, if you can call it that, is simply melted butter with parsley. A generous shaving of parmesan on the ravioli provides some salty contrast to the sweeter filling. Homemade ravioli is one of my favorite starter courses, and it really isn’t that hard – provided you start out with sheets of pasta and not a tedious stack of tiny squares.

carrot ricotta ravioli 5

Printer Friendly Recipe
Carrot-Ricotta Ravioli with Herbed Butter
(slightly adapted from Domenica Marchetti’s The Glorious Vegetables of Italy)

4 main course or 8 first-course servings

3 large carrots (12 ounces), peeled and cut into 1-inch chunks
1 large shallot, quartered
1 tablespoon extra virgin olive oil
Salt and freshly ground pepper
2 teaspoons unsalted butter
1 tablespoon heavy cream
5 ounces (½ cup firmly packed) ricotta
6 tablespoons freshly grated parmesan cheese, plus more for serving
pinch of freshly grated nutmeg
1 large egg yolk
1 recipe fresh pasta dough, rolled to the second-to-last setting on a pasta roller
8 tablespoons (1 stick) unsalted butter
2 tablespoons minced parsley
salt

1. Heat the oven to 400 degrees. In a baking dish, toss the carrots and shallot with the olive oil and season with salt and pepper. Cover with foil and bake for about 30 minutes, until tender and lightly browned. Let cool slightly.

2. In a food processor, combine the carrots, shallot, and cream and puree until smooth. Transfer the puree to a bowl. Stir in the ricotta, parmesan, and nutmeg and season with salt and pepper. Stir in the egg yolk.

3. Place one rounded teaspoon of filling every 2 inches along the length of a pasta sheet. Fold the pasta sheet lengthwise over the filling. Press around each ball of filling to seal the two layers of pasta together. Use a pizza cutter to cut between the filling to form squares of ravioli. Store the ravioli on a dry dish towel. Repeat with the remaining dough and filling. (Ravioli can be formed several hours in advance and covered and refrigerated or can be flash-frozen, then transferred to freezer bags and frozen for several weeks. Do not defrost before cooking.)

4. Bring a large pot of water to a boil; add a tablespoon of salt and lower the heat until the water is at a lively simmer. Meanwhile, in a large skillet over medium heat, melt the butter with ¼ teaspoon salt and the parsley.

5. Boil the ravioli in small batches until al dente, 2 to 3 minutes, using a skimmer or large slotted spoon to remove the ravioli from the boiling water and transfer them directly to the skillet with the butter. Once all the ravioli are boiled, lightly toss them in the butter to thoroughly coat. Serve immediately, topped with additional parmesan.

carrot ricotta ravioli 3

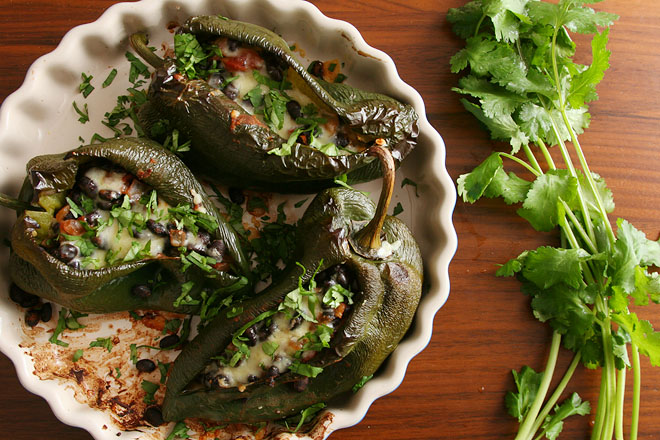
poblanos stuffed with black beans and cheese

stuffed poblanos 3

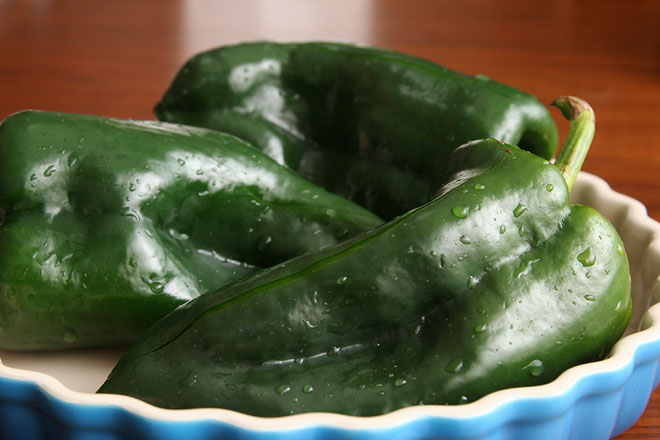
Sometimes I try to have quick, healthy weeknight dinners that don’t include any grains. I’ve found that melty cheese is a satisfying way to replace the simple comfort of starches – although I’m not sure that replacing brown rice with cheese is much of a nutritional improvement.

stuffed poblanos 1

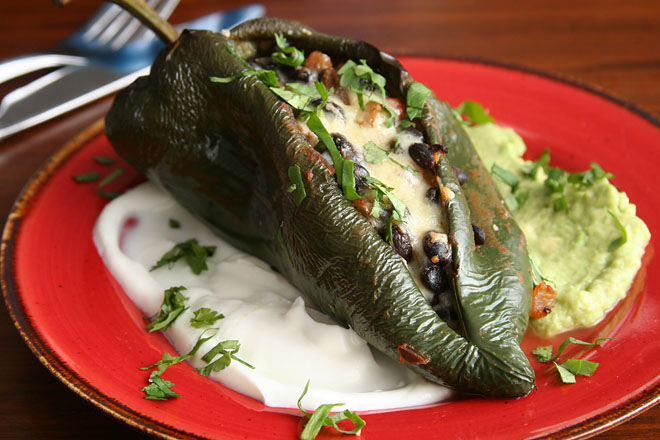
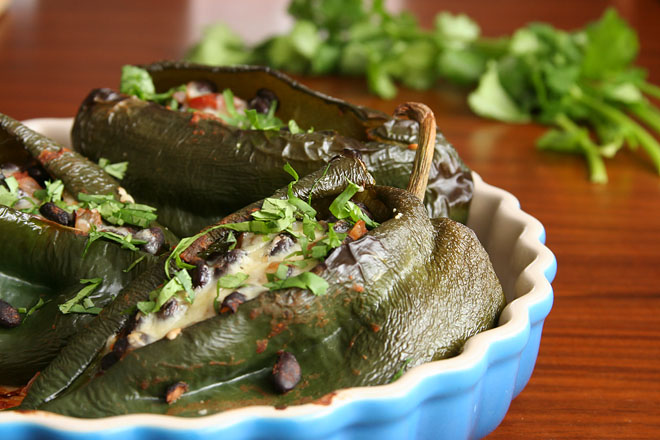
This has become a new favorite, in that it takes the main flavors of some of my fallback rice and bean dishes and stuffs them inside of a pepper. (I’m always reaching for the bag of frozen Hatch green chile we keep in the freezer so I can add it to the beans, and I have to remind myself that there’s plenty of spicy chiles in this recipe already.)

stuffed poblanos 2

With beans, Greek yogurt, and a simple guacamole, there’s plenty to keep me full here, even with a restrained amount of cheese. Even if it isn’t, in the end, any healthier than my normal bowl of rice and beans, it’s worth it for a meal as good as this one.

stuffed poblanos 5

Printer Friendly Recipe
Poblanos Stuffed with Black Beans and Cheese (inspired by Sara Forte’s The Sprouted Kitchen cookbook)

2 generous main course servings or 4 side dish servings

You can, of course, add more cheese, but I was trying to keep it light, and I found this amount to be satisfying.

4 medium poblano peppers
2 teaspoons oil
1 onion, diced
salt
2 cloves garlic, minced
1 (15-ounce) can black beans (about 2 cups)
½ cup salsa
3 ounces cheddar, monterey jack, cotija, or queso fresco, shredded or crumbled
1 avocado, peeled and seeded
juice from ½ lime
¼ cup Greek yogurt (or sour cream)
cilantro

1. Heat the oven to 425 degrees. Cut a slit in each pepper from the stem to the end. Place the peppers in a rimmed baking dish; bake for 15 minutes, until softened.

2. Meanwhile, heat the oil in a medium saucepan over medium heat. Add the onion and 1/4 teaspoon salt; cook, stirring occasionally, until the onion is translucent, about 5 minutes. Add the garlic and cook, stirring constantly, until fragrant, about 30 seconds. Add the salsa and beans. Simmer, uncovered for 10 minutes. Remove from the heat and stir half of the cheese into the beans.

3. Remove the peppers from the oven. When they’re cool enough to handle, use a paring knife to remove the seeds and veins. Pour out any liquid inside the peppers. Spoon one-quarter of the bean mixture into each pepper, then stuff the remaining cheese into the peppers over the beans. Transfer to the oven and bake until the cheese is spottily browned and the peppers are soft, 15-20 minutes.

4. In a small bowl, mash the avocado with a pinch of salt and half of the lime juice. In a separate bowl, mix the Greek yogurt with the remaining lime juice. Serve the roasted peppers with the avocado, yogurt, and a sprinkling of cilantro.

stuffed poblanos 4

spanish chickpea and spinach stew

chickpea spinach stew 1

I wasn’t big on life-changing, be-a-better-person resolutions this year, but I did get inspired for a lot of projects. There’s the cookbook goal; a list of house projects; an effort to post on my blog’s Facebook page more often; and a desire to take more pictures. To hold myself accountable (and give myself a satisfying box to check when I complete something), I’m tracking everything.

chickpea spinach stew 5

My goal is to put effort into photography almost every day. It was easy the first few days, when we were traveling, but I was at a loss the first day back at work, when I don’t do much other than sit in my office all day, make dinner, and fold laundry. But of course I love food pictures, and dinner was right there, so I figured I might as well see if I could get a decent shot without much effort.

chickpea spinach stew 6

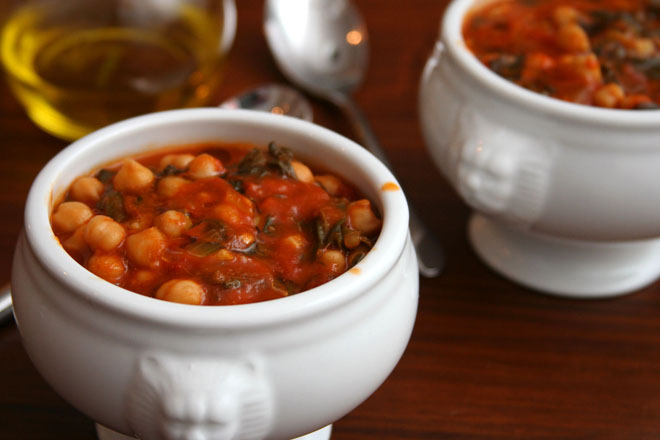
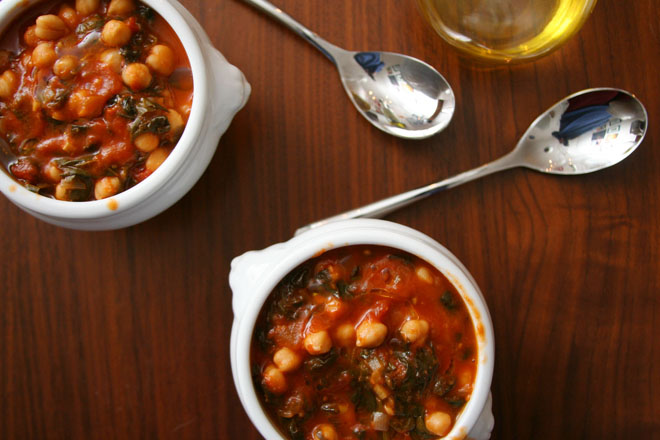
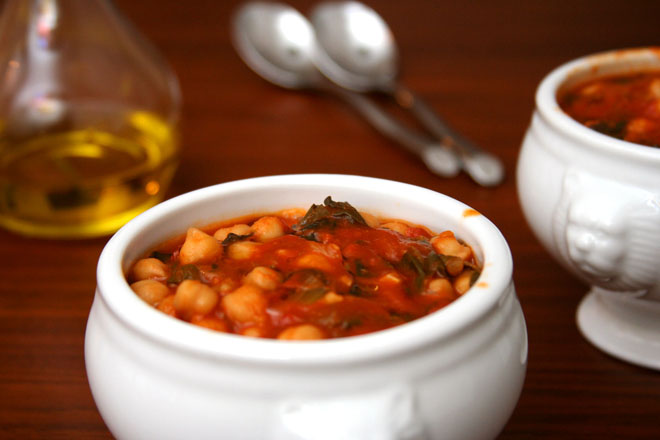
In this case, not only were the shots decent (maybe from all that practice I’ve been getting taking random dinner pictures!), but the meal itself was fantastic. I’m a sucker for tomato-based soups, but with all the other good stuff in there, I didn’t even feel the need to dip a grilled cheese sandwich into the bowl. It’s lucky that I’d snapped a few quick pictures before we ate, because there were no leftovers – not that making it again soon would have been a hardship.

chickpea spinach stew 2

Printer Friendly Recipe
Spanish Chickpea and Spinach Stew
(rewritten but not significantly changed from Serious Eats)

I was worried that the spinach would turn to mush after 40 minutes of simmering, but even the baby spinach I used was okay. A heartier spinach would likely be even better.

For the tomatoes, I transferred half of the tomatoes from the can to a small bowl and used scissors to chop them. I used an immersion blender to puree the remaining tomatoes and ginger in the tomato can.

1 (28-ounce) can whole peeled tomatoes
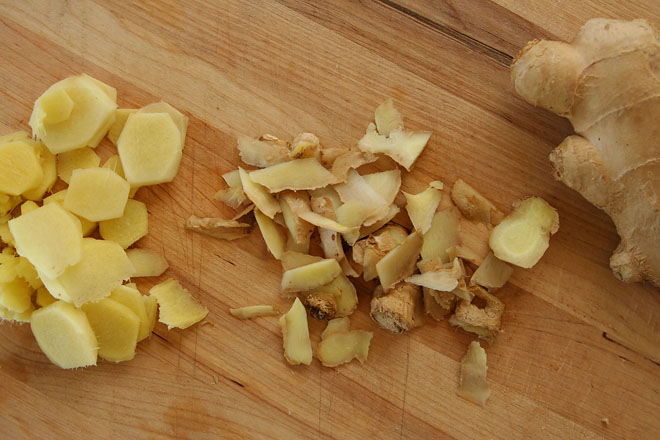
1 1-inch knob ginger, peeled
2 tablespoons extra-virgin olive oil (plus more for serving)
1 medium onion, finely sliced
4 cloves garlic, finely sliced
1 teaspoon sweet or hot smoked paprika
12 ounces fresh spinach, roughly chopped
2 (14-ounce) cans garbanzo beans (chickpeas), undrained
2 bay leaves
2 teaspoons soy sauce
Kosher salt
2 teaspoons sherry vinegar (optional)

1. Blend half the tomatoes, all the liquid from the can, and the ginger until smooth. Coarsely chop the remaining tomatoes.

2. In a large skillet over medium-high heat, cook the onion, garlic, and paprika, stirring occasionally, until the onion begins to brown, about 6 minutes. Add the tomato-ginger puree; stir to combine. Gradually add the spinach, then reduce the heat to medium and simmer, stirring occasionally, until the spinach is tender, about 10 minutes.

3. Add the chopped tomatoes, garbanzo beans (with their liquid), bay leaves, and soy sauce, and bring to a boil over high heat. Reduce to a bare simmer and cook, stirring occasionally, until thickened, about 30 minutes. Stir in the sherry vinegar. Season to taste with salt and serve immediately, drizzling with extra virgin olive oil.

chickpea spinach stew 4

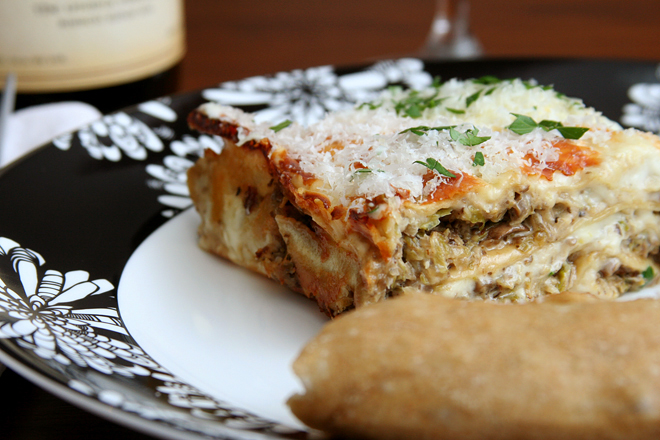
creamy brussels sprouts and mushroom lasagna

brussels sprouts lasagna 9

After making a few lasagnas that all started to look the same, I needed new ideas. Here’s one, cooked in homemade broth with meatballs between the layers of pasta, that breaks the mold. 19 steps! 125 miniscule meatballs! I’ve been excited about that recipe since the moment I saw it, almost a year and a half ago, but even with my obsessive weekend cooking habits, I haven’t found time to make it.

brussels sprouts lasagna 1

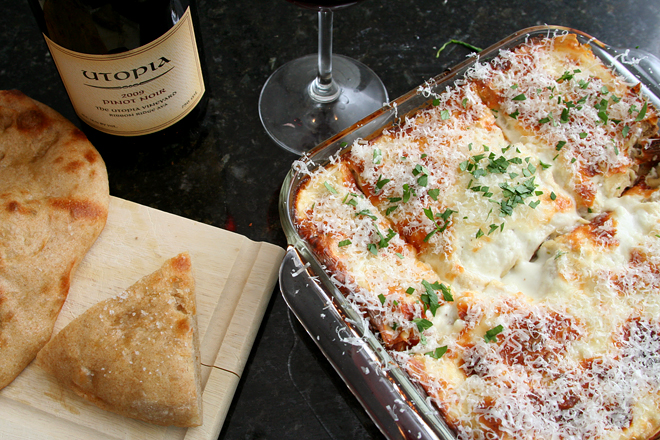
This one isn’t quite that original, but I had never put brussels sprouts, one of my favorite vegetables, in lasagna before. I can’t remember adding heavy cream to lasagna either, instead depending on the bechamel and cheese to add rich creaminess.

brussels sprouts lasagna 6

I did reduce the cream by half, and I still found it plenty decadent. The mushrooms dominated the flavor, but not in the overly earthy way of some pure mushroom lasagnas. It definitely hit the spot, even without meat or tomatoes, some of my standard lasagna crutches. But I still want a completely free weekend that I can spend making homemade broth and (125!) tiny meatballs to layer with fresh pasta.

brussels sprouts lasagna 7

Printer Friendly Recipe
Creamy Brussels Sprouts and Mushroom Lasagna (slightly adapted from The Food Lab)

8-10 servings

Stirring the creamed mushrooms and the creamed brussels sprouts together does not result in an attractive mixture. However, it won’t make a difference in the final lasagna, and it simplifies the layering.

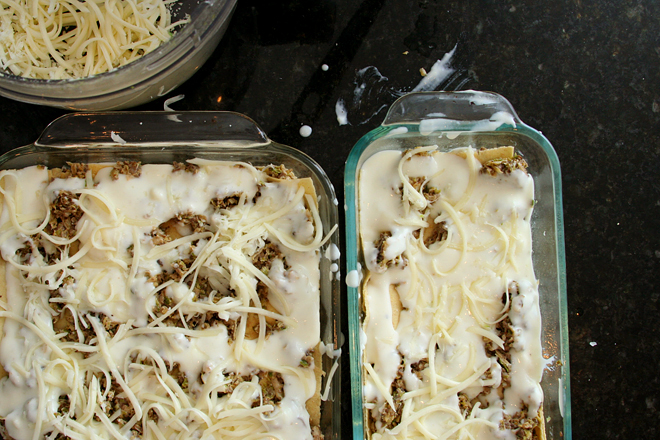
As the picture above shows, I divided the ingredients between a loaf pan and an 8-by-8-inch pan. I baked one immediately and put the other in the freezer for an easy and indulgent meal a few weeks later.

For instructions on boiling and rinsing the noodles, see step 4 of this recipe. You’ll only need half of a recipe of fresh pasta.

I’ve increased the brussels sprouts and decreased the mushrooms slightly, because even though I didn’t have enough mushrooms when I made this, they were the dominant flavor. I love brussels sprouts and want to taste them.

Mushrooms:
2 tablespoons unsalted butter
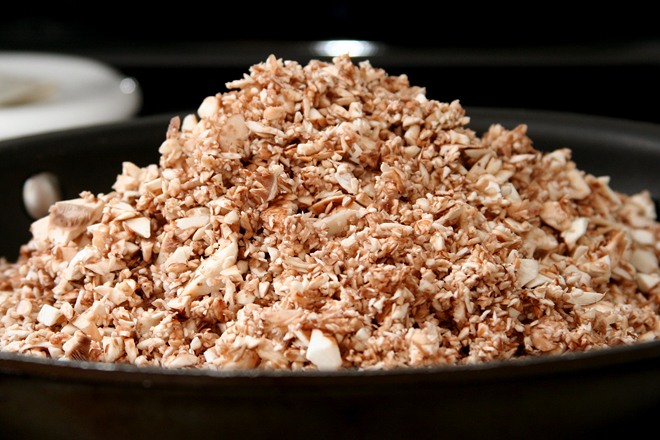
16 ounces button mushrooms, roughly chopped in a food processor in 4 batches
2 medium shallots, finely chopped (about ½ cup)
4 medium garlic cloves, minced (about 4 teaspoons)
1 tablespoon picked fresh thyme leaves
¼ cup white wine or sherry
½ cup heavy cream
salt and pepper

Brussels sprouts:
2 tablespoons canola oil
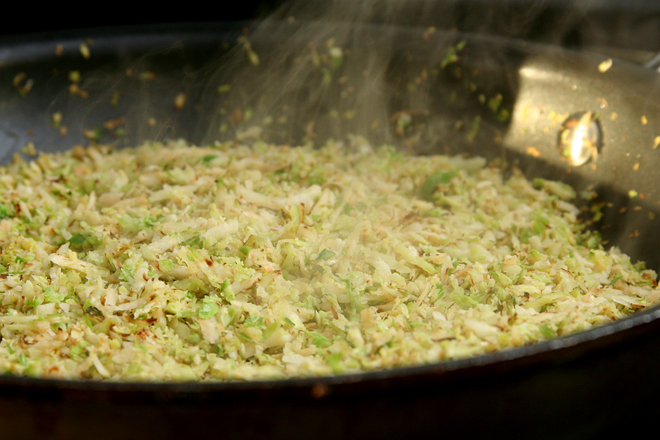
24 ounces Brussels sprouts, shredded on the grated disk in a food processor
salt and pepper
½ cup heavy cream

Bechamel:
3 tablespoons unsalted butter
3 tablespoons flour
3 cups whole milk
¼ teaspoon grated nutmeg
12 ounces mozzarella, shredded
salt and pepper

To assemble:
1 pound fresh lasagna noodles or 12 7-by-3-inch lasagna noodles, boiled and rinsed
4 ounces mozzarella cheese, shredded
½ cup (1 ounce) grated parmesan
2 tablespoons chopped fresh parsley leaves

1. For the mushrooms: Heat the butter in a large nonstick or cast iron skillet over medium-high heat until the foaming subsides. Add the mushrooms and a pinch of salt; cook, stirring occasionally, until the liquid they give off has evaporated and the mushrooms begin to sizzle and brown, about 12 minutes. When the mushrooms are browned, add the shallots, garlic, and thyme. Cook, stirring, until the shallots are translucent, about 4 minutes. Add the wine, scraping the bottom of the pan to loosen any browned bits. Add ½ cup heavy cream and cook until the mixture is reduced to a loose paste, about 1 minute. Season to taste with salt and pepper. Transfer to a large bowl; wipe out the skillet.

2. For the brussels sprouts: In the same skillet, heat the oil over high heat until shimmering. Add the shaved Brussels sprouts and a pinch of salt. Cook, tossing occasionally, until well-charred on most sides, about 10 minutes. Add ½ cup heavy cream and cook until reduced to a loose sauce-like consistency. Season to taste with salt and pepper and transfer to the bowl with the mushrooms; stir them together.

3. For the bechamel: In a medium saucepan over medium-high heat, melt the butter. Add the flour and cook, stirring, until the mixture is pale brown and nutty, about 2 minutes. Whisking constantly, slowly add the milk in a thin, steady stream. Bring to a simmer, whisking constantly. Remove from the heat and stir in the nutmeg and 12 ounces mozzarella. Season to taste with salt and pepper.

4. To assemble: Adjust an oven rack to the center position and preheat the oven to 400 degrees. Spread one-sixth of the cheese sauce on the bottom of a 9-by13-inch baking dish. Cover the sauce with a slightly overlapping layer of boiled noodles, cutting them as needed to fill any gaps. Top with one-fourth of mushroom/sprouts mixture, another one-sixth of the cheese sauce, and a sprinkle of grated mozzarella. Repeat the pasta, sprouts, and sauce layering three more times. Layer a final layer of noodles, then cover with the remaining béchamel and mozzarella.

5. Transfer to oven and bake until heated through and top is browned and bubbly, about 30 minutes. Remove from oven, sprinkle with Parmesan and parsley, let rest 10 minutes, and serve.

brussels sprouts lasagna 10