pasta with cauliflower, walnuts, and ricotta salata

copy-of-img_3235

I was recently reminded me of why I unabashedly (okay, maybe a little abashedly) stole Smitten Kitchen’s “one year ago” idea (although all the cool kids are doing it these days it seems). I’ve had this pasta recipe bookmarked since she posted it, and every week when I plan my meals, I consider it, and then pass over it. I didn’t realize I’d been doing this for an entire year until I saw this recipe featured from one year ago.
copy-of-img_3220

Seriously, I love pasta, and we eat it one or twice a week. Also, cauliflower? My favorite vegetable, ever since I was a kid. And quick vegetarian meals are our standard weeknight fare. And, I’ve been meaning to try ricotta salata for ages. I was outrageously overdue for making this recipe.
copy-of-img_3217

But, when I finally made it, I thought it had a lot more potential than it did flavor. The problem is that the recipe’s original author, Alice Waters, took a very easygoing, flexible route with the recipe, providing only approximate ingredient quantities and no recommended cooking times.
copy-of-img_3223

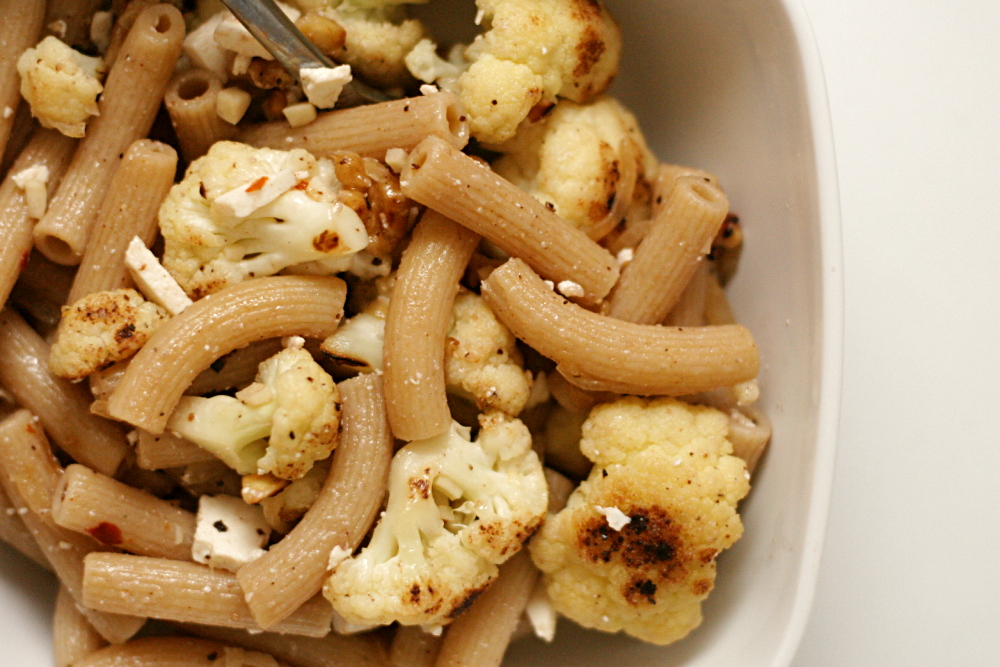
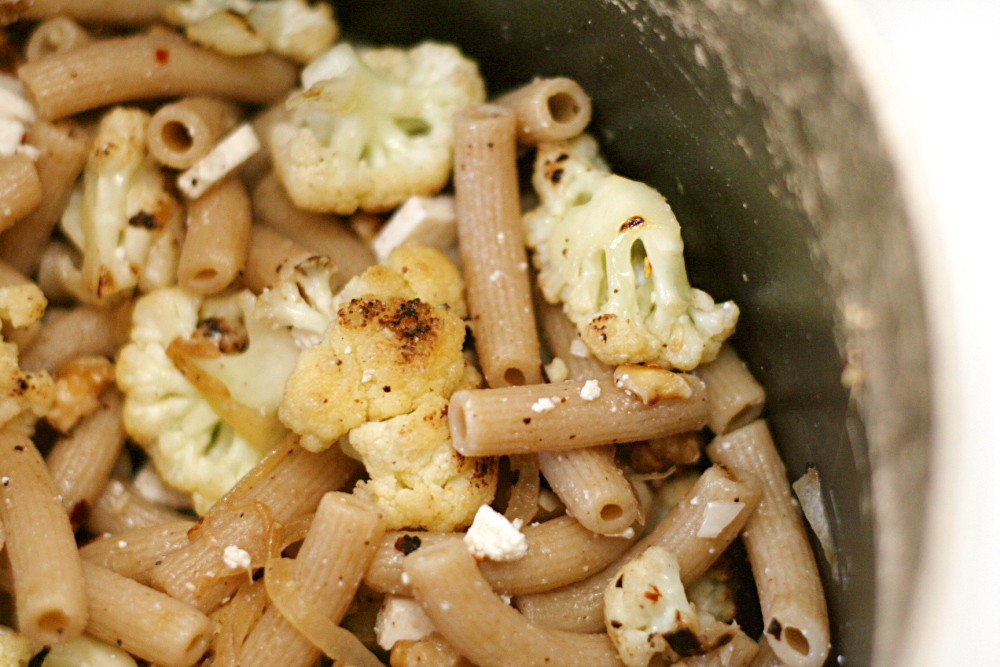
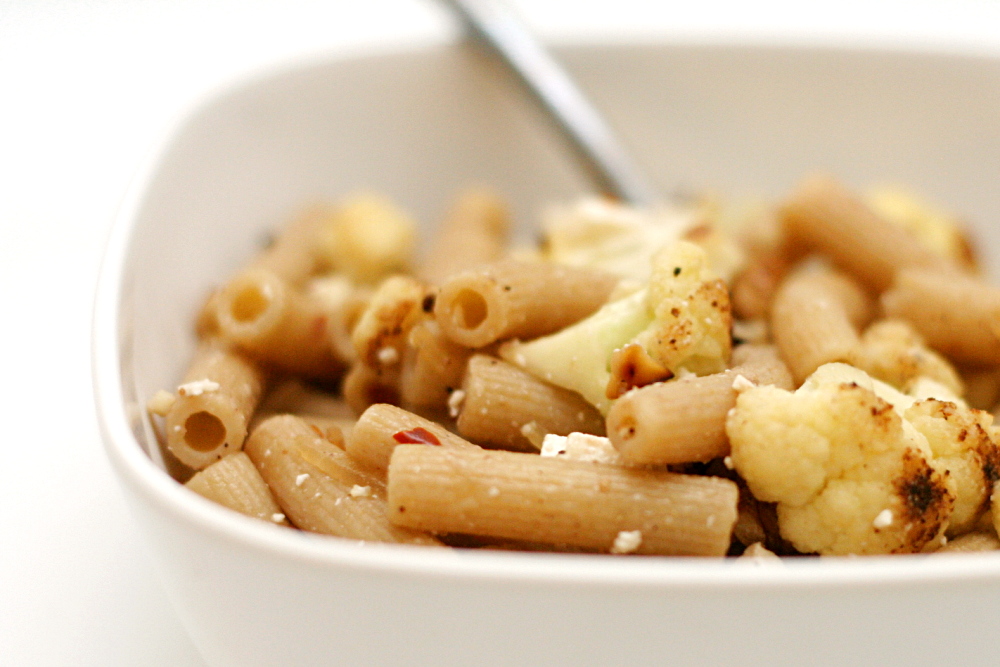
In a nutshell, the cauliflower is pan-roasted, then onions and crushed red pepper are added, then garlic, then lemon juice, white wine vinegar, and toasted walnuts. All of that is mixed with pasta and soft cheese. It’s a nice combination of ingredients and you’d be hard-pressed to make it bad, but ‘not bad’ is generally not my goal for food.
copy-of-img_3225

The next time I made it, in an effort to bump up the flavor, I decreased the pasta significantly. (You could also think of it as increasing the cauliflower, onion, garlic, red pepper flakes, and walnuts.) I’ve also quantified things. Willy-nilly, splash of this, pinch of that recipes drive me crazy and usually end up underseasoned.

Other than the ratio of pasta to everything else, the recipe really isn’t so different from the original. And hopefully it’s reproducible now, so you can have the exact same spicy, fresh flavor from this dish that I enjoyed.
copy-of-img_3228

One year ago: Breakfast Strata with Mushrooms, Sausage, and Monterey Jack

Whole Wheat Pasta with Cauliflower, Walnuts and Ricotta Salata (from Chez Panisse Vegetables via Smitten Kitchen)

Serves 4

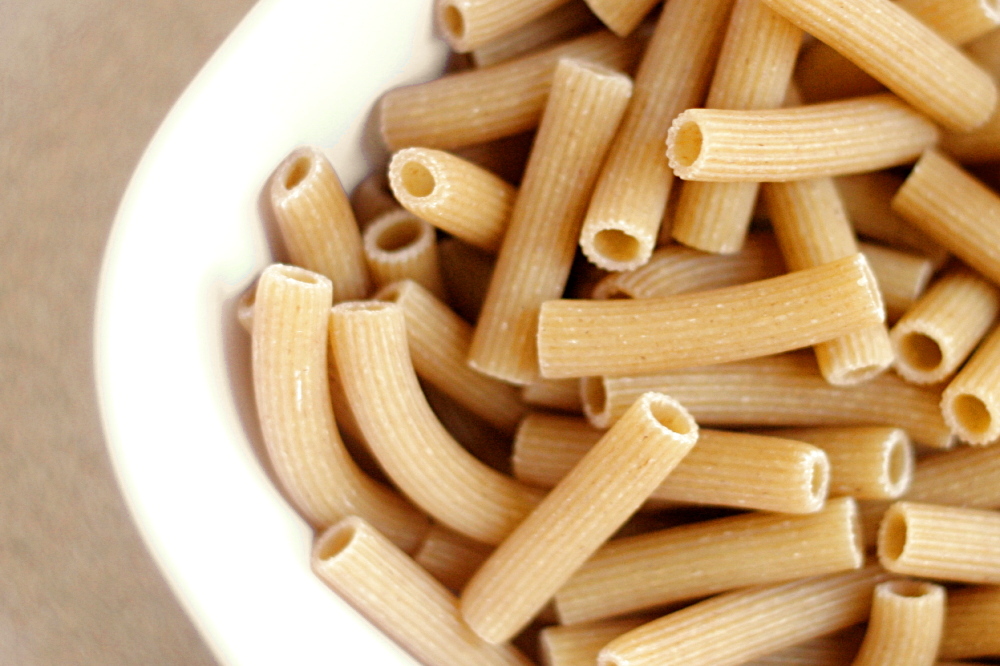
10 ounces whole-wheat pasta
½ cup walnuts
1 tablespoon olive oil (not extra virgin)
2 small heads cauliflower, cut into 1.5-inch florets
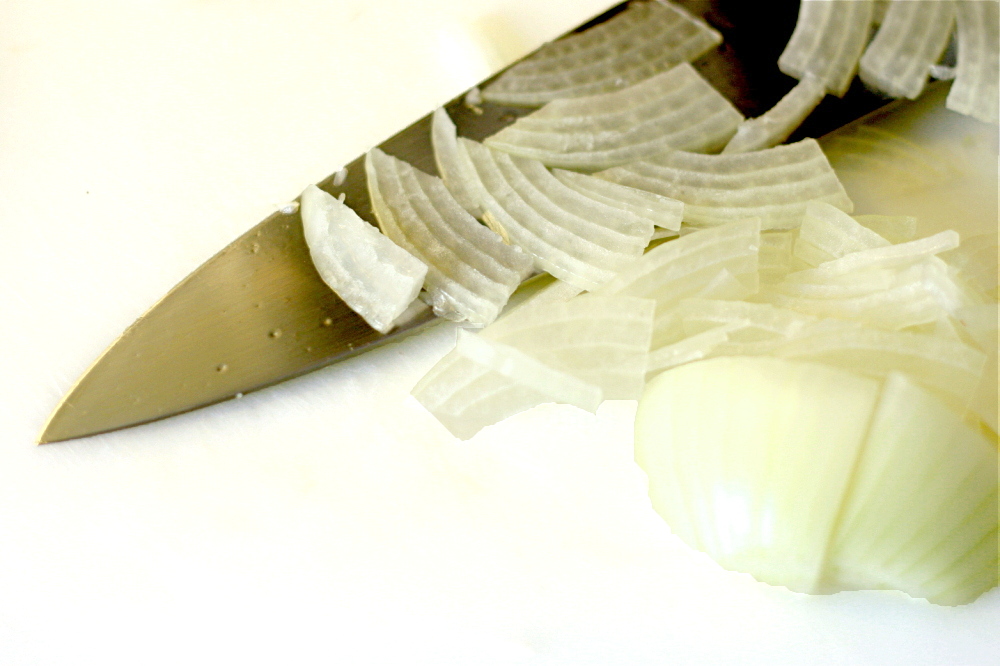
1 large or 2 small onions, sliced very thin
4 cloves garlic, minced
½ teaspoon salt, plus more for the pasta cooking water
¼ teaspoon black pepper
½ teaspoon crushed red pepper
1 tablespoon lemon juice
4 ounces ricotta salata, chopped
extra virgin olive oil, for serving (optional)

1. Bring 3 to 4 quarts water to a rapid boil over high heat. Add 1 tablespoon salt and the pasta. Cook according to package instructions. Before draining the cooked pasta, put about 1 cup pasta cooking water in a separate bowl and set aside. After draining the pasta, return it to the cooking pot.

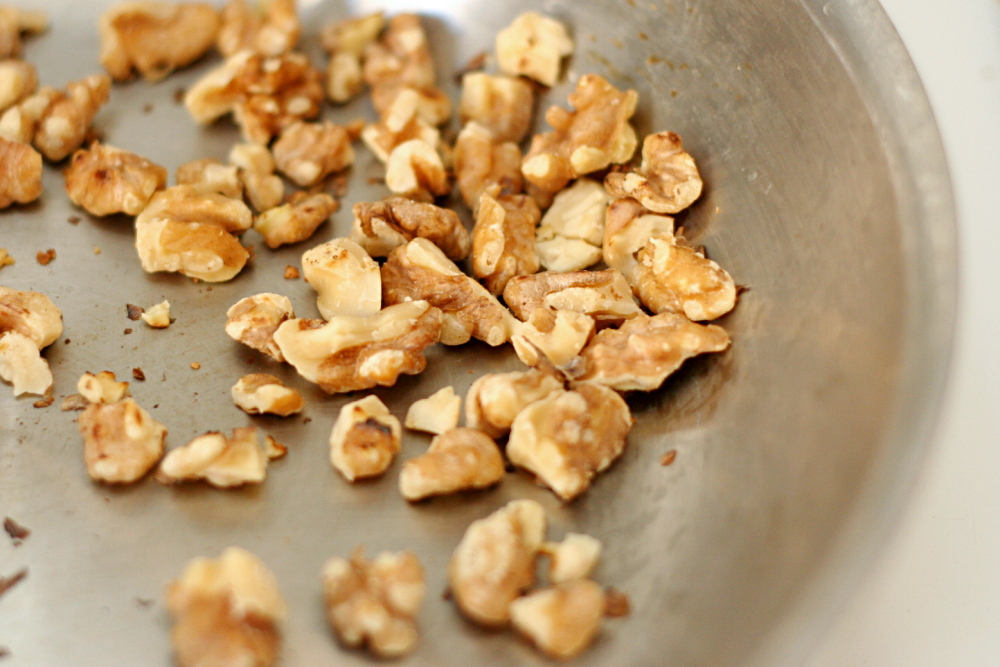
2. Meanwhile, toast the walnuts in a large, not nonstick pan over medium heat until fragrant. Put the walnuts in a small bowl and set aside.

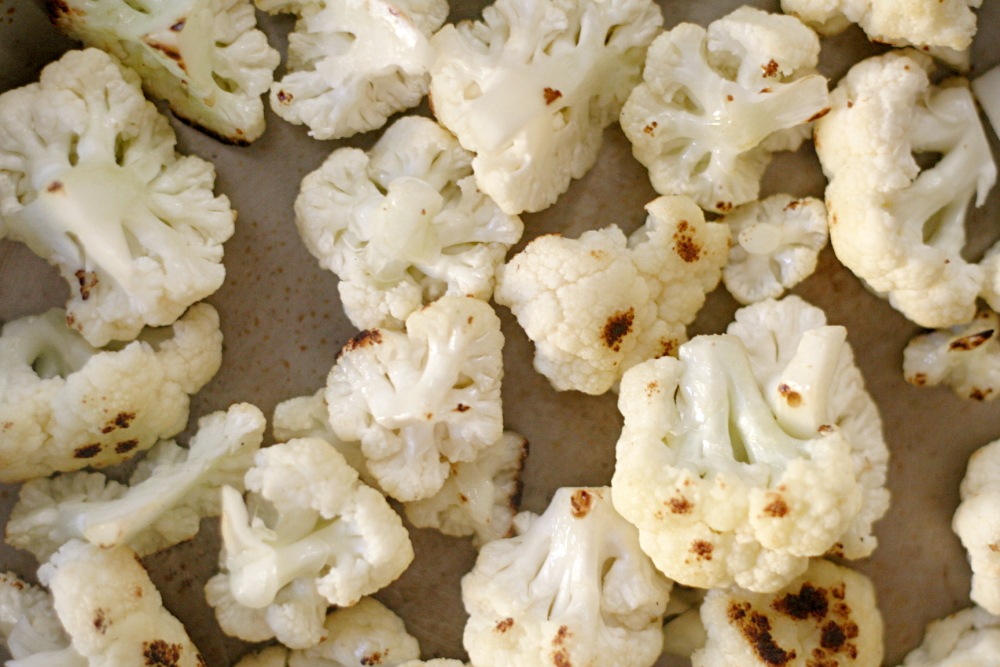
3. Heat 1 tablespoon olive oil in the same pan over medium heat. When hot, add cauliflower and cook, stirring occasionally, until softened, 4-5 minutes. Add onions, red pepper, salt, and black pepper. Continue cooking and stirring until the onions are softened and the cauliflower is crisp-tender. Stir in the garlic, then immediately remove the pan from the heat. Add the lemon juice, walnuts, and cheese.

4. Stir the cauliflower mixture into the pasta. Add enough of the reserved pasta cooking water to moisten the mixture. Adjust the seasonings to taste and serve, garnishing each plate with a drizzle of extra virgin olive oil, if desired.
copy-of-img_3233

pasta with roasted red pepper sauce

copy-of-img_3718

I read the Pioneer Woman’s cooking blog, even though I don’t find too many recipes there that are my style.  Ree tends to add more butter, more oil, and more cream to her dishes. And yes, all of those things make food very good. But it’s a safe bet that I live a more sedentary life than Ree does on her ranch, so I can’t be adding extra butter to everything I cook.

copy-of-img_3672

Occasionally, though, Ree makes a dish that does click with me, like this one. It’s an easy, fairly healthy, vegetarian, one-dish pasta meal. That is exactly how we normally eat.

copy-of-img_3700

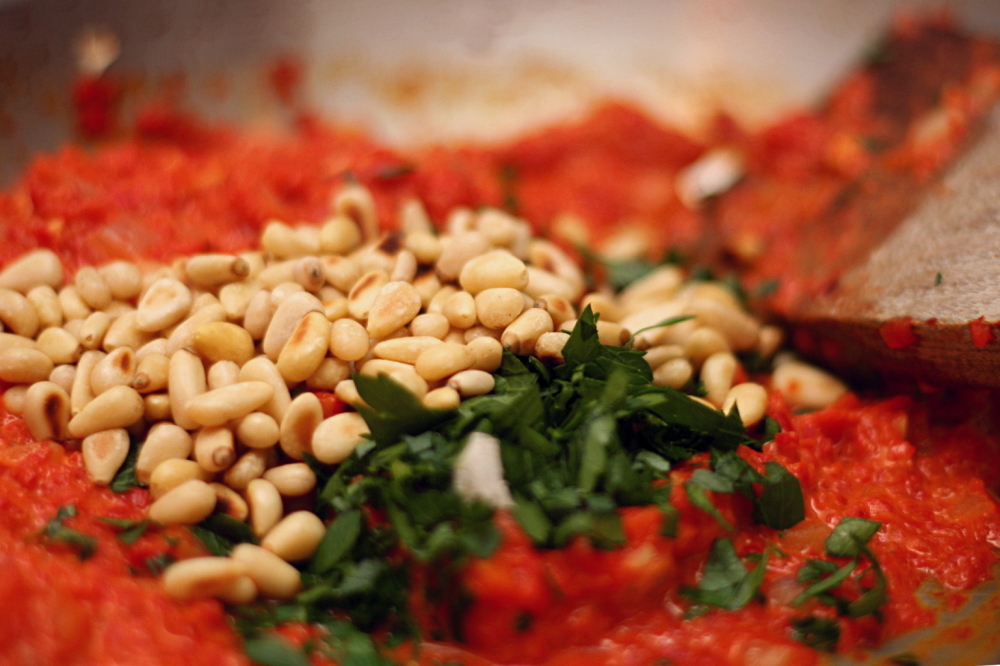
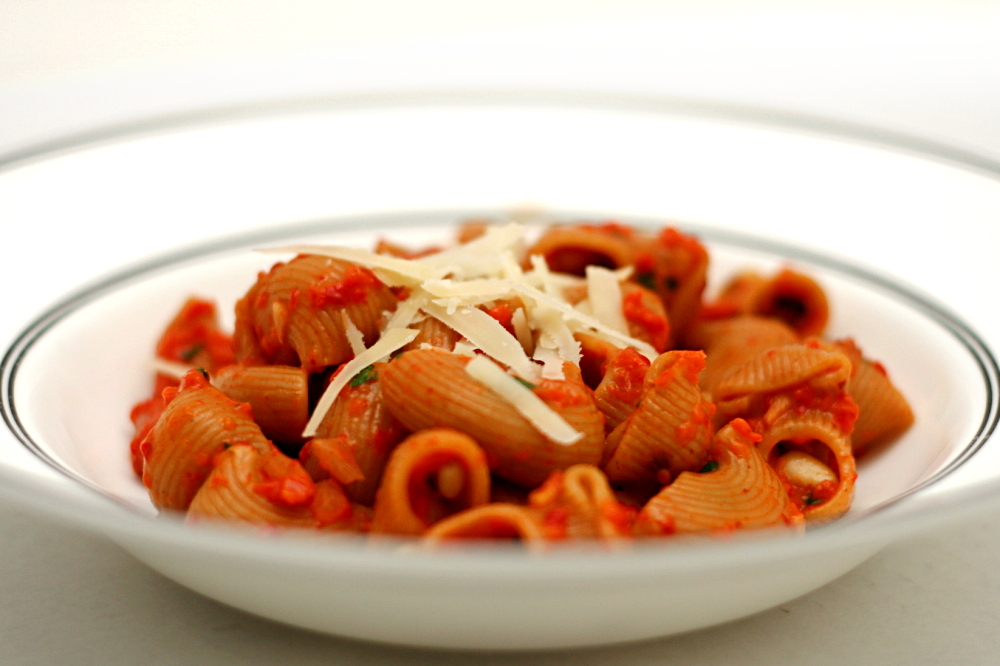
The sauce is simply sautéed onions and garlic with pureed roasted red peppers, pine nuts, and heavy cream stirred in. I used less cream than Ree, of course, and I decided to keep the pine nuts whole instead of grinding them with the roasted peppers. I’m sure either way is fine; recipes as straightforward as this are easy to adapt to your preferences.

copy-of-img_3707

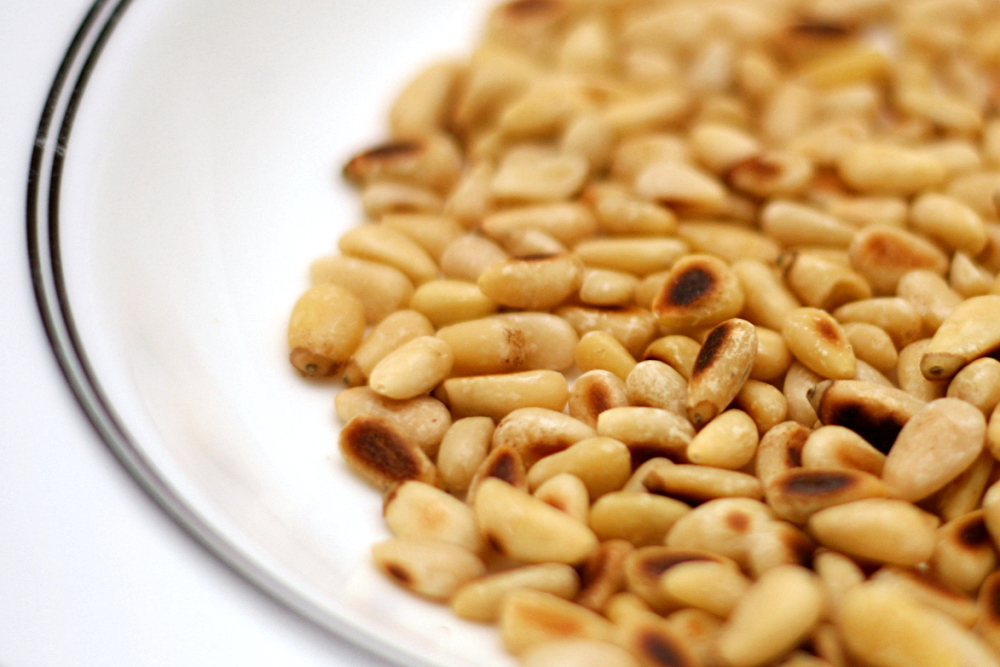
I also burnt the pine nuts and under-roasted the peppers, but these aren’t changes that I recommend that you make. Fortunately, this pasta is so good that even that couldn’t ruin it.

copy-of-img_3712

One year ago: Blueberry Poppy Seed Brunch Cake

Pasta with Roasted Red Pepper Sauce (adapted from The Pioneer Woman Cooks)

Note from Bridget: This is fairly similar to the original recipe, in that it uses the same ingredients in almost the same proportions, but I’ve changed the directions slightly, mostly to give them some more detail. You can roast the peppers a few days advance, and keep them refrigerated (or frozen) either peeled or unpeeled. Also, Ree warns that this dish needs quite a bit of salt, and I found this to be the case. Please don’t be afraid to add salt at the end until the sauce has some flavor!

Serves 2

2 red bell peppers
6 ounces dry pasta
salt
2 tablespoons pine nuts
2 teaspoons olive oil
½ medium onion, finely diced
2 cloves garlic, minced
2 tablespoons heavy cream
1 tablespoon minced flat leaf parsley
fresh Parmesan, shaved, grated or shredded

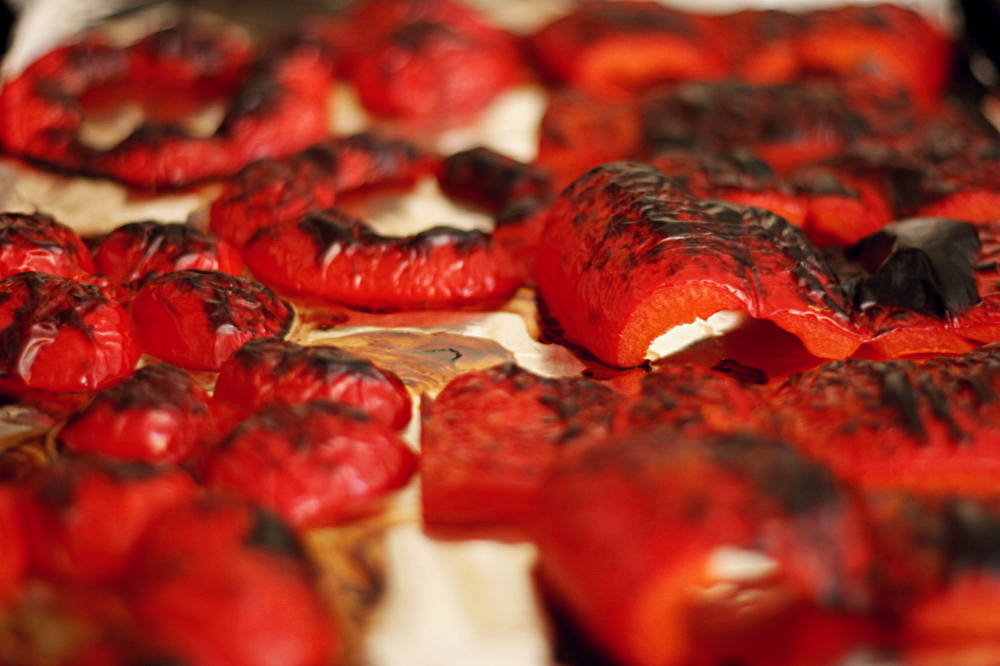
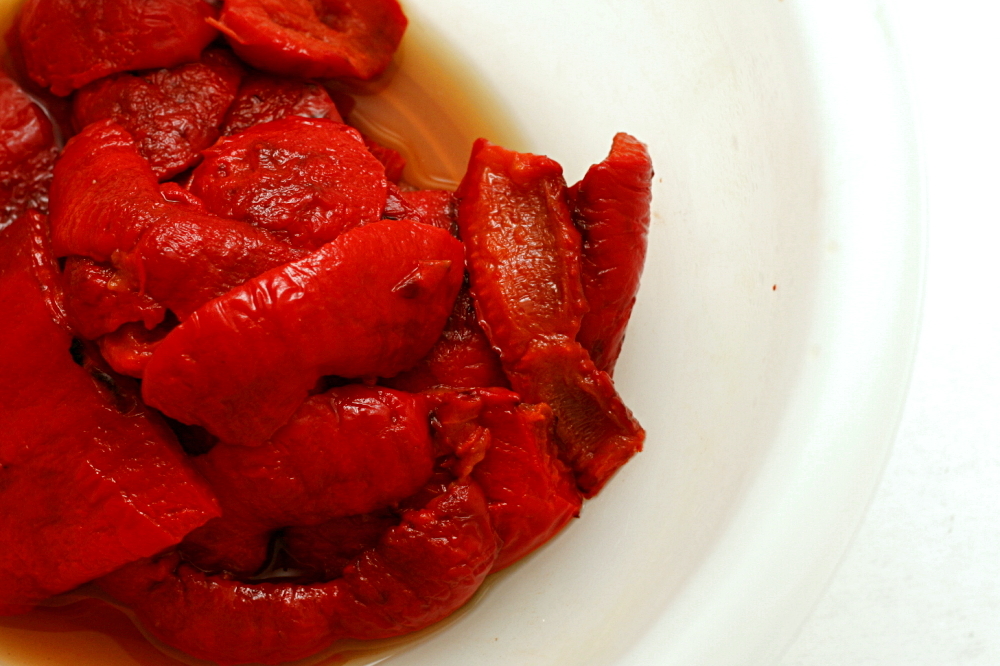
1. Adjust an oven rack to the top position and heat the broiler. Line a baking sheet with foil. Cut a ½-inch ring off the tops and bottoms of the peppers. Remove the seeds and stems, then cut the remaining cylinders of pepper in half lengthwise, into two wide strips. Lay the strips of pepper and the rings skin-side up on the foil-lined pan, pushing the strips down. Broil until thoroughly blackened, 6-8 minutes. Put the broiled peppers in a bowl; cover the bowl and set aside for at least 10 minutes.

2. Bring a large pot of water to a boil. Once boiling, add 1 tablespoon salt and the pasta. Cook the pasta according to the package instructions, until al dente. Drain and return to the cooking pot.

3. Meanwhile, heat a medium skillet, preferably not nonstick, over medium heat. Add the pine nuts and toast, shaking the pan occasionally, until golden brown and fragrant, 3-6 minutes. Remove the pine nuts from the pan and set aside.

4. Peel the skins off of the peppers. Add them to a blender or food processor and purée.

5. Add the olive oil to the now-empty skillet over medium heat. Once heated, add the onion. Sauté, stirring occasionally, until softened and just browned around the edges, about 5 minutes. Add the garlic and cook until fragrant, about 1 minute, then stir in the red pepper puree and ½ teaspoon salt. Pour in the cream and toasted pine nuts, and stir until the sauce is evenly heated. Check for seasoning, adding additional salt if necessary.

6. Add the sauce to the cooked pasta, and stir over medium-high heat until everything is heated and the pasta absorbs some of the sauce. Serve, topping each portion with parsley and Parmesan.

copy-of-img_3714

black bean squash burritos

copy-of-img_3454

One of my (many) goals for this year was to cook less. And boy have I. My cooking and baking was getting out of hand there for a while and getting in the way of other things I needed to be doing. Like working. But I swung too far in the other direction, because do you realize that I haven’t posted a non-baked recipe in a month? In fact, I almost ran out of anything I could post about. Now I’m getting back on track with trying new, easy, healthy dinner recipes.

copy-of-img_3437

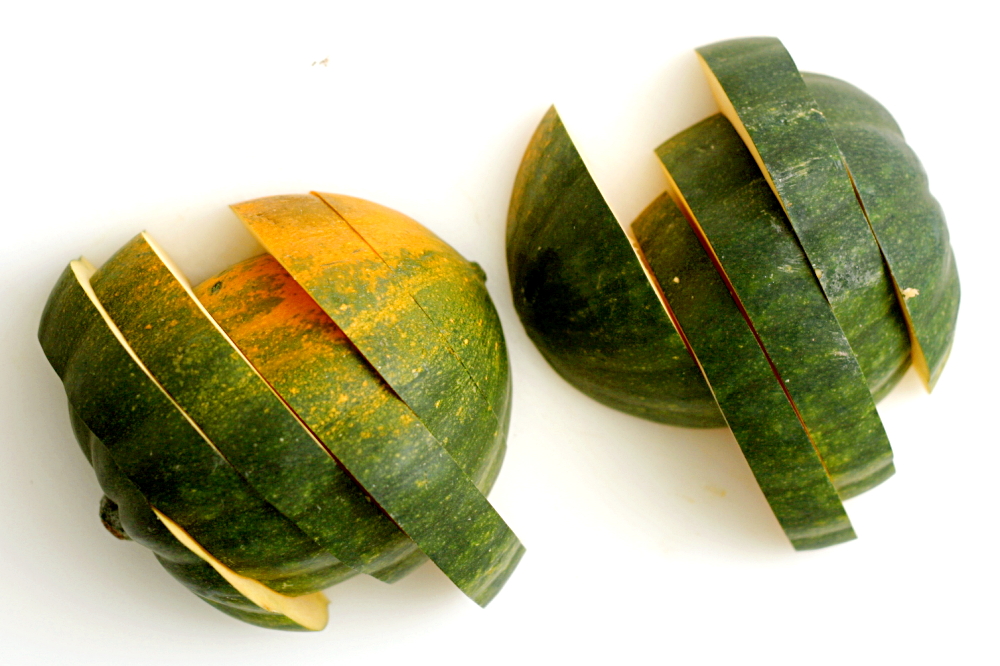
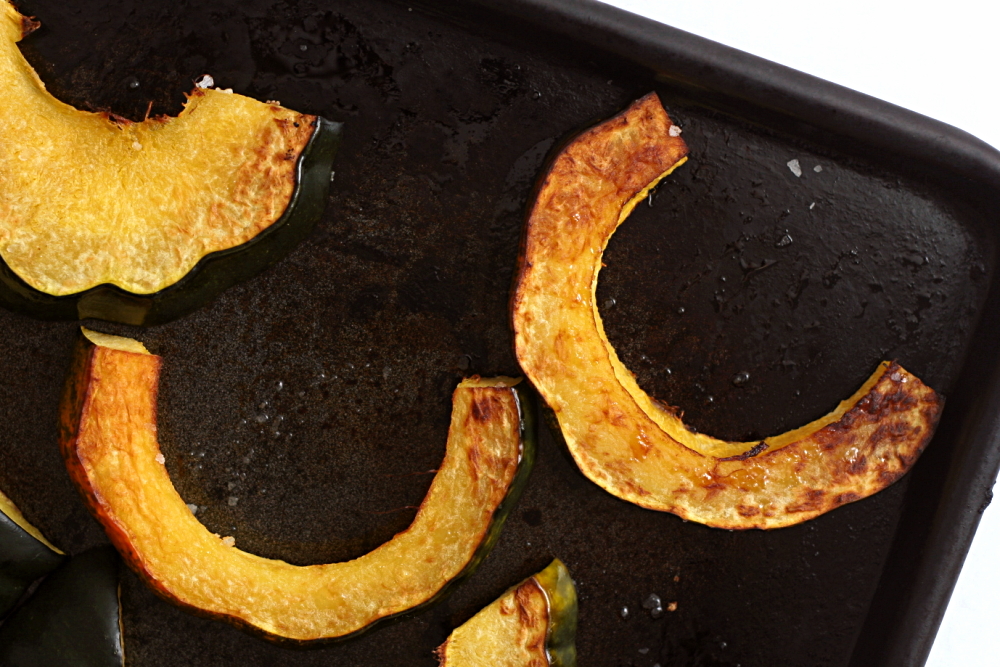
Black bean and squash burritos have been on my radar for a while, but then when I finally decided to make them, I couldn’t find a recipe. I ended up just writing my own. For the squash, I knew I wanted to avoid peeling and dicing it while it was raw, as that whole process always ends up pissing me off. So I sliced the squash, seasoned it, rubbed it in just a little olive oil, and roasted it until it was soft and browned.

copy-of-img_3445

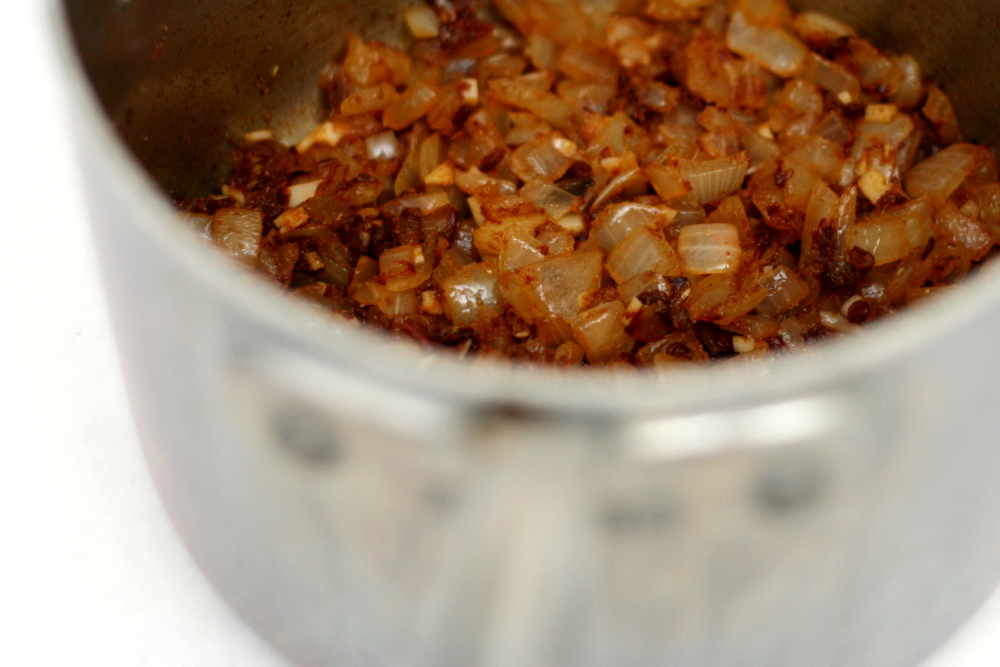
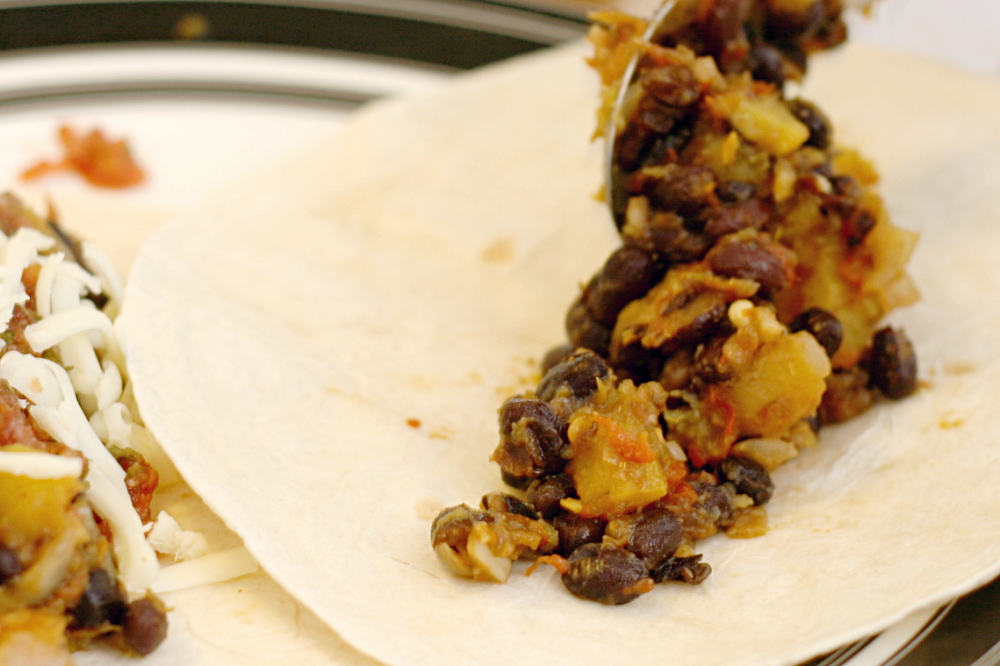
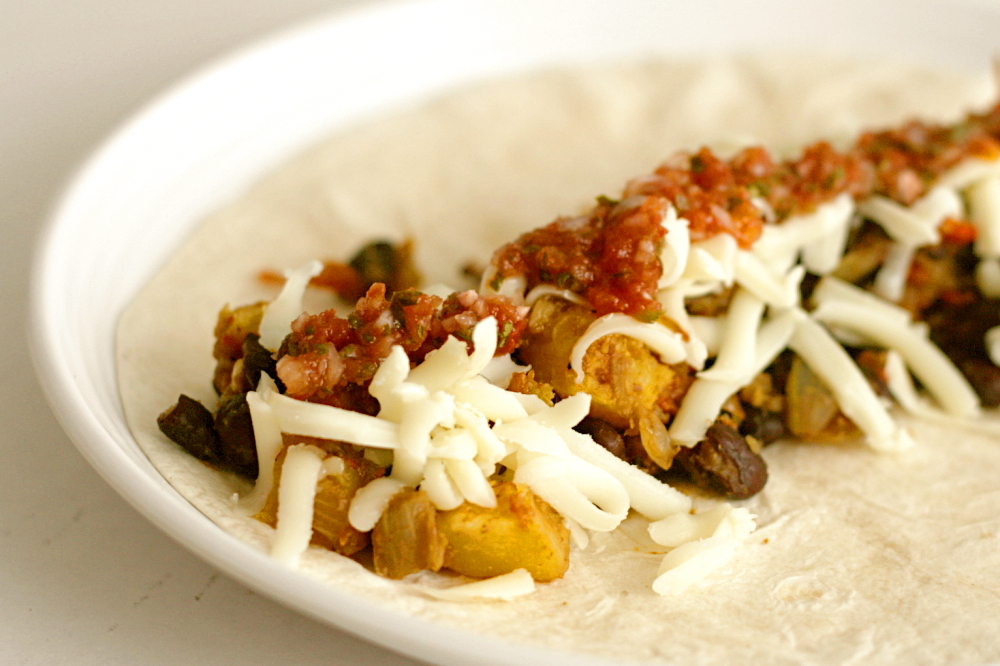
While the squash was in the oven, I sautéed some onions, then added garlic and spices before stirring in green chiles and black beans. When the squash was done, I pulled the peels off and roughly chopped the flesh, which I threw into the pot with the beans. That simple mixture was my main filling, and I served it with salsa and cheese.

copy-of-img_3246

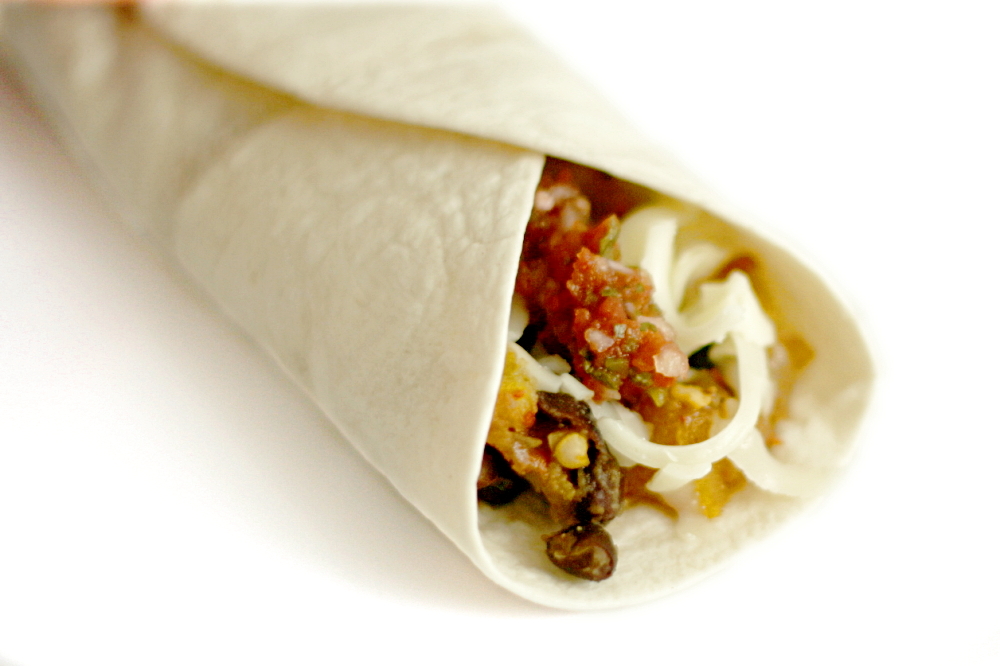
I thought they were really good. And they’re so easy, and they’re healthy, and cheap. An overall success in my book. Dave…um, he thought they were fine. His exact words were, “I like regular burritos better.” I told them he should judge these based on their own merits instead of comparing them to something else, and he said, “Too squashy.” Pbbth. Whatever. I thought they were seriously tasty.

copy-of-img_3449

One year ago: Gooey Chocolate Cake – my first recipe with Tuesdays with Dorie

Squash and Black Bean Burritos

Note: The burritos are also good when they’re made with chipotle chiles instead of green chiles.  If you go that direction, I’d use four, and more if you like a lot of spice.

Serves 4-6

2 small acorn squash
salt and pepper
2 tablespoons olive oil
2 medium onions, chopped small
4 cloves garlic, minced
2 teaspoons ground cumin
1 teaspoon ground coriander
8 ounces green chiles, diced
2 (15-ounce) cans black beans, rinsed and drained
10 (7-inch) flour tortillas, warmed
salsa
4 ounces queso fresco, crumbled, or shredded cheddar (about 1 cup)

1. Adjust an oven rack to the middle position and heat the oven to 450F. Halve the squash and scoop out the seeds. Cut each half into ¾-inch slices. Spread 2 teaspoons of olive oil on a baking sheet and lay the squash slices on the oil, turning each slice over to thinly coat each side. Generously season with salt and pepper. Roast until the squash is browned on the edges and tender throughout, about 20 minutes.

2. Heat 4 teaspoons olive oil in a medium saucepan over medium heat until shimmering. Add onion and sauté, stirring occasionally, until just browned around the edges, 5-7 minutes. Add garlic, cumin, and coriander. Cook, stirring constantly, for about 30 seconds, until fragrant. Stir in the chiles, beans and a pinch of salt. Lower the heat to low, cover, and heat just to warm.

3. When the squash has cooled enough to handle, peel the skin off of each slice. Roughly chop the squash into ¼- to ½-inch pieces and stir into the black beans.

4. Layer the squash-black bean mixture, salsa, and cheese in center of each tortilla. Fold and serve.

copy-of-img_3446

vegetarian chili

copy-of-img_1785

When my sister plans meals for once-a-month freezer cooking, she usually tests a small batch of a recipe before making a larger batch to freeze. This is good practice, I recently learned. A few months ago, I made vegetarian chili to bring on a camping trip, and even though I was experimenting with the recipe, I was confident enough that it would turn out great that I made a huge batch and froze half. Mistake!

copy-of-img_1768

There are a lot of recipes where I think ground meat is just extraneous, and chili is a great example. There are so many other flavorings in chili that it doesn’t usually taste beefy, and the beans provide plenty of protein, so the meat isn’t nutritionally required either. It’s just filler, and expensive, sort of unhealthy filler at that.

When I noticed that my favorite vegetarian chili recipe was very similar to my favorite beef chili recipe, except for the beef, I decided to combine parts of each that I liked. Where I screwed up the first time was in not taking into account that with less filler, I’d need less tomatoes as well. The result was (a huge pot of) chili-flavored spaghetti sauce (that I had to share with friends on the camping trip – sorry guys!).

copy-of-img_1787

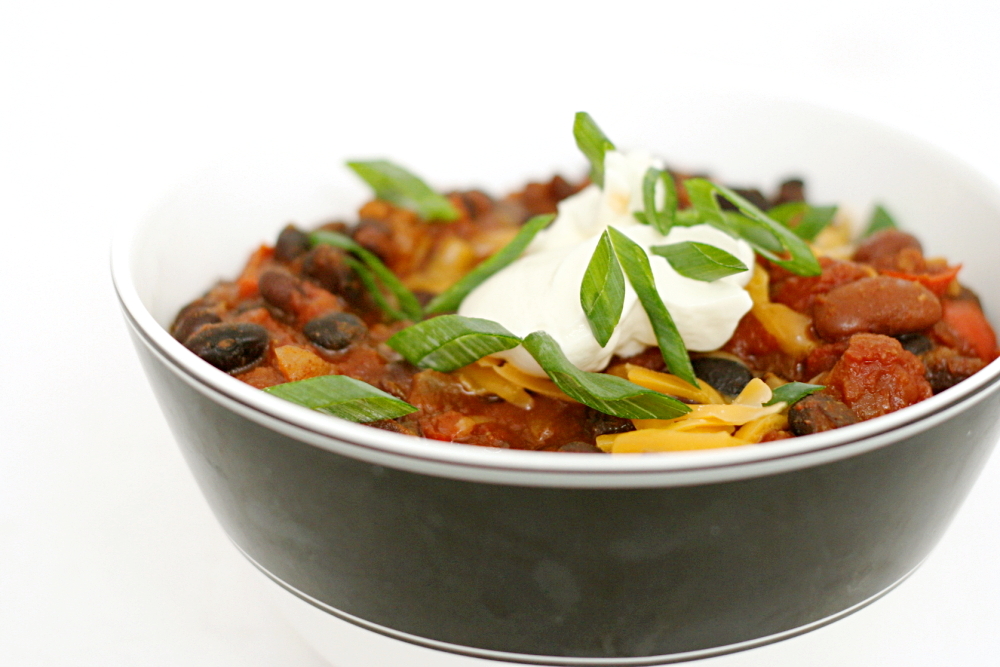
And before I could give it another try, I had to finish all of the frozen way-too-tomatoey stuff in the freezer. When I did finally make vegetarian chili again, I knew exactly what changes I wanted to make. I made a smaller batch this time, just in case, but wouldn’t you know it that I totally nailed it this time with a rich, spicy, meaty-even-without-meat bowl of chili that gets even better when topped with an assortment of garnishes.

copy-of-copy-of-img_1786

One year ago: Salmon Cakes, Flaky Biscuits, Hashed Brussels Sprouts – I made almost this exact same meal again recently (different biscuits though), and it’s just so good.  Restaurant quality food for sure.

Vegetarian Chili (adapted substantially from Jeanne Lemlin’s Vegetarian Classics and Cooks Illustrated’s The New Best Recipe)

I like to chop up the tomatoes a bit before adding them to the chili. I usually just stick a pair of kitchen shears into the can of tomatoes and start snipping.

I’ve never actually added the butter, in an effort to reduce the fat in the recipe. However, I’m guessing it helps mimic the richness that beef would provide.

2 tablespoons olive (or vegetable) oil
2 medium onions, diced
1 medium red bell pepper, cored, seeded, and finely diced
6 garlic cloves, minced or pressed through a garlic press
3 tablespoons chili powder
1 tablespoon ground cumin
1½ teaspoons ground coriander
¾ teaspoon red pepper flakes
1 teaspoon dried oregano
⅛ teaspoon cayenne pepper
1 (28-ounce) can diced tomatoes, undrained
2 (15-ounce) cans kidney beans, drained and rinsed
1 (15-ounce) can black beans, drained and rinsed
½ teaspoon salt
1 tablespoon soy sauce
1 tablespoon butter (optional)
Garnishes: lime wedges, sour cream, cheddar cheese, scallions, red onion, cilantro

1. Heat the oil in a large Dutch oven over medium heat. Stir in the onions, bell pepper, garlic, and spices and sauté, stirring occasionally, until the vegetables are softened and beginning to brown, about 10 minutes.

2. Add the tomatoes, beans, salt, and soy sauce. Increase the heat to medium-high and bring the chili to a boil, then reduce the heat to low. Cook, covered, at a low simmer for one hour, stirring occasionally. If the chili is too thin, cook uncovered until it’s your preferred consistency. Stir in the butter and serve with the garnishes.

herbed lima bean hummus

copy-of-img_1461

I don’t blame Tuesdays with Dorie for my pants being too tight to button by the end of 2008.  I blame unemployment.   Instead of grabbing my standard healthy snacks and eating them at work because they were the only food available, I would pass over the bananas and carrots at home and fill up on cookie dough instead.

copy-of-img_1214

So one of my goals for 2009, since I’m still working at home a few days per week, is to make those healthy snacks more enticing. For bananas, it’s as simple as eating them with peanut butter or Nutella. The carrots, or whatever other raw vegetable I end up eating, cry out for some sort of dip. But anything based on mayonnaise and/or sour cream just defeats the purpose.

copy-of-img_1217

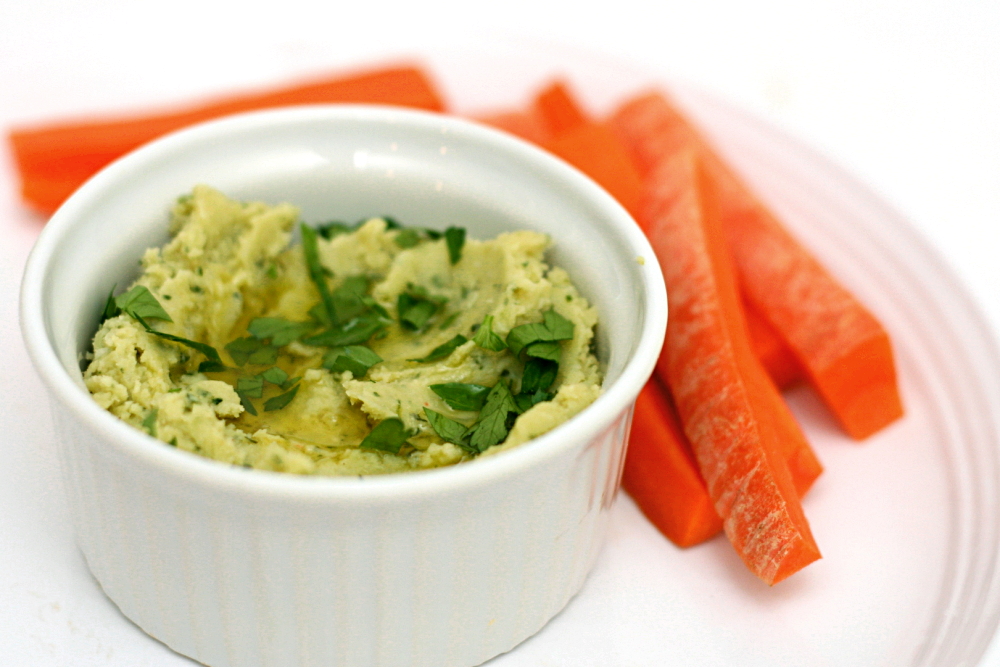
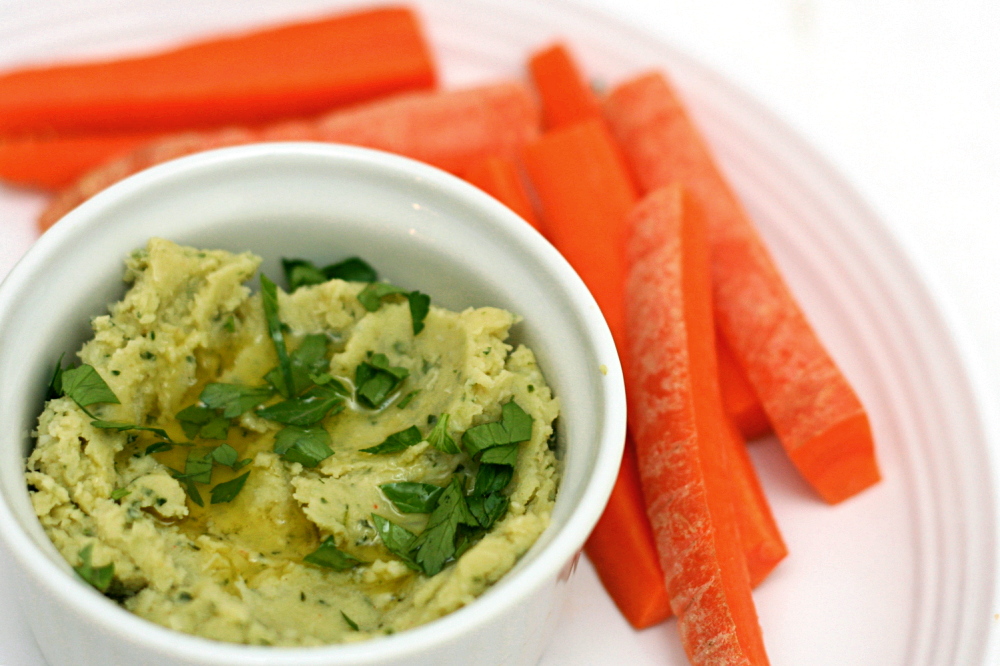
Fortunately, there’s plenty of bean dips out there to explore. This one, which isn’t like traditional hummus at all, is based on lima beans, a bean that I don’t have much experience with. The cooked lima beans are pureed along with aromatics, herbs and seasonings.

copy-of-img_1219

The original recipe called for the onion and garlic to be boiled along with the beans, but who wants boiled onion? Yuck. I took many of the recipe reviewers’ recommendations to sauté the onions and garlic instead. The recipe also calls for mint and dill, but I didn’t have any and didn’t miss it. Finally, I reduced the olive oil just a bit, since the whole point here is to make a healthy snack.

The resulting dip is a pretty green color with a very nice, sort of sweet, flavor. It made my daily carrot, which I guarantee wouldn’t have gotten eaten otherwise, much more enjoyable, but no less healthy.

copy-of-img_1463

One year ago:  Moo shu

Herbed Lima Bean Hummus (adapted substantially from Gourmet, via epicurious)

Makes about 2 cups

1-2 tablespoons extra-virgin olive oil, plus more for serving, if desired
½ large onion, chopped
3 garlic cloves, smashed with side of a large knife
½ teaspoon salt
1 (10-oz) packages frozen baby lima beans
2 tablespoons chopped fresh cilantro
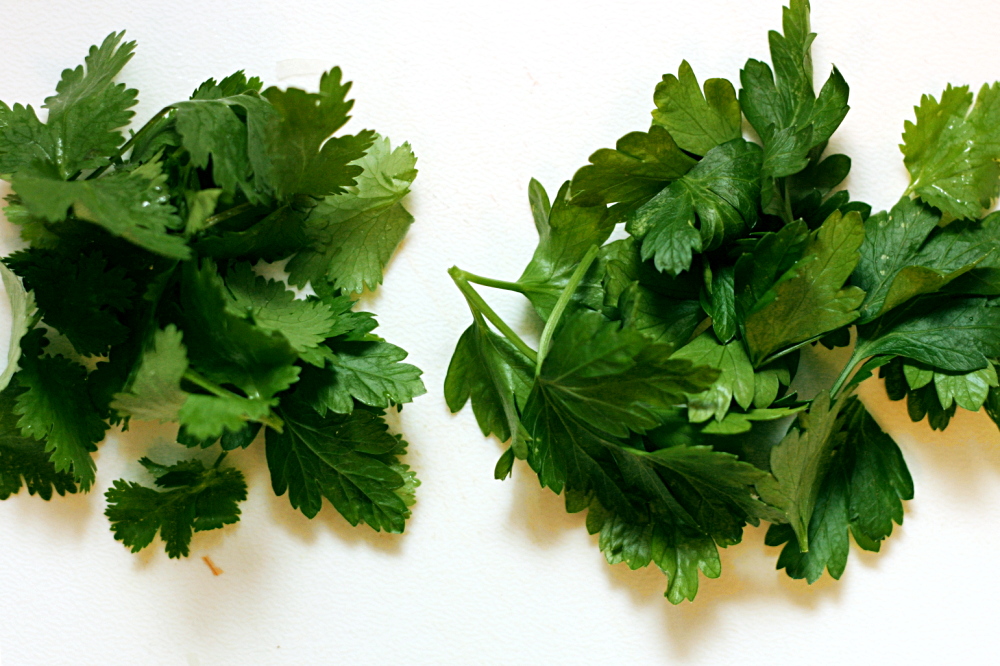
2 tablespoons chopped fresh flat-leaf parsley
½ teaspoon ground cumin
⅛ teaspoon cayenne, or to taste
2 tablespoons fresh lemon juice

1. Over medium heat, heat 1 tablespoon oil in medium skillet. Add onions and cook, stirring occasionally, until they’re just starting to brown around the edges. Add the garlic and salt, stir, then remove from the heat.

2. Meanwhile, in a medium saucepan, bring lima beans and 1 cup water to a boil over high heat. Cover, lower heat, and simmer for 6-8 minutes, until tender. Drain.

3. Add onion mixture, beans, and all remaining ingredients to a food processor and process until smooth. Add more oil if the dip seems too thick.

4. Transfer dip to a serving bowl and drizzle with remaining tablespoon oil, if desired. Serve with crudité or toasted pita wedges. (Dip can be covered and stored in refrigerator for up to 3 days.)
twice-baked potatoes with broccoli, cheddar, and scallions

copy-of-img_1337

I think every food blogger recognizes that there are copyright issues with what we do. Very few of us have only original recipes on our blogs, which means the recipes we publish are from other sources – sources who would prefer that people pay money for their recipes instead of stumbling upon them in a blog.

copy-of-img_1297

Most of us dutifully provide the source of the recipe and then hope for the best. It’s also fairly common knowledge among bloggers that one loophole is to write out the recipe directions in our own words, because ingredient lists can’t be copyrighted. Not that this is foolproof – it’s the creative idea that is copyrighted, not the wording of the directions.

copy-of-img_1303

It’s not unlike birth control – the only method to guarantee that you won’t get into trouble is to abstain from blogging. If you’re not willing to do that, you take whatever precautions you’re willing to and then hope for the best.

copy-of-img_1308

The idea for this particular recipe comes from Cooks Illustrated. I used to make it once a month or so, since it’s easy, balanced, and fairly healthy. I hadn’t made it in over a year, but I decided not to look up the recipe. I still remembered the gist of it, and this way I could make it my own, thus avoiding the whole copyright issue. Besides, I was fairly certain that I wouldn’t be able to combine these ingredients and get anything that wasn’t good.

copy-of-img_1325a

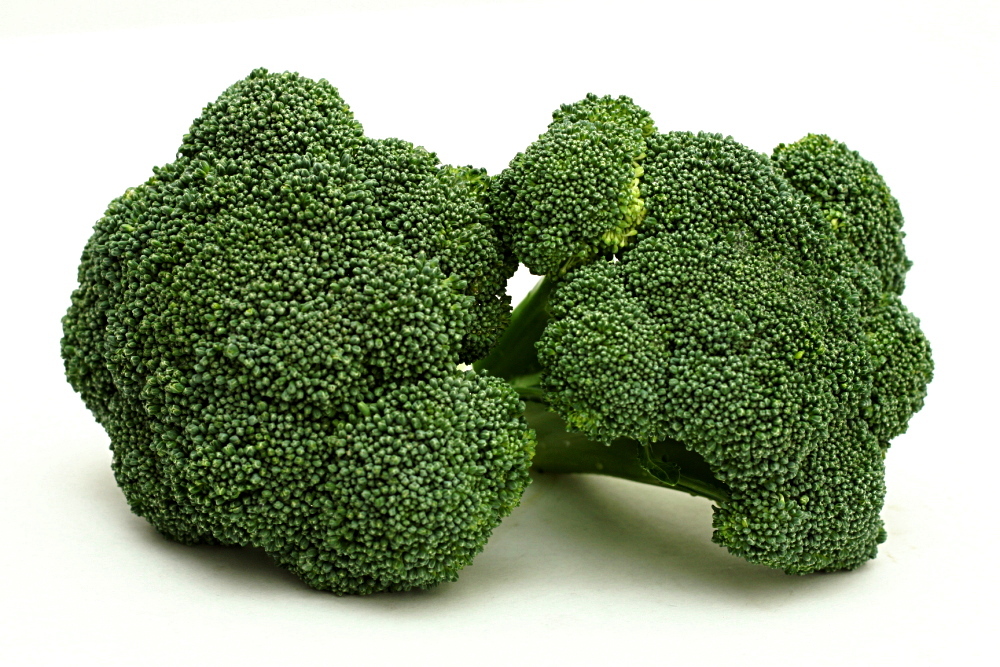
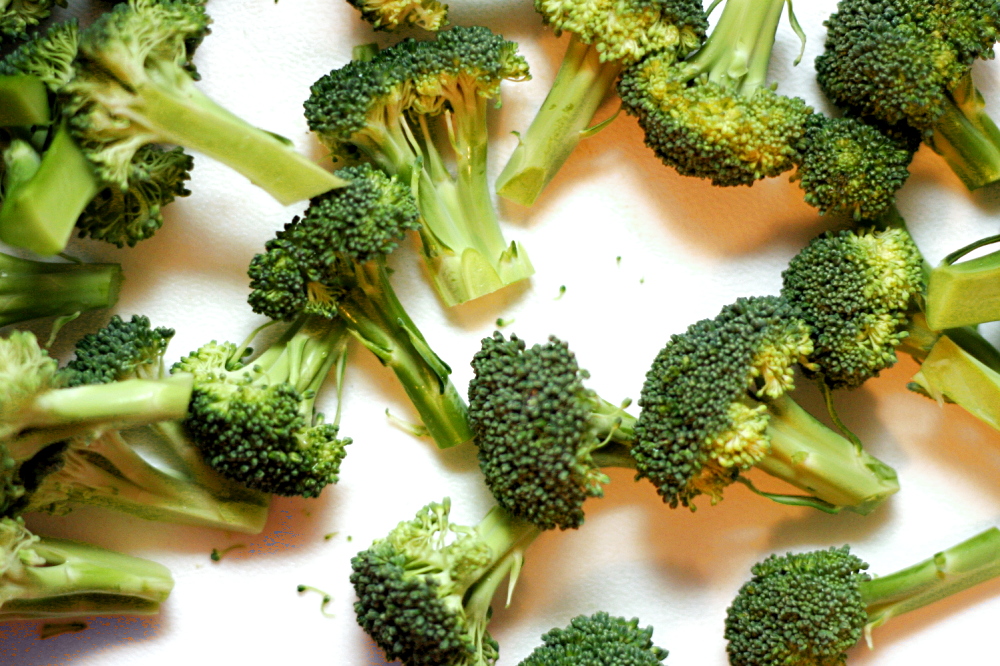
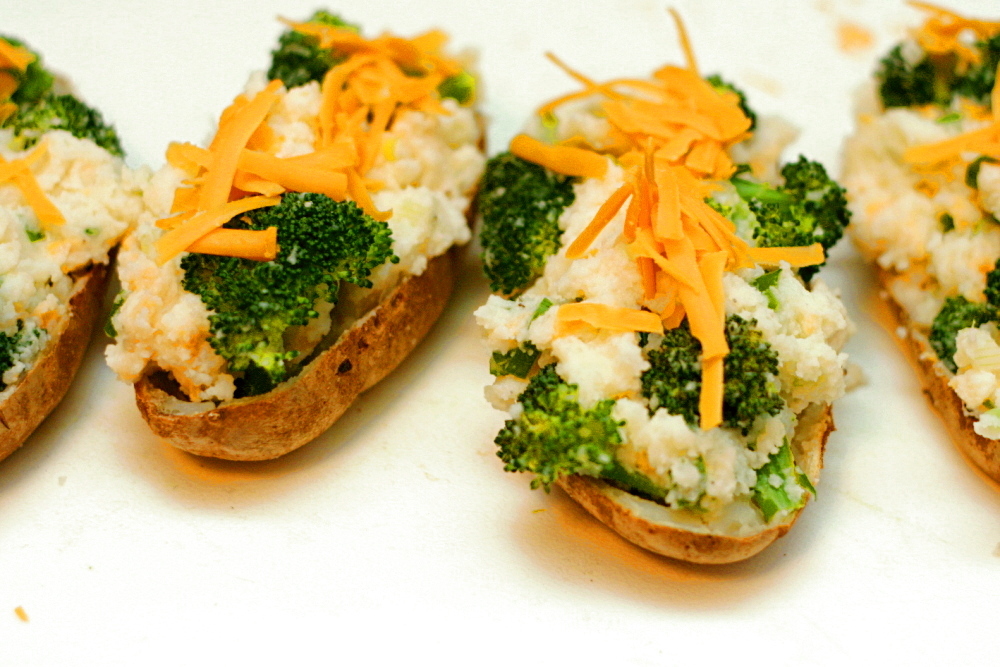
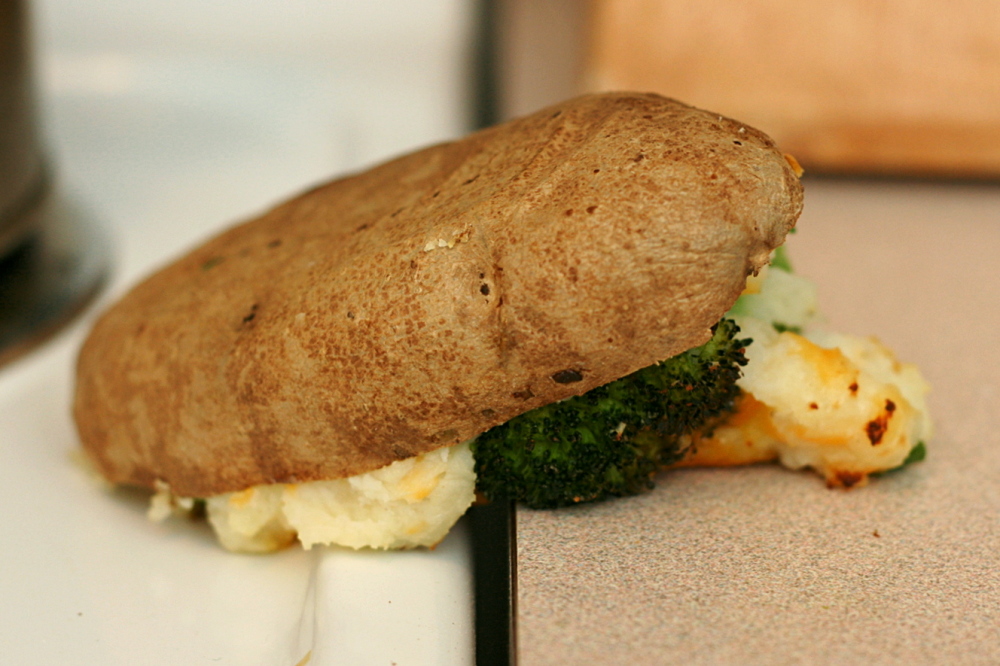
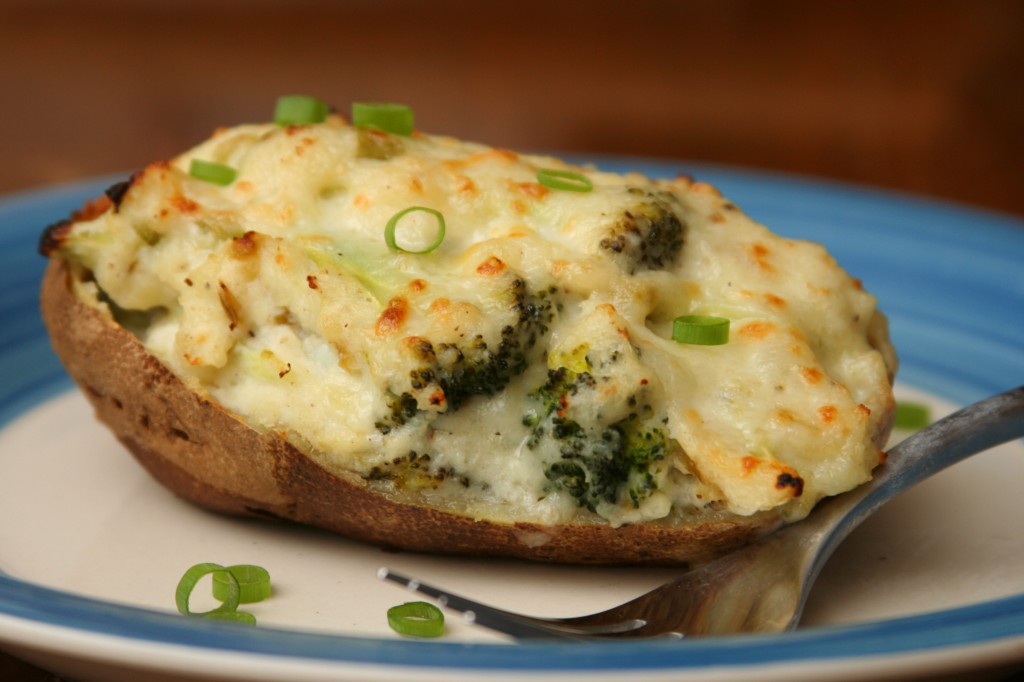
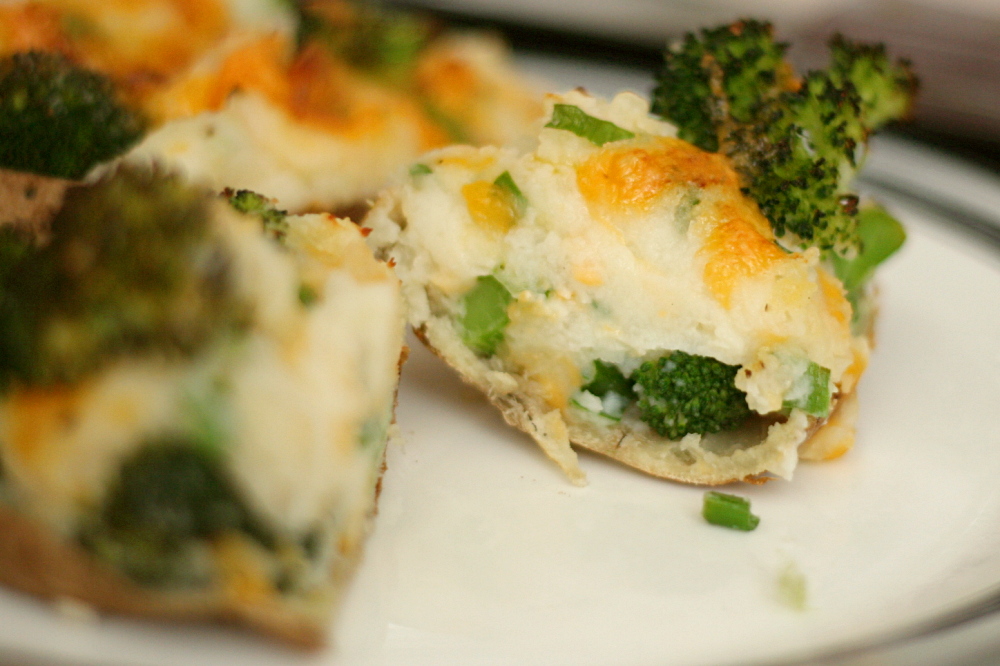
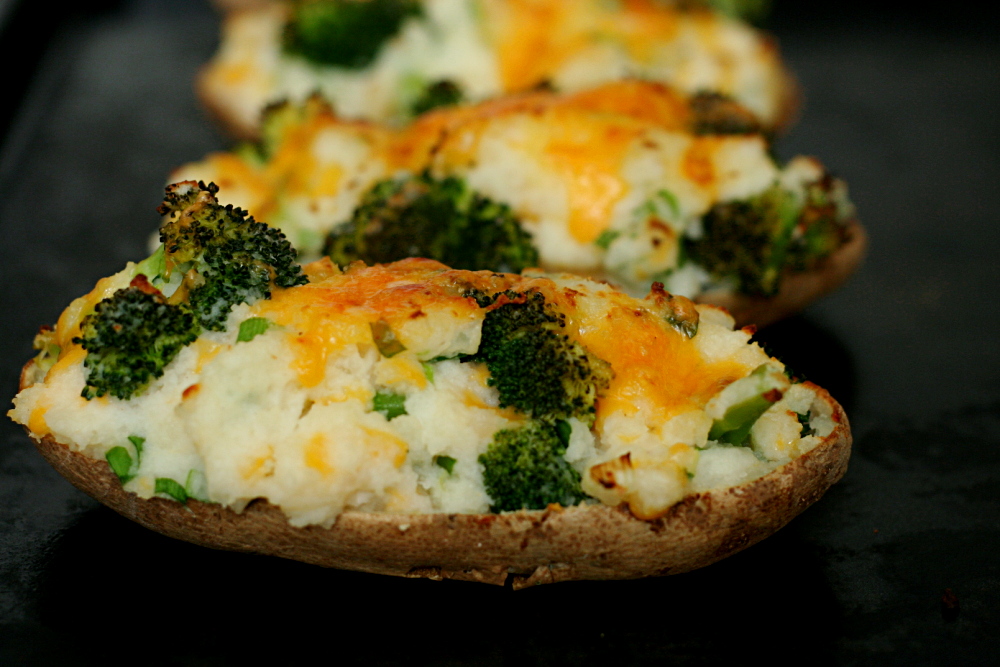
These are simply lightened-up twice-baked potatoes. I cut the broccoli into bite-sized florets, steamed them, and seasoned them with lemon juice and a bit of salt. Then I mashed up the baked potato innards with just enough butter to moisten them, and stirred in enough buttermilk to get the texture I was looking for – moist but not wet. Buttermilk is great with potatoes because it tastes like sour cream but isn’t nearly as fattening. I tried to be judicious with the cheese, and then scallions provided the perfect overtone of onion flavor. I stuffed the shells with the filling and put the whole thing under the broiler for a few minutes to reheat it and melt the cheese. (The final step, of course, is to drop it on the counter while transferring it from the baking sheet to a plate.)

copy-of-img_1339

The result is the ideal healthy-ish one-dish-meal baked potato. The shells are crispy, the broccoli is cooked just right, the potato filling is creamy, and the flavors meld perfectly. Cooks Illustrated couldn’t have done it any better.

One year ago: Country Crust Bread – my favorite sandwich bread

Twice-Baked Potatoes with Broccoli, Cheddar, and Scallions

Serves 2

This is admittedly heavy on the broccoli. You can use less if you prefer, but we like broccoli and it’s so healthy.

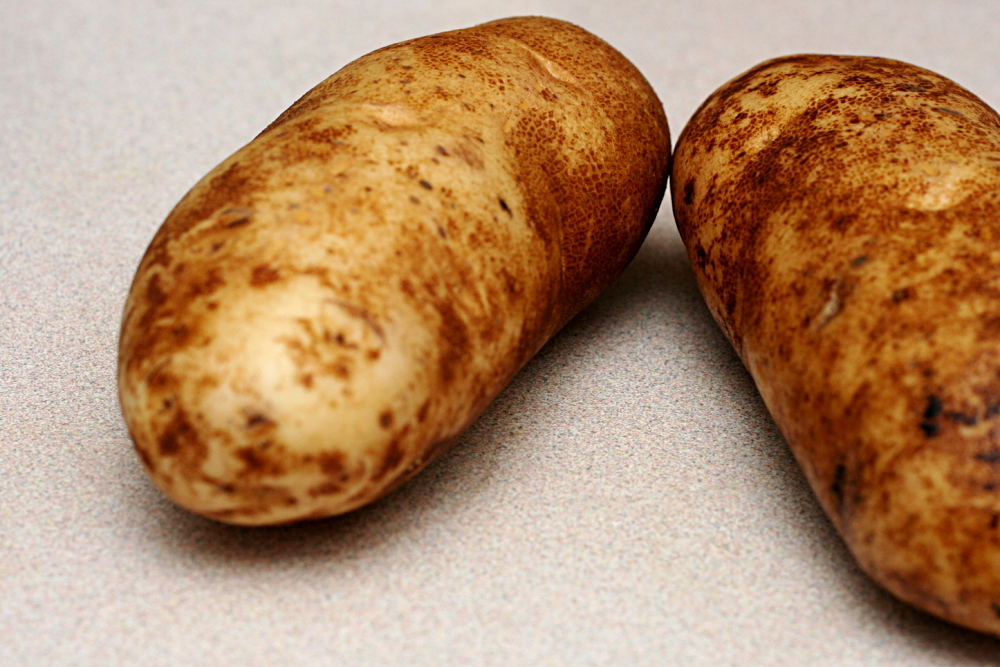
2 medium to large baking (russet) potatoes
2 small (or 1 large) broccoli crowns, cut into 1-inch florets with stems no longer than 1 inch
½ teaspoon lemon juice
1 tablespoon butter, softened
½ cup buttermilk
1 scallion, sliced then
1 ounce (¼ cup) cheddar, plus ½ ounce (2 tablespoons)
salt
black pepper

1. Move an oven rack to the middle position and heat the oven to 400 degrees. Scrub the potatoes and stab them several times with a fork. Place them on the oven rack and bake until a fork inserted into the potato meets no resistance, 60-75 minutes.

2. Remove the potatoes from the oven and set them aside until they’re cool enough to handle. Heat the broiler. Meanwhile, bring 1 inch of water to a boil in a large saucepan over high heat. Place the broccoli florets in a steamer basket and put the steamer basket in the saucepan, making sure that the water does not come into contact with the broccoli. Cover the pot and steam for 4 minutes, until the broccoli is just crisp-tender. (You want it more on the crisp side, since they’ll continue to cook as they cool, plus they’ll spend some time under the broiler.) Remove the steamer basket with the broccoli from the saucepan and discard the water in the pot. Dump the broccoli into the pot and season with a pinch of salt and the lemon juice.

3. Cut the potatoes in half lengthwise. Using a spoon, scoop out the flesh of the potatoes, leaving a thin coating on the potato skin. In a medium bowl, use a potato masher to mash the potato flesh with the butter. Stir in ¼ teaspoon salt, a pinch of ground black pepper, the broccoli, plus the remaining ingredients, except ½ ounce cheddar.

4. Spoon the filling into the potato shells and top with the remaining cheddar. Place the potatoes on a baking sheet and broil until the cheese is spotty brown and the tops are crisp. Serve immediately.

copy-of-img_1341

chopped salad

copy-of-img_1243

Last month, I was looking at pictures with my 2-year-old nephew, and when we came to a picture of my sister when she was six months pregnant, he pointed to her and said, “That’s Aunt Bridget!” Wow, thanks buddy. I know my pants fit kind of tight lately, but at least they’re size-six pants!

copy-of-img_1228

So I’m thinking I should eat more salads. Okay, that isn’t the reason – mostly, I just like salads. I like salads served either as the main dish or before the rest of the meal. Too often salads are an afterthought pieced together from iceberg lettuce, out-of-season tomatoes, and bottled dressing, and they’re served alongside a meal that they don’t compliment.

copy-of-img_1231

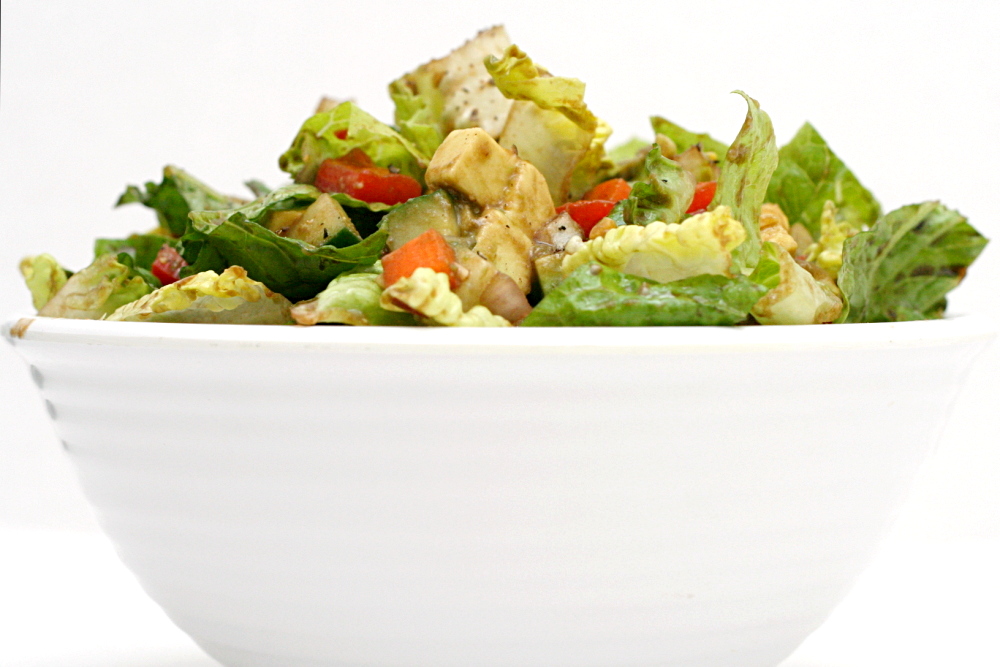
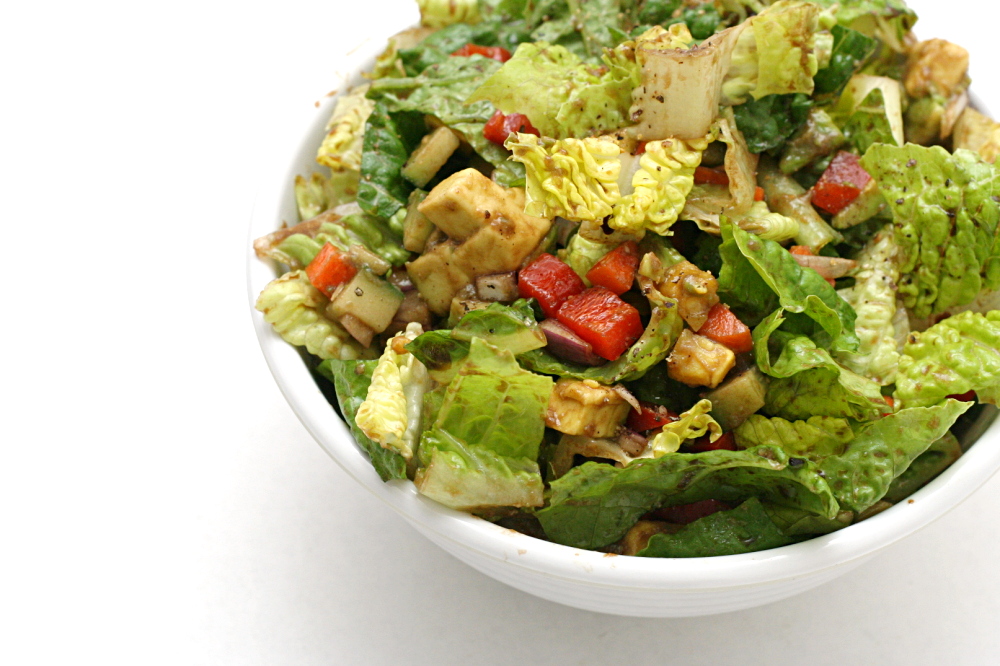
I know chopped salad hardly needs a recipe – just take your favorite vegetables and serve them over lettuce. I’m just excited about this particular combination – in about a week, I had it for dinner twice and lunch once.

copy-of-img_1236

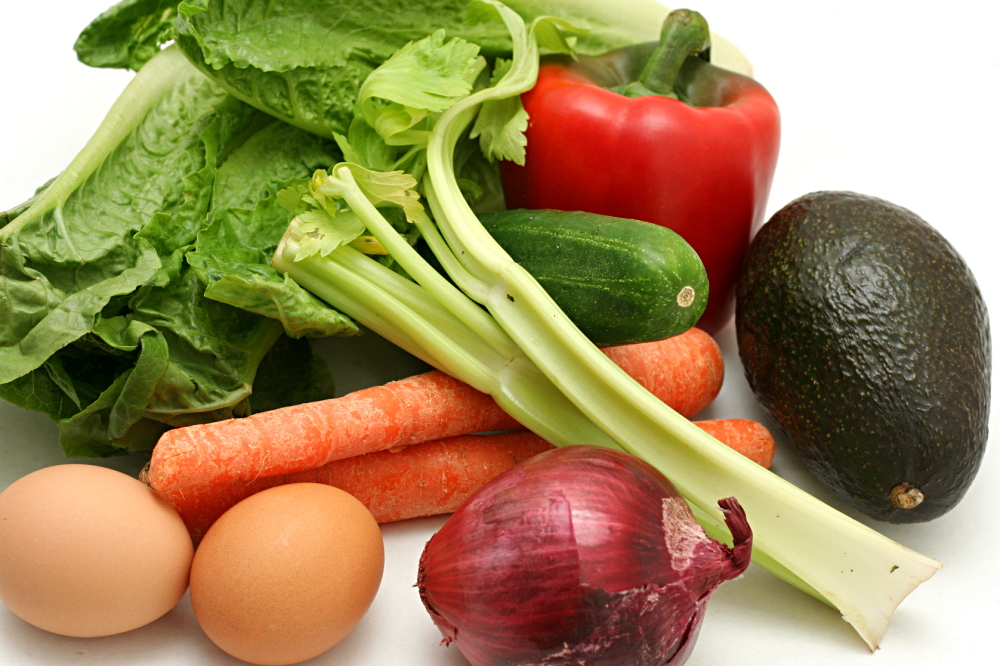
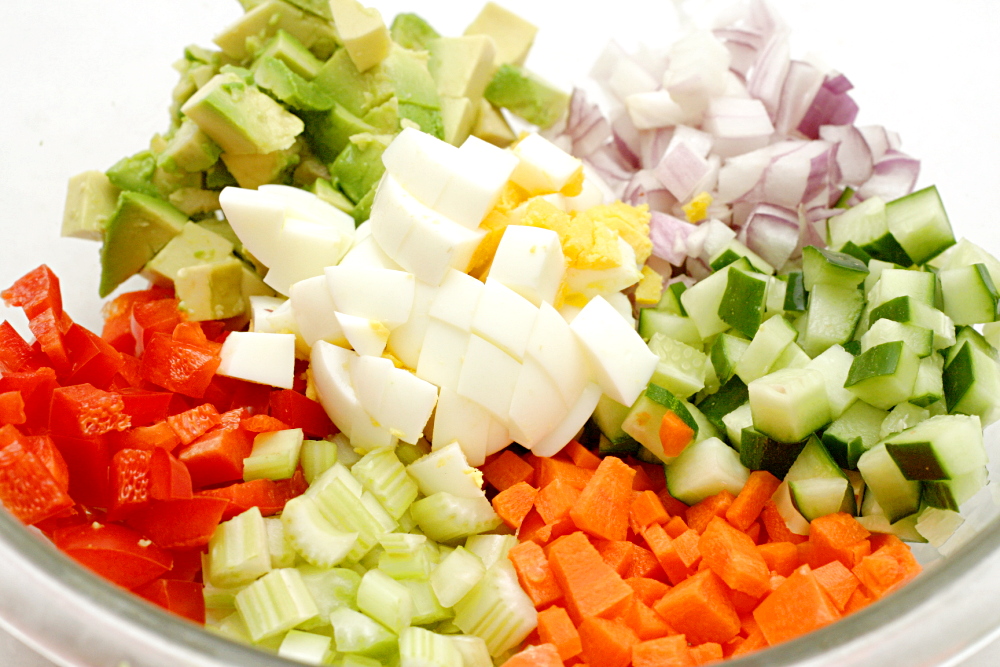
My salad includes romaine lettuce, along with carrots, cucumbers, celery, red pepper and red onion. I added hard-boiled eggs for protein and avocado to mellow the tartness of the vinaigrette. I chopped everything except the lettuce into about ¼-inch cubes, which made them easy to scoop up with a fork. There’s just enough lettuce to get maybe one small piece with each forkful of chopped vegetables.

Nothing makes me feel healthier than eating a big bowl of salad for dinner. And that makes me look forward to dessert that much more.

copy-of-img_1241

Chopped Salad (adapted slightly from Mark Bittman’s How to Cook Everything Vegetarian)

Serves 4

Vinaigrette:
2 tablespoons vinegar – good choices include balsamic, sherry, red wine, white wine
¼ teaspoon salt
pinch black pepper
4 tablespoons extra virgin olive oil

2 medium carrots, peeled
4 stalks celery stalks, preferably from the heart, washed
1 medium red onion
1 medium red bell pepper, washed
1 regular-sized cucumber or 2 english cucumbers, washed
1 avocado, halved, seed removed, flesh scooped from skin
2 hardboiled eggs, peeled
2 romaine hearts, washed and dried

1. For the vinaigrette: Combine all ingredients in a jar with a tightfitting lid and shake until combined.

2. For the salad: Chop all ingredients except romaine into ⅛- to ¼-inch cubes and place in large bowl. Cut romaine into approximately 1-inch pieces and add to bowl.

3. Add vinaigrette to salad ingredients and mix thoroughly. Serve.

pumpkin ravioli

copy-of-img_8867

I didn’t start making fall foods, including anything with pumpkin, until October, but now I can’t seem to get enough. I’m pumpkin crazy. In the last few weeks, I’ve made pumpkin pancakes (several times), pumpkin cheesecake, pumpkin whoopee pies, pumpkin black bean soup, and pumpkin ravioli, plus a bunch of stuff with other types of squash. And I want more cheesecake, and I wouldn’t mind more pumpkin ravioli. Or pancakes. Oh, and I haven’t had pie yet… And doesn’t this and this and this look good?  (Ack, and another one, updated while I was writing this!)

copy-of-img_8854

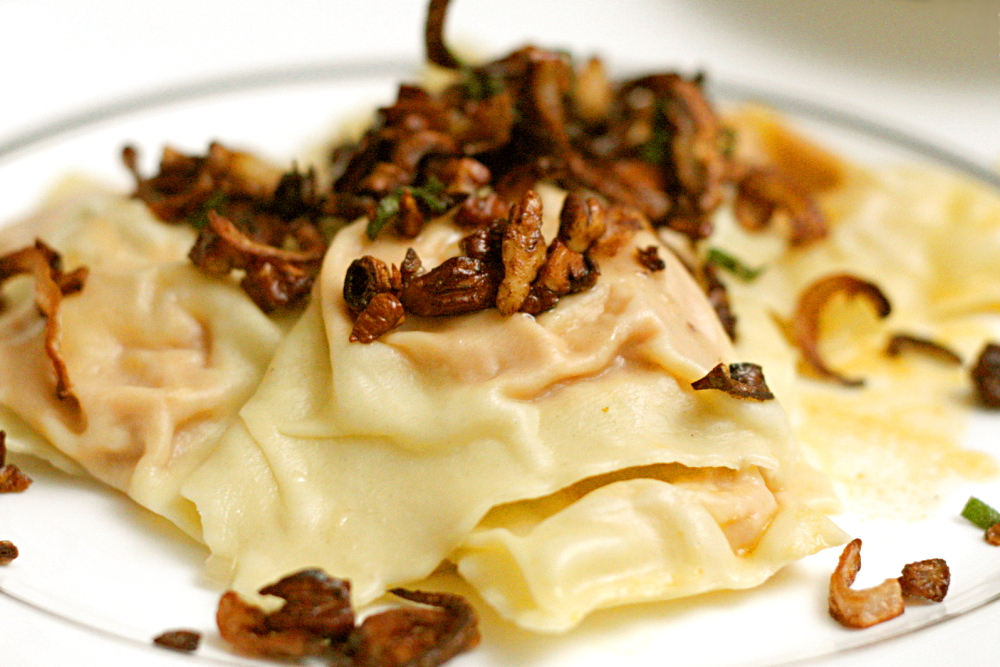
Making ravioli is one of the most fun (and work-intensive) aspects of having a pasta roller. The first couple ravioli recipes I made had fairly standard cheese fillings, but what’s the point of going through all the effort for homemade ravioli when I could buy almost the same thing at the grocery store? Pumpkin filling makes far more sense.

The recipe was one of the first I ever saved from a food blog, about a year ago. (Of course I didn’t record the source and had to scramble to find it later.) Before I made the ravioli, I did some searching to look at other pumpkin ravioli recipes, but none used the goat cheese that this one does, and I love goat cheese. It doesn’t hurt that this filling is really easy to put together, which at least in part makes up for all the work involved with the pasta.

copy-of-img_8859

Cara gave some instructions for a sauce to go with the ravioli, but I really wanted to serve it with sage browned butter. I found a recipe that looked pretty good, but then I got lazy and half-assed it, and it didn’t come out great. So I’m not going to provide a sauce recipe to go with the ravioli, instead leaving it to you to find something that looks good. I still recommend sage browned butter, either following that recipe correctly, or just browning some butter and adding minced sage, salt and pepper.

copy-of-img_8865

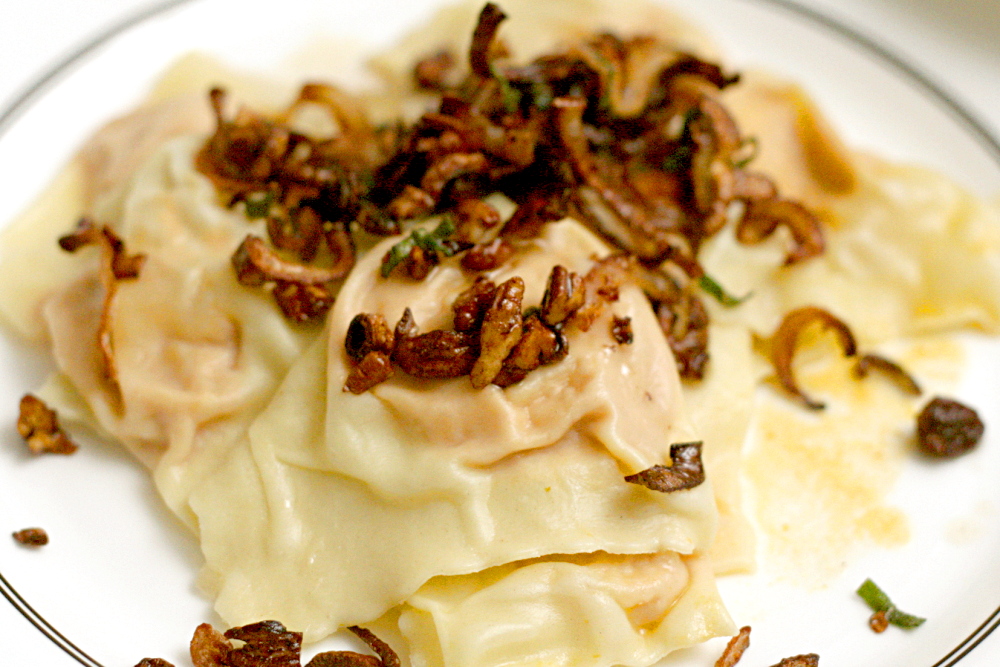
The ravioli were great. I love the pumpkin and goat cheese combination, and the maple syrup gave it just a bit of complimentary sweetness. Cara recommended a pinch of cinnamon, but I used nutmeg instead, because I love it in savory recipes, and it’s one of Dave’s favorite spices. I’m getting much better and faster at making ravioli, so I’m looking forward to trying more recipes.

copy-of-img_8866

Pumpkin Ravioli (dough ingredients and ravioli forming instructions from Cooks Illustrated; dough mixing and rolling method from Marcella Hazan; filling recipe adapted from Cara’s Cravings)

Please keep in mind that the recipe looks so long only because Marcella Hazan, whose pasta recipe I use, gives incredibly detailed instructions.

Filling:
1 (15-ounce) can pumpkin puree
4 ounces goat cheese, softened
1 tablespoon maple syrup
pinch nutmeg
salt and pepper to taste

Dough:
2 cups (10 ounces) unbleached flour
3 large eggs
For the filling:
Stir together all ingredients until smooth (or at least very close to smooth).

For the pasta:
Pour the flour onto a work surface, shape it into a mound, and scoop out a deep hollow in its center. Break the eggs into the hollow.

Beat the eggs lightly with a fork for about 2 minutes as though you were making an omelet. Draw some of the flour over the eggs, mixing it in with the fork a little at a time, until the eggs are no longer runny. Draw the sides of the mound together with your hands, but push some of the flour to one side, keeping it out of the way until you find you absolutely need it. Work the eggs and flour together, using your fingers and the palms of your hands, until you have a smoothly integrated mixture. If it is still moist, work in more flour.
When the mass feels good to you and you think it does not require any more flour, wash your hands, dry them, and run a simple test: Press you thumb deep into center of the mass; if it comes out clean, without any sticky matter on it, no more flour is needed. Put the egg and flour mass to one side, scrape the work surface absolutely clear of any loose or caked bits of flour and of any crumbs, and get ready to knead.

Return to the mass of flour and eggs. Push forward against it using the heel of your palm, keeping your fingers bent. Fold the mass in half, give it a half turn, press hard against it with the heel of your palm again, and repeat the operation. Make sure that you keep turning the ball of dough always in the same direction, either clockwise or counterclockwise, as you prefer. When you have kneaded it thus for 8 full minutes and the dough is as smooth as baby skin, it is ready for the machine.

Cut the ball of dough into 6 equal parts.

Spread clean, dry, cloth dish towels over a work counter near where you’ll be using the machine.
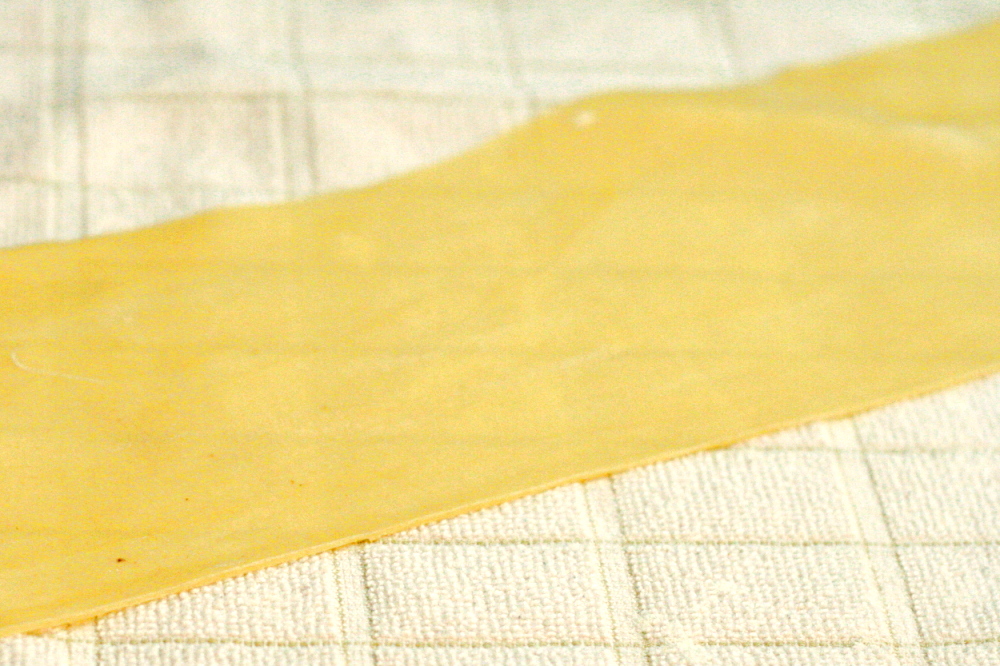
Set the pair of smooth cylinders, the thinning rollers, at the widest opening. Flatten one of the pieces of dough by pummeling it with your palm, and run it through the machine. Fold the dough twice into a third of its length, and feed it by its narrow end through the machine once again. Repeat the operation 2 or 3 times, then lay the flattened strip of pasta over a towel on the counter. Since you are going to have a lot of strips, start at one end of the counter, leaving room for the others.

Take another piece of dough, flatten it with your hand, and turn it through the machine exactly as described above. Lay the strip next to the previously thinned one on the towel, but do not allow them to touch or overlap, because they are still moist enough to stick to each other. Proceed to flatten all the remaining pieces in the same manner.

Close down the opening between the machine’s rollers by one notch. Take the first pasta strip you had flattened and run it once through the rollers, feeding it by its wider end. Do not fold it, but spread it flat on the cloth towel, and move on to the next pasta strip in the sequence.

When all the pasta strips have gone through the narrower opening once, bring the rollers closer together by another notch, and run the strips of pasta through them once again, following the procedure described above. You will find the strips becoming longer, as they get thinner, and if there is not enough room to spread them out on the counter, you can let them hand over the edge. Continue thinning the strips in sequence, progressively closing down the opening between the rollers one notch at a time. This step-by-step thinning procedure, which commercial makers of fresh pasta greatly abbreviate or skip altogether, is responsible, along with proper kneading, for giving good pasta its body and structure.

Continue thinning the pasta until the second-to-last setting.

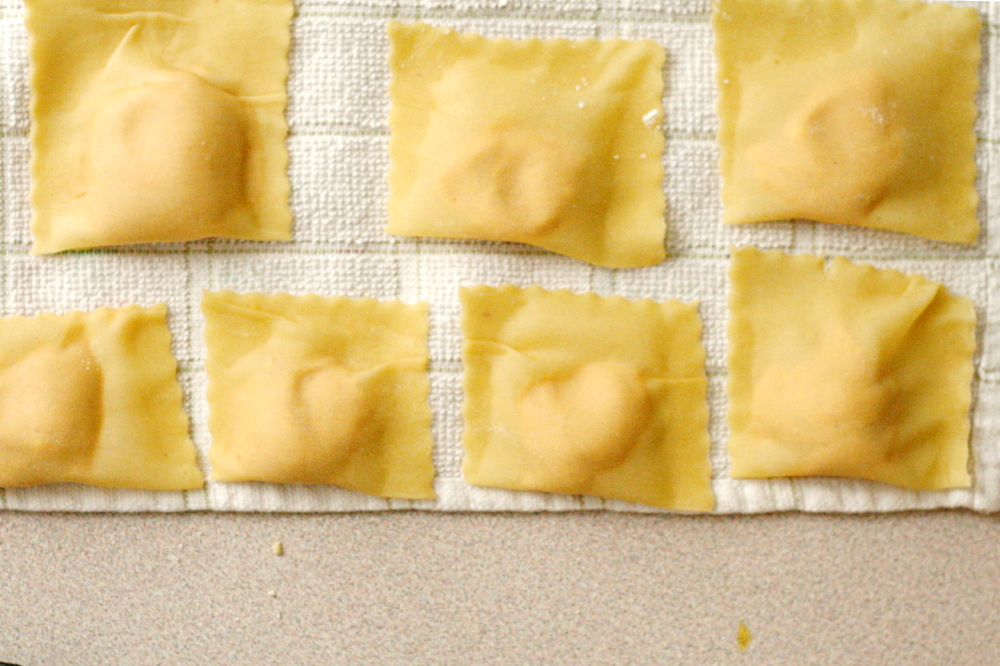
Your sheets should be approximately 4 inches across. Place small balls of filling (about one rounded teaspoon each) in a line one inch from the bottom of the pasta sheet. Leave one and one-quarter inches between each ball of filling. Fold over the top of the pasta and line it up with the bottom edge. Seal bottom and the two open sides with your finger. Use fluted pastry wheel to cut along the two sides and bottom of the sealed pasta sheet. Run pastry wheel between balls of filling to cut out the ravioli.

To cook ravioli:
Bring 4 quarts water to boil in a large stockpot. Add salt and half the pasta. Cook until doubled edges are al dente, 4-5 minutes. With a slotted spoon, transfer ravioli to warmed bowls or plates; add sauce of choice. Meanwhile, put remaining ravioli in boiling water and repeat cooking process. (Or bring two pots of water to boil and cook both batches simultaneously.) Serve immediately.

phyllo triangles: crawfish and mushroom fillings

I have had this recipe in my “To Blog” folder for months. It has sat there, ignored, while flashier ideas or more seasonal recipes or better photos or easier stories made other entries come first. In fact, I now have 33 recipes that are ready to be written about, just waiting for me to get up the motivation. I have decided that the only way to get my To Blog folder back under control will be a commitment to publish a blog entry every day for a month – which I could easily do even if I didn’t make one new recipe for the rest of the month.

These crawfish phyllo triangles caught my eye when Jen wrote about them because I remembered really liking crawfish the one time I’d had them before. But it was a few months before I discovered a great fish market nearby where I could actually buy crawfish. I served these with Deb’s mushroom phyllo triangles, thinking that it wouldn’t be much more work to make another filling as long as I was already dealing with phyllo.

I changed the season in the filling recipe, as Jen didn’t seem completely pleased with it. I love Old Bay, which is what she recommended using instead of the paprika in the original recipe. I also left out a few ingredients that didn’t seem really necessary. The recipe is originally from Emeril, and if there’s one thing I’ve learned from the number of Emeril recipes I’ve made, it’s that they can usually be simplified.


Here’s the most important lesson I learned from this experience: You cannot skimp on the butter used to brush the phyllo layers. I was making these for dinner on a weeknight (um, back when I was unemployed – I’m a little more practical about weeknight dinners now), and it wasn’t until I already had the filling made that I noticed the 2 sticks of butter used to brush the phyllo. I’m okay with splurging once in a while, but I just wasn’t mentally prepared for that.

So I did an internet search and saw that you can spray the sheets with nonstick spray instead of brushing them with butter. I did a hybrid – I gave the sheet a quick spray, and then a light brush with butter.  The problem is that, once baked, the phyllo triangles were clearly missing something. They were a little dry and not as flavorful or crisp as they should have been. Next time I work with phyllo, I’ll be sure to keep in mind that a lot of butter is absolutely necessary to make phyllo as good as it should be.


Despite this (and crawfish tails’ creepy similarity to insect abdomens), both of these fillings made for some tasty snacks. Dave and I liked the crawfish filling more than the mushroom filling, which seemed a little flat in comparison. But hey – at least they were a little healthier than normal. And most importantly, they’re finally out of my To Blog folder.


Crawfish Phyllo Triangles (adapted from Use Real Butter, who adapted it from Louisiana Real & Rustic by Emeril Lagasse)

Makes about 24 triangles

2 tablespoons butter
1 pound crawfish tails, peeled and cooked
1 medium onion, diced small
2 stalks celery, minced
1½ teaspoon salt
1 teaspoon Old Bay seasoning
3 tablespoon parsley, chopped
½ pound phyllo dough sheets, thawed
16 tablespoons (2 sticks), melted

1. Melt 2 tablespoons butter of medium-high heat in 12-inch skillet. Add the onions, celery, salt, and Old Bay and sauté until soft and brown, about 6 minutes, stirring occasionally. Add the crawfish and cook for about 5 minutes, stirring occasionally, until the crawfish tails begin to curl. Remove from heat. Stir in parsley. Let cool.

2. To make each triangle, set one sheet of phyllo on a clean work surface and brush melted butter on half of the sheet lengthwise. Fold the phyllo on its long axis in half. Brush melted butter on half of the phyllo lengthwise again, and fold on the long axis once more. You should have a long narrow strip of phyllo with 4 layers.

3. Place a heaping tablespoon of filling on one corner of the strip and begin folding the dough over the filling like a flag. Continue folding until the dough is completely wrapped around the filling. Brush a little butter on the end to seal it down. Repeat with remaining phyllo and filling.

4. Place triangles on a baking sheet so they are not touching one another. Bake at 375F for 18-20 minutes. Serve hot.

Mushroom Strudel (from Smitten Kitchen, who adapted it from The Complete Mushroom Book, by Antonio Carluccio)

Makes 18 triangles

18 sheets phyllo
8 tablespoons (1 stick) butter, melted
1 pound mixed, fresh, wild and cultivated mushrooms
1 medium onion, minced
3 tablespoons butter
Freshly grated nutmeg
1 tablespoon dry sherry
1 tablespoon all-purpose flour
Leaves from 1 sprig marjoram or thyme
6 tablespoons freshly grated Parmesan, plus extra for sprinkling, if you wish
Salt and pepper to taste

1. Preheat the oven to 400F (200C). Line a baking sheet with parchment paper. Clear a large work surface for this, big enough for two full sheets of phyllo, your egg wash, parmesan and filling.

2. Make the filling: Make sure the mushrooms are dust- and sand-free, wash if necessary, and trim if need be. Cook the onion in the butter and, when soft, add the mushrooms with the nutmeg. Sauté for 5 to 7 minutes, until liquid has been released and has partially evaporated. Add the sherry and evaporate the alcohol by cooking over low heat for 2 to 3 minutes. Stir in the flour, herbs, and some salt and pepper, and let cool. The mixture will be moist.

3. Take one sheet of phyllo at a time from their package; cover the remaining sheets with plastic and then a damp towel, ensuring they are completely covered. Brush one half of the sheet lengthwise with butter. Fold the unbuttered side over the buttered side, carefully, smoothing out any wrinkles and bubbles but not worrying if you can’t get them all. Again, brush one half of this lengthwise with butter, and fold the unbuttered side over it again. You’ll end up with one long column.
4. Dollop a spoonful of the mushroom filling near the end and sprinkle a teaspoon of parmesan over it. Begin folding one bottom corner of the phyllo strip over the filling until it meets the opposite edge, forming a triangle, as if you were folding a flag. Place the triangle seam side down on the baking sheet, brush lightly with egg wash and sprinkle with parmesan.

5. Bake in the preheated oven for 15 minutes. Serve warm.

green chile rellenos

I think my brother-in-law is a fairly typical New Mexican – he likes green chile on pizza, on his grilled cheese sandwiches, and in his burgers. I mostly just want it in Mexican food. (Mostly – it is great in burgers.) It’s a good thing too, because the Hatch green chile supply is limited out here in Pennsylvania. My mom is kind enough to send me a box of fresh green chiles every fall, and then I have to dedicate the better part of a day to roasting, peeling, and seeding them. My mom sends a box to my brother in Iowa as well, and we agreed that it’s a lot of work for basically one gallon-size zip-top bag of chiles.

Obviously it’s worth it in the end, or we wouldn’t do it. Dave and I have had green chile huevos twice since the shipment of green chiles came a few weeks ago, and we agree that it’s our favorite breakfast. The only other thing I’ve made with them so far is these chile rellenos, although I’m looking forward to green chile chicken enchiladas, cream of green chile chicken soup, green chile burgers, and a lot more huevos.

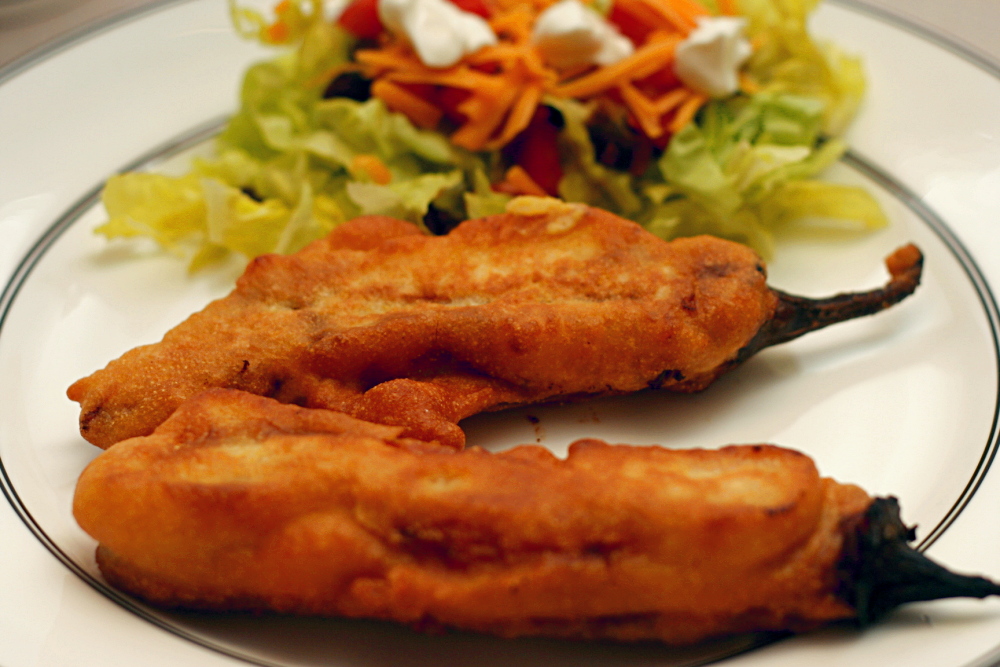
Chile rellenos aren’t something I tend to order at restaurants, but Dave likes them and they really are better than I usually expect. They’re simply cheese stuffed in a whole (roasted and peeled) chile, dipped in cornmeal batter, then fried. They’re usually served with green chile sauce, but I didn’t want to make any, and I didn’t miss it. Without the sauce, the green chile, cheese, and batter get equal billing, instead of the green chile dominating.
I chopped most of the green chiles before I froze them, but I have one more set of non-chopped chiles in the freezer waiting to be made into rellenos. They were so good this time, I’m definitely looking forward to making them again.

(I just realized that, although I keep talking about green chiles, they look more red in the picture above.  That’s what happens went they’re shipped across the country before they can be roasted – they turn from green to slightly red.  I haven’t noticed a difference in flavor though.)

Green Chiles Rellenos (Stuffed Green Chiles) (adapted from Simply Simpatico, from the Junior League of Albuquerque, New Mexico)

If Hatch green chiles aren’t available, poblanos are supposedly more authentic anyway.
1 quart vegetable or peanut oil
1 cup all-purpose flour
1 teaspoon baking powder
½ teaspoon salt
¾ cup cornmeal
1 cup milk
2 eggs
10 green chiles, roasted and peeled* (canned chile may be used)
10 ounces Longhorn cheese or Monterey Jack cheese

1. Heat the oil in a 12-inch skillet over medium-high heat to 350-375 degrees.

2. Combine flour, cornmeal, baking powder, and salt. Blend milk with egg, then combine milk and eggs mixture with the dry ingredients.

3. Cut cheese into slices ½-inch thick and the length of the chile. Make a small slit in chile just big enough to insert cheese.

4. Dip stuffed chiles in batter, using a spoon to coat the chile with batter. (I didn’t want to turn the chile in the batter because I was worried about the cheese coming out.)

5. Add 5 battered chiles to hot oil. Fry until first side is golden brown, 2-3 minutes, then turn the chiles over and fry until the second side is golden brown. Drain on a paper towel-lined plate. Serve.

*To roast chiles, grill or broil them until the skin is spotty black (blacker than you think it should be probably), then put them in a covered bowl or a bag for 10 minutes or so. After that, the skin should slip off easily. Be sure to leave the stem attached for rellenos.