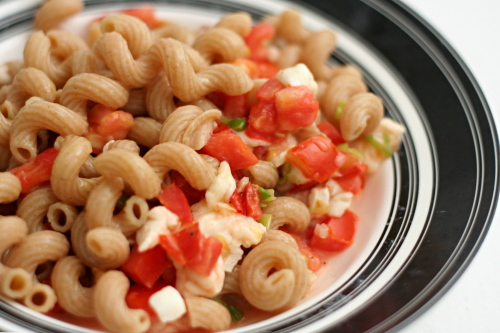
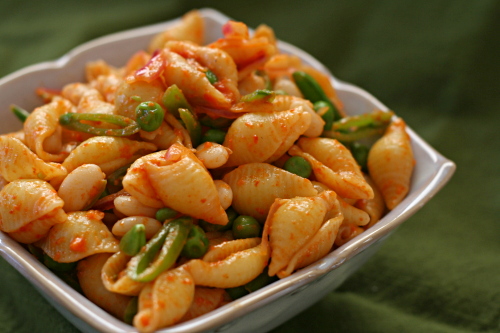
roasted red pepper pasta salad with peas and beans

I had my doubts about this salad the whole time I was shopping for it, making it, testing it for seasoning, and serving it. But now, weeks later, my doubts are gone and I want some more. Except with better peas.

Most of the doubts came from an unsuccessful shopping trip for ingredients. Sometimes I complain after shopping at my regular grocery store, but in truth, I usually get by just fine with what I can find there. However, it is a 7-minute drive from my house. Walmart, while not my favorite place on earth, is a 2-minute drive. I tried to cut corners, and I paid the price. Walmart didn’t have whole wheat pasta, any sort of fresh pea or bean, frozen petite peas (which are sweeter and less starchy than regular peas), or shallots.

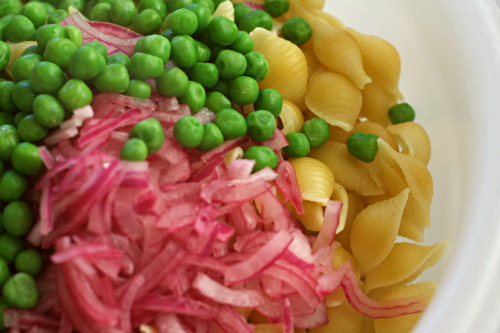
So, yes, frozen petite peas would be better than the larger starchy ones, and fresh peas are so fun, and I would love some sort of fresh beans, and yellow beans would add a nice contrasting color. But one change I was forced to make, skipping the shallots, actually worked out better I think, with some lightly pickled red onions adding tartness to the salad instead.

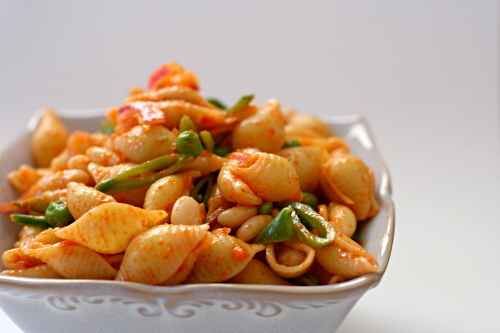
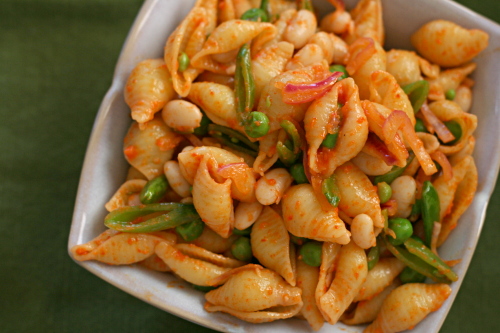
And even at its simplest, this salad is unique and interesting, with smoky sweet roasted red pepper dressing coating pasta, creamy white beans, and crisp vegetables. Plus I learned a valuable lesson about driving that extra five minutes to the regular grocery store, and how it’s worth every second.

One year ago: Sourdough Bagels
Two years ago: Danish Braids

Printer Friendly Recipe
Roasted Red Pepper Pasta Salad with Peas and Beans (adapted from Smitten Kitchen)

Deb based this salad on one she had in a restaurant, which also included yellow string beans, fava beans, fresh cranberry beans, among other wonderful bean types that simply aren’t available in small desert towns. I would have loved any or all of those, but the salad was wonderful at its most simple as well.

1 pound small pasta
salt
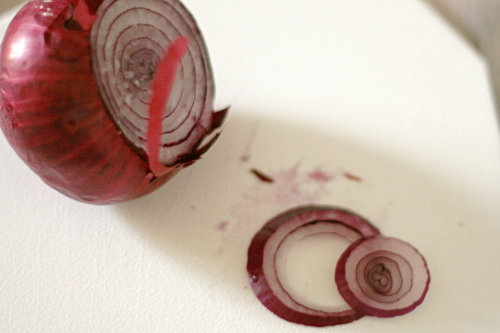
¼ red onion, very thinly sliced
1 tablespoon red wine vinegar
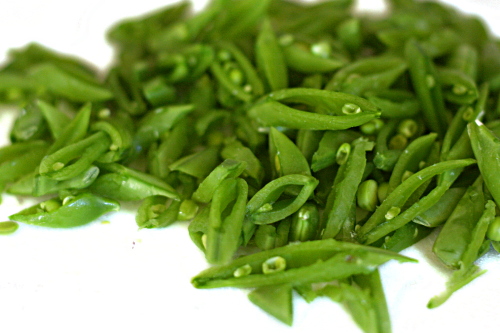
4 ounces snow pea pods, ends trimmed, cut on an extreme diagonal
1 cup peas (from about 8 ounces with their shells, if you can find fresh)
1 (15-ounce) can great northern (or navy) beans, drained and rinsed
¾ to 1 cup Roasted Red Pepper Vinaigrette (recipe below)

1. Bring a large pot of water to a boil; add the pasta and 1 tablespoon salt and cook according to the package instructions. One minute before the pasta is done, add the peas. Drain the pasta and peas together.

2. Meanwhile, combine the onion, vinegar, and a pinch of salt in a large bowl; set aside for 10 minutes. When the pasta has cooled, add the remaining ingredients and stir thoroughly. Taste and add more salt if necessary, which it probably will be.

Roasted Red Pepper Vinaigrette

Makes about one cup of dressing

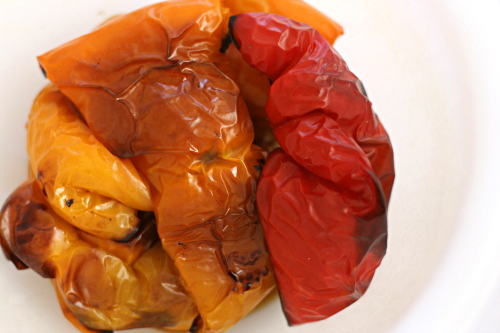
1 red bell pepper, roasted, skinned and seeded or the equivalent from a jar, drained
2 tablespoons extra virgin olive oil
2 tablespoons red wine vinegar, plus up to 1 tablespoon more
½ teaspoon salt
freshly ground black pepper

Combine all of the ingredients in a blender or food processor; process until smooth. Taste and add more salt, pepper, or vinegar if necessary.
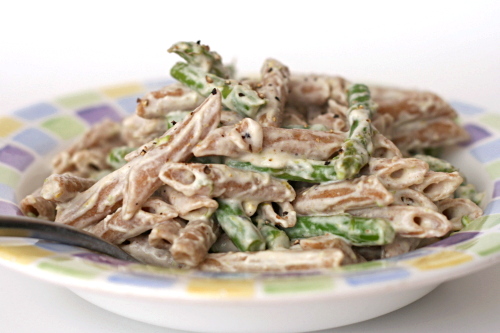
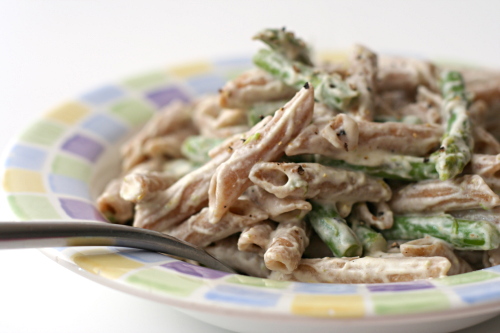
pasta with asparagus and goat cheese

I feel like I used to have this room (my life), and it had some stuff in it; mostly stuff I liked (cooking, reading, teaching, gardening), although of course there were things I didn’t (cleaning). My main problem was that it was too empty. There was too much space, and I could never get it arranged in any pleasing way. It made me frustrated and unhappy, and I took less enjoyment even from the things I did like.

Then I added this huge, I don’t know, piece of furniture or some other room-dominating thing (a full-time job). And now the room is too full. I like it more overall, I just don’t know where to put everything. Some things I’m willing to give up (hours mindlessly spent searching the internet), but the rest I’m trying to rearrange. Where does exercise go? What about blogging? Keeping in touch with friends, spending quality time with my husband, learning new things? I know there’s room for them all, I just have to find out how to make it work.

I’m not going to stop cooking, obviously. But I will change the way I cook most nights of the week, keeping things simple. This dish, with only a handful of ingredients and one ingredient to chop, is a perfect example of how easy meals can still be tasty meals. This meal definitely fits into my crowded new room, and it leaves me plenty of space for exercise, a full day of work, a long chat with a friend, and even a batch of brownies. A life too full is certainly better than a life too empty.

Two years ago: Kung Pao Shrimp

Printer Friendly Recipe
Asparagus, Goat Cheese and Lemon Pasta
(adapted from Smitten Kitchen)

Serves 6

16 ounces pasta
salt and pepper
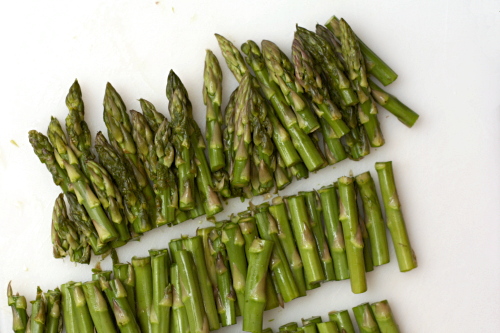
2 pounds slender asparagus spears, trimmed, cut into 1- to 1½-inch pieces
2 tablespoons extra virgin olive oil
1 lemon
8 ounces soft goat cheese

1. Bring at least 6 quarts of water to a rolling boil over high heat. Add the pasta and 1 tablespoon of salt and cook the pasta until it is almost tender, about 2 minutes short of the package instructions. Add the asparagus and cook until it is crisp-tender, about 2 minutes. Reserving 1 cup of the pasta cooking water, drain the pasta and asparagus.

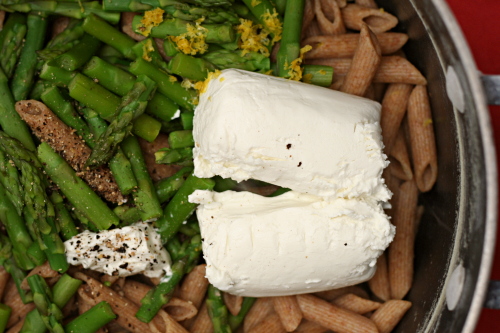
2. Return the pasta and asparagus to the pot and add the oil, zest from the whole lemon, juice from ½ the lemon, goat cheese, a generous grinding of pepper, and ½ cup pasta cooking water; stir until the goat cheese melts. Taste and add salt (you’ll probably need some), freshly ground black pepper, and more lemon juice if necessary. If the sauce becomes thick and sticky, stir in more pasta cooking water.

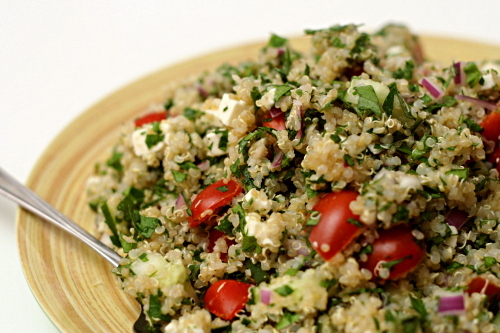
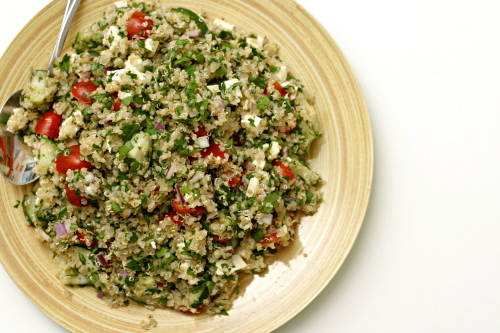
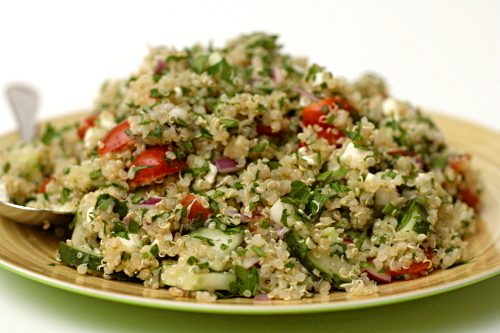
quinoa tabbouleh

I have annoying eating habits at work. Carrots – crunchy. Bananas – smelly. Hard-boiled eggs – crunchy (during the peeling) and smelly. My officemate is very tolerant. And on our first day in the office together, she asked me, “So is that how you stay thin? By eating healthy all the time?” Hmm…

  1. Call me thin some more, if you will. I will use it as an excuse to skip my workout this evening.
  2. Define “all the time.” Because…no. Not so much.

She asked me what I normally make for dinner, and I was at a loss for an answer. I’m a food blogger; I repeat dinners maybe once every couple of months. The quickest way I could think to answer that question was to give her the link to my blog. My third day at work, and I already outed myself as Food Obsessed.

She asked me what I was making for dinner that night, and when I answered, she asked what quinoa was. I was reminded: I’m the weird one when it comes to food. And so are you, probably, if you’re reading a food blog. I wonder what percentage of people in my small isolated desert town know what quinoa is?

Which is sad, because, as you know if you are also one of the Food Obsessed, quinoa is what all of the other whole grains (I know, I know, not technically a grain) want to be – hearty and healthy, but fluffy and slightly sweet, the way most grains don’t taste until they’re refined. Mixing it with vegetables, herbs, and feta makes it even healthier, which is perfect because that way I get dessert.  No one can eat healthy all the time, right?

One year ago: Strawberry Lemon Sorbet
Two years ago: Ricotta Spinach Tofu Ravioli

Printer Friendly Recipe
Quinoa Tabbouleh (adapted from Bookcook via the kitchn)

Makes 3-4 main course servings

Some things: I didn’t quite follow this method to mellow the bite of the onions, and my method did not work. The leftovers were particularly intense. Soak the onion in water! You may want to add the garlic too, although I have no evidence that this method would work for garlic. It just seems like it could.

The original recipe includes mint, but I don’t usually like mint with savory food. It also called for olive oil, and I intended to add it but after tasting the salad, the oil didn’t seem necessary. And less oil in dinner means more cookies for dessert.

The standard directions for cooking quinoa seem to be 1 cup quinoa to 2 cups water, so I’ve left that as it was in the original recipe. But I’m suspicious: my pot had a lot of water left in it at the end of cooking that had to be drained off. Next time I’m trying 1½ cups water for 1 cup quinoa.

I know traditional tabbouleh is more parsley than grain, but it’s also more side dish than main, which wasn’t what I was going for.

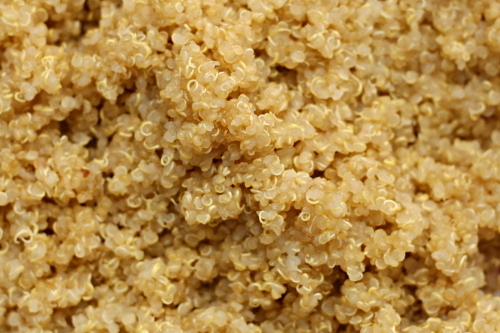
1 cup dry quinoa
2 cups water
½ teaspoon salt
½ red onion, diced fine
2 cloves garlic, minced
1 cup cherry tomatoes, halved
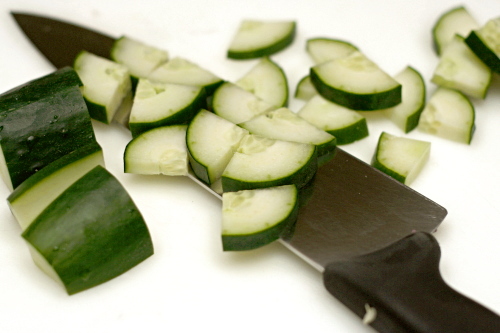
1 cucumber, quartered lengthwise and sliced ⅛-inch thick
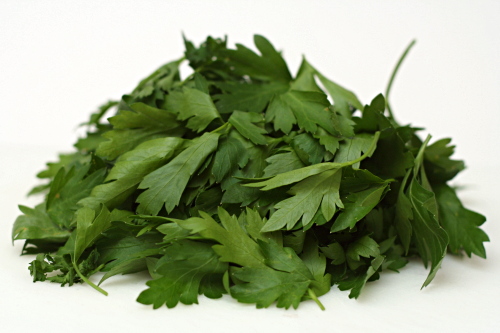
1 bunch parsley (about 2 cups), minced
8 ounces feta, crumbled
2 tablespoons fresh lemon juice

1. Rinse the quinoa well under cold water. Put it in a medium saucepan with 2 cups of water and ½ teaspoon salt. Bring the water to a boil over high heat, then reduce the heat to low and cook, covered, for 20 minutes. Transfer the cooked quinoa to a large bowl to cool slightly.

2. Meanwhile, in a small bowl, cover the diced onion and a pinch of salt with water. Let the onion soak while you prepare the other ingredients.

3. Drain the onions; add them to the bowl along with the garlic, tomatoes, cucumber, parsley, and feta; stir to combine. Add the lemon juice and toss to coat. Taste for seasoning (more salt? more lemon juice?) and serve.

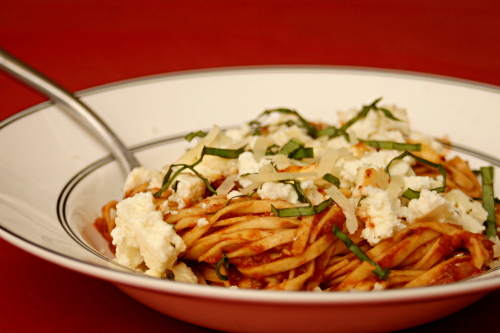
pasta with baked ricotta and sweet tomato sauce

I’m all about taking water out of ingredients. Zucchini, eggplant, cabbage, tomatoes, tofu, even bread for French toast. Water doesn’t contribute flavor, so if it isn’t improving texture, I have no use for it.

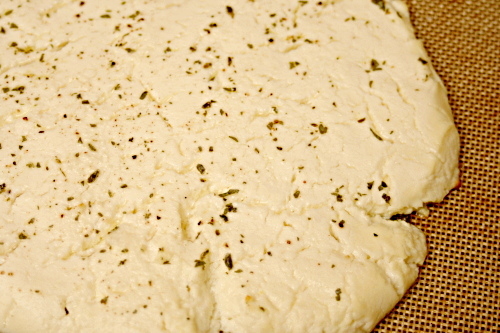
In this recipe, ricotta is drained in cheesecloth for several hours, then baked. What I thought would happen is the cheese would lose a small but significant portion of water during the draining stage, and then it would brown a little in the oven.

I was wrong. My ricotta actually gave off no liquid during straining, and I’m thinking now that the baking isn’t so much to brown the ricotta as to concentrate flavor by evaporating even more liquid.

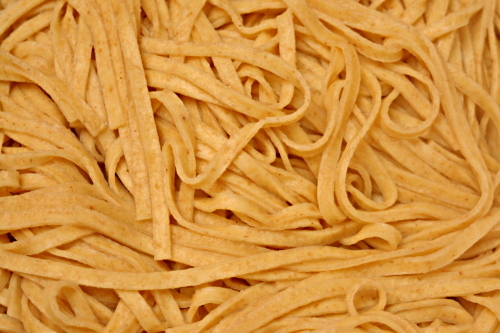
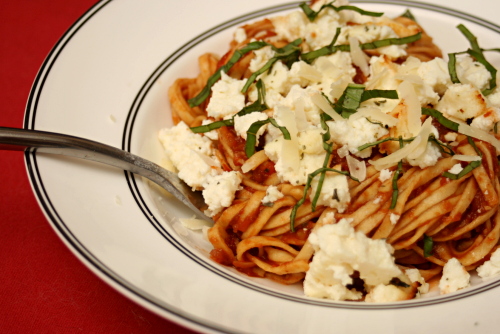
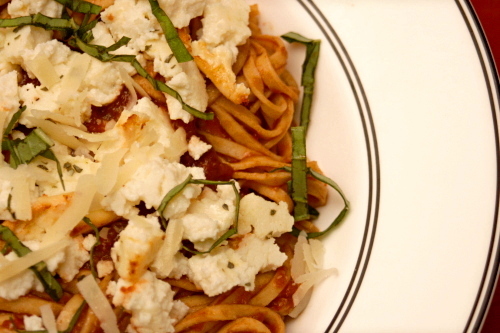
The sauce to accompany the baked ricotta is a simple tomato sauce that is sweetened with balsamic vinegar. I used fresh pasta, which when topped with the sauce, ricotta, a handful a parmesan and a sprinkling of basil, made for a great adaptation of a classic pasta and tomato sauce dish.

One year ago: Pot Roast
Two years ago: Comparison of 4 Vanilla Frosting

Printer Friendly Recipe
Pasta with Sweet Tomato Sauce and Baked Ricotta (adapted from Jamie Oliver via Cate’s World Kitchen)

I used one pound of (store-bought) fresh pasta instead of dried pasta, and it was so good that I think I’ll stick with fresh pasta for this recipe in the future as well.

Serves 4-6

1 (15-ounce) container ricotta
1 teaspoon plus 1 tablespoon olive oil, divided
salt and pepper
½ teaspoon dried oregano, divided
2 large shallots, finely chopped
2 cloves garlic, finely chopped
1 (28-ounce) can whole tomatoes in juice
3 tablespoon balsamic vinegar
1 pound wide pasta, such as pappardelle or fettucine
a handful of fresh basil, torn
½ cup (1 ounce) freshly grated parmesan

1. Line a fine-mesh strainer with several layers of cheesecloth. Spoon the ricotta into the strainer and refrigerate for several hours or overnight.

2. Adjust a rack to the upper-middle position and heat the oven to 450 degrees F. Line a baking sheet with parchment paper or a silicone baking mat. Spread the ricotta onto the baking sheet in a 1-inch layer. Season the ricotta with ¼ teaspoon dried oregano and a generous pinch of both salt and pepper. Rub 1 teaspoon of the olive oil over the seasoned ricotta. Bake for 15 minutes, until dry and slightly browned at the edges.

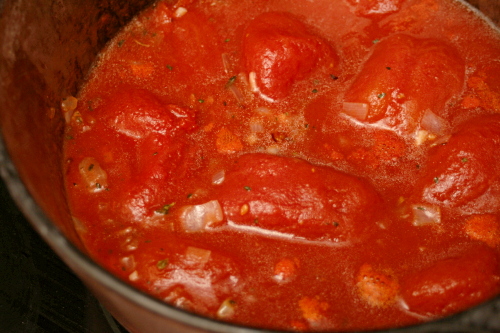
3. Heat the remaining tablespoon of oil in an 8 to 10-inch skillet over medium heat. Add the shallots and sauté, stirring occasionally, until the edges just start to brown, 6-8 minutes. Stir in the garlic and ¼ teaspoon oregano, and cook, stirring constantly, until fragrant, about 30 seconds. Add the tomatoes and ½ teaspoon salt; bring to a simmer, then lower the heat to medium-low and simmer, stirring occasionally, for 15 minutes. Use a spoon to crush the tomatoes, of, if you’d like a smooth sauce, transfer the mixture to a blender or use an immersion blender to puree the sauce. Stir the balsamic vinegar into the sauce.

4. Meanwhile, bring a large pot of water to a boil. Add 1 tablespoon salt and the pasta to the boiling water and cook according to the package instructions. Drain the pasta, reserving about a cup of the cooking water.

5. Combine the pasta and sauce, thinning the mixture with pasta cooking water if necessary. Fold in the basil and ricotta and top with the parmesan.
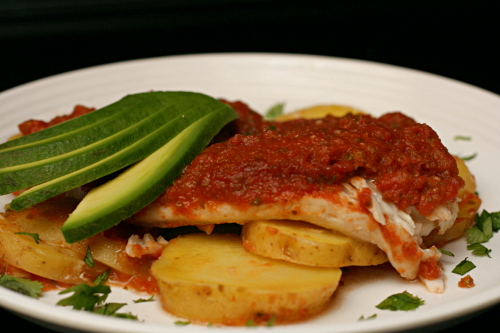
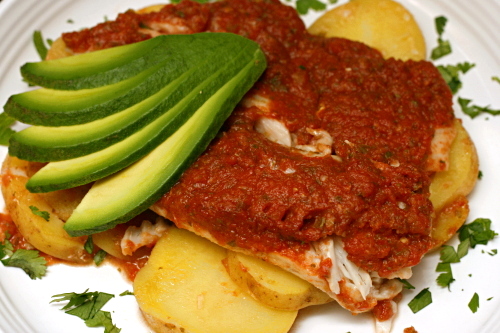
jalapeno-baked fish with roasted tomatoes and potatoes

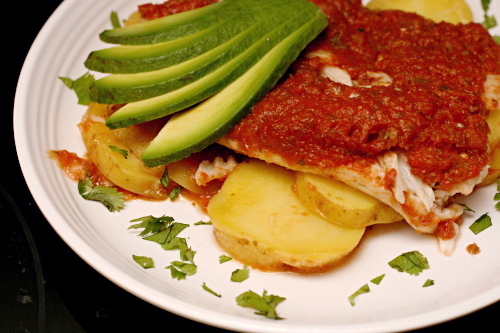
I need every weekday meal to be exactly like this one.

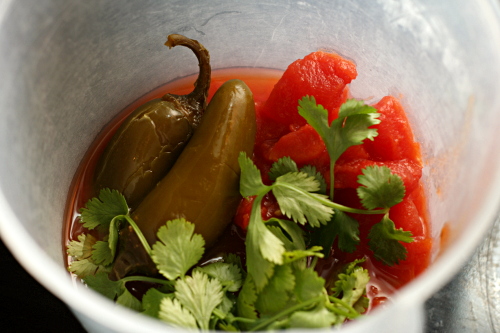
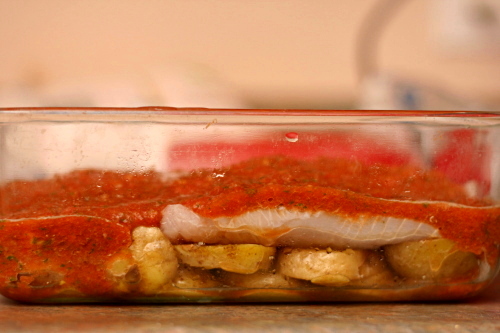
First, it took only 20 minutes of actual effort. Sliced potatoes are softened in the microwave right in the baking dish. Meanwhile, I pureed a few other ingredients, mostly straight from cans, with my immersion blender. Then I laid some fish filets over the potatoes and poured the pureed sauce on top.

Second, it only bakes for 20 minutes. This was the perfect amount of time for me to empty the dishwasher, clean up the kitchen and unpack groceries.

Third, it’s nice and light, with lean white fish, vegetables, and just a small amount of oil to help the potatoes cook.

Fourth, and of course the only point that really matters, it was just so good. The fish, potatoes, and sauce were balanced nicely and the spice level was just right.

My favorite meals have all the ingredients jumbled together like this, protein and starch and vegetables. It’s especially nice on a weeknight so I don’t have to make side dishes as well. I haven’t found many fish recipes like that, so this is perfect – in every way, really.

One year ago: Red Velvet Cake comparison
Two years ago: Olive Oil Bread

Printer Friendly Recipe
Jalapeno-Baked Fish with Roasted Tomatoes and Potatoes
(from Rick Bayless’s Mexican Everyday via Dinner and Dessert)

Serves 4

4 medium (1 pound total) red-skin boiling or Yukon Gold potatoes, sliced 1/8-inch thick
1 tablespoon vegetable or olive oil
Salt
1 (15-ounce) can diced tomatoes in juice
1 large garlic clove, peeled and cut in half
⅓ cup (loosely packed) coarsely chopped cilantro, plus extra for garnish
About ¼ cup sliced canned pickled jalapenos
1 tablespoon jalapeno pickling juice
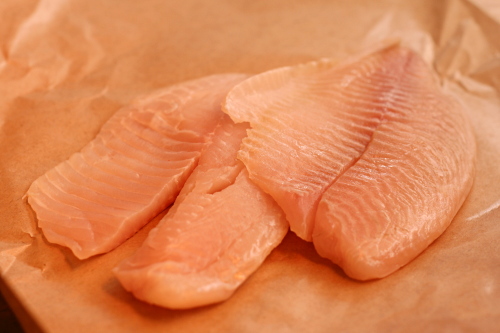
Four 4- to 5-ounce (1 to 1¼ pounds total) skinless fish fillets, preferably ¾ to 1 inch thick

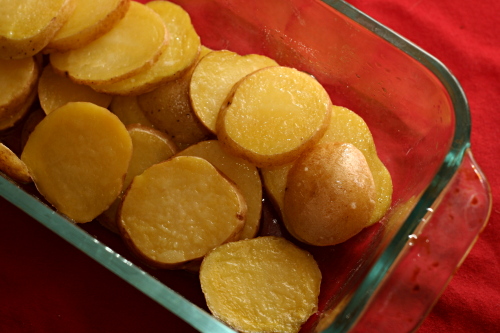
1. Turn on the oven to 400 degrees. Scoop the sliced potatoes into a microwaveable 8×8-inch baking dish. Drizzle on the oil and sprinkle with ½ teaspoon salt. Toss to coat, then spread the potatoes in an even layer. Cover with plastic wrap and poke a couple of holes in the top. Microwave on high until the potatoes are nearly tender, about 4 to 5 minutes.

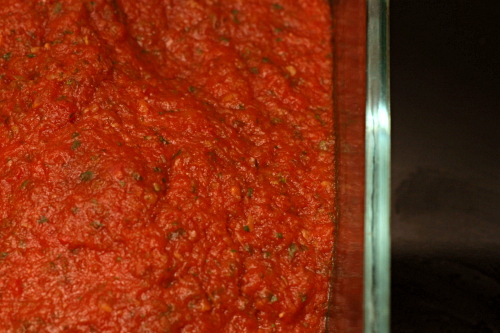
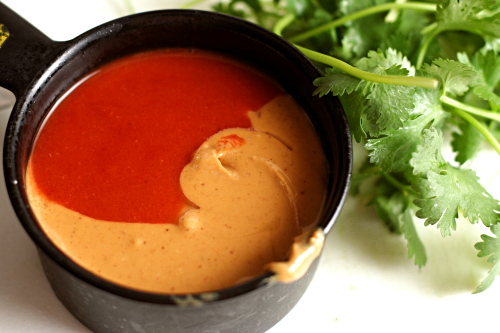
2. Meanwhile, in a food processor or blender, combine the tomatoes with their juice, garlic, cilantro, jalapenos, and pickling juice. Process to a puree, leaving just a little texture.

3. Lay the fish fillets in a single layer over the potatoes. Pour the tomato mixture evenly over the fish and potatoes.

4. Slide the baking dish into the oven. Bake for 20 minutes, until the fish flakes when pressed firmly.

5. Scoop a portion of the fish-potato-sauce onto each dinner plate, sprinkle with cilantro, and serve right away.

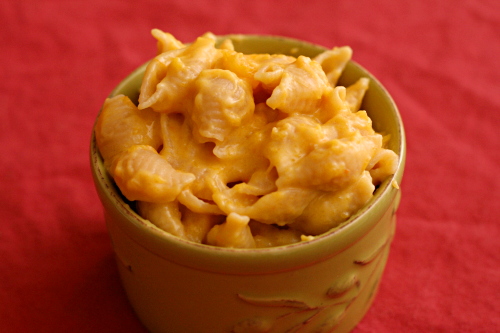
butternut squash macaroni and cheese

I don’t think I do too badly with self-control. I can sit at home all day with banana cream pie in the fridge and not even think about it until it’s time for dessert and tea. I don’t drink alcohol on weekdays (those extra calories are saved for dessert), and it isn’t a struggle, even though we have plenty of it around.

But there are two foods that I have no control with – chocolate chip cookie dough and macaroni and cheese. No kidding, I can eat both until I’m feeling not so good, and even that won’t stop me from craving more as soon as I digest a bit. As a result, macaroni and cheese has been allocated to a once-in-a-blue-moon treat.

But…can I make a version of macaroni and cheese that is healthy enough to eat more often, but still worth craving?

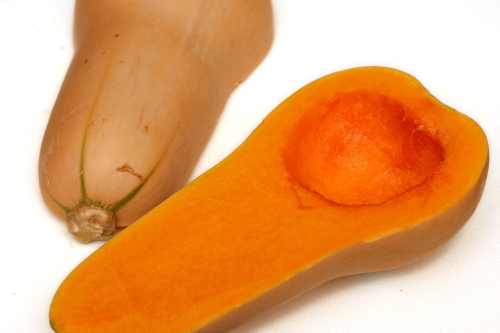
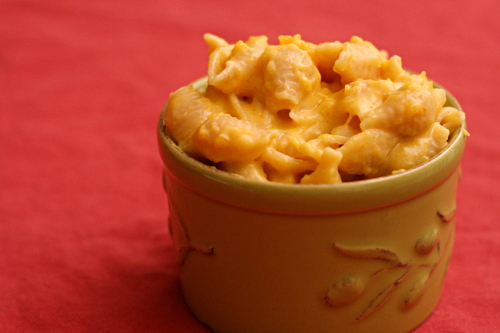
Apparently. I’m not saying that this is hardcore health food, but it’s not so bad nutrition-wise. The squash does an admirable job of replacing some of the cream sauce, and it isn’t just a “hide the vegetables” trick, because the flavor is surprisingly complementary. The final dish was sweeter than regular mac and cheese, but that wasn’t a bad thing. And it doesn’t hurt that the golden color of the squash makes the pasta look even cheesier.

I shouldn’t be shoveling this into my maw without abandon any more than I do regular macaroni and cheese, but at least it’s healthy enough to eat more than twice a year.  Tasty enough too.

One year ago: Fish Tacos

Printer Friendly Recipe
Butternut Squash Macaroni and Cheese (adapted from Branny Boils Over)

You can adapt this in a number of ways. The easiest is by changing the type of cheese, although if you can, using a combination of cheddar and a good melter will give you consistently great results. Branny adds in a couple ounces of cream cheese, which will make the sauce extra creamy, but I decided I could skip it and make this a little healthier.

Most homemade macaroni and cheese recipes call for a final baking step, which I’ve skipped here simply because I wanted to make this as easy as possible for a weeknight dinner. If you prefer your mac and cheese baked, I recommend pouring it into a broiler-safe 8-inch square pan, topping it with bread crumbs made from fresh bread, and heating it about 5 inches from the broiler for a couple of minutes.

Each serving has about 325 calories.

Serves 8

1 small butternut squash
12 ounces elbow macaroni
salt
2 tablespoons unsalted butter
2 tablespoons all-purpose flour
½ teaspoon powdered mustard
2 cups milk
4 ounces Monterey Jack cheese, shredded (1 cup)
4 ounces sharp cheddar cheese, shredded (1 cup)

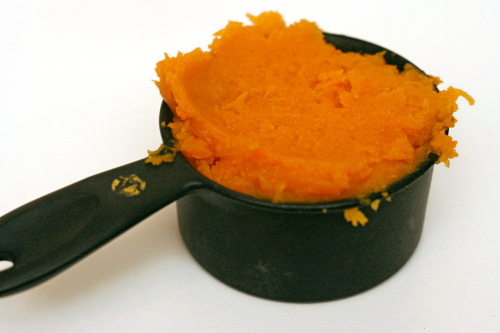
1. Adjust on oven rack to the middle position and heat the oven to 425 degrees. Cut the squash in half lengthwise, scoop out the seeds, and lay the halves cut side down on a parchment-lined baking sheet. Bake for 25-35 minutes, or until a butter knife inserted into the flesh meets no resistance. Scoop 2 cups of flesh from the squash and mash it with a fork, or, if you’re willing to put a bit more effort into it (I wasn’t), puree it in a blender or food processor.

2. Meanwhile, bring a large pot of water to a boil over high heat. Once it boils, add about a tablespoon of salt and the pasta. Cook the pasta until it’s tender. Drain and return the pasta to the pot.

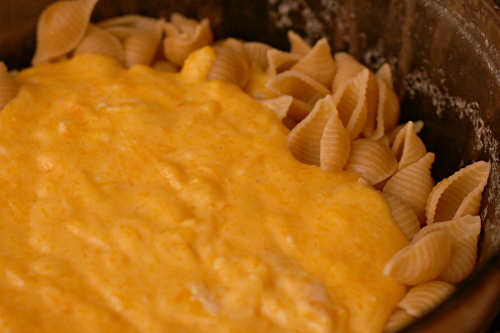
3. Melt the butter in a medium saucepan over medium heat. Once the foaming subsides, add the flour and mustard. Whisk constantly for 1 minute, then gradually whisk in the milk. Bring the mixture to a simmer over medium heat, whisking frequently, then lower the heat to medium-low and simmer for 5-6 minutes, until the mixture has the consistency of heavy cream. Add the cheeses, ½ teaspoon table salt, and the squash, stirring until the cheese melts.

4. Pour the sauce over the drained pasta and stir thoroughly. Serve immediately.

african pineapple peanut stew

Copy of IMG_0562

I sort of hate when I find great recipes from blogs that come from a cookbook I already own. I guess it makes sense – now it isn’t just words on a page because someone (in this case, a number of people) is actually recommending it. But man, I sure wish that I could be the person to pick out the oddball recipe from the cookbook and spread the word about how great it is! You can tell I’m not one of those people who finds good stuff at thrift shops, can’t you?

Copy of IMG_0555

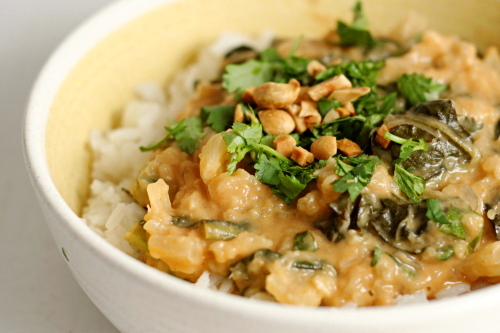
But can you really blame me; I mean, come on, pineapple, peanut butter, onions, and kale? Who would have expected that to come together into something delicious?

Copy of IMG_0546

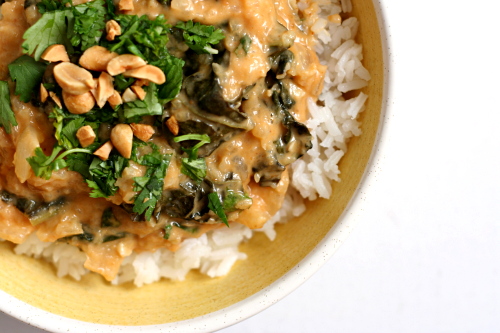
It did though. No one of the flavors dominated; it wasn’t like I took a bite of stew and thought, “mm, pineappley.” Everything was in balance, coming together to create a meal that was earthy and comforting. I was surprised by how tasty it was, and I’m surprised that I’m already thinking that it would be the perfect way to use up the rest of the jar of peanut butter before we move. Who knew I’d ever crave pineapple stew?

Copy of IMG_0553

One year ago: Pumpkin Ravioli

Printer Friendly Recipe
African Pineapple Peanut Stew
(adapted from Moosewood Restaurant Cooks at Home)

4 servings

I used natural peanut butter, which worked great. Also, I only had Frank’s hot sauce, which isn’t as spicy as some, and I would have loved a little more heat. I think a pinch of cayenne added with the garlic would be great too.

1 tablespoon vegetable oil
1 small onion, diced
salt
2 garlic cloves, minced
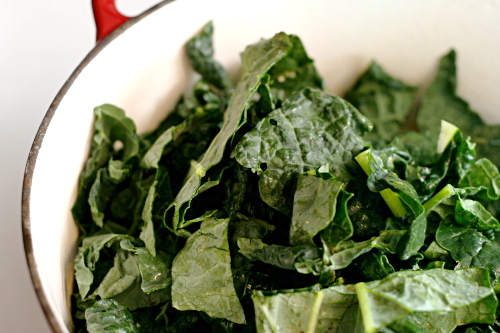
1 bunch kale or Swiss chard, large stems discarded, leaves chopped coarse
1 (20-ounce) can crushed pineapple, undrained
½ cup peanut butter
1 tablespoon Tabasco or other hot pepper sauce
½ cup chopped fresh cilantro
¼ cup peanuts, chopped
1 scallion, sliced

1. Heat the oil in a 5-quart Dutch oven over medium heat. Add the onion and a pinch of salt and sauté, stirring occasionally, until just browned at the edges, about 8 minutes. Add the garlic and cook, stirring constantly, until fragrant, about 30 seconds.

2. Add pineapple to the pot and bring to a simmer; add the greens, cover, and simmer for about 5 minutes, stirring occasionally, until just tender. Stir in the peanut butter and hot sauce and simmer for another 5 minutes, until the flavors are blended. Stir in the cilantro just before serving and add salt if necessary. Serve over rice or couscous, garnishing each serving with the peanuts and scallions.
Copy of IMG_0564

white bean avocado sandwich

Copy of IMG_8653

I believe that people are what they think they are, which is just a less fancy way of saying that you can do just about anything you think you can do. I remember in high school, I consistently got an 89% in my classes, and I always wondered why I hadn’t worked just a bit harder to get an A. But I knew myself as a B+ student, so I worked just hard enough to get a B+.

Copy of IMG_8622

Early on in college, more by luck than design, I got straight A’s one semester. And then I knew I could do it – from then on, I was a pretty solid A student.

Copy of IMG_8627

Lately I’ve been thinking of myself as an indulgent eater. I see so many people on strict diets – raw food, clean food, low carb, vegan. I don’t, and never plan to, follow any of these eating philosophies. I eat refined flours and sugars, red meat and full-fat cheeses, butter and alcohol. When I compared myself to these people, I felt lax in my eating habits. And once I started believing I ate poorly, my eating habits did, indeed, decline.

Copy of IMG_8634

But the truth is, more of the time, I eat very healthfully. All of those treats above? You’ve heard it before – moderation. Most of my snacks are fresh fruit and vegetables. My tiny daily bagel is 100% whole grain. We rarely eat meat on weekdays, and I don’t drink alcohol on weekdays. I do eat dessert every single day, but we’re talking one, maybe two, small cookies.
Copy of IMG_8638

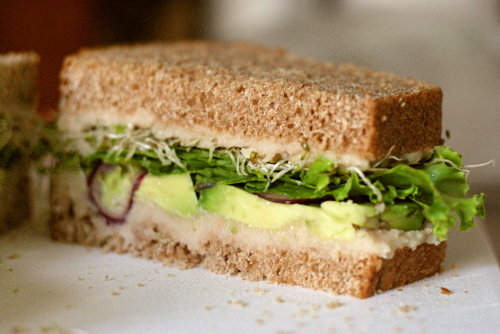
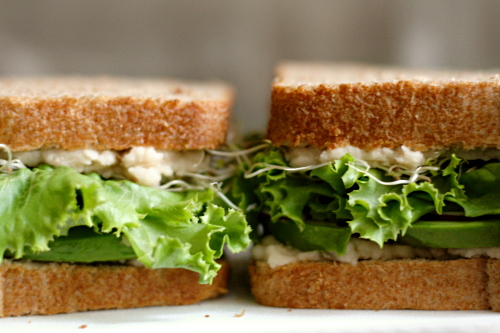
I need to remember that I do follow a good diet regularly, so that making healthy choices is easier. This sandwich, introduced to me by the same friend whose recipes for pumpkin muffins and peanut dip I love, is a perfect example of how I like to eat. Whole grains, beans, and lots of vegetables. It’s easy, filling, portable, and most importantly – delicious.

Copy of IMG_8641

One year ago: Green Chile Rellenos

Printer Friendly Recipe
White Bean Avocado Sandwich

Serves 4

I’ve tried mushing the beans up with a potato masher, but I really do prefer the creamy smooth texture a food processor provides. Also, one thing I’ve learned after making this a few times is to overseason the beans. The seasonings in the beans are flavoring the entire sandwich, so add the lemon juice, salt, and pepper until just past how you’d normally prefer them. Because I’m apparently salt-crazy, I also give the avocado slices a light sprinkling of salt, as well as squeeze some more lemon juice over them.

1 (15-ounce) can white beans, drained and rinsed
1 lemon
salt and pepper
8 slices hearty whole-grain sandwich bread
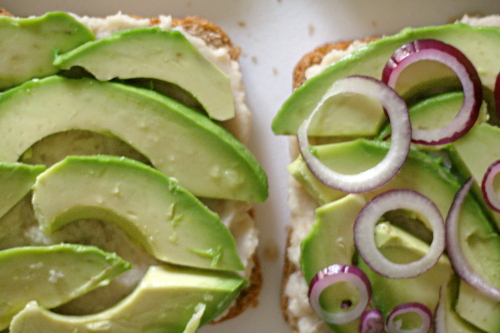
1 avocado, quartered, peeled, and sliced thin
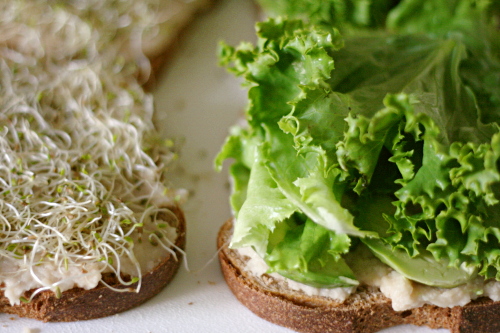
a few leaves of leaf lettuce, torn into sandwich-sized pieces
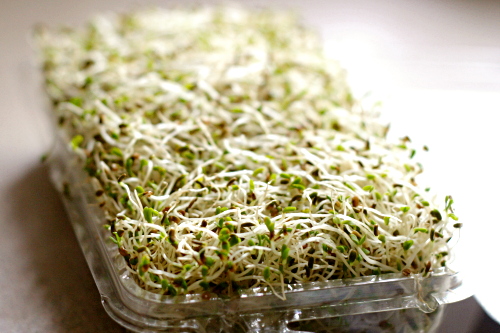
some alfalfa sprouts
a bit of red onion, sliced thin

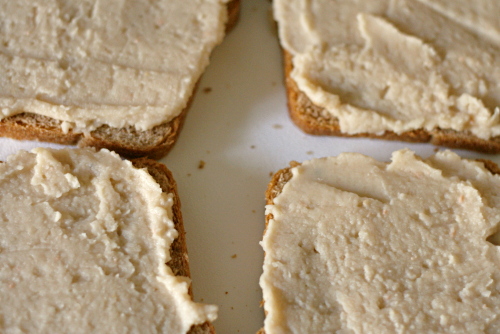
1. In a food processor, puree the beans until they’re completely smooth. Season with lemon juice, salt and pepper to taste (see note).  I took notes on about how much of everything to add and then lost them, but I think a reasonable place to start is 2 tablespoons lemon juice, ¼ teaspoon salt, and ⅛ teaspoon pepper.

2. Thickly spread one side of each piece of bread with the bean mixture. Top four of the bread slices with slices of avocado, a bit of onion, and plenty of lettuce. Press some sprouts into the bean mixture on the other four slices of bread. Place the sprout-bread, spout side down (duh) on the other-stuff-bread, slice the sandwich in half if you want, and enjoy.

Copy of IMG_8649

pasta with no-cook tomato sauce and fresh mozzarella

Copy of IMG_8005

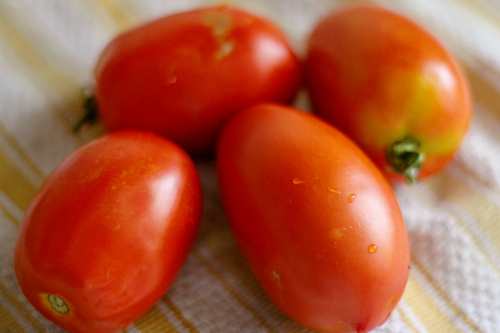
I know I’ve been harping on my love of summer lately, and I did the same thing last year. Honestly, while summer is undoubtedly my favorite season, fall is a not-too-distant second, and really, there are aspects I like about every season. But summer doesn’t just have sunlight and warmth and lightning bugs and beach trips and fireworks and…well, all of those other things I love, but very importantly, it has tomatoes.

Copy of IMG_7989

I love fresh summer tomatoes so much that, other than the very occasional container of cherry tomatoes, I don’t bother buying fresh tomatoes any other time of the year. Why set myself up for disappointment? Why bother with those dry, mealy, flavorless winter tomatoes? I’d rather just wait for the real thing.

Copy of IMG_7995

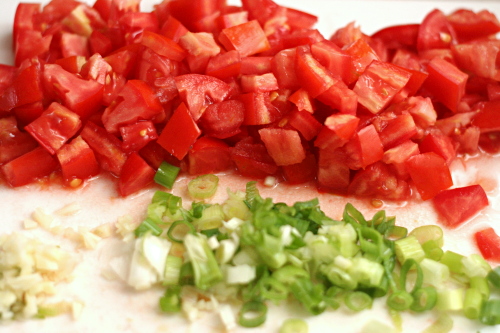
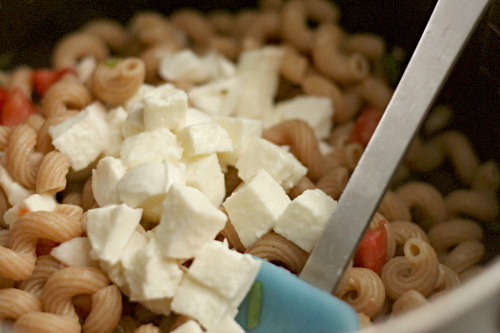
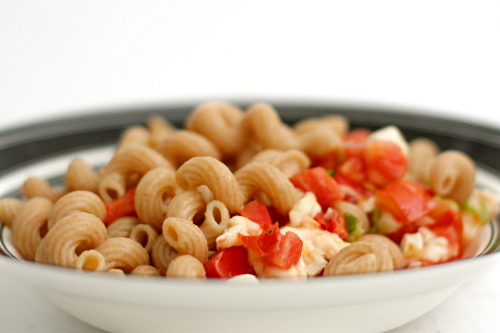
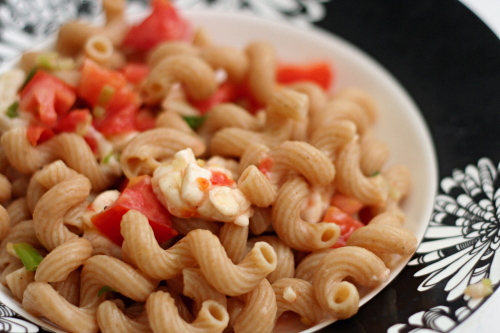
And then – then I go crazy. Gazpacho, BLTs, maybe a potato tomato tart, and this pasta. Oh this pasta. It’s a perfect meal. Super simple, it can be made in the time it takes to boil the noodles. The sauce, uncooked, retains the brightness of tomatoes at their peak, accented with smooth fresh mozzarella, tangy green onions, and fruity extra virgin olive oil.

Copy of IMG_7999

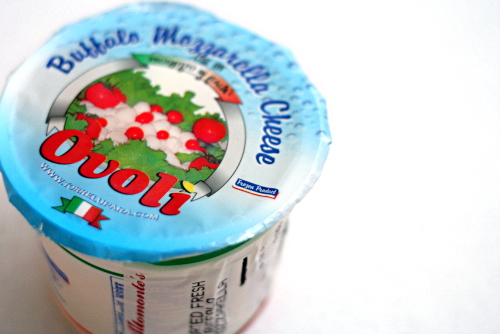
With almost no cooking and so few ingredients, you need to make sure you’re using the best ingredients you can get. Summer tomatoes, of course. Use whatever your favorite mozzarella is – this time I used buffalo mozzarella, but I’ve also tried the little balls my grocery sells in its olive bar, as well as the shrink-wrapped balls that I’m guessing are more widely available. Also, be careful of your garlic – I once made this (for a large group, no less) with some incredibly strong garlic, and it really ruined the whole dish. I recommend toasting the unpeeled cloves, either in a dry skillet or in the oven if it’s already on.

Copy of IMG_8001

Fall is closing in fast (pumpkin and cider and football and colorful trees and crisp air!) but there’s still time! We still have at least a month of wonderful tomatoes left! What are your favorite ways to use them?

Copy of IMG_8006

One year ago: Blueberry Sour Cream Ice Cream

Pasta with No-Cook Tomato Sauce and Fresh Mozzarella (from Cooks Illustrated)

This is the recipe directly from Cooks Illustrated. I do make a few small changes. First, I don’t seed the tomatoes, which does make the pasta a little wetter, but I just can’t throw away so much precious summer tomato flavor. I also use less oil, because, you know, fat and all that. And sometimes I reduce the amount of pasta.

Also, you’ll probably want to warm your serving bowl for this recipe.  I usually put the bowl in the oven, turn the oven on to warm for a few minutes, then turn the oven off, leaving the bowl in there until I’m ready for it.

salt
1 pound pasta (a short, curly type is best)
1½ pounds ripe tomatoes, cored, seeded, and cut into ½-inch dice
¼ cup extra virgin olive oil
1 medium garlic clove, minced or pressed through a garlic press
3 medium scallions, sliced thin
ground black pepper
8 ounces fresh mozzarella cheese, cut into ½-inch cubes

1. Bring 4 quarts water to a rolling boil in a large pot. Add 1 tablespoon salt and the pasta to the boiling water, stir to separate the noodles, and cook until al dente. Drain and return the pasta to the pot.

2. While the pasta is cooking, prepare the sauce. Combine the tomatoes, oil, garlic, scallions, ½ teaspoon salt, and ¼ teaspoon pepper in a medium bowl. Add the tomato mixture and mozzarella to the pasta in the pot and toss to combine. Adjust the seasonings with salt and pepper to taste and serve immediately.

Copy of IMG_8002

potato tomato tart

Copy of IMG_8028

Dave and I have this conversation nearly once a week:

Me (whining, after baking all day): I’ve been cooking all day and I’m tired and I haven’t even stupid started dinner. Stupid stupid stupid.

Dave: Okay. We’ll order pizza.

Me: We can’t order pizza! I bought ingredients for dinner! If we don’t use them tonight, they’ll go to waste!

Copy of IMG_8007

Once the week’s menu is set, it does not change.

But last week something went haywire, and I needed to come up with an extra meal on short notice.

Copy of IMG_8012

I had two potatoes that I’d bought and never got around to using (see! they almost went to waste!) and there was a pile of tomatoes leftover from tomato picking. But I couldn’t find any recipes that fit all of my requirements – used plenty of both tomatoes and potatoes, didn’t require any ingredients I didn’t have, and actually sounded good. So I <gasp> came up with something on my own.

Copy of IMG_8020

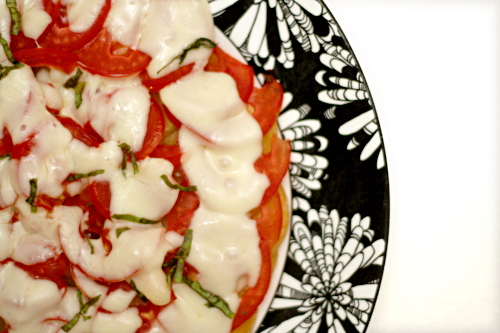
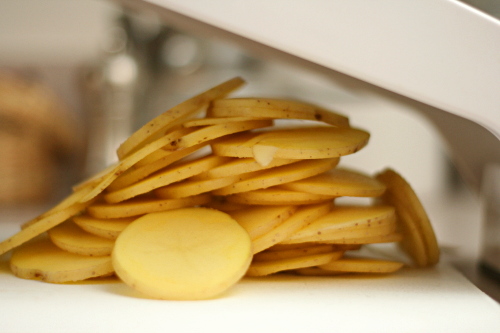
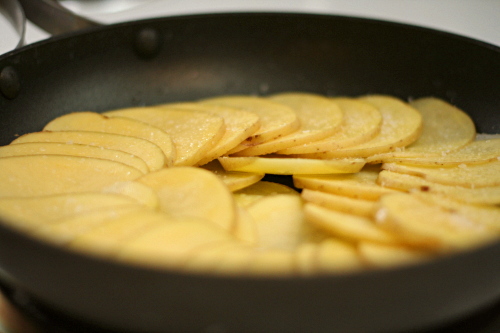
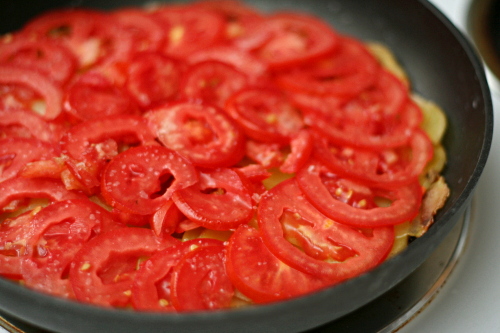
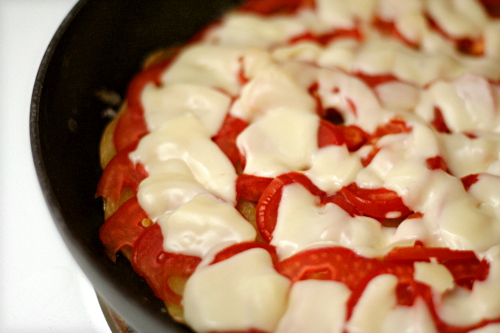
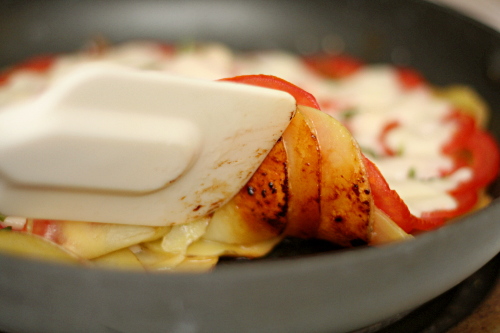
I sliced the potatoes thin and arranged them in a skillet. Once they were crisped on the bottom and mostly cooked through, I arranged sliced tomatoes over the top. Once those were softened, I arranged sliced mozzarella on top of that. It melted almost immediately, so I quickly picked a few leaves from my pathetic sun-starved basil plant, and sprinkled them over the tart.

Copy of IMG_8023

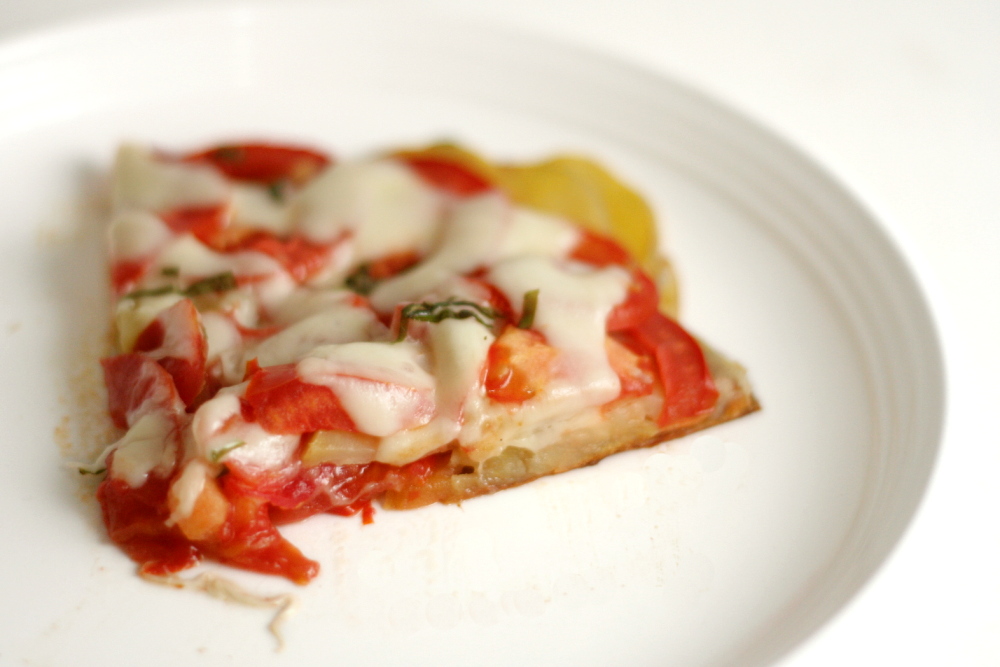
It was pizza-like, which is always a plus. The potatoes were browned and crisp on the bottom.  It was pretty. It was easy. It was tasty. It used up ingredients I didn’t know what else to do with. Perfect.

Copy of IMG_8027

One year ago: Banana Coconut Muffins

Potato Tomato Tart

Serves 2 for a light meal

I used a mandoline set at 1/8-inch to slice the potatoes and tomatoes.

1 tablespoon olive oil
2 medium Yukon gold potatoes, sliced thin
salt and pepper
2 large (or maybe 3 small) plum tomatoes, sliced thin
2½ ounces mozzarella cheese, sliced thin (or just over ½ cup shredded)
3-4 basil leaves, sliced thin

1. Heat the oil in a medium nonstick skillet over medium heat. Arrange the potatoes in one layer on the bottom of the skillet, overlapping each slice. Season with pepper and a generous pinch of salt. Cover the pan, reduce the heat to medium-low, and cook for 20 minutes, until the potatoes are almost tender and are lightly browned on the bottom.

2. Arrange the tomatoes in one layer of overlapping slices over the potatoes. Cover and cook for 5 minutes, until the tomatoes are slightly softened. Evenly disperse the mozzarella over the tomatoes and cook a few minutes, until it’s melty. Sprinkle the top of the tart with basil.

3. Serve. I was able to move the tart once, by sliding it from the pan to a serving plate. Then I realized it would be easier to cut the tart if it was on a cutting board, but moving it from the serving plate wasn’t nearly as easy as moving it from the pan. By which I mean that the whole thing mostly fell apart. So don’t try to move it around too much.

Copy of IMG_8030