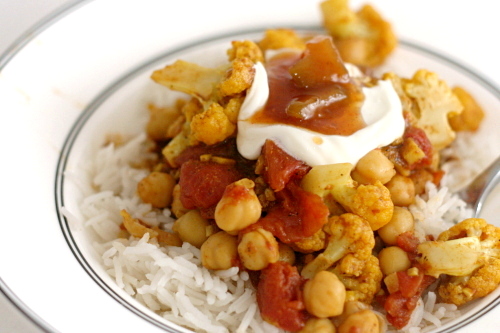
vegetable curry

Copy of IMG_7904

I’m particular about cookbooks. I’ve gotten into the habit of buying one hopefully comprehensive cookbook per cuisine. It started with Julia Child’s Mastering the Art of French Cooking and Marcella Hazen’s Essentials of Classic Italian Cooking, then it was Corinne Trang’s Essentials of Asian Cooking, and most recently, Julie Sahni’s Classic Indian Cooking.
Copy of IMG_7885

The thing is, I’ve hardly made anything from any of these. I’ve barely even opened Indian Cooking since I got it for Christmas this year, and to be honest, I’m really not bothered by this. It makes me happy just knowing that I have them, and that someday, hopefully sooner rather than later, I’ll find the time and discipline to learn what I can from each one.
Copy of IMG_7889

In fact, I’ve only made a couple of Indian dishes ever, but that was all I needed to be convinced that I’ll love it; I enjoy the basic flavors and ingredients so much. One of my favorites is a vegetable curry dish from Cooks Illustrated, but every time I made it, I was surprised by how long it took. I wanted something simpler that I could reasonably make on a weeknight.
Copy of IMG_7892

Then I found a recipe for Aloo Gobi that had a lot of the same ingredients, except less of them, plus a simpler cooking method. It has potatoes in it, as does the CI recipe, but since I wanted to serve my curry mixture over rice, I decided that I could eliminate the potatoes. I also wanted this to be a one-dish meal, but the original didn’t have any protein. Exchanging the potatoes for chickpeas killed two birds with one stone.
Copy of IMG_7898

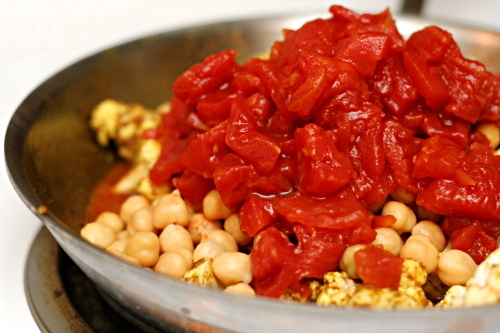
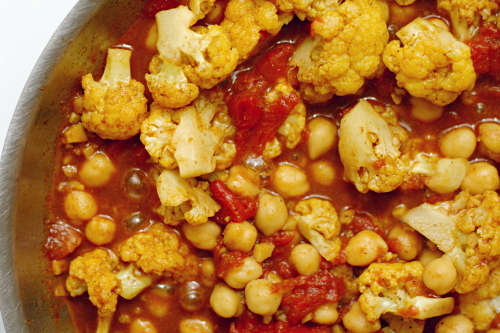
The recipe starts out with sautéing all sorts of delicious aromatics – garlic and ginger of course, but also spices, including curry powder and garam masala. Garam masala is seriously delicious stuff. It’s a blend, so brands will vary, but I’ve been perfectly happy with McCormick’s. Then I added cauliflower, which is my favorite vegetable, and then tomatoes and chickpeas. One ingredient I love after another. At the end, peas are stirred in.
Copy of IMG_7900

This was exactly what I was looking for. It has similar ingredients to the Cooks Illustrated recipe that I enjoyed so much, but it’s easy enough to make on a weeknight. Aloo gobi  has similar flavors, but this version has the right nutritional balance for a one-pot meal. I wonder how many more great Indian dishes I can discover by actually looking through a cookbook?
Copy of IMG_7905

One year ago: Grits, Onion, and Cheese Souffles

Printer Friendly Recipe
Vegetable Curry

Serves 3-4

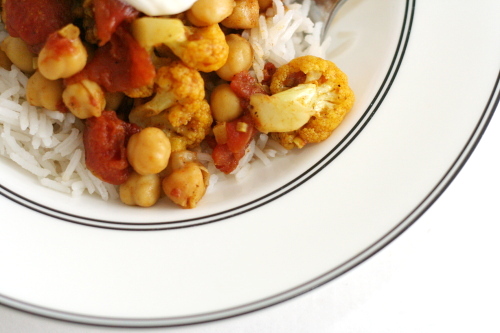
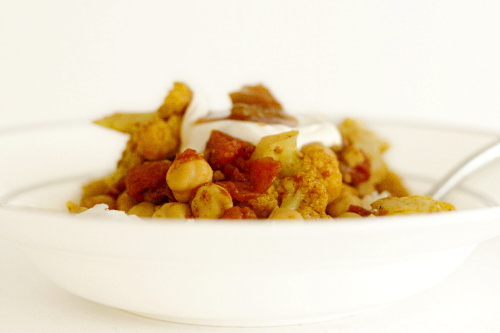
I love this over basmati rice (I like to put a cinnamon stick and some cloves in the pot with the rice cooks) and topped with mango chutney and plain yogurt.

I didn’t have peas when I photographed this. Also, I used too much of the spices; the recipe below calls for less than I used, so if yours looks a little different from the pictures, that may be the reason.

1 tablespoon canola oil
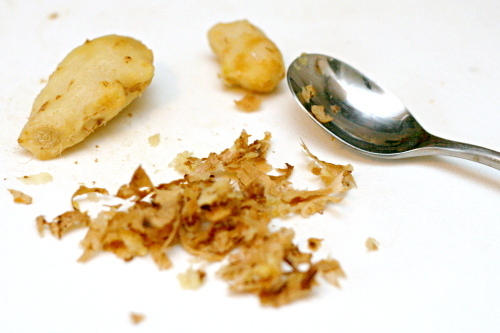
1 tablespoon minced or grated ginger
3 large garlic cloves, finely chopped
1 teaspoons garam masala
2 teaspoons curry powder
Salt
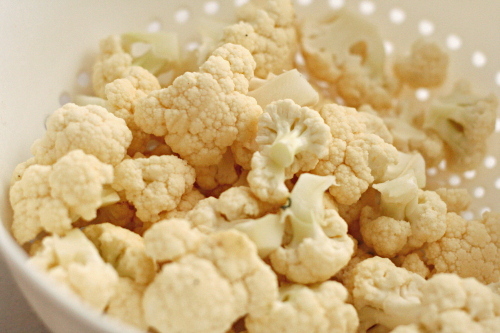
½ medium head cauliflower, cut into small-medium sized florets
1 (15-ounce) can diced tomatoes
1 (15-ounce) can chickpeas, drained and rinsed
4 ounces (about ¾ cup) frozen peas

1. In a large skillet, heat the canola oil over medium heat. Add the garlic, ginger, garam masala, and curry powder. Cook until fragrant, 1-2 minutes, stirring constantly.

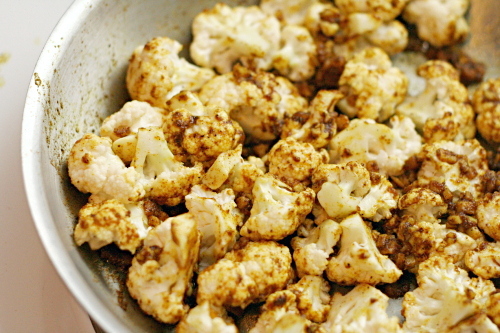
2. Add the cauliflower and toss to incorporate with the spices, then stir in ½ teaspoon salt, the chickpeas, and the tomatoes with their liquid. Cover the pan and simmer over medium heat for 10 to 15 minutes, until the cauliflower is tender, stirring occasionally. Stir in the peas, cover again, and continue simmering for 2-3 minutes, until the peas are heated through. Serve over rice, topped with plain yogurt and mango chutney, if desired.
Copy of IMG_7902

farmer’s market salad with spiced goat cheese rounds

Copy of IMG_7094

This is a bit of a misnomer for me, as I haven’t found a convenient farmers market since we moved to Pennsylvania last January. We drove half an hour to one last year and bought some nice eggs, but it didn’t have much in the way of produce. I hear there’s another, 30 minutes in the opposite direction, but honestly, my grocery store sells local produce and I’m lazy.

Copy of IMG_6535

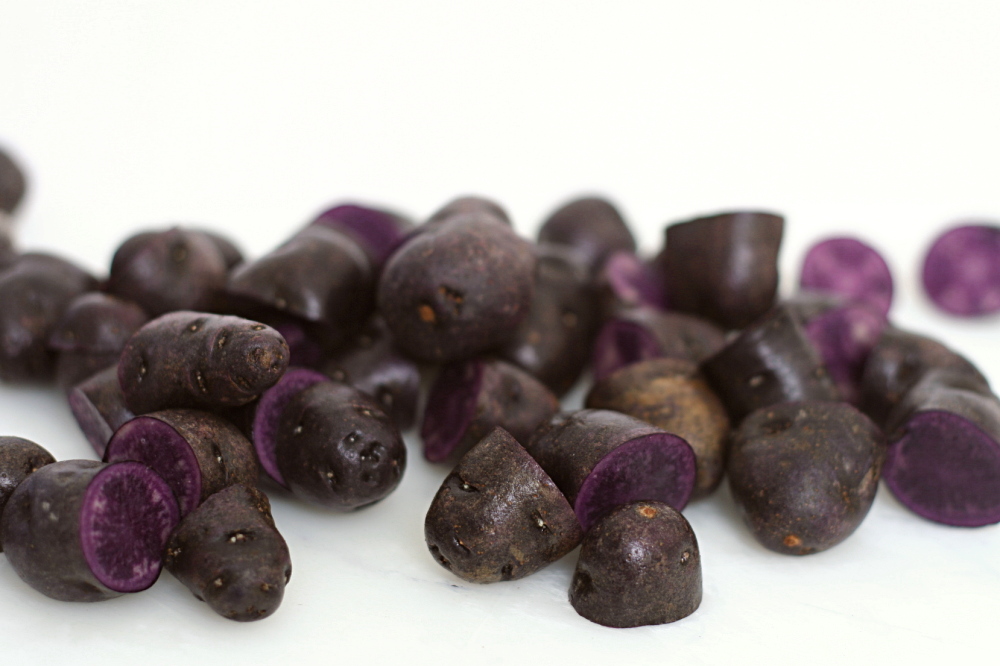
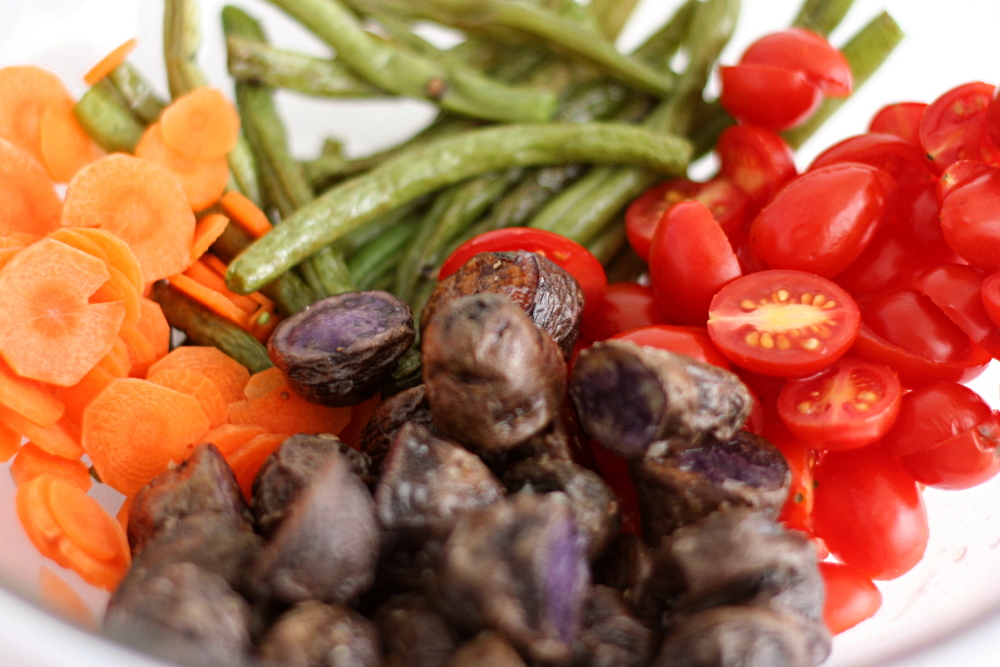
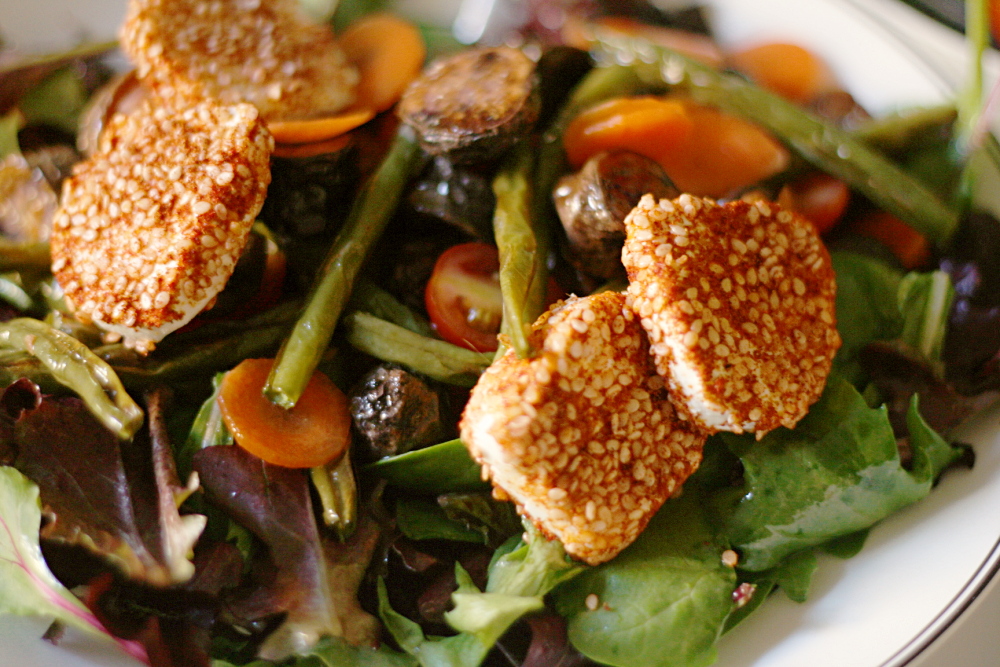
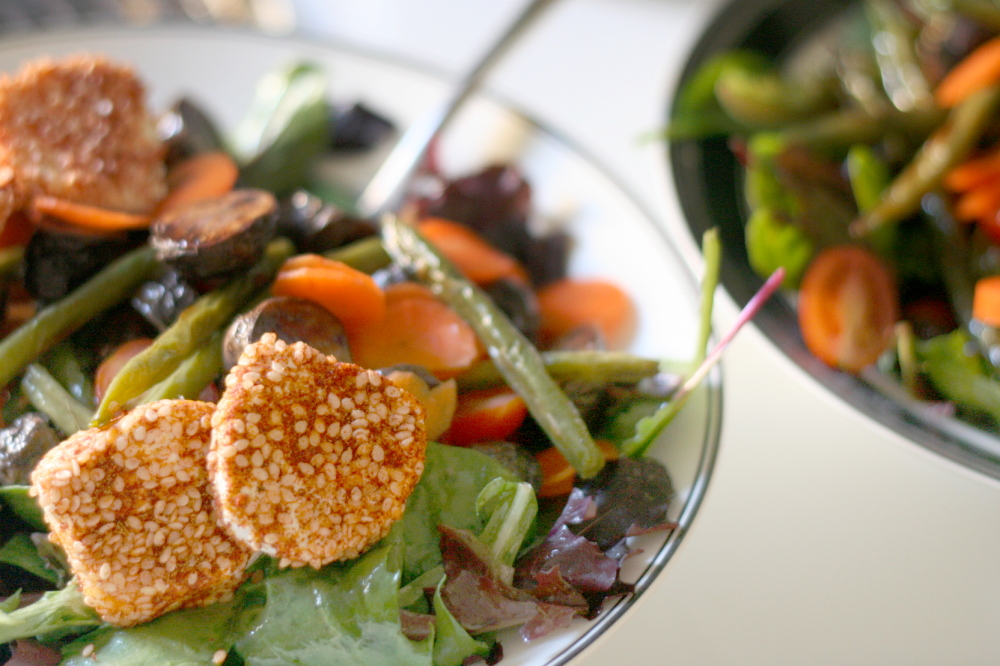
Whether you buy your ingredients at a farmers market or the grocery store, you’ll end up with a delicious salad. We’re talking greens, topped with potatoes, green beans, slivered carrots, tomatoes, and, mmm, goat cheese. I used purple potatoes and I wanted yellow beans (yellow green beans?) for maximum color impact, but couldn’t find them. The original recipe also has black olives, and I included them the first time I made this salad, but they didn’t seem to fit with the other flavors.

Copy of IMG_7054

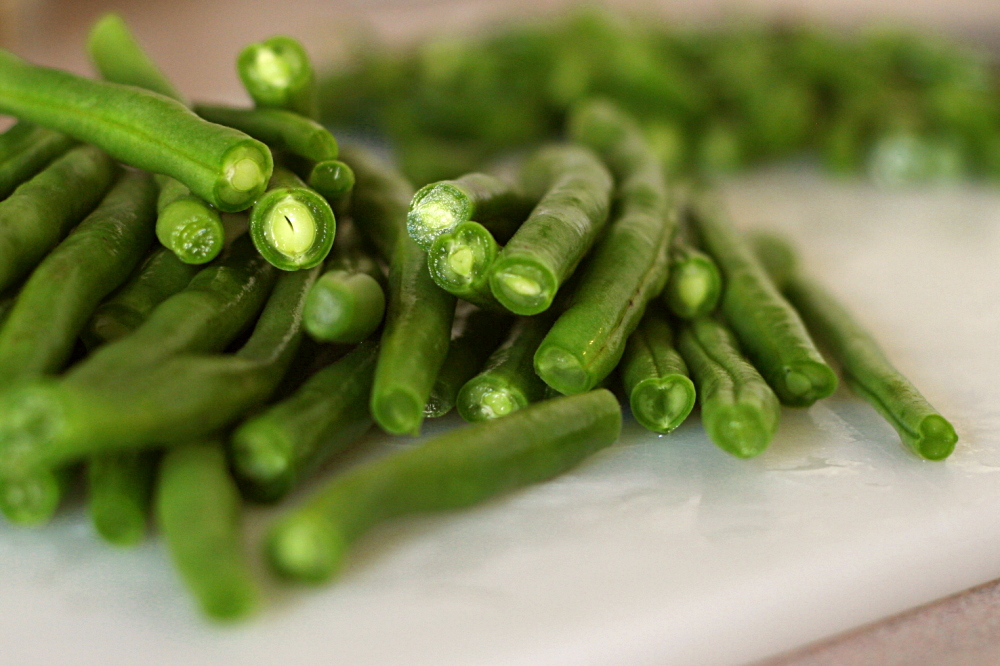
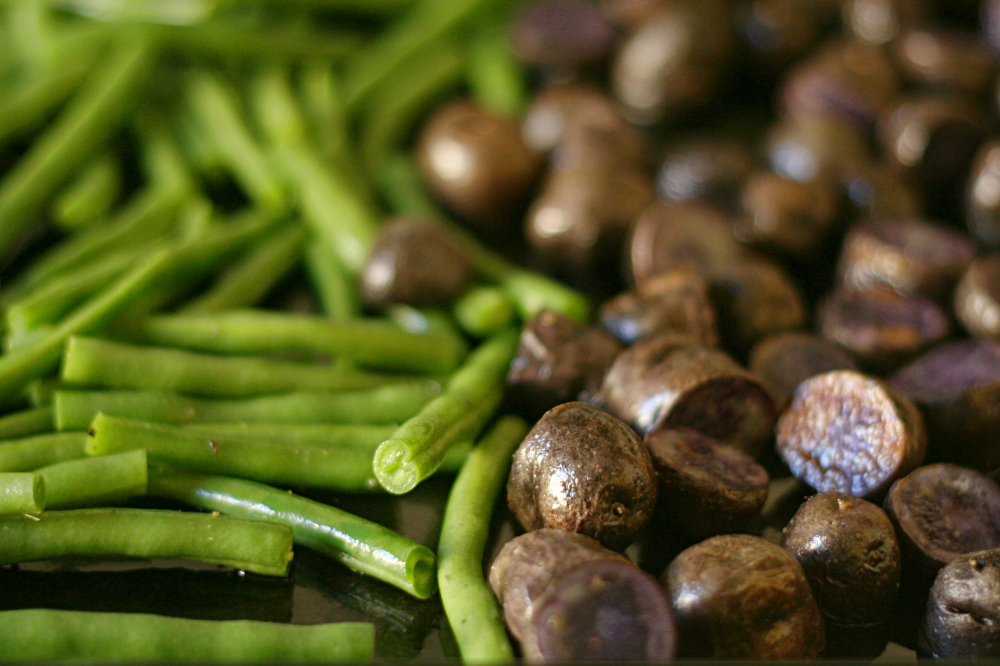
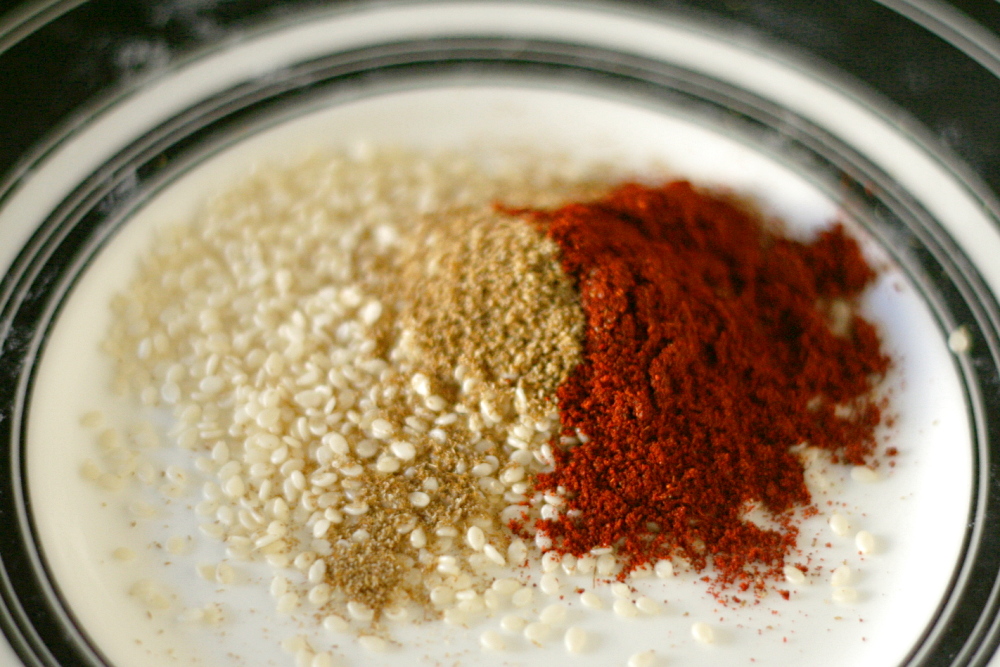
Now let me be honest: I put quite a bit of work into this salad. I roasted the potatoes and the green beans, I cut the carrots into the thinnest of coins, and I dutifully rolled discs of goat cheese in a colorful spice mixture. (Oh, and I unceremoniously dumped a pre-washed bag of mixed greens into a bowl.)

Copy of IMG_7061

Some of this is nice for maximum potential, but not strictly necessarily. The tomatoes? Expendable; I’m not sure they matched the rest of the ingredients anyway. The spices? Couldn’t taste ‘em. And it’s not like you’re really going to improve on goat cheese anyway. The shallot in the dressing? Nah. You could spend half the time, focusing on just the key components of this salad – the greens, dressing, potatoes, beans, and did I mention how much I love goat cheese? – and get a very similar result.

Copy of IMG_7075

On the other hand, if you do you have access to one of those colorful outside markets where the farmers are friendly and the produce is varied, mix it up! It’s a salad, and you’re not going to ruin it by making it your own.

Copy of IMG_6559

One year ago: Filbert Gateau with Praline Buttercream

Farmers Market Salad with Spiced Goat Cheese Rounds (adapted from epicurious)

Makes 4 main-course servings

Goat cheese rounds:
2 tablespoons sesame seeds
2 teaspoons ground cumin
1½ teaspoons paprika
1 teaspoon finely chopped fresh thyme
¼ teaspoon coarse kosher salt
⅛ teaspoon ground black pepper
16 (½-inch-thick) rounds chilled soft fresh goat cheese (from one 11-ounce log)

Vinaigrette:
2 tablespoons red wine vinegar
1 shallot, minced
1 teaspoon chopped fresh thyme
1 teaspoon Dijon mustard
5 tablespoons extra-virgin olive oil
Coarse kosher salt

Salad:
1 pound baby new potatoes (such as Dutch yellow baby potatoes), halved
1 pound green beans (or mix of green and yellow), trimmed
8 cups (loosely packed) mixed salad greens
12 ounces assorted small tomatoes (such as cherry, grape, and teardrop; preferably mix of red and yellow)

For goat cheese rounds:
Line baking sheet with waxed paper or parchment paper. Mix first 6 ingredients in shallow bowl. Dip cut sides of goat cheese rounds into spice mixture to coat. Place on prepared baking sheet. Chill until ready to serve. DO AHEAD Can be made 1 day ahead. Cover and chill. Bring to room temperature before serving.

For vinaigrette:
Whisk first 4 ingredients in small bowl. Gradually whisk in olive oil. Season with coarse salt and pepper. (Can be made 1 day ahead. Cover and refrigerate. Rewhisk before using.)

For salad:
Steam potatoes until just tender, about 10 minutes. Transfer to plate; cool. Steam green beans until crisp-tender, about 5 minutes. Rinse under cold water; drain. Pat dry with paper towels. ( Potatoes and green beans can be made 6 hours ahead. Wrap separately in paper towels. Place in resealable plastic bag; chill.)

Combine greens and basil in large bowl. Add enough vinaigrette to coat lightly; toss. Arrange on large platter. Add potatoes and green beans to same large bowl; add remaining dressing and toss. Arrange potatoes and beans atop greens. Scatter tomatoes and olives over. Surround with goat cheese rounds.

Copy of IMG_7083

tortellini soup with carrots, peas and leeks

Copy of IMG_7222

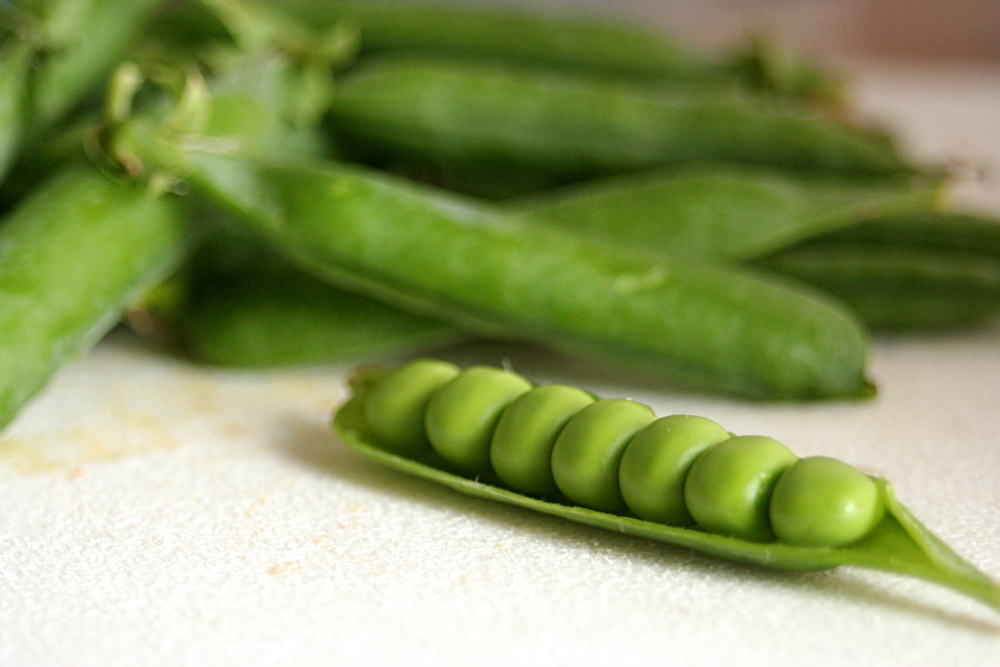
It turns out that pea-picking is way more fun than strawberry picking. For one thing, it isn’t nearly as crowded. Shocking, I know, that strawberries are more popular than peas. There’s also nothing squishy lurking under the foliage, and the peas are plentiful and just demanding to be picked. And pick we did, far more than we needed for this soup.

Copy of IMG_7448

I know, it’s July, and you’re not interested in soup. Rest assured that I tried it both ways, and it’s just as good with frozen peas, so you’re free to wait until the weather cools down a bit. Either way, it takes all of 15 minutes to make. Even better, it covers all of your nutritional bases, making side dishes unnecessary, although we found that a chunk of crusty bread is a welcome addition.

Copy of Copy of IMG_7433

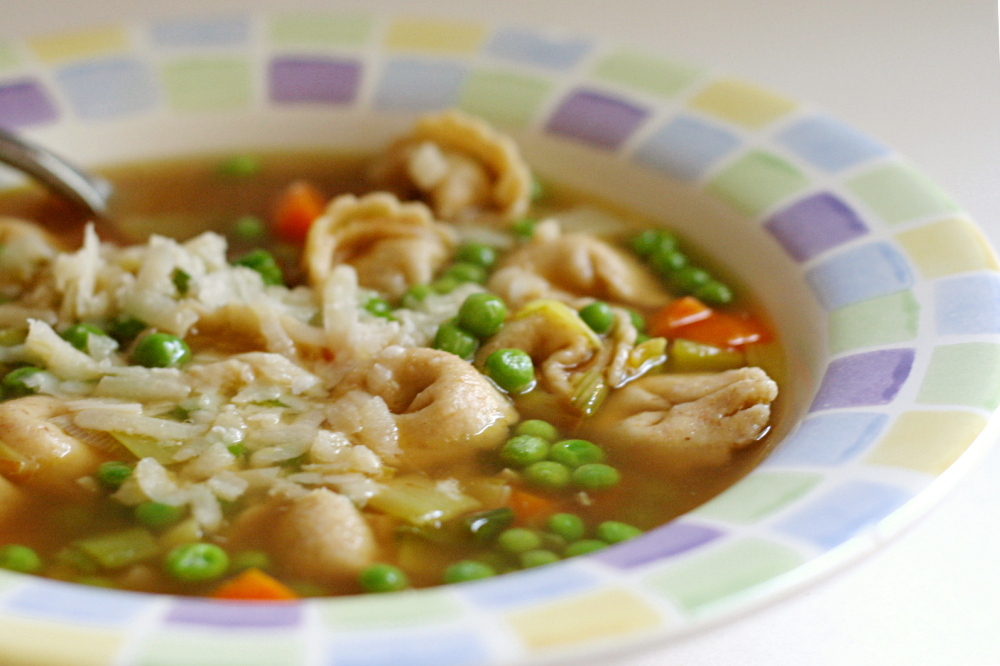
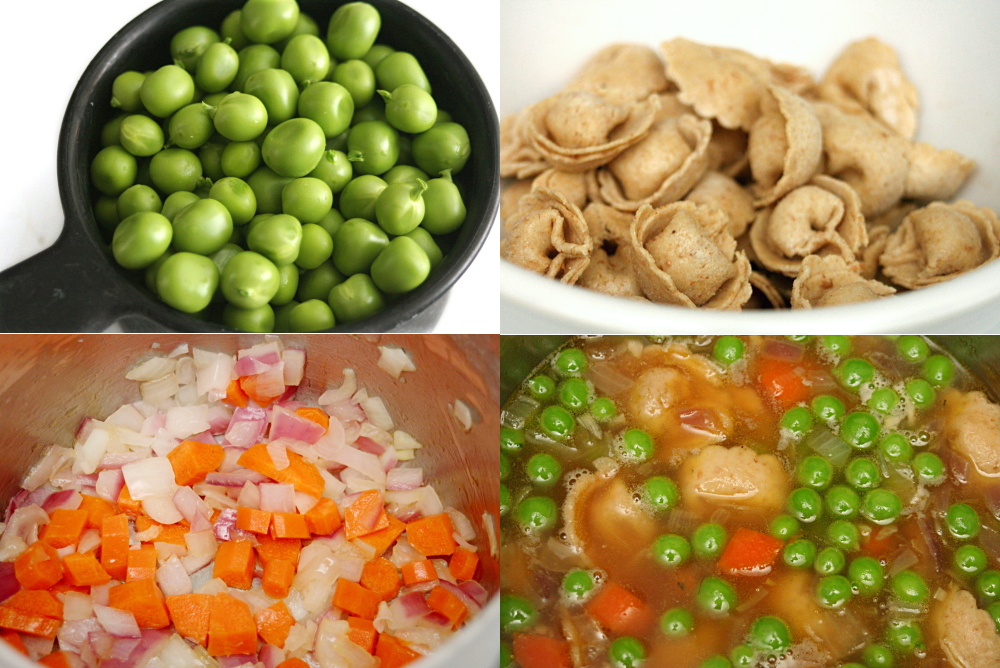
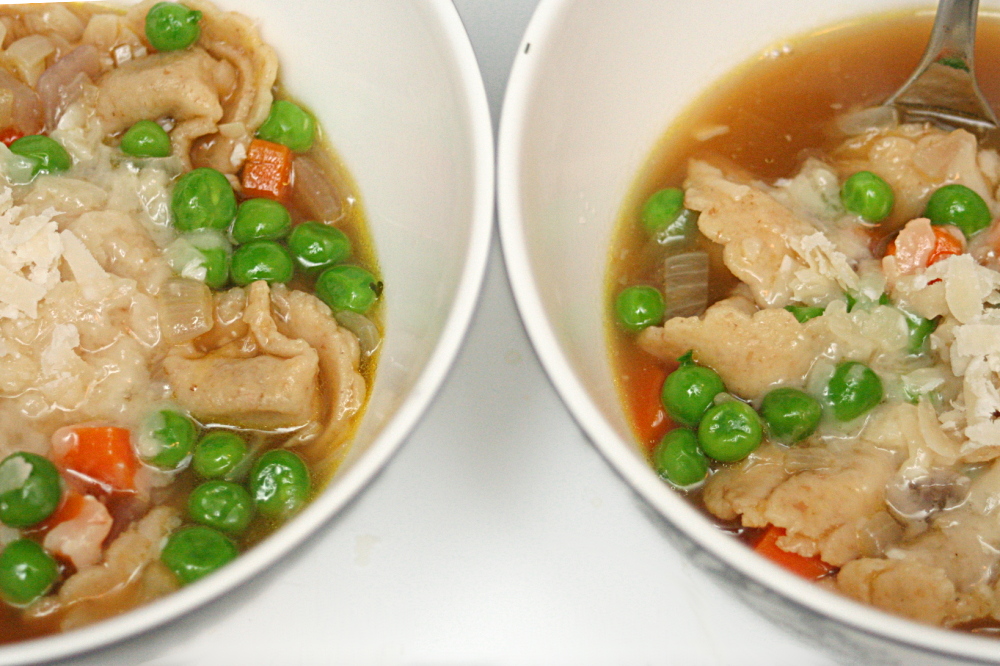
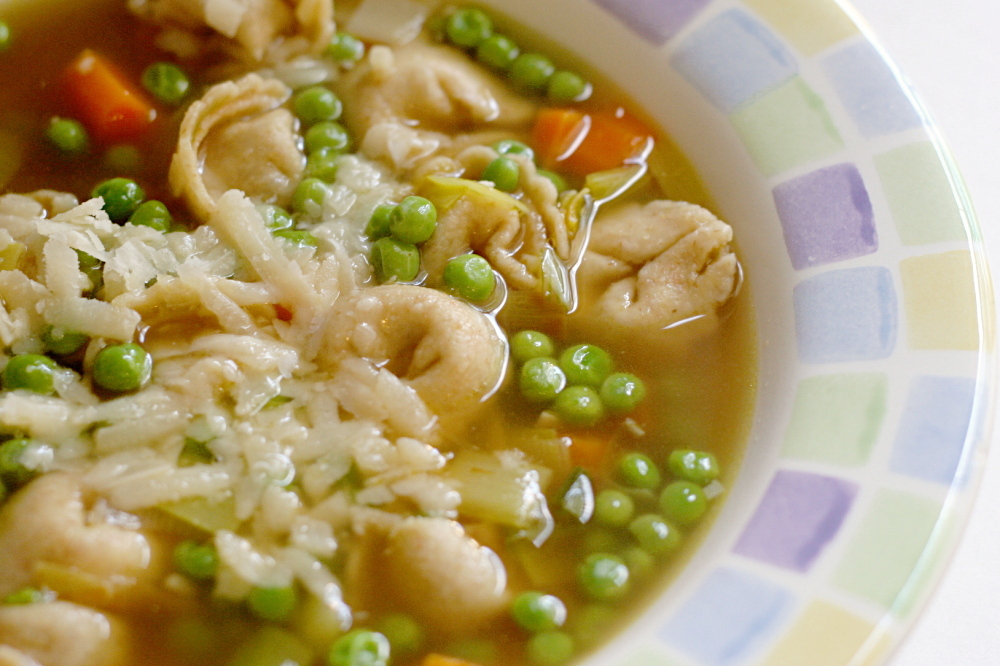
It comes together like any soup, starting with sautéing aromatics, adding broth, then tortellini, and finally the peas near the end. Pour it into bowls, top with some parmesan, and enjoy an assortment of light, spring flavors.

Copy of IMG_7457

One year ago: Cherry Rhubarb Cobbler

Tortellini Soup with Carrots, Peas and Leeks (from Fine Cooking, November 2006)

I doubled, or maybe even quadrupled the carrot. Also, the second time I made it (when I took photos), I didn’t have leeks, so I had to use red onion instead.

2 medium leeks (12 ounces untrimmed)
1 tablespoons unsalted butter
3 cloves garlic, finely chopped (about 1 tablespoon)
½ medium carrot, peeled and finely diced (2 tablespoons)
kosher salt
freshly ground black pepper
5 cups low-salt canned chicken broth
8 ounces frozen cheese tortellini
1 cup frozen peas
¼ cup (½ ounce) freshly grated Parmigiano-Reggiano or Grana Padano

1. Trim the roots and dark green leaves from the leeks. Slice the white and light green part in half lengthwise and then slice the halves thinly crosswise. Rinse well and drain.

2. Melt the butter in a 4-quart saucepan over medium heat. Add the garlic, leeks, and carrot. Season with a couple pinches of salt and cook, stirring occasionally, until tender, 5 to 7 minutes. (It’s fine if the vegetables brown lightly.) Stir in ¼ teaspoon pepper and cook for about 20 seconds, then add the chicken broth and bring to a boil. Add the tortellini and cook for 3 minutes. Reduce the heat to a simmer and add the peas. Continue to simmer until the tortellini are cooked, 3 to 5 minutes.

3. Season to taste with salt and pepper. Portion the soup into warm bowls, top each with some of the cheese, and serve.

Copy of IMG_7223

tofu mu shu

copy-of-img_5589

A friend of mine once, oh-so-innocently, asked me if I had any recipes with napa cabbage. Poor guy. You have to be careful talking to me about food, because I can go on forever. I sent him longwinded comments about a bunch of recipes. I also sent a recipe for tofu mu shu, which I overcomplicated by providing two versions, one a super-anal-Bridget-version and the other simpler. Of course I had only made the super anal one. Of course.

copy-of-img_5570

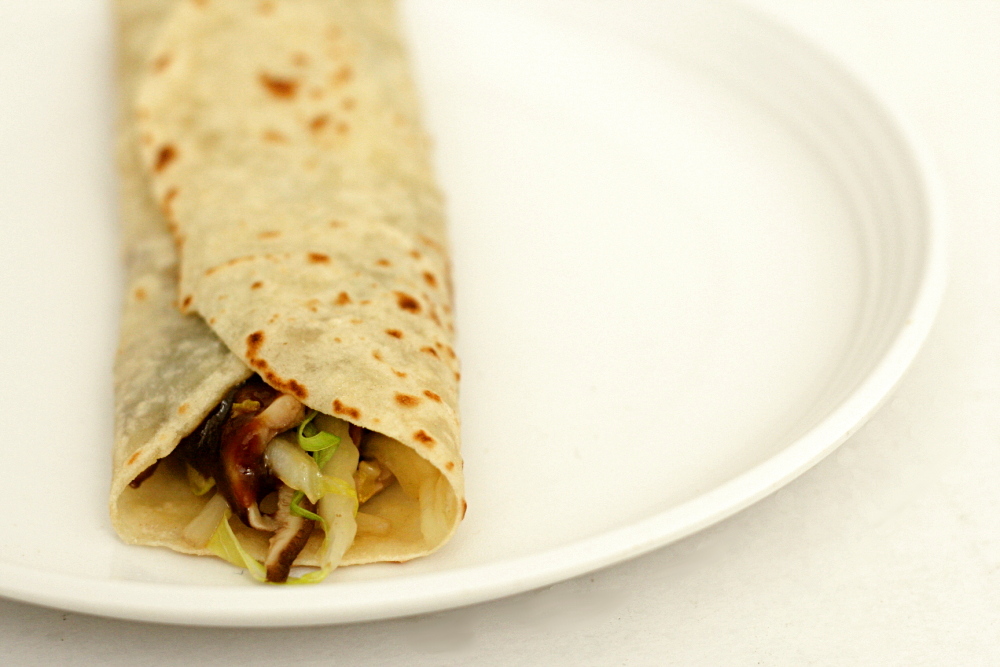
Mu shu is stir-fry wrapped in a thin bread-like shell. The first several times I made it with pork using Jen’s recipe, which is quite delicious. I did want a vegetarian version though, as we tend to save meat for special occasions (you know, like weekends). I haven’t been able to find the dried tofu cakes that Jen recommends substituting for the pork.

copy-of-img_5574

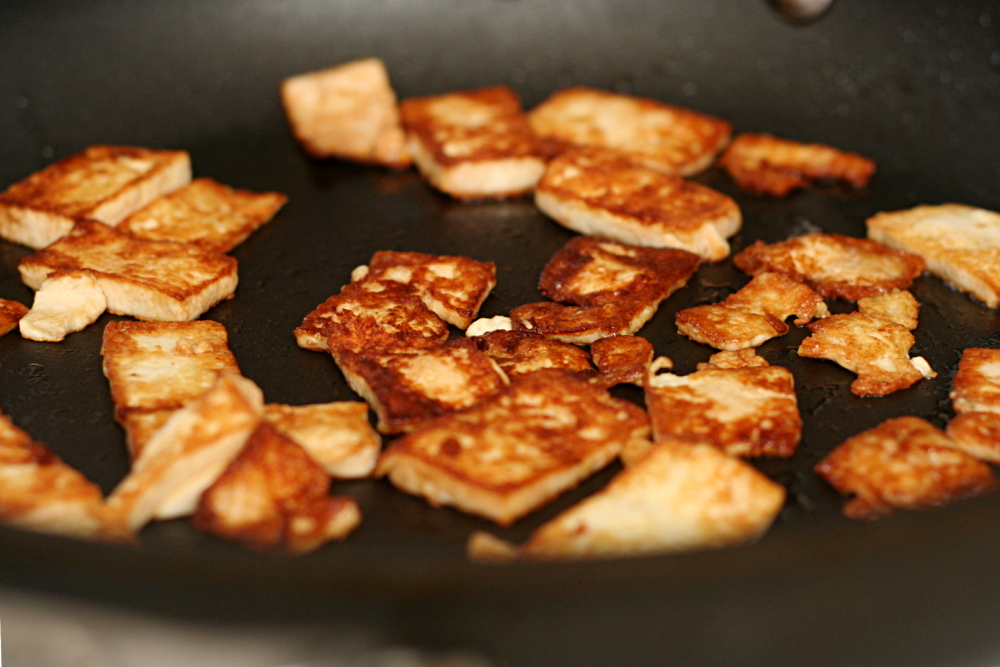
I’ve had good results from pressing firm tofu, marinating it briefly in soy sauce, and sautéing it in a very hot pan. Tofu prepared this way was excellent in mu shu, so it was included in my super-anal-Bridget-version.

copy-of-img_5580

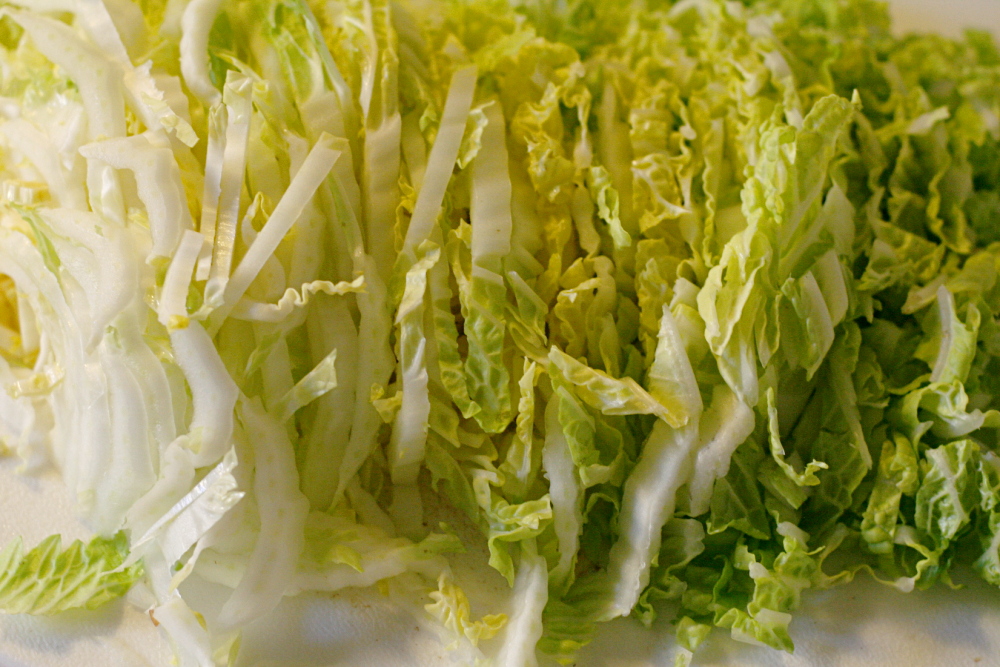
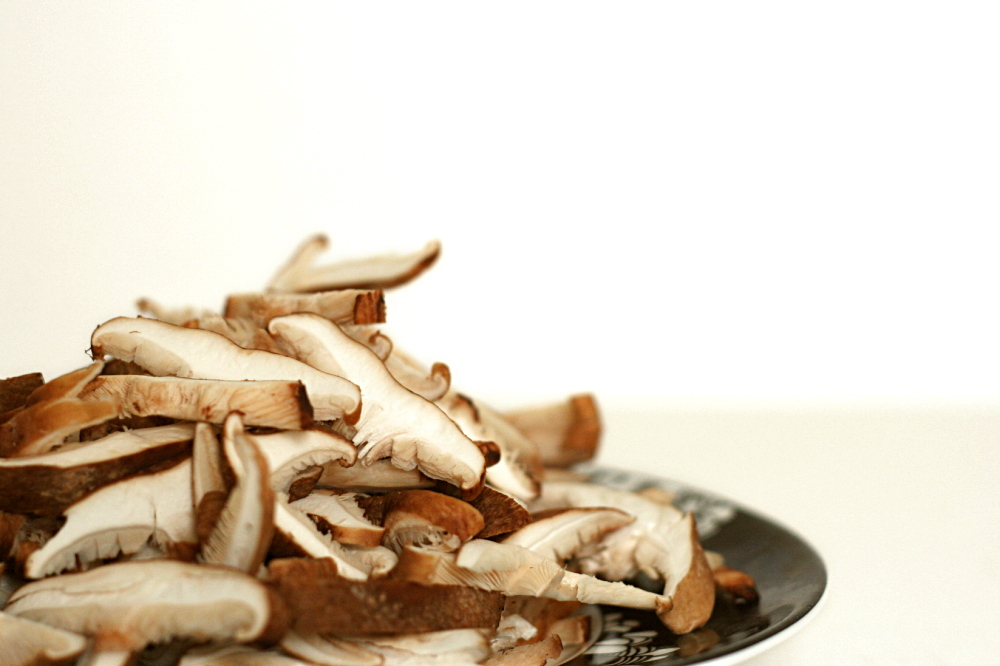
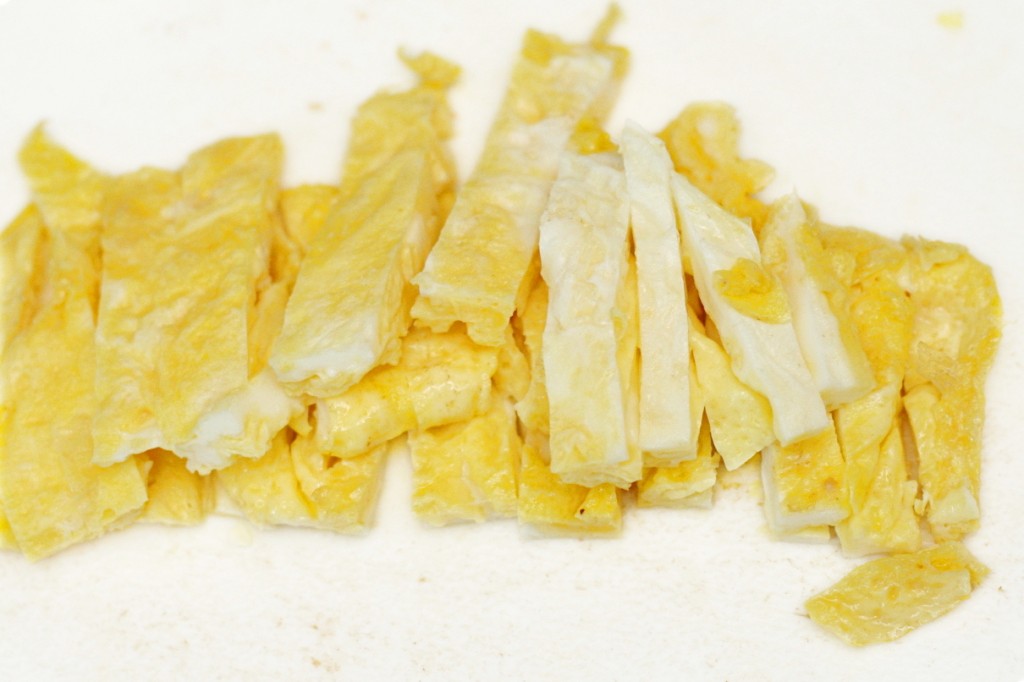
The other difference between my two recipes is the shape of the chopped ingredients. Jen has exceptional knife skills, and her prepped ingredients for mu shu are beautifully julienned. Frankly, it takes me forever to do. Jen also cooks the eggs as one sheet, then removes it from the pan and cuts it into strips, which is far more attractive than clumpy scrambled eggs.

copy-of-img_5582

But are crisped tofu, julienned vegetables, and eggs cut into strips worth the extra time? I made my easy version first, with unbrowned tofu, scrambled eggs, and coarsely chopped vegetables. Two days later, I made the other version, sautéing the tofu, cooking the eggs as a sheet, and julienning the vegetables.

copy-of-img_5585

Dave and I didn’t notice a difference in flavor in the finished product. The easy version probably took me about 15 minutes less time. With pre-made mu shu pancakes, that makes this a pretty reasonable weeknight meal.

copy-of-img_5587

One consideration is that the more work-intensive method is more attractive, as the ingredients are all approximately the same shape. That could be an important consideration if you’re serving this to guests. I, for one, am happy to have a simpler version of this, so I can eat it that much more often.

copy-of-img_5588

One year ago: Pecan Honey Sticky Buns

Mu Shu Tofu (adapted from Use Real Butter)

Start to press the tofu before preparing the remaining ingredients.

Serves 6

1 (12-ounce package) firm or extra-firm tofu
3 tablespoons soy sauce
1 tablespoon toasted sesame oil
2 teaspoons cornstarch
3 teaspoons canola oil
3 eggs, beaten
8 ounces shiitake mushrooms, stemmed and cut into strips
3 cloves garlic, minced or julienned
1 medium head napa cabbage, halved and shredded
2 cups bean sprouts
4 green onions, sliced
1 can bamboo shoots, roughly chopped
12 mu shu shells
hoisin sauce

1. Cut tofu in half horizontally to make two flat rectangles. Layer it between double layers of paper towels or clean dish towels. Put all of that in a pie plate and put something heavy on top, maybe another pie plate with some cans in it or something. Set it aside while you prepare the other ingredients.

2. In a small bowl, mix together the soy sauce, sesame oil, and cornstarch. Cut the tofu into strips and add it to liquid ingredients; stir gently.

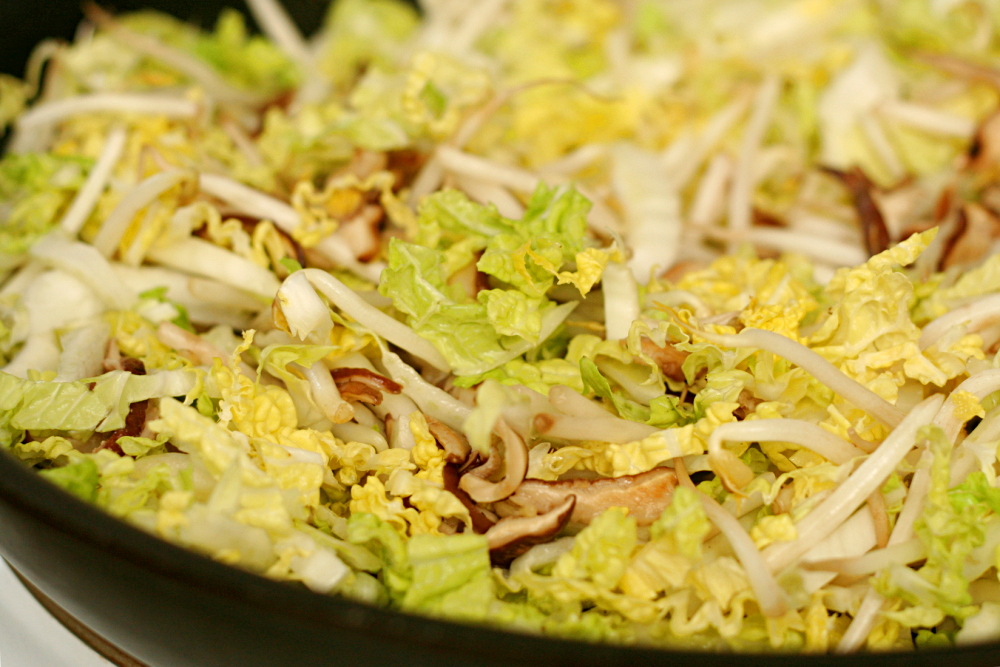
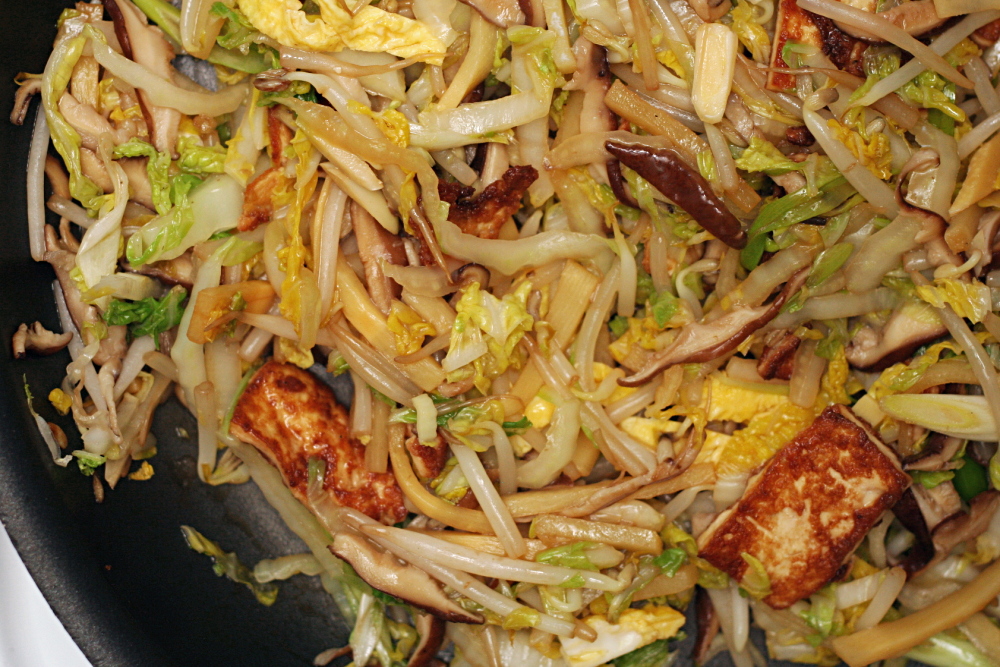
3. Heat 2 teaspoons canola oil in a 12-inch nonstick skillet over medium-high heat and add the mushrooms. Once the mushrooms are softened (2-3 minutes), add the garlic; cook and stir until fragrant, about 30 seconds. Add the eggs and stir vigorously with wooden spoon until scrambled and barely moist, about 20 seconds. Add the cabbage and bean sprouts. Sauté until the cabbage is wilted but still a little crunchy, 3-4 minutes. Add the remaining ingredients and the tofu mixture. Cook and stir until evenly heated.

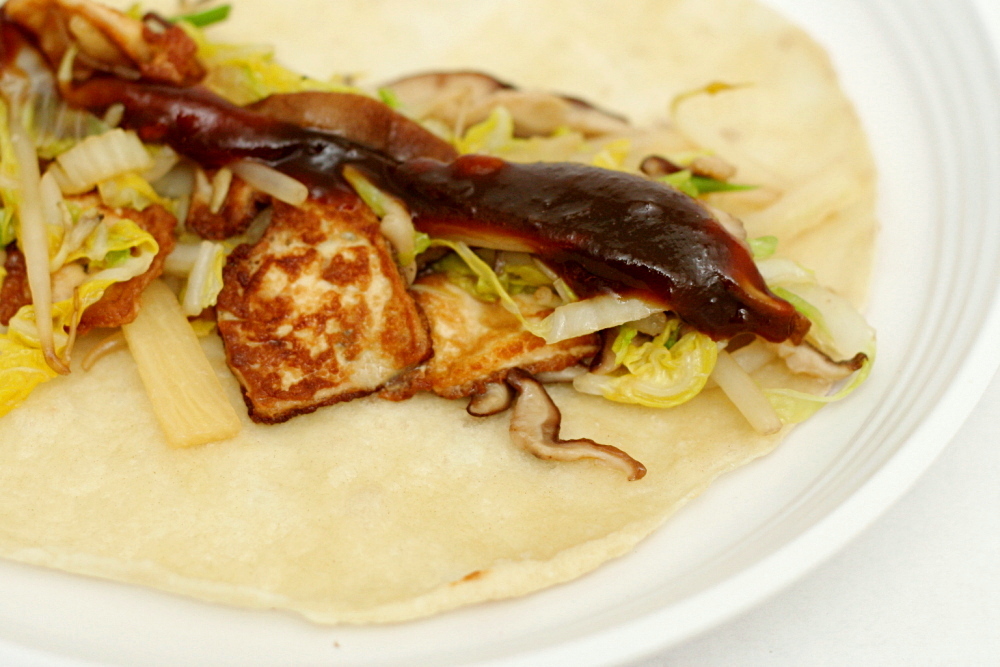
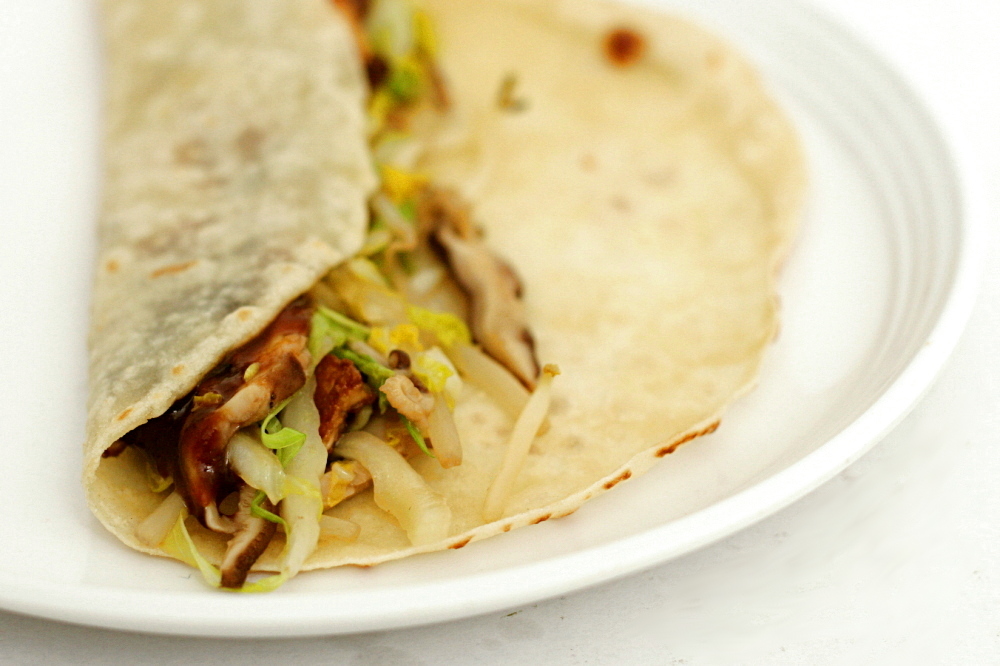
4. Heat the mu shu shells according to the instructions on the package. Serve each mu shu shell with a smear of hoisin sauce down the middle. Place several spoonfuls of mu shu on the shell and fold the sides in.

copy-of-img_5593

basic lentil soup

copy-of-img_5478

I recently had a friend visit, and somehow, her week-long trip turned into a wine and cheese fest. The wine part of the trip started immediately. We didn’t start hitting the cheese until the third day, but once we’d started, it quickly escalated. On her last night, for a grand finale, we made macaroni and cheese for dinner. We had cheese and crackers for an appetizer. We had chocolate fondue for dessert, and one of the dippers was cheesecake. We also had a lot of wine. It was glorious.

copy-of-img_5455

The next day, however, not so much. Poor Ramie was stuck on planes all day, but after dropping her off at the airport, I came home and immediately worked out. Then I considered what to make for dinner – something healthy(!) and easy that didn’t require a trip to the store. I didn’t have salad ingredients and the weather was rainy and cold, so lentil soup was exactly what I wanted.

copy-of-img_5449

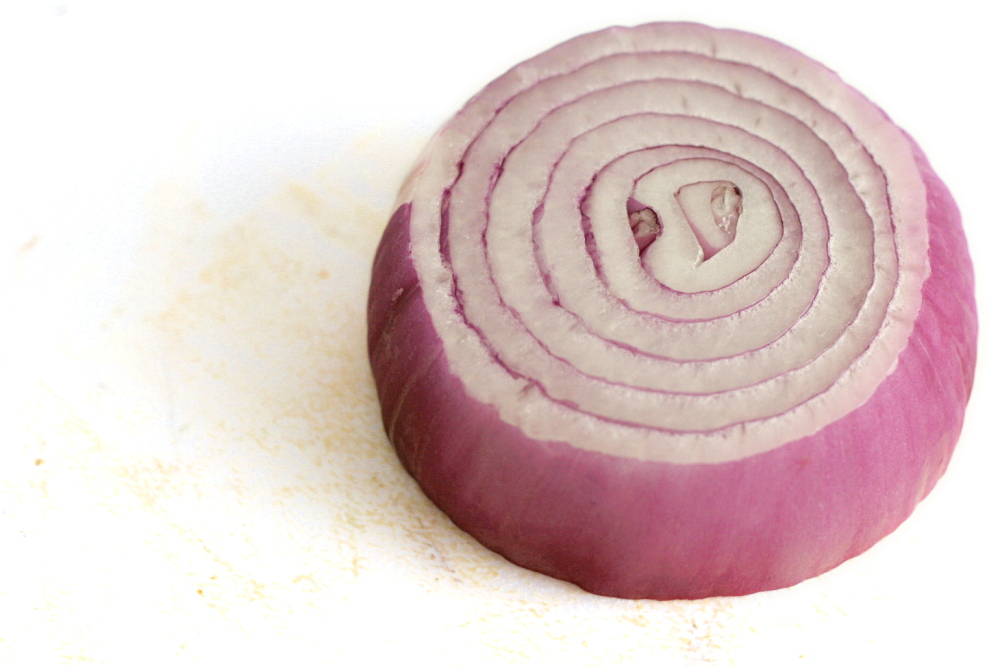
Mark Bittman has a simple recipe in his How to Cook Everything Vegetarian that calls for lentils, carrots and celery to be cooked in broth. An onion is supposed to be sautéed separately and then stirred into the cooked lentils. What is that about? Why am I using an extra dish, skipping any sort of caramelization of the carrots and celery, and denying my broth of soaking up onion flavor as it simmers? With no explanation for such an unusual method, I chose to cook this in a more traditional order, sautéing all of the aromatics together before adding the broth and lentils. I also decreased the oil and increased the amount of vegetables, because, you know, the cheese and wine detox.

copy-of-img_5468

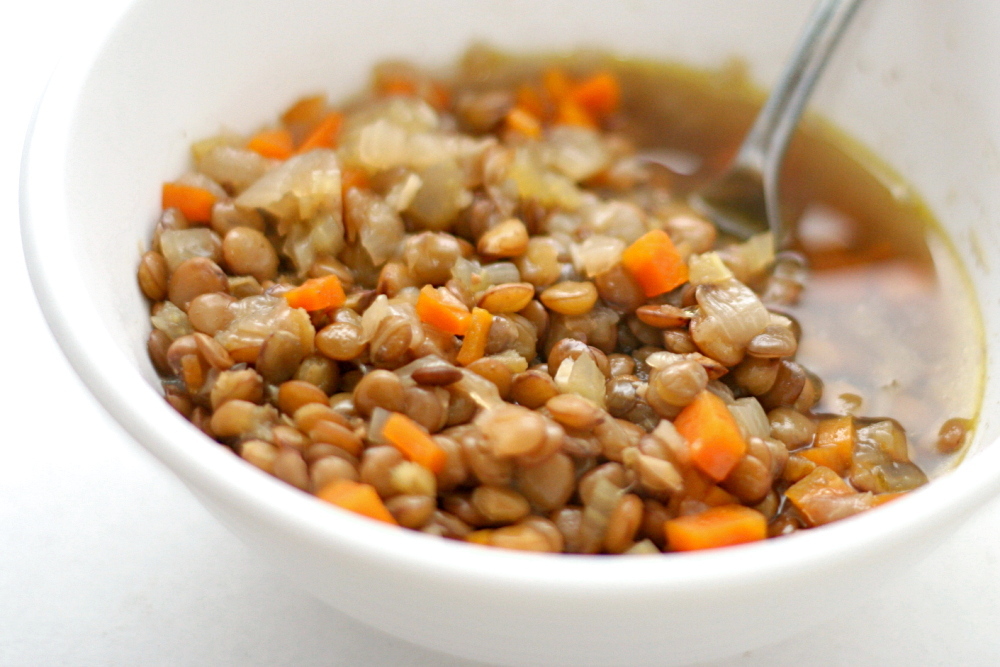
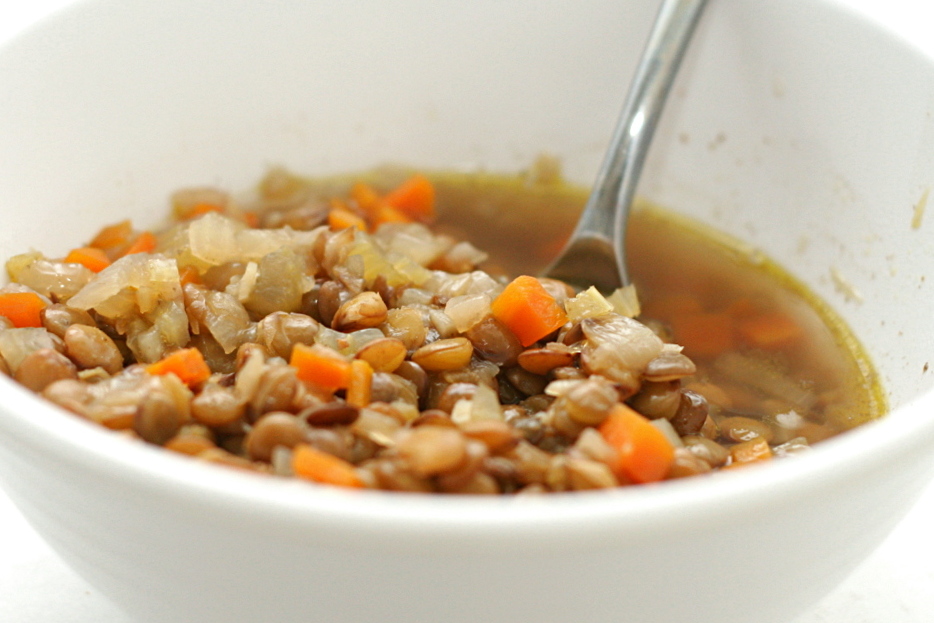
The soup was just perfect. It was simple, it was filling, it was healthy, and it was delicious. The lentils were tender but not mushy, and the broth was perfect with some rustic whole wheat bread. It goes to show that healthy food can be just as tasty as something more indulgent. Of course, the next day we had pizza for dinner. I don’t want to go too crazy with taking a break from cheese.

copy-of-img_5472

One year ago: Florida Pie

Basic Lentil Soup (adapted from Mark Bittman’s How to Cook Everything Vegetarian)

Obviously, Bittman calls for vegetable broth (or water) in his Vegetarian cookbook, but since I’m not actually a vegetarian, I usually use chicken broth. How much salt you need to add will depend a lot on your broth.

2-3 main dish servings

1 tablespoon olive oil
1 carrot, diced small
1 celery stalks, diced small
1 onion, diced small
2 cloves garlic, minced
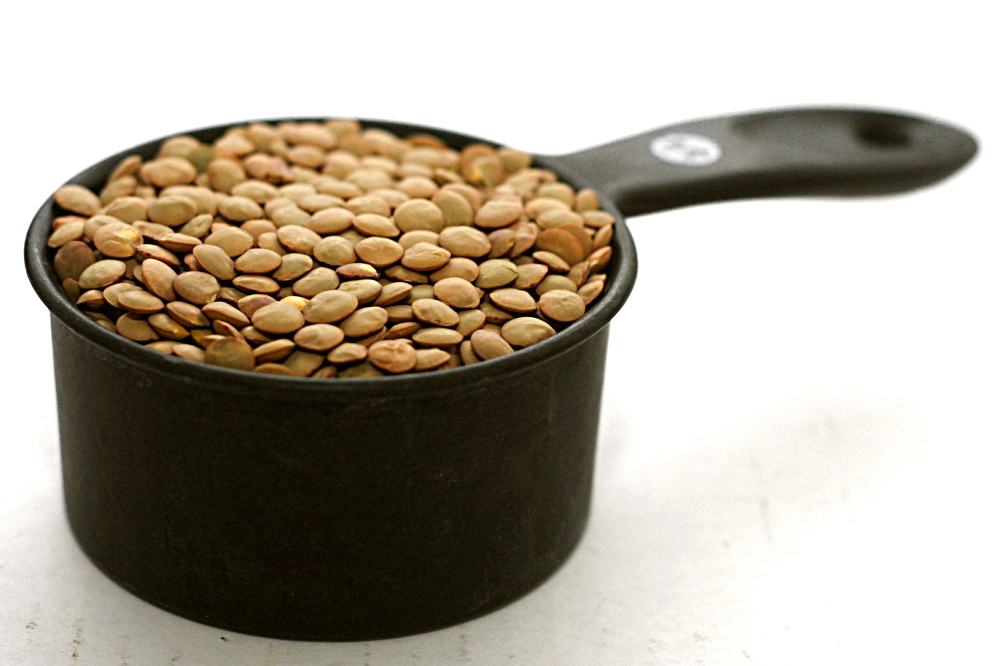
¾ cup lentils, washed and picked over
4 cups chicken broth
1 bay leaf
freshly ground black pepper
salt to taste

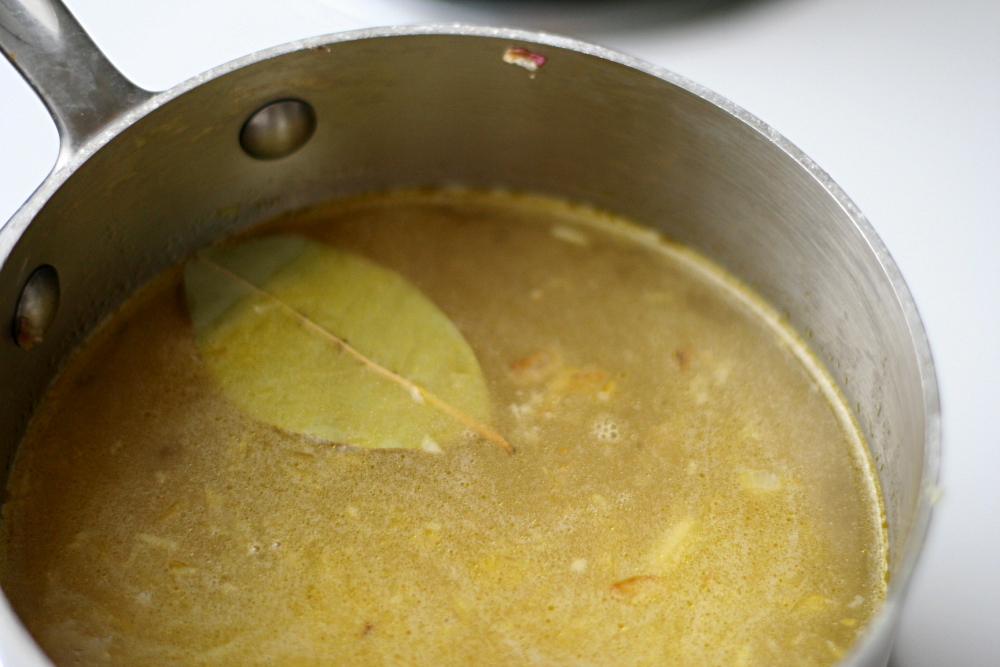
1. Heat the oil in a medium saucepan over medium heat. Add the carrots, celery, and onions and cook until just brown around the edges, about 8 minutes, stirring occasionally. Add the garlic; cook, stirring constantly, until fragrant, about 1 minute. Stir in the lentils, broth, bay leaf, and black pepper, increase the heat to medium-high, and bring to a boil. Once the mixture boils, reduce the heat to medium-low, cover, and simmer until the lentils are tender, about 30 minutes. Adjust the heat as necessary to keep the soup at a simmer.

2. Once the lentils are tender, remove the bay leaf and adjust the seasonings as necessary. Serve. The soup can be made a few days in advance and refrigerated.

copy-of-img_5481

pasta with cauliflower, walnuts, and ricotta salata

copy-of-img_3235

I was recently reminded me of why I unabashedly (okay, maybe a little abashedly) stole Smitten Kitchen’s “one year ago” idea (although all the cool kids are doing it these days it seems). I’ve had this pasta recipe bookmarked since she posted it, and every week when I plan my meals, I consider it, and then pass over it. I didn’t realize I’d been doing this for an entire year until I saw this recipe featured from one year ago.

copy-of-img_3220

Seriously, I love pasta, and we eat it one or twice a week. Also, cauliflower? My favorite vegetable, ever since I was a kid. And quick vegetarian meals are our standard weeknight fare. And, I’ve been meaning to try ricotta salata for ages. I was outrageously overdue for making this recipe.

copy-of-img_3217

But, when I finally made it, I thought it had a lot more potential than it did flavor. The problem is that the recipe’s original author, Alice Waters, took a very easygoing, flexible route with the recipe, providing only approximate ingredient quantities and no recommended cooking times.

copy-of-img_3223

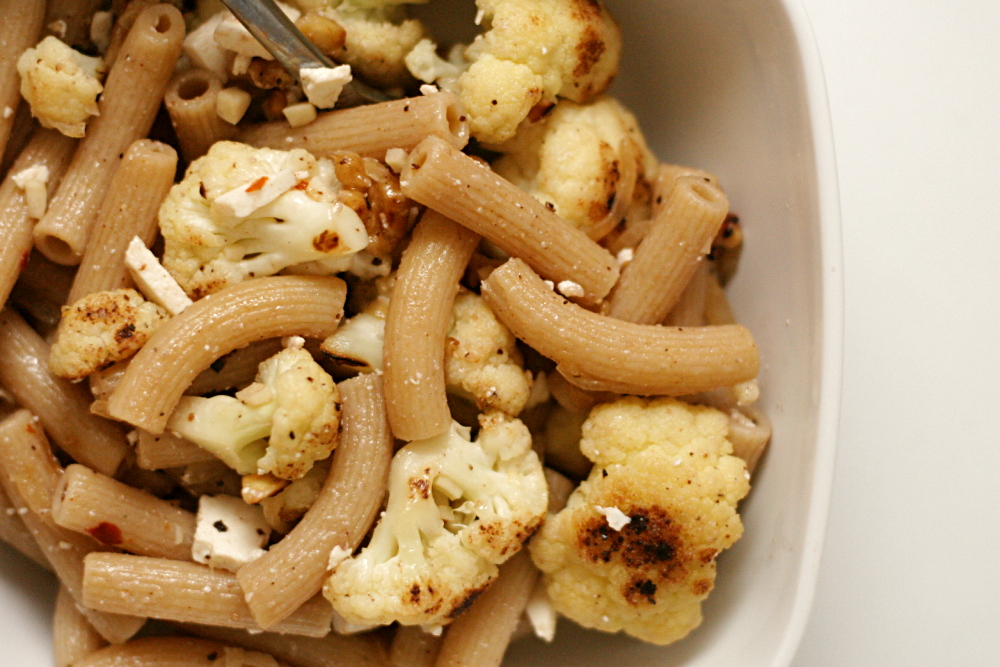
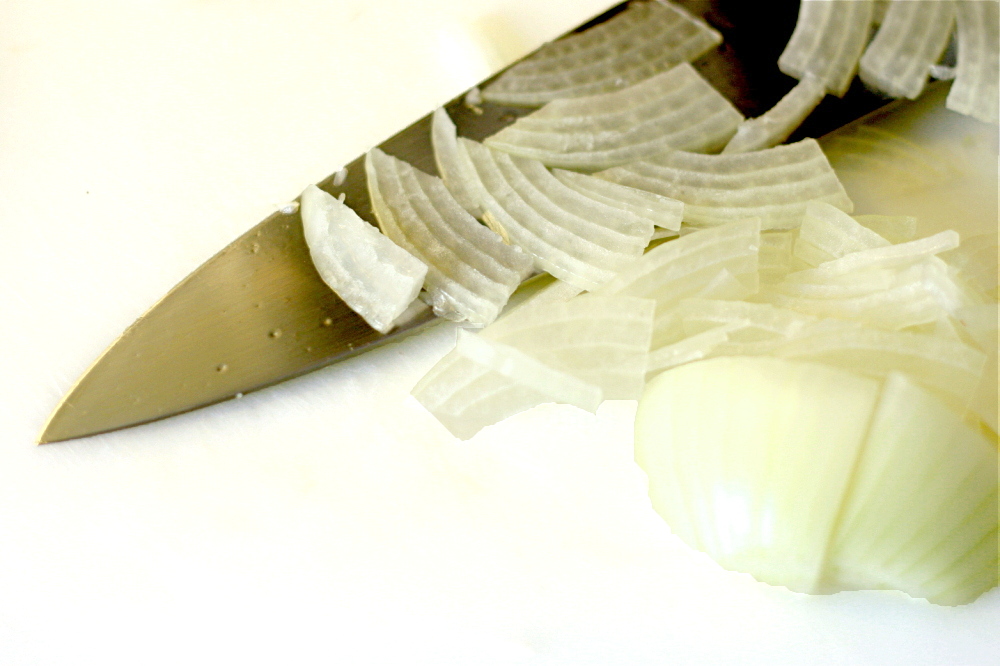
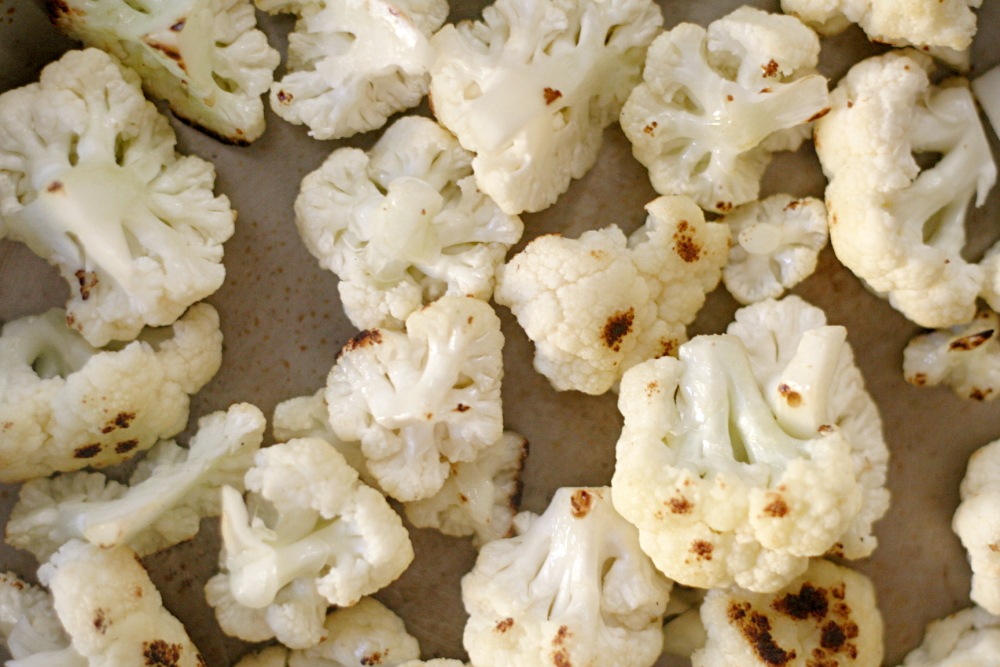
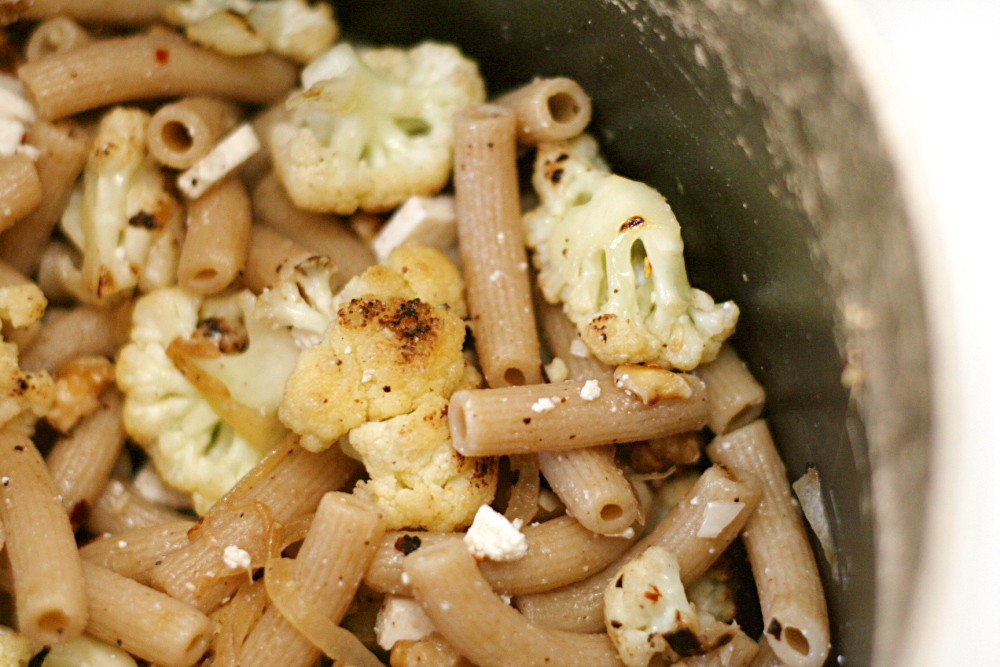
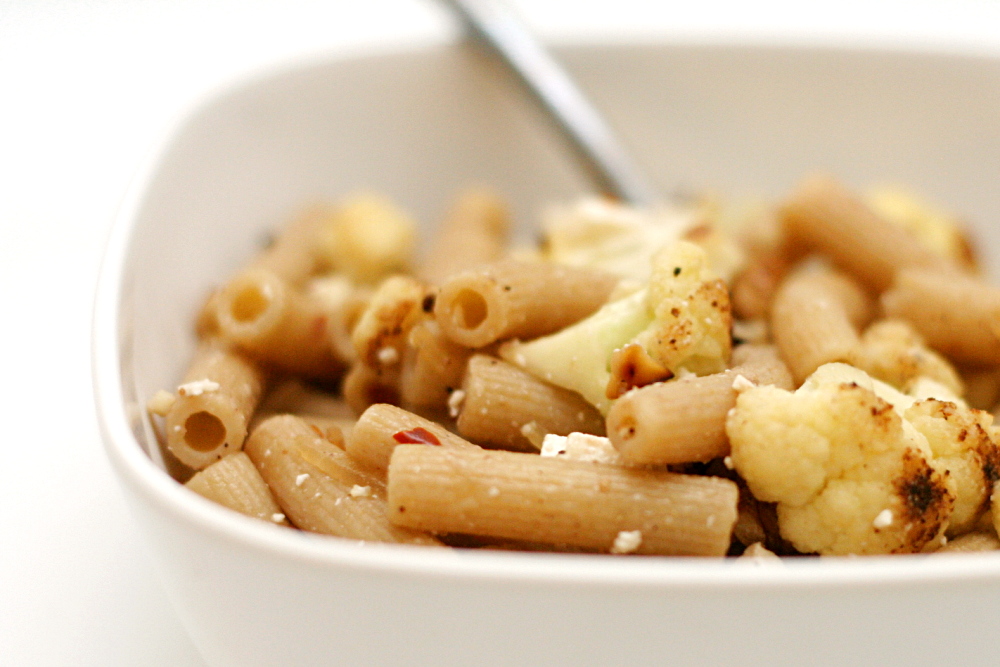
In a nutshell, the cauliflower is pan-roasted, then onions and crushed red pepper are added, then garlic, then lemon juice, white wine vinegar, and toasted walnuts. All of that is mixed with pasta and soft cheese. It’s a nice combination of ingredients and you’d be hard-pressed to make it bad, but ‘not bad’ is generally not my goal for food.

copy-of-img_3225

The next time I made it, in an effort to bump up the flavor, I decreased the pasta significantly. (You could also think of it as increasing the cauliflower, onion, garlic, red pepper flakes, and walnuts.) I’ve also quantified things. Willy-nilly, splash of this, pinch of that recipes drive me crazy and usually end up underseasoned.

Other than the ratio of pasta to everything else, the recipe really isn’t so different from the original. And hopefully it’s reproducible now, so you can have the exact same spicy, fresh flavor from this dish that I enjoyed.

copy-of-img_3228

One year ago: Breakfast Strata with Mushrooms, Sausage, and Monterey Jack

Whole Wheat Pasta with Cauliflower, Walnuts and Ricotta Salata (from Chez Panisse Vegetables via Smitten Kitchen)

Serves 4

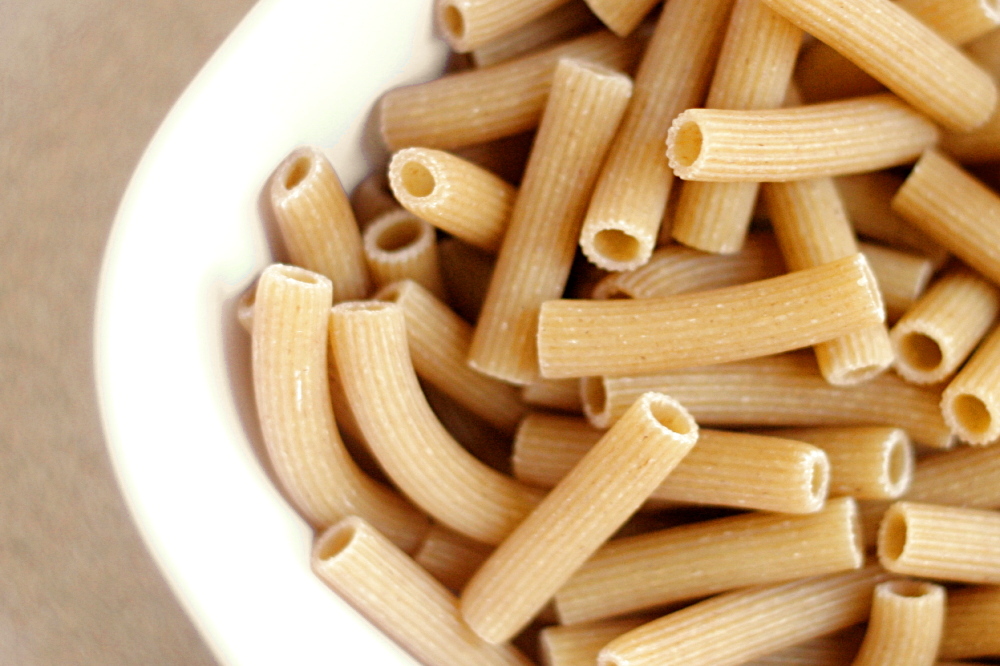
10 ounces whole-wheat pasta
½ cup walnuts
1 tablespoon olive oil (not extra virgin)
2 small heads cauliflower, cut into 1.5-inch florets
1 large or 2 small onions, sliced very thin
4 cloves garlic, minced
½ teaspoon salt, plus more for the pasta cooking water
¼ teaspoon black pepper
½ teaspoon crushed red pepper
1 tablespoon lemon juice
4 ounces ricotta salata, chopped
extra virgin olive oil, for serving (optional)

1. Bring 3 to 4 quarts water to a rapid boil over high heat. Add 1 tablespoon salt and the pasta. Cook according to package instructions. Before draining the cooked pasta, put about 1 cup pasta cooking water in a separate bowl and set aside. After draining the pasta, return it to the cooking pot.

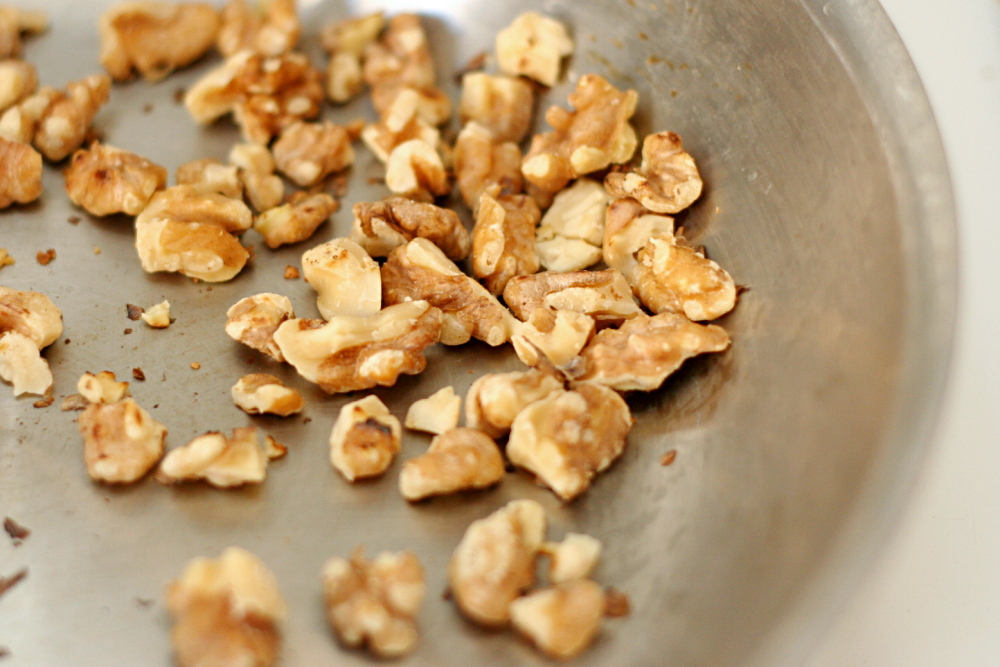
2. Meanwhile, toast the walnuts in a large, not nonstick pan over medium heat until fragrant. Put the walnuts in a small bowl and set aside.

3. Heat 1 tablespoon olive oil in the same pan over medium heat. When hot, add cauliflower and cook, stirring occasionally, until softened, 4-5 minutes. Add onions, red pepper, salt, and black pepper. Continue cooking and stirring until the onions are softened and the cauliflower is crisp-tender. Stir in the garlic, then immediately remove the pan from the heat. Add the lemon juice, walnuts, and cheese.

4. Stir the cauliflower mixture into the pasta. Add enough of the reserved pasta cooking water to moisten the mixture. Adjust the seasonings to taste and serve, garnishing each plate with a drizzle of extra virgin olive oil, if desired.
copy-of-img_3233

pasta with roasted red pepper sauce

copy-of-img_3718

I read the Pioneer Woman’s cooking blog, even though I don’t find too many recipes there that are my style.  Ree tends to add more butter, more oil, and more cream to her dishes. And yes, all of those things make food very good. But it’s a safe bet that I live a more sedentary life than Ree does on her ranch, so I can’t be adding extra butter to everything I cook.

copy-of-img_3672

Occasionally, though, Ree makes a dish that does click with me, like this one. It’s an easy, fairly healthy, vegetarian, one-dish pasta meal. That is exactly how we normally eat.

copy-of-img_3700

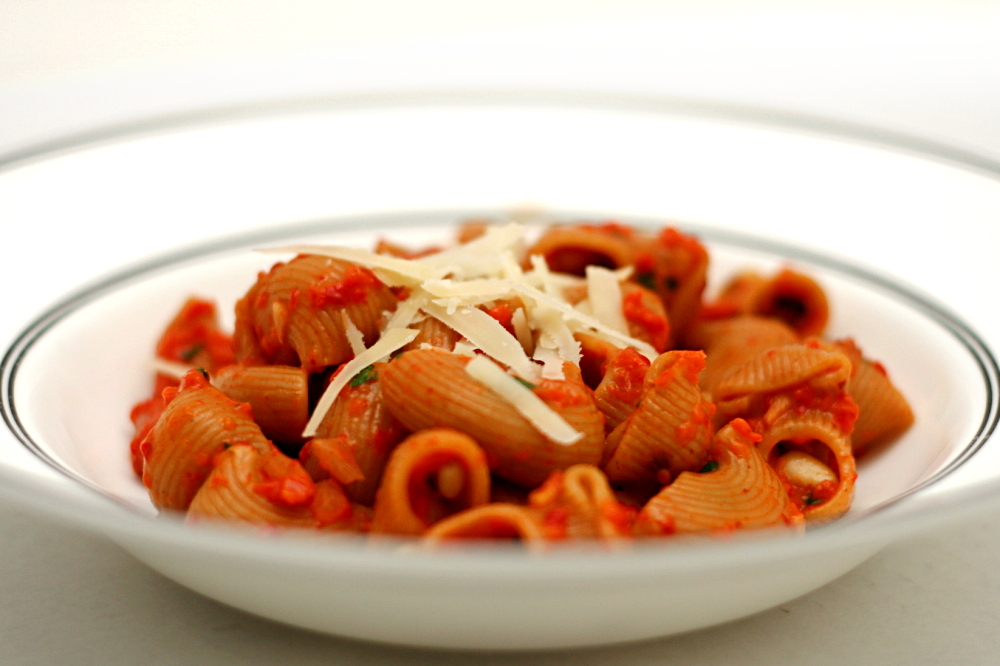
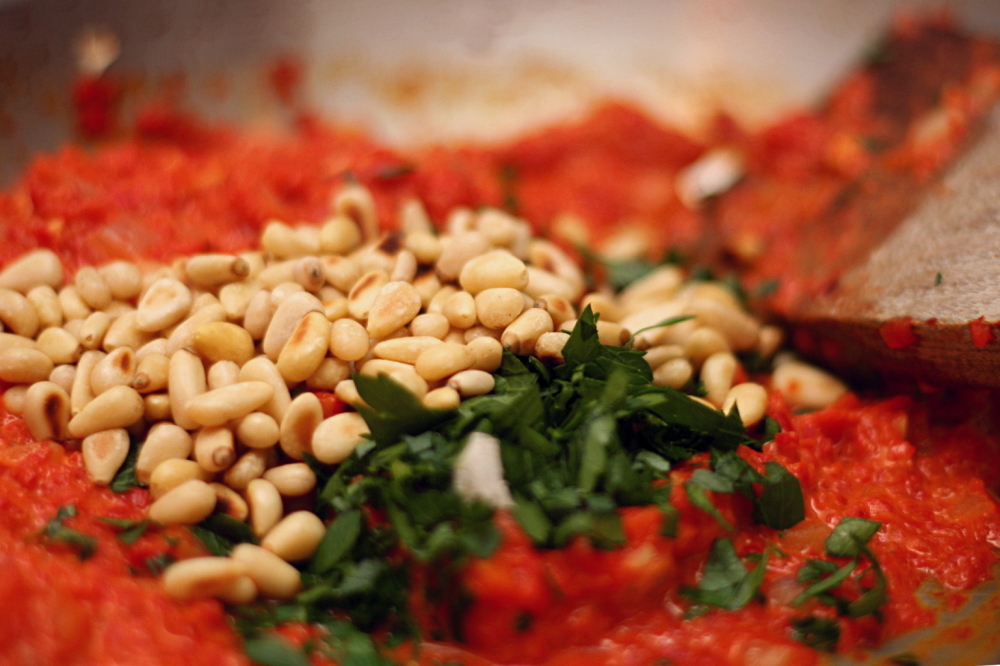
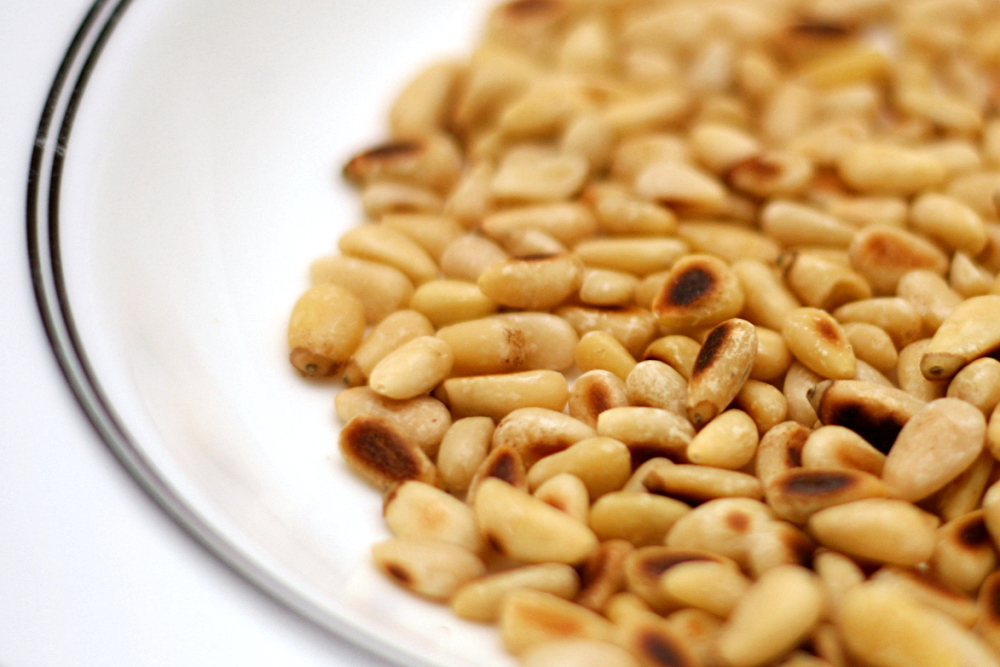
The sauce is simply sautéed onions and garlic with pureed roasted red peppers, pine nuts, and heavy cream stirred in. I used less cream than Ree, of course, and I decided to keep the pine nuts whole instead of grinding them with the roasted peppers. I’m sure either way is fine; recipes as straightforward as this are easy to adapt to your preferences.

copy-of-img_3707

I also burnt the pine nuts and under-roasted the peppers, but these aren’t changes that I recommend that you make. Fortunately, this pasta is so good that even that couldn’t ruin it.

copy-of-img_3712

One year ago: Blueberry Poppy Seed Brunch Cake

Pasta with Roasted Red Pepper Sauce (adapted from The Pioneer Woman Cooks)

Note from Bridget: This is fairly similar to the original recipe, in that it uses the same ingredients in almost the same proportions, but I’ve changed the directions slightly, mostly to give them some more detail. You can roast the peppers a few days advance, and keep them refrigerated (or frozen) either peeled or unpeeled. Also, Ree warns that this dish needs quite a bit of salt, and I found this to be the case. Please don’t be afraid to add salt at the end until the sauce has some flavor!
Serves 2

2 red bell peppers
6 ounces dry pasta
salt
2 tablespoons pine nuts
2 teaspoons olive oil
½ medium onion, finely diced
2 cloves garlic, minced
2 tablespoons heavy cream
1 tablespoon minced flat leaf parsley
fresh Parmesan, shaved, grated or shredded

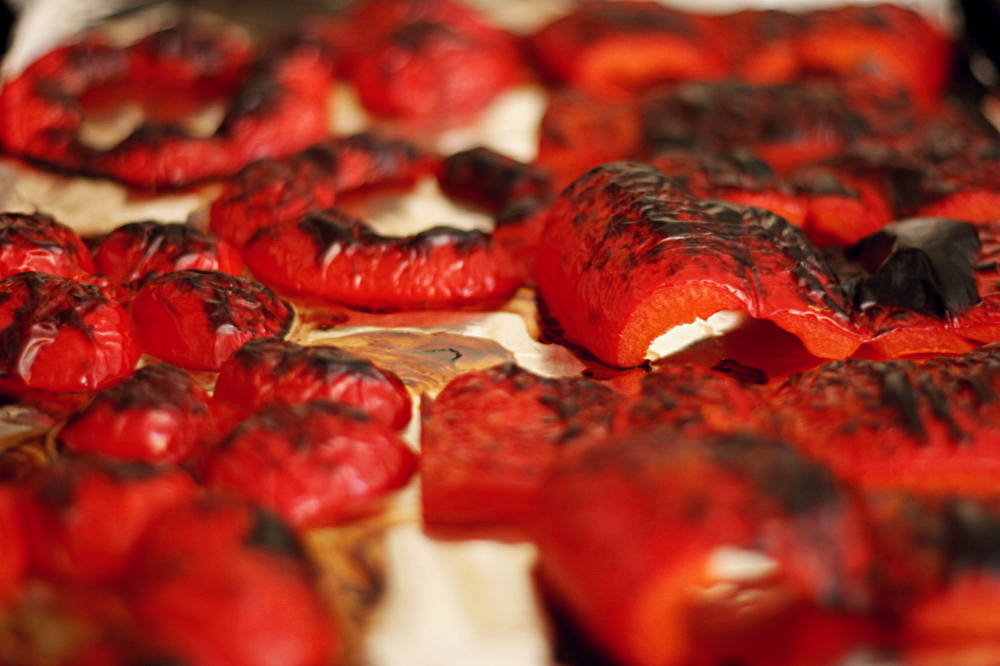
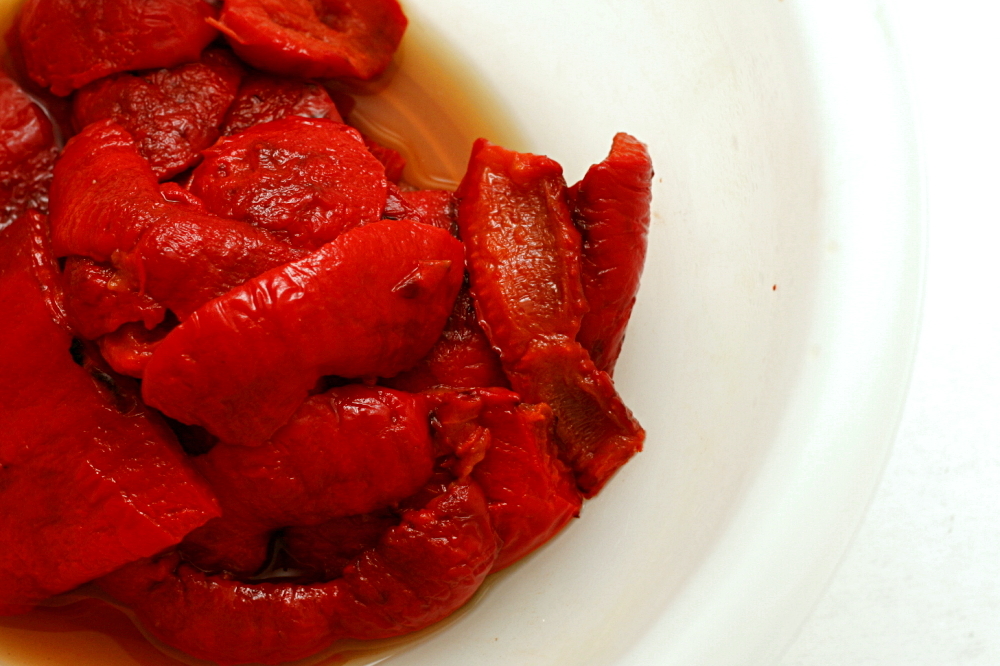
1. Adjust an oven rack to the top position and heat the broiler. Line a baking sheet with foil. Cut a ½-inch ring off the tops and bottoms of the peppers. Remove the seeds and stems, then cut the remaining cylinders of pepper in half lengthwise, into two wide strips. Lay the strips of pepper and the rings skin-side up on the foil-lined pan, pushing the strips down. Broil until thoroughly blackened, 6-8 minutes. Put the broiled peppers in a bowl; cover the bowl and set aside for at least 10 minutes.

2. Bring a large pot of water to a boil. Once boiling, add 1 tablespoon salt and the pasta. Cook the pasta according to the package instructions, until al dente. Drain and return to the cooking pot.

3. Meanwhile, heat a medium skillet, preferably not nonstick, over medium heat. Add the pine nuts and toast, shaking the pan occasionally, until golden brown and fragrant, 3-6 minutes. Remove the pine nuts from the pan and set aside.

4. Peel the skins off of the peppers. Add them to a blender or food processor and purée.

5. Add the olive oil to the now-empty skillet over medium heat. Once heated, add the onion. Sauté, stirring occasionally, until softened and just browned around the edges, about 5 minutes. Add the garlic and cook until fragrant, about 1 minute, then stir in the red pepper puree and ½ teaspoon salt. Pour in the cream and toasted pine nuts, and stir until the sauce is evenly heated. Check for seasoning, adding additional salt if necessary.
6. Add the sauce to the cooked pasta, and stir over medium-high heat until everything is heated and the pasta absorbs some of the sauce. Serve, topping each portion with parsley and Parmesan.

copy-of-img_3714

black bean squash burritos

copy-of-img_3454

One of my (many) goals for this year was to cook less. And boy have I. My cooking and baking was getting out of hand there for a while and getting in the way of other things I needed to be doing. Like working. But I swung too far in the other direction, because do you realize that I haven’t posted a non-baked recipe in a month? In fact, I almost ran out of anything I could post about. Now I’m getting back on track with trying new, easy, healthy dinner recipes.

copy-of-img_3437

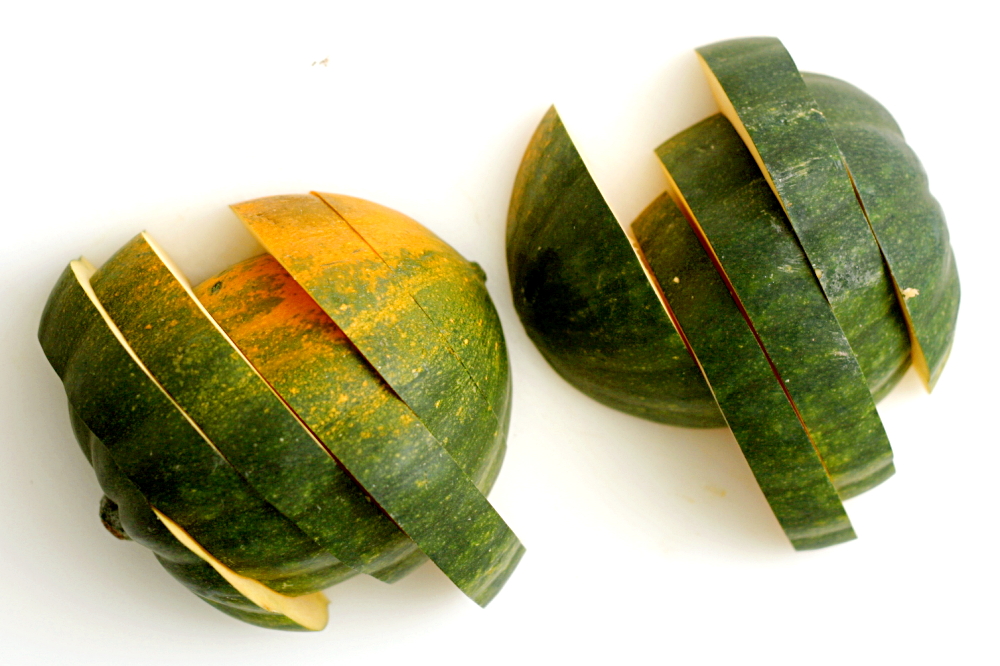
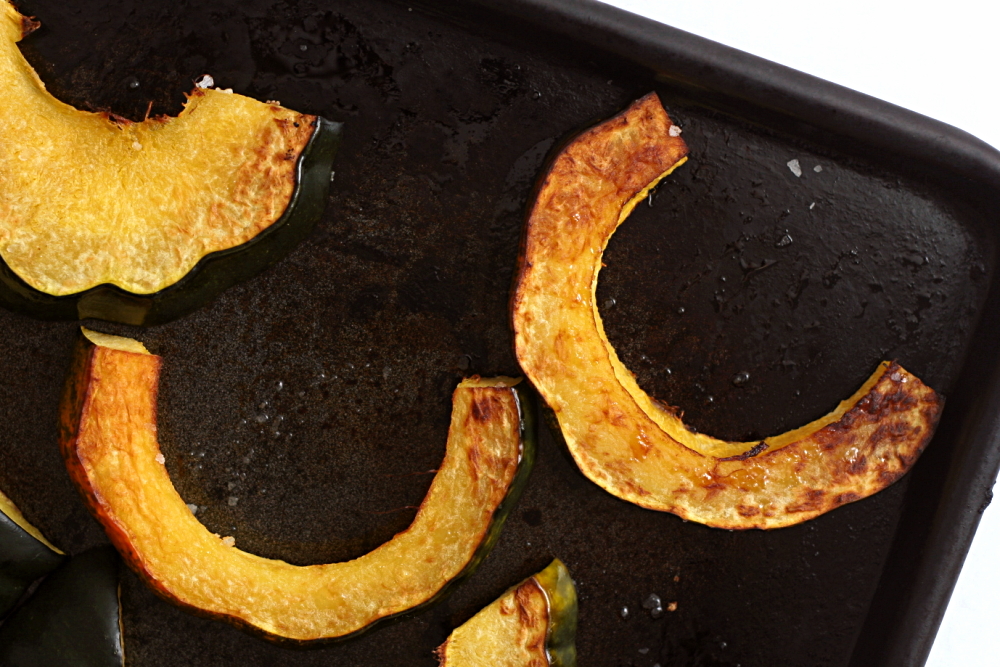
Black bean and squash burritos have been on my radar for a while, but then when I finally decided to make them, I couldn’t find a recipe. I ended up just writing my own. For the squash, I knew I wanted to avoid peeling and dicing it while it was raw, as that whole process always ends up pissing me off. So I sliced the squash, seasoned it, rubbed it in just a little olive oil, and roasted it until it was soft and browned.

copy-of-img_3445

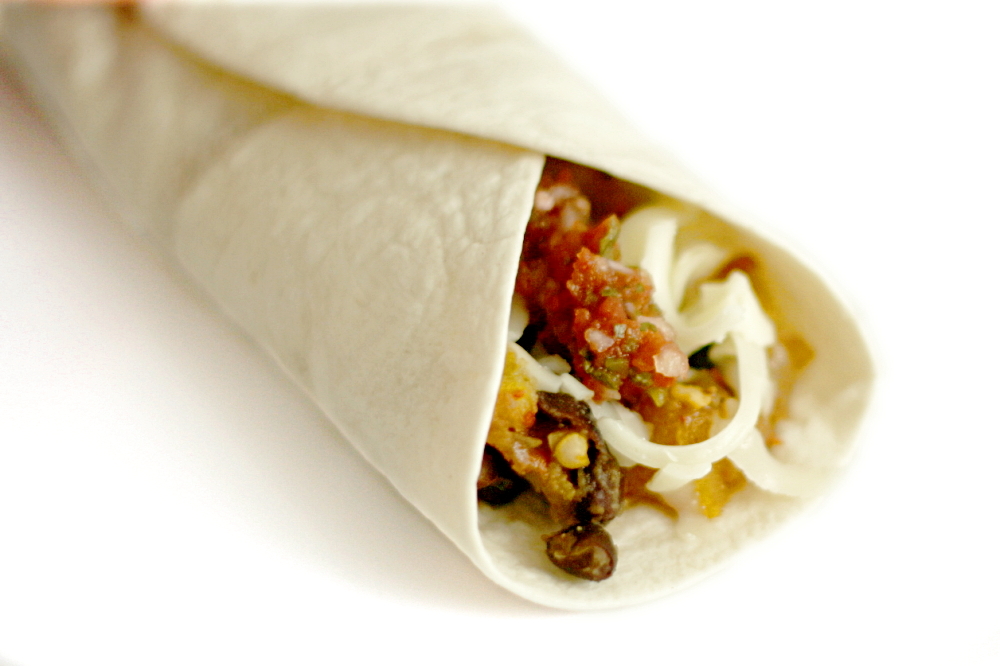
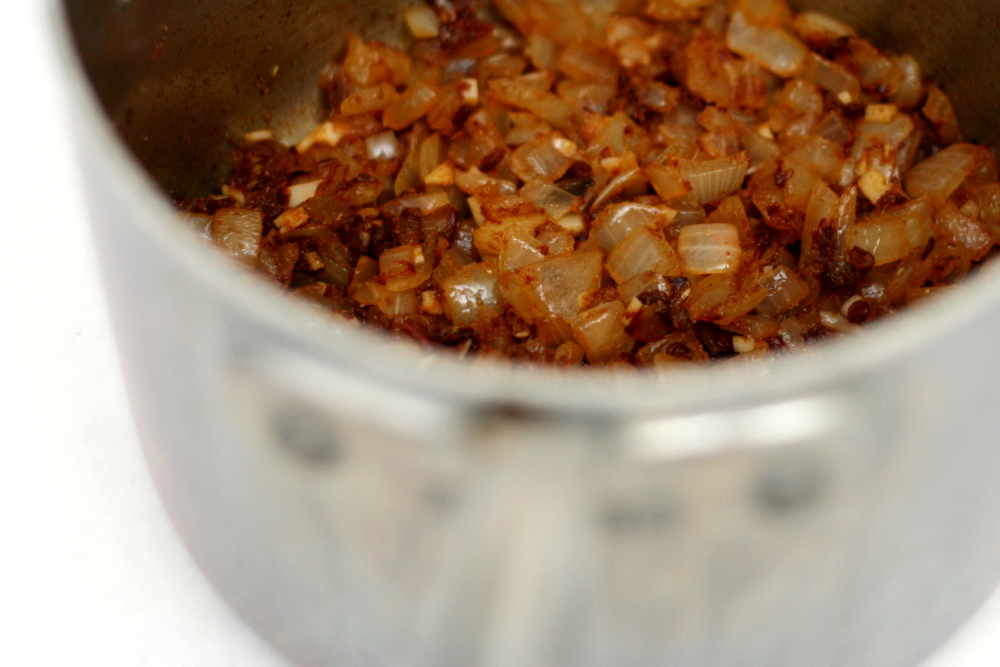
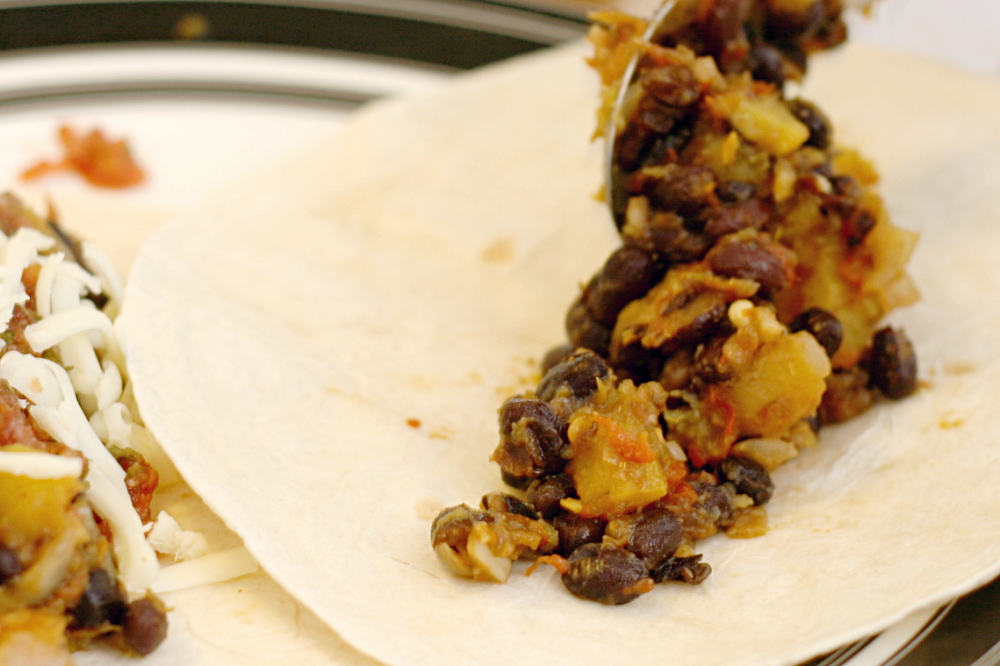
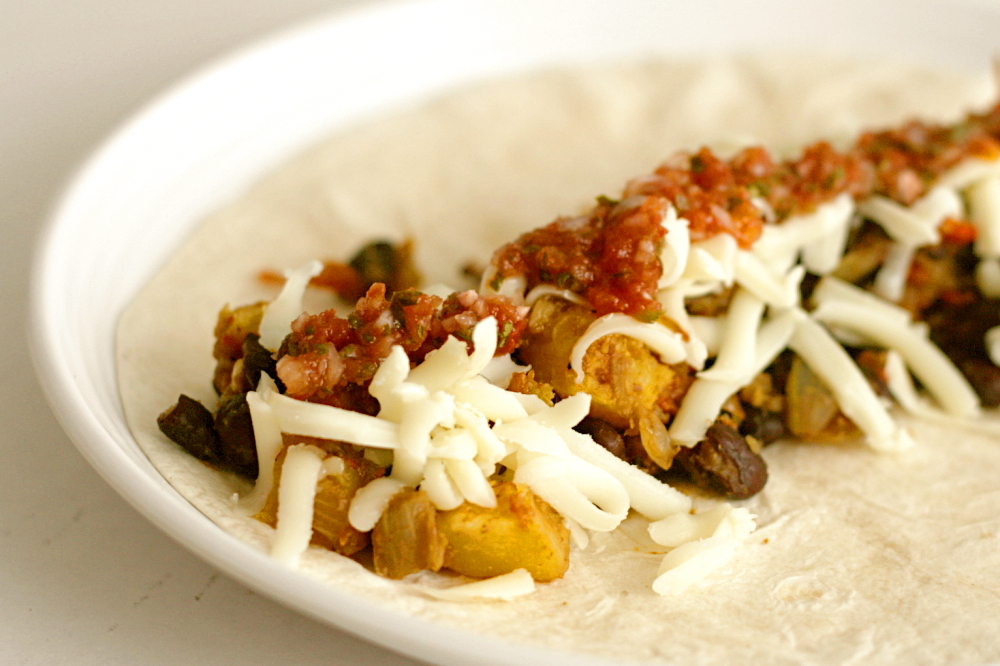
While the squash was in the oven, I sautéed some onions, then added garlic and spices before stirring in green chiles and black beans. When the squash was done, I pulled the peels off and roughly chopped the flesh, which I threw into the pot with the beans. That simple mixture was my main filling, and I served it with salsa and cheese.

copy-of-img_3246

I thought they were really good. And they’re so easy, and they’re healthy, and cheap. An overall success in my book. Dave…um, he thought they were fine. His exact words were, “I like regular burritos better.” I told them he should judge these based on their own merits instead of comparing them to something else, and he said, “Too squashy.” Pbbth. Whatever. I thought they were seriously tasty.

copy-of-img_3449

One year ago: Gooey Chocolate Cake – my first recipe with Tuesdays with Dorie

Squash and Black Bean Burritos

Note: The burritos are also good when they’re made with chipotle chiles instead of green chiles.  If you go that direction, I’d use four, and more if you like a lot of spice.

Serves 4-6

2 small acorn squash
salt and pepper
2 tablespoons olive oil
2 medium onions, chopped small
4 cloves garlic, minced
2 teaspoons ground cumin
1 teaspoon ground coriander
8 ounces green chiles, diced
2 (15-ounce) cans black beans, rinsed and drained
10 (7-inch) flour tortillas, warmed
salsa
4 ounces queso fresco, crumbled, or shredded cheddar (about 1 cup)

1. Adjust an oven rack to the middle position and heat the oven to 450F. Halve the squash and scoop out the seeds. Cut each half into ¾-inch slices. Spread 2 teaspoons of olive oil on a baking sheet and lay the squash slices on the oil, turning each slice over to thinly coat each side. Generously season with salt and pepper. Roast until the squash is browned on the edges and tender throughout, about 20 minutes.

2. Heat 4 teaspoons olive oil in a medium saucepan over medium heat until shimmering. Add onion and sauté, stirring occasionally, until just browned around the edges, 5-7 minutes. Add garlic, cumin, and coriander. Cook, stirring constantly, for about 30 seconds, until fragrant. Stir in the chiles, beans and a pinch of salt. Lower the heat to low, cover, and heat just to warm.

3. When the squash has cooled enough to handle, peel the skin off of each slice. Roughly chop the squash into ¼- to ½-inch pieces and stir into the black beans.

4. Layer the squash-black bean mixture, salsa, and cheese in center of each tortilla. Fold and serve.

copy-of-img_3446

roasted kale

copy-of-img_2179

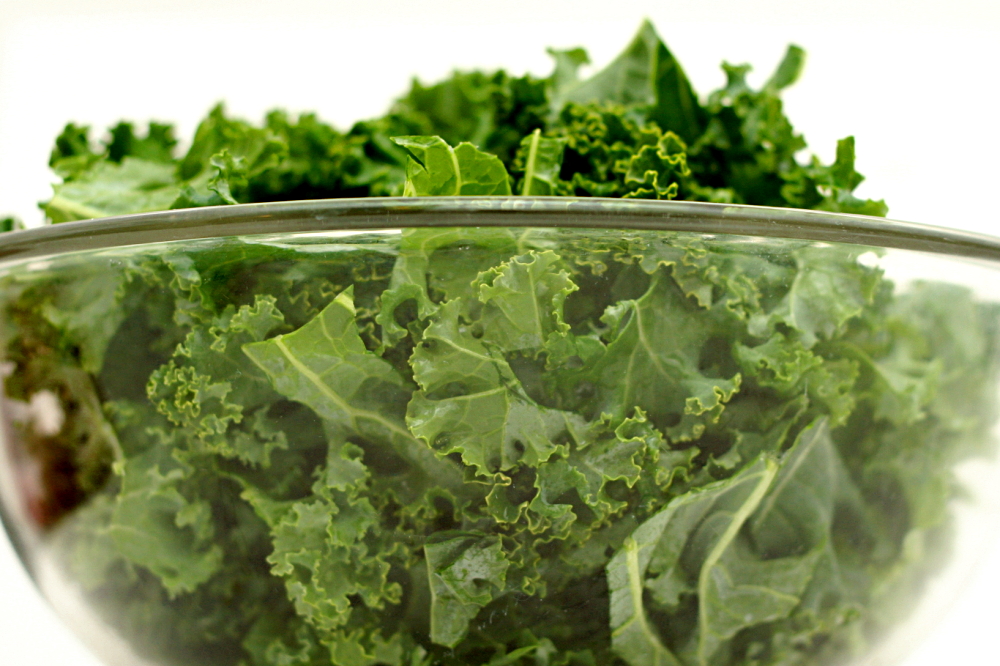
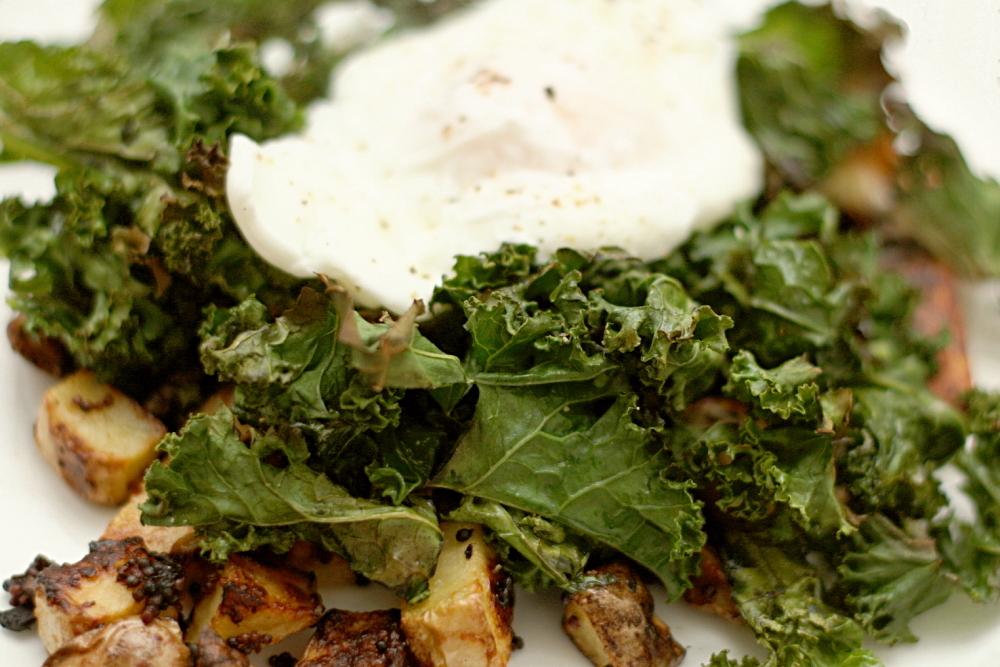
I would not have predicted a couple years ago that kale would become one of my favorite vegetables. Or that one of my favorite ways to eat it would be topped with an egg.

copy-of-img_2164

I recognize that the dark olive green color of cooked kale may appear unappetizing. Furthermore, it’s a leafy green vegetable, which we’re trained from childhood to distrust. To be honest, I still don’t even like cooked spinach – too mushy, if not in reality, then certainly in my mind.

copy-of-img_2171

Kale, though, retains a nice crunch after it’s cooked, because it’s much heartier than spinach. It has an earthy flavor, which I know makes it sound like it tastes like dirt, but to me, it’s more of an umami-type meaty flavor.

The problem is that the only way I had prepared kale before this was by braising it, which, although delicious, takes at least half an hour. This roasted method takes, I kid you not, only ten minutes in the oven, and the kale is just as tasty.

copy-of-img_2171

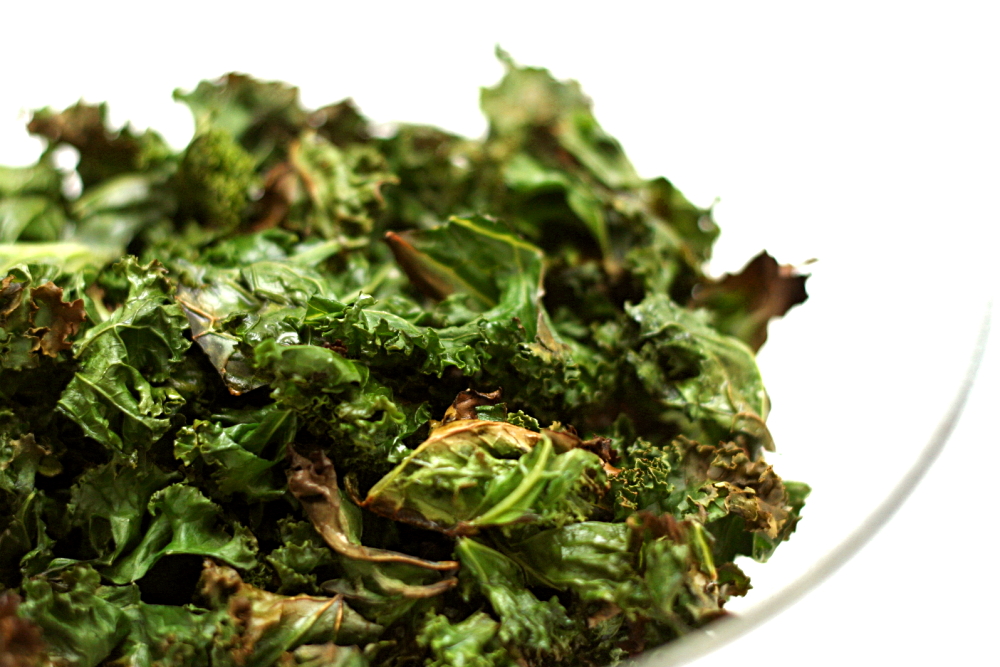
The texture of roasted kale is a little different from braised. Some of the leaves, those on the edges of the baking pan I suppose, were a little crispy, while some of the kale was more moist. Both textures were fine by me.

With a lovely poached egg on top, and some mustardy roasted potatoes, kale makes a delicious, hearty, easy, and healthy meal.

copy-of-img_2174

One year ago: Banana Walnut Pancakes

Roasted Kale (slightly reworded from Tuesday Recipe)

Serves 2, generously

1 bunch kale (about ½ pound)
extra-virgin olive oil
sea salt or kosher salt
sherry vinegar or red wine vinegar

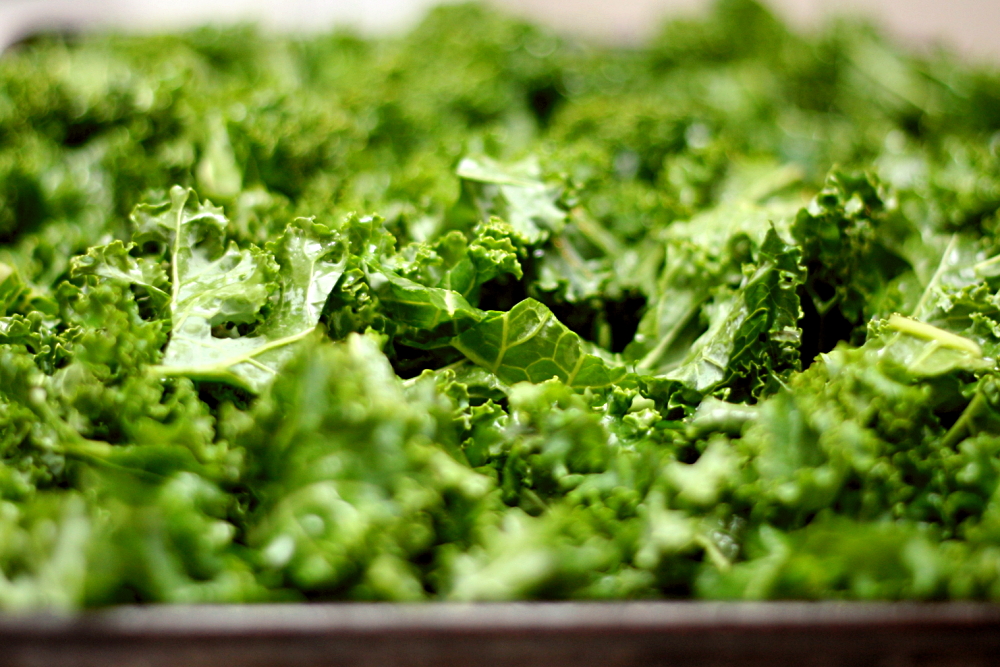
1. Preheat the oven to 425F. Cut the stems off the kale and discard; rinse and shake the leaves dry. Stack the leaves and cut them crosswise into strips about 1 inch wide. Put the kale in a big bowl and drizzle with enough olive oil to coat well (about 2 tablespoons). Sprinkle with a generous pinch of salt, then gently toss the leaves. Spread the kale on a large rimmed baking sheet and pop it in the oven. Set the bowl aside without washing it.

2. Roast the kale until some of the leaves are tinged with brown, about 7 minutes. Remove baking sheet and stir the kale around, then put it back in the oven for another 3 minutes or so until all the leaves are starting to crisp. Immediately put the leaves back in the bowl you first tossed them in, then drizzle with another tablespoon of oil and a few splashes of vinegar. Toss kale with the tongs, taste, and add more oil, vinegar, or salt as needed. Toss again and serve right away.

copy-of-img_2176

twice-baked potatoes with broccoli, cheddar, and scallions

copy-of-img_1337

I think every food blogger recognizes that there are copyright issues with what we do. Very few of us have only original recipes on our blogs, which means the recipes we publish are from other sources – sources who would prefer that people pay money for their recipes instead of stumbling upon them in a blog.

copy-of-img_1297

Most of us dutifully provide the source of the recipe and then hope for the best. It’s also fairly common knowledge among bloggers that one loophole is to write out the recipe directions in our own words, because ingredient lists can’t be copyrighted. Not that this is foolproof – it’s the creative idea that is copyrighted, not the wording of the directions.

copy-of-img_1303

It’s not unlike birth control – the only method to guarantee that you won’t get into trouble is to abstain from blogging. If you’re not willing to do that, you take whatever precautions you’re willing to and then hope for the best.

copy-of-img_1308

The idea for this particular recipe comes from Cooks Illustrated. I used to make it once a month or so, since it’s easy, balanced, and fairly healthy. I hadn’t made it in over a year, but I decided not to look up the recipe. I still remembered the gist of it, and this way I could make it my own, thus avoiding the whole copyright issue. Besides, I was fairly certain that I wouldn’t be able to combine these ingredients and get anything that wasn’t good.

copy-of-img_1325a

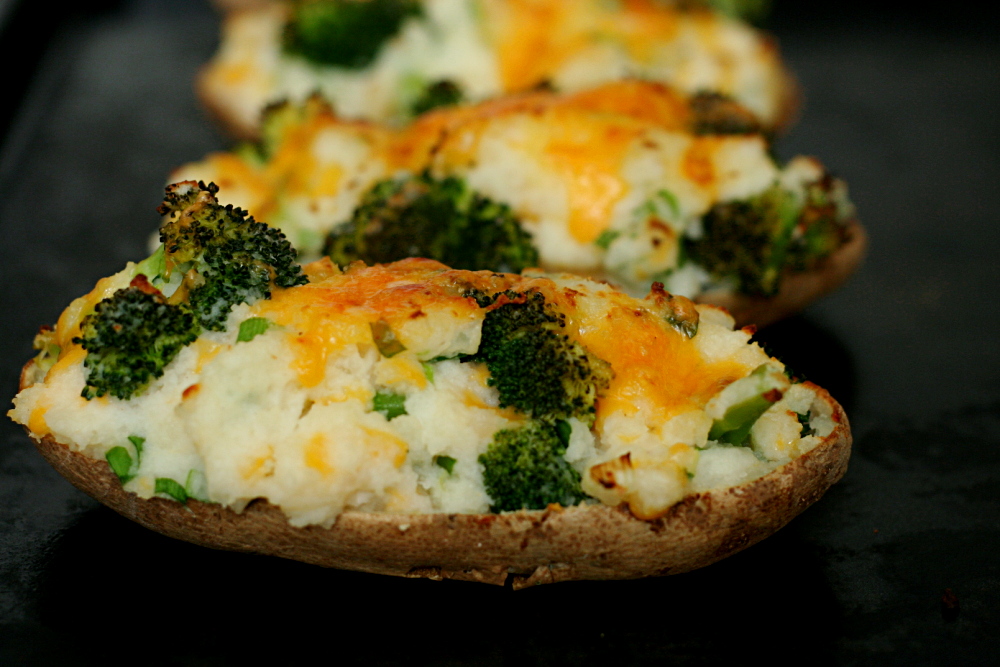
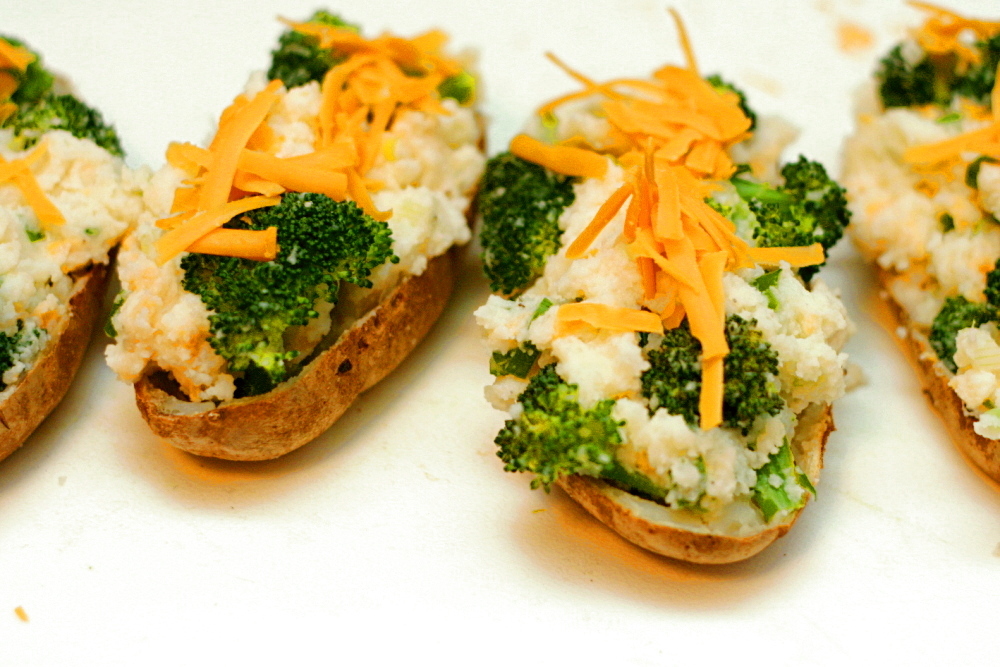
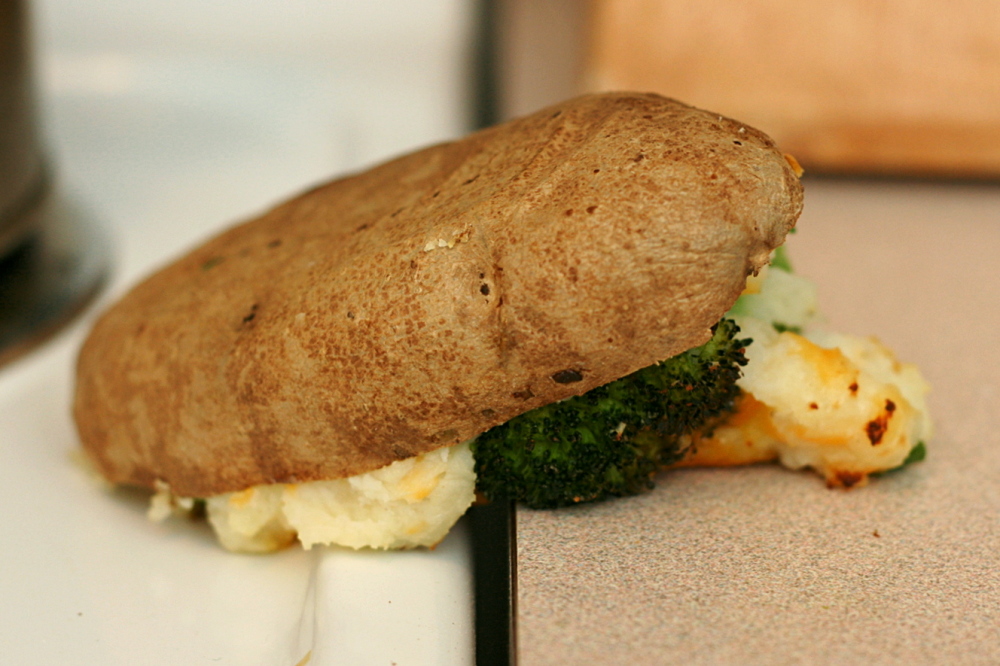
These are simply lightened-up twice-baked potatoes. I cut the broccoli into bite-sized florets, steamed them, and seasoned them with lemon juice and a bit of salt. Then I mashed up the baked potato innards with just enough butter to moisten them, and stirred in enough buttermilk to get the texture I was looking for – moist but not wet. Buttermilk is great with potatoes because it tastes like sour cream but isn’t nearly as fattening. I tried to be judicious with the cheese, and then scallions provided the perfect overtone of onion flavor. I stuffed the shells with the filling and put the whole thing under the broiler for a few minutes to reheat it and melt the cheese. (The final step, of course, is to drop it on the counter while transferring it from the baking sheet to a plate.)

copy-of-img_1339

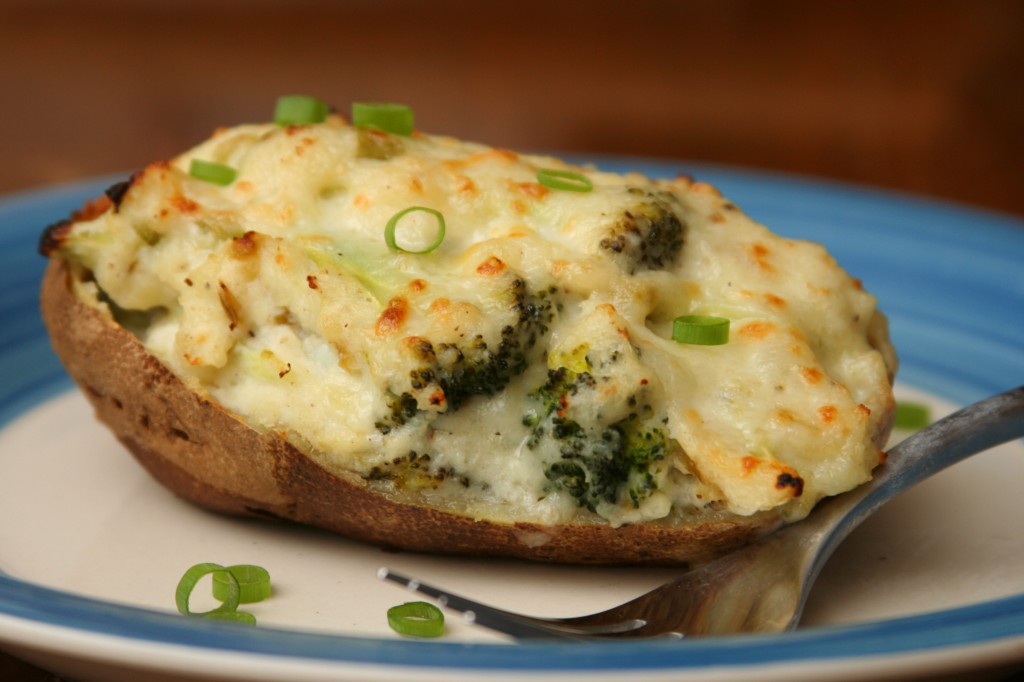
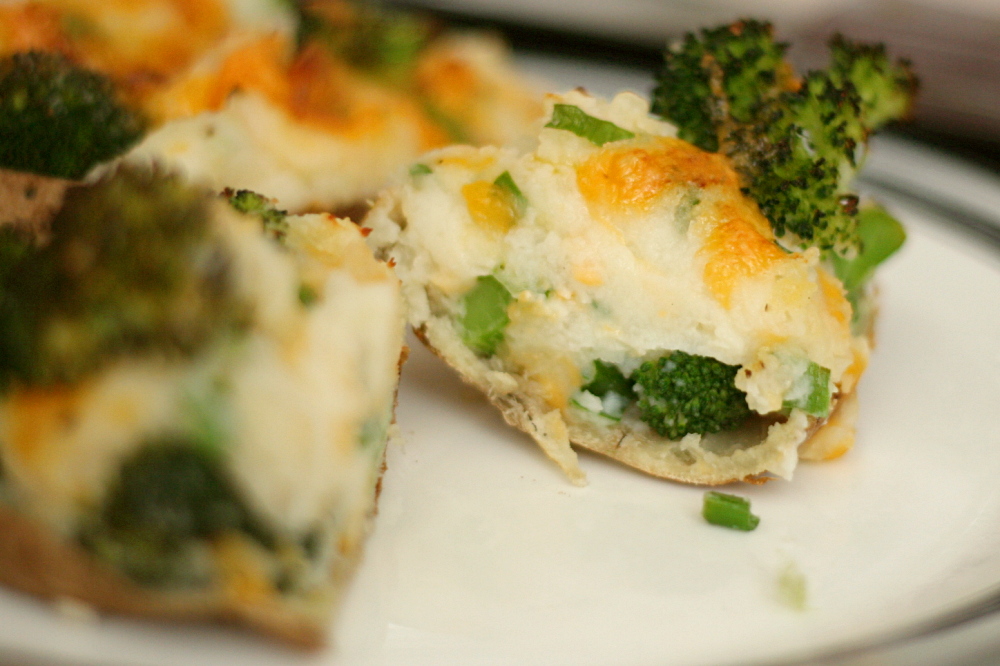
The result is the ideal healthy-ish one-dish-meal baked potato. The shells are crispy, the broccoli is cooked just right, the potato filling is creamy, and the flavors meld perfectly. Cooks Illustrated couldn’t have done it any better.

One year ago: Country Crust Bread – my favorite sandwich bread

Twice-Baked Potatoes with Broccoli, Cheddar, and Scallions

Serves 2

This is admittedly heavy on the broccoli. You can use less if you prefer, but we like broccoli and it’s so healthy.

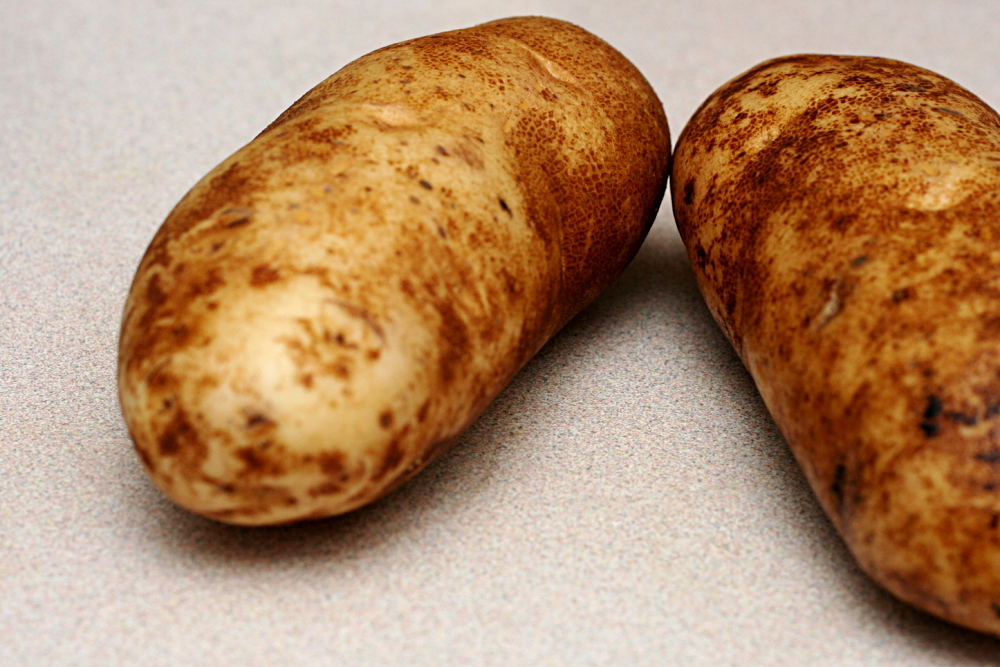
2 medium to large baking (russet) potatoes
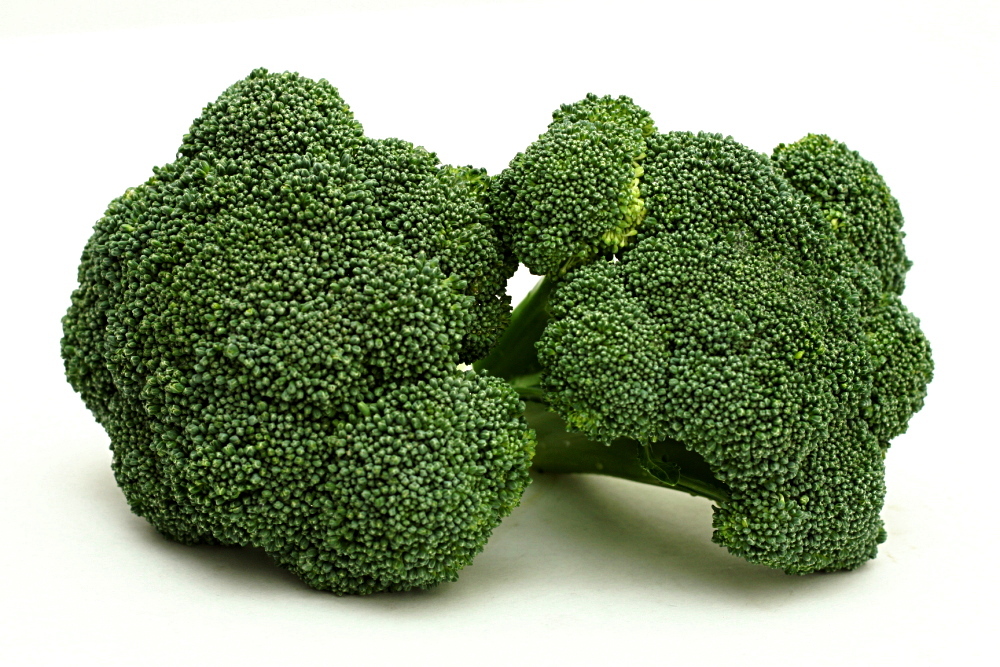
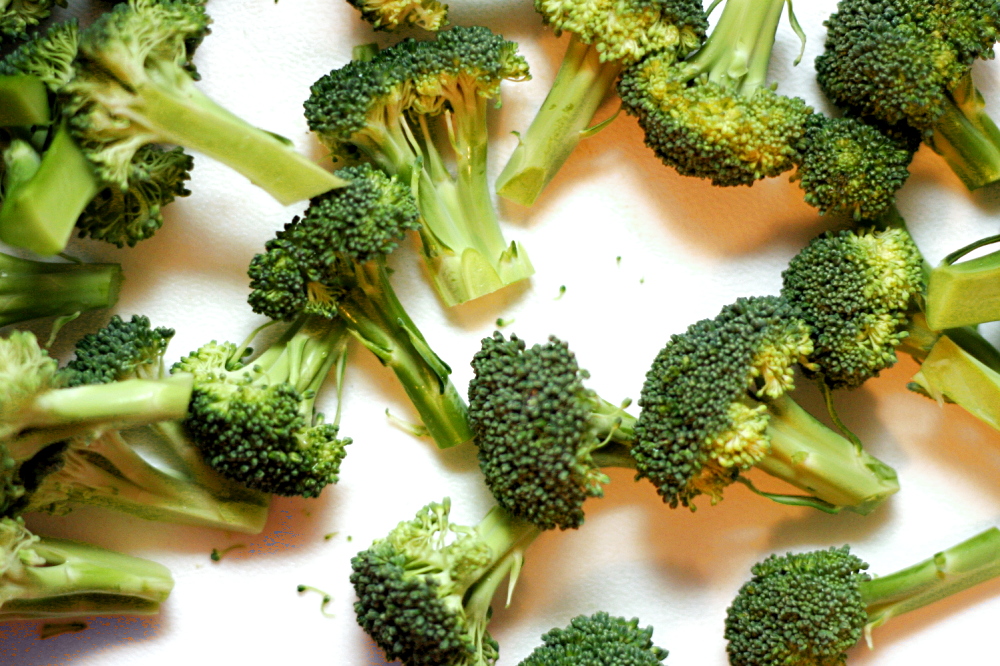
2 small (or 1 large) broccoli crowns, cut into 1-inch florets with stems no longer than 1 inch
½ teaspoon lemon juice
1 tablespoon butter, softened
½ cup buttermilk
1 scallion, sliced then
1 ounce (¼ cup) cheddar, plus ½ ounce (2 tablespoons)
salt
black pepper

1. Move an oven rack to the middle position and heat the oven to 400 degrees. Scrub the potatoes and stab them several times with a fork. Place them on the oven rack and bake until a fork inserted into the potato meets no resistance, 60-75 minutes.

2. Remove the potatoes from the oven and set them aside until they’re cool enough to handle. Heat the broiler. Meanwhile, bring 1 inch of water to a boil in a large saucepan over high heat. Place the broccoli florets in a steamer basket and put the steamer basket in the saucepan, making sure that the water does not come into contact with the broccoli. Cover the pot and steam for 4 minutes, until the broccoli is just crisp-tender. (You want it more on the crisp side, since they’ll continue to cook as they cool, plus they’ll spend some time under the broiler.) Remove the steamer basket with the broccoli from the saucepan and discard the water in the pot. Dump the broccoli into the pot and season with a pinch of salt and the lemon juice.

3. Cut the potatoes in half lengthwise. Using a spoon, scoop out the flesh of the potatoes, leaving a thin coating on the potato skin. In a medium bowl, use a potato masher to mash the potato flesh with the butter. Stir in ¼ teaspoon salt, a pinch of ground black pepper, the broccoli, plus the remaining ingredients, except ½ ounce cheddar.

4. Spoon the filling into the potato shells and top with the remaining cheddar. Place the potatoes on a baking sheet and broil until the cheese is spotty brown and the tops are crisp. Serve immediately.

copy-of-img_1341