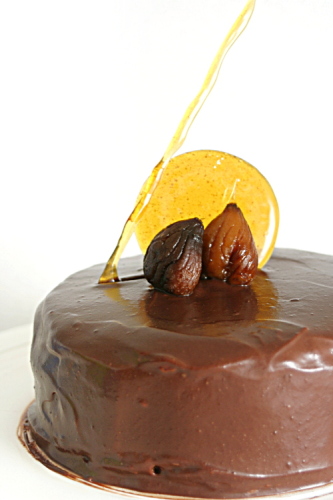
chocolate caramel chestnut cake

Copy of IMG_0807a

My dessert rich-o-meter has chocolate chip cookies right near the middle, with cheesecake at one end and, I don’t know, maybe angel food cake on the other. Although I almost never eat angel food cake. Regular layer cakes tend to be slightly on the less rich side of cookies, until you add frosting of course, and then I figure it’s about the same. So if you disregard the less-rich-than-cookies side of the richometer (pronounced with the stress on the second syllable, for maximum obnoxiousness), that means desserts just span from cookies – pretty darn bad for you – to cheesecake – just about 100% fat.

Copy of IMG_0789

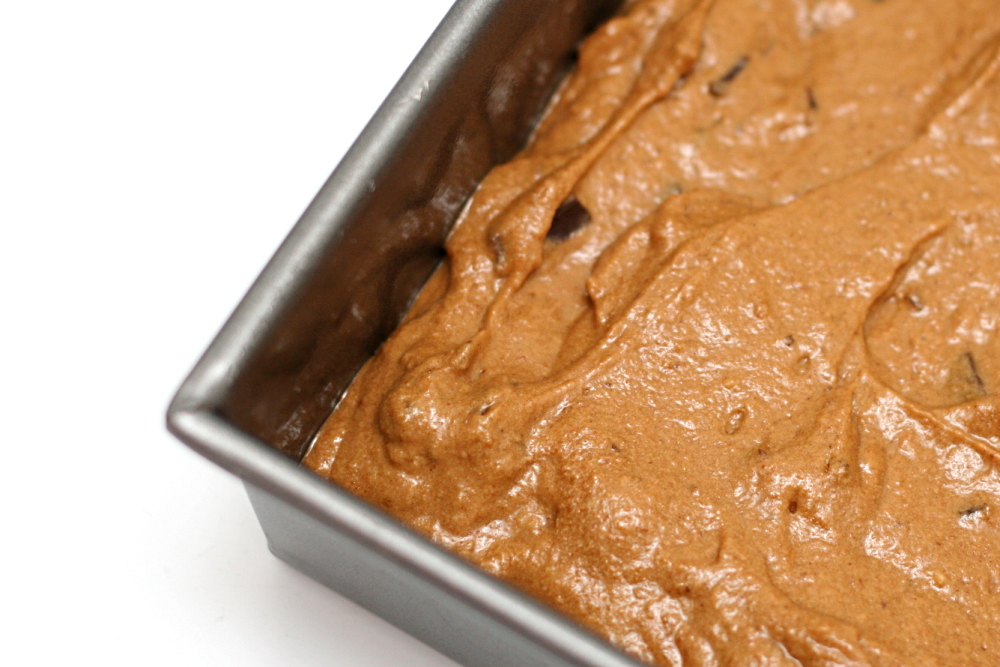
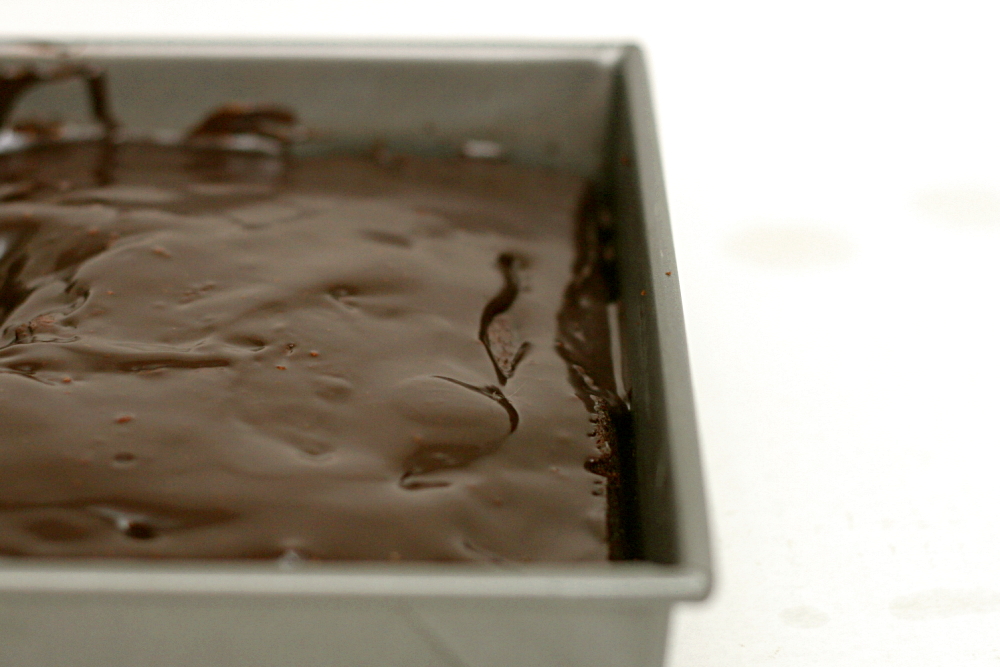
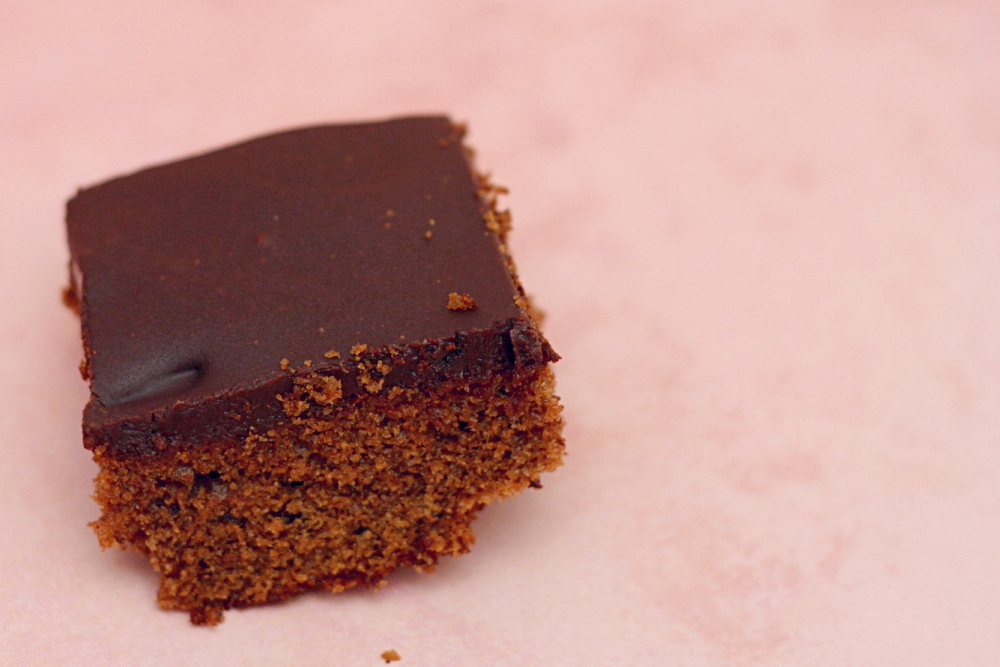
The last few Tuesdays with Dorie recipes have definitely been on the cheesecake end of the spectrum. (Of course, nothing is as bad as the lemon cream tart and peanut butter torte, which are off the charts!) At first I thought this cake was similar to a basic cake, but then it has this chocolate-butter filling, and a chocolate-cream glaze, and two sticks of butter in the cake itself. Whoa doggie.

Copy of IMG_0793

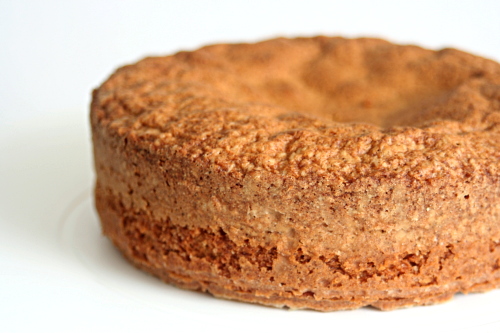
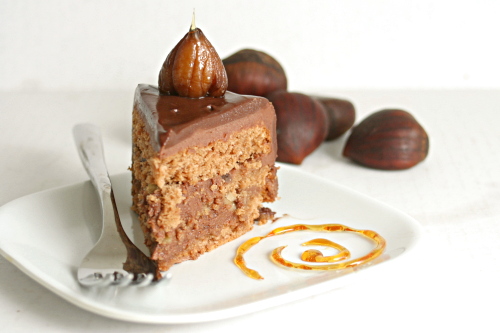
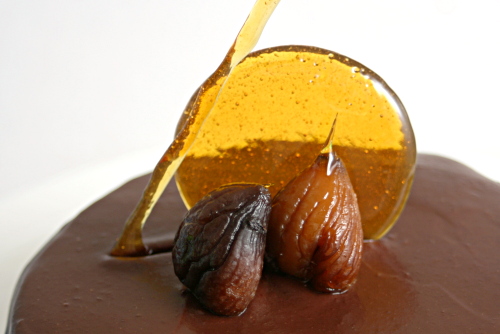
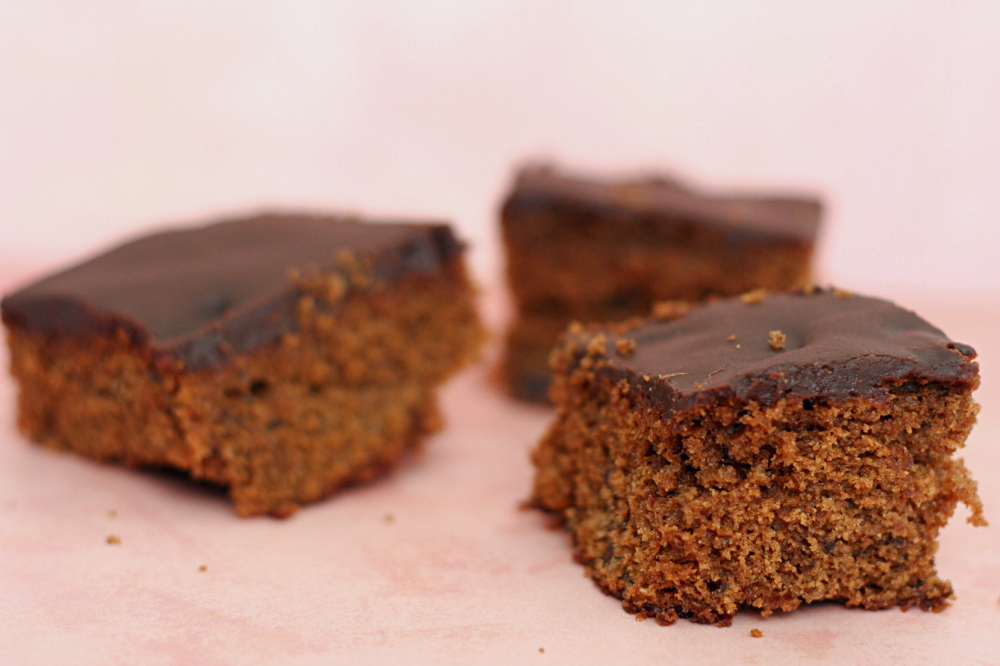
So we have leetle leetle servings, one quarter of the size Dorie recommends. This isn’t my favorite type of cake – I tend to like more classic flavors and textures – but it’s certainly good, with the earthy chestnuts and bittersweet chocolate. Dorie expounds on the virtues of the ganache filling, made by melting chocolate with hot caramel instead of hot cream, and I agree that it lends some extra complexity to the cake.

Copy of IMG_0814

Katya has the full recipe posted. I substituted Nutella for the chestnut cream and decreased the butter in the cake by 2 tablespoons. I also found that refrigerating the ganache filling overnight seemed unnecessary, turning the spreadable mixture into a hard-as-butter (which it mostly is) chunk. I had to wait an hour or so to let it warm up before I could use it on the cake.

One year ago: Rugelach, one of my favorite Dorie Greenspan recipes ever
Copy of IMG_0800

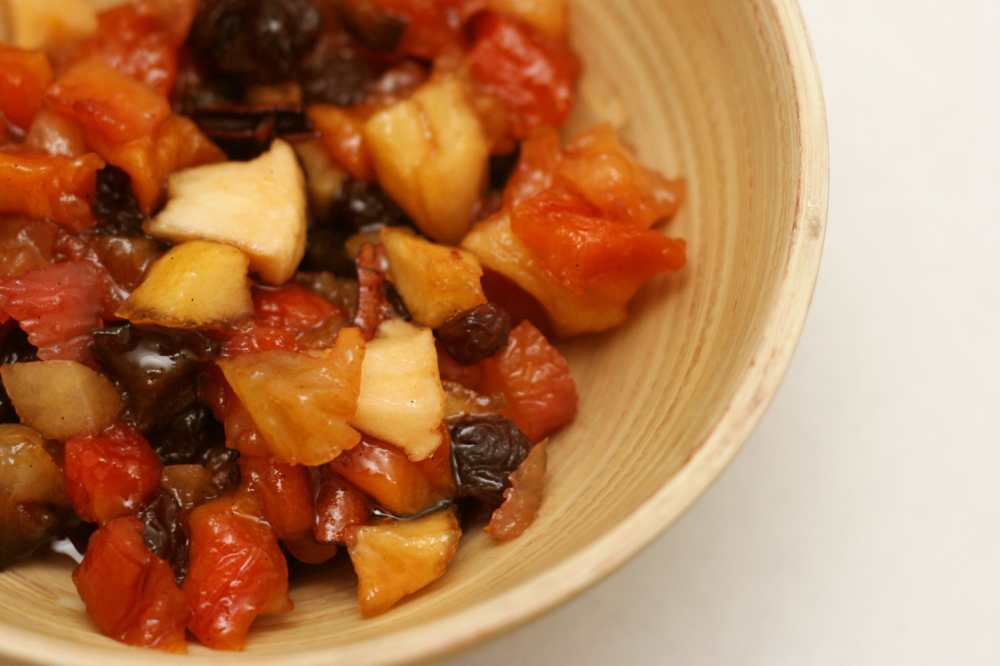
dried fruit compote

Copy of IMG_6047

As food blogging becomes more popular and more established, companies will start to take advantage of that to draw attention to their products. At some point, it seems that most food bloggers will have to ask themselves what their policy toward accepting free stuff for review is.

Copy of IMG_6029

Michael from Bella Viva Orchards offered me a box of dried fruit, and I was particularly charmed by the disarming honesty with which it was offered: “Perhaps, if you enjoy our fruit, you may want to use it in one of your recipes in your blog, which could be very helpful to us.” Very diplomatic.

Copy of IMG_6034

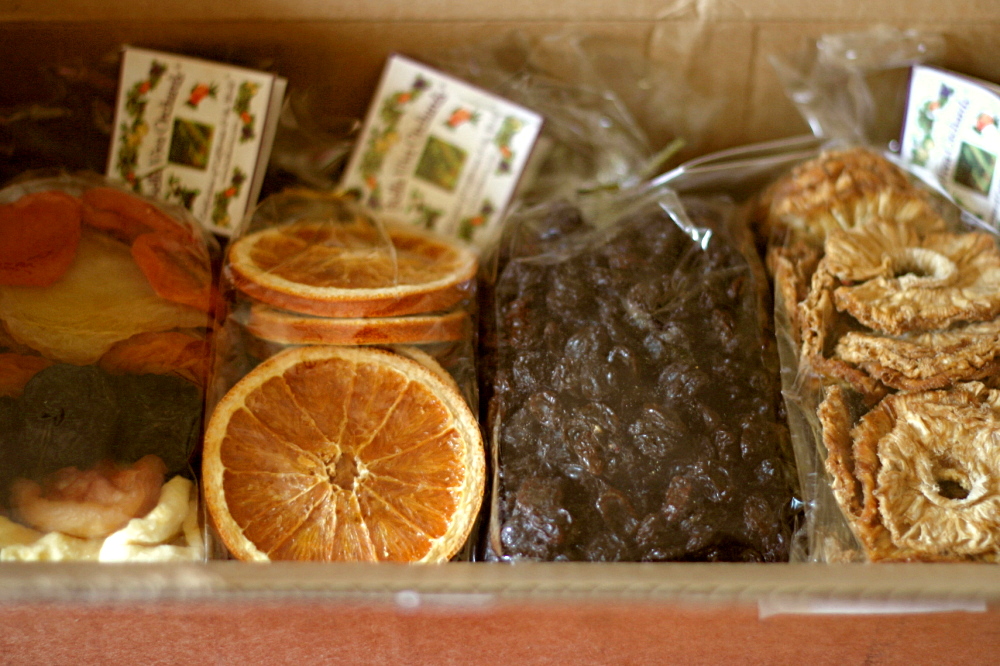
He offered to let me choose the fruit, but I was so overwhelmed by Bella Viva’s huge selection that I let him pick. The fruit arrived soon afterward, packaged beautifully. I received unsweetened pineapple, raisins, mixed fruit, and orange slices. The pineapple, I just snacked on, and it was delicious. I’ve never understood why most dried pineapple is candied – isn’t pineapple sweet enough on its own? I also snacked my way through most of the bag of raisins. I didn’t think I liked raisins, but they became a perfect late afternoon snack for me.

Copy of IMG_6022

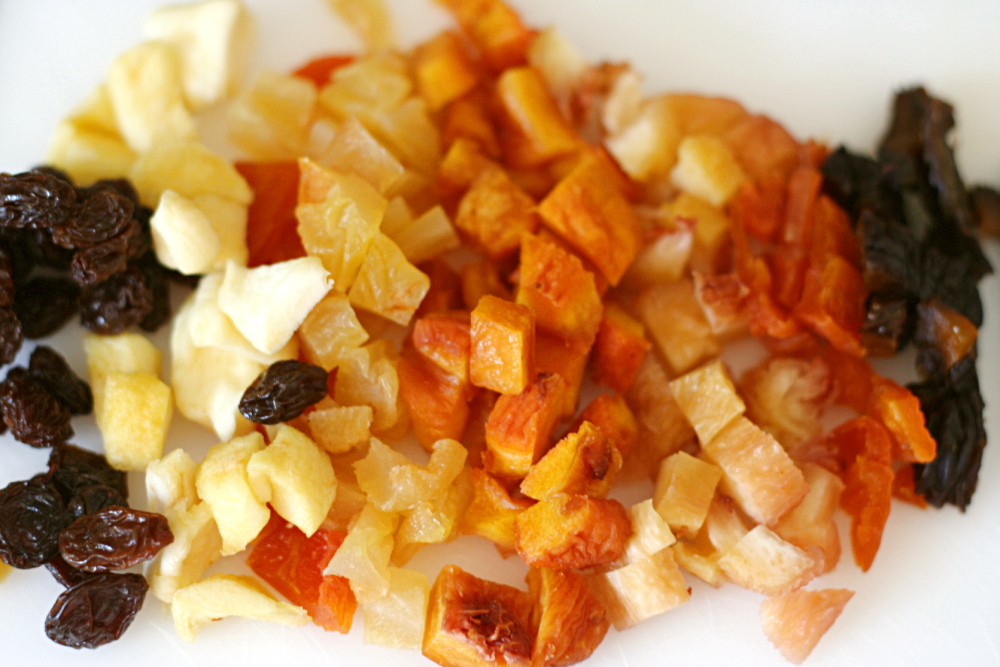
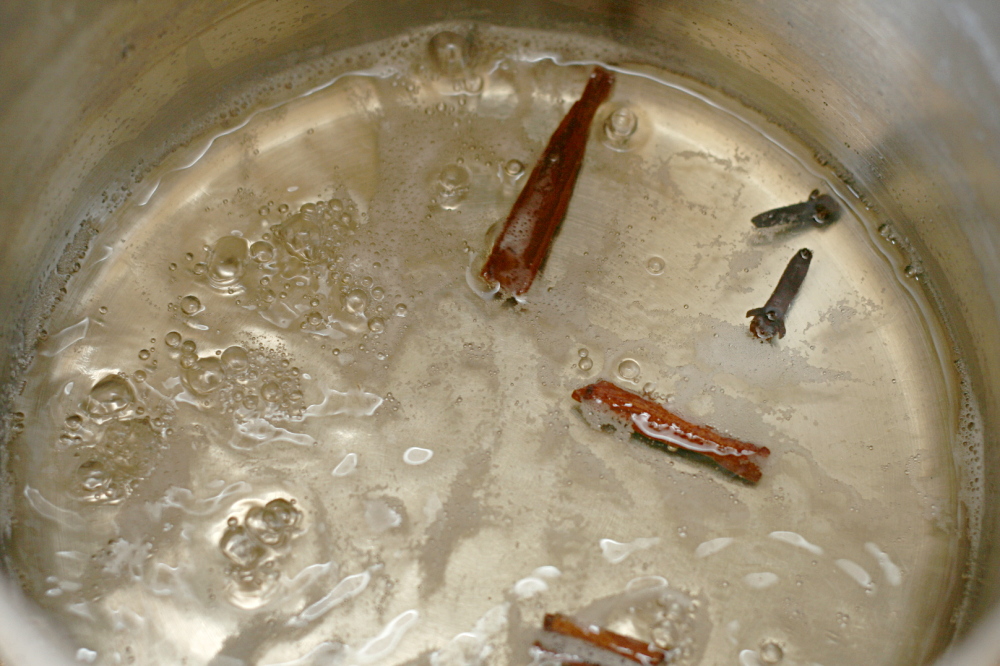
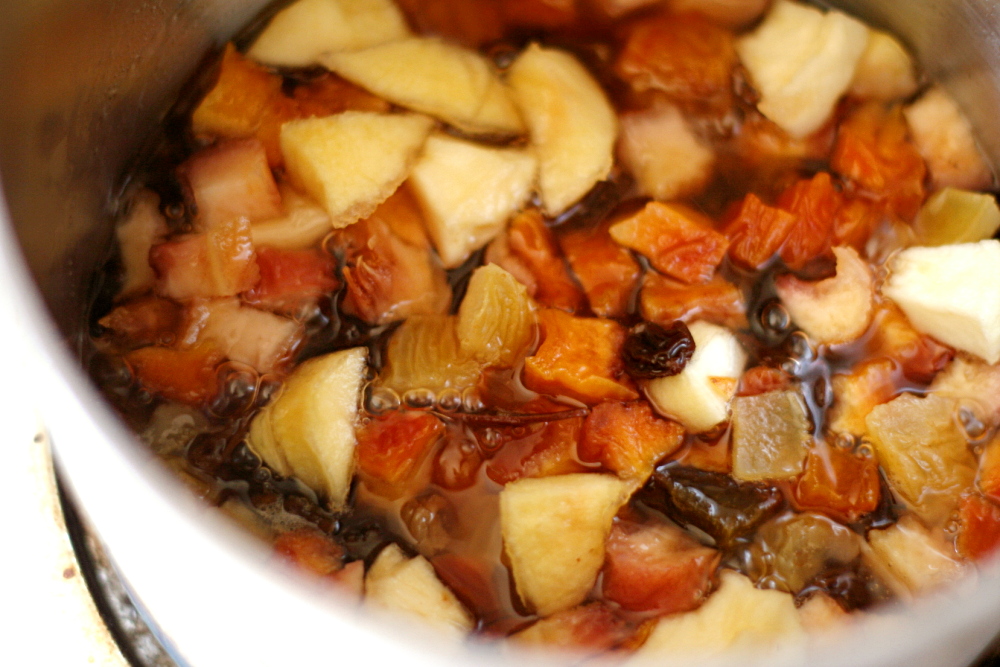
I thought a compote would be nice for the mixed fruit. This recipe starts with white wine, which is mixed with warm spices and simmered until it’s slightly reduced. Then the fruit is added, along with water, and the mixture is simmered until it’s syrupy and the fruit is softened. The recipe calls for a mixture of apricots and plums, but I wanted to use as much of a variety as possible. My mixed fruit package contains apples, plums, nectarines, peaches, pears and apricots, and I threw in some of the raisins too.

Copy of IMG_6040

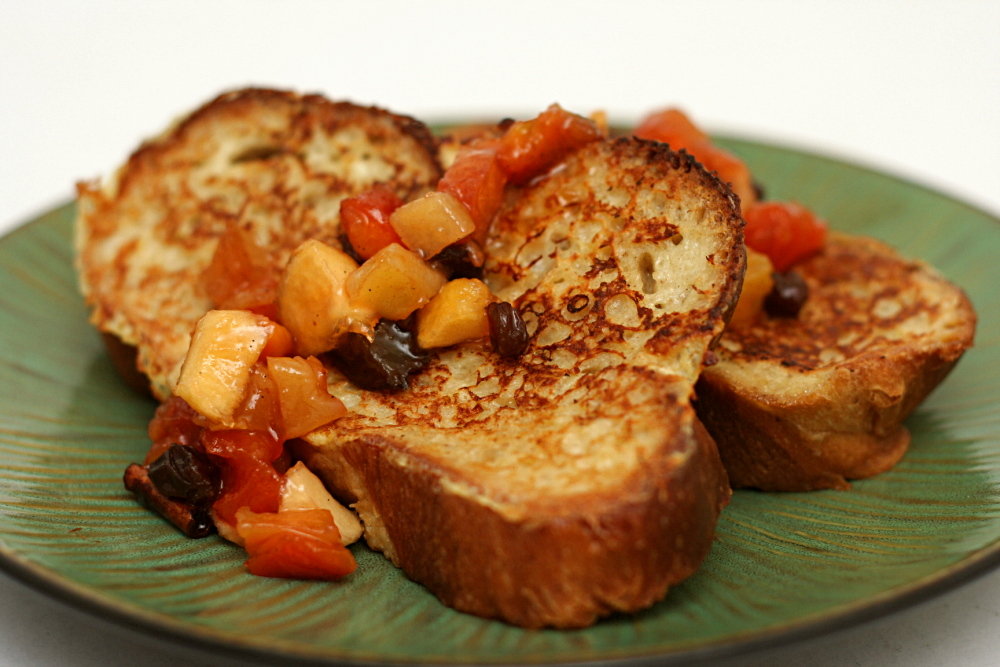
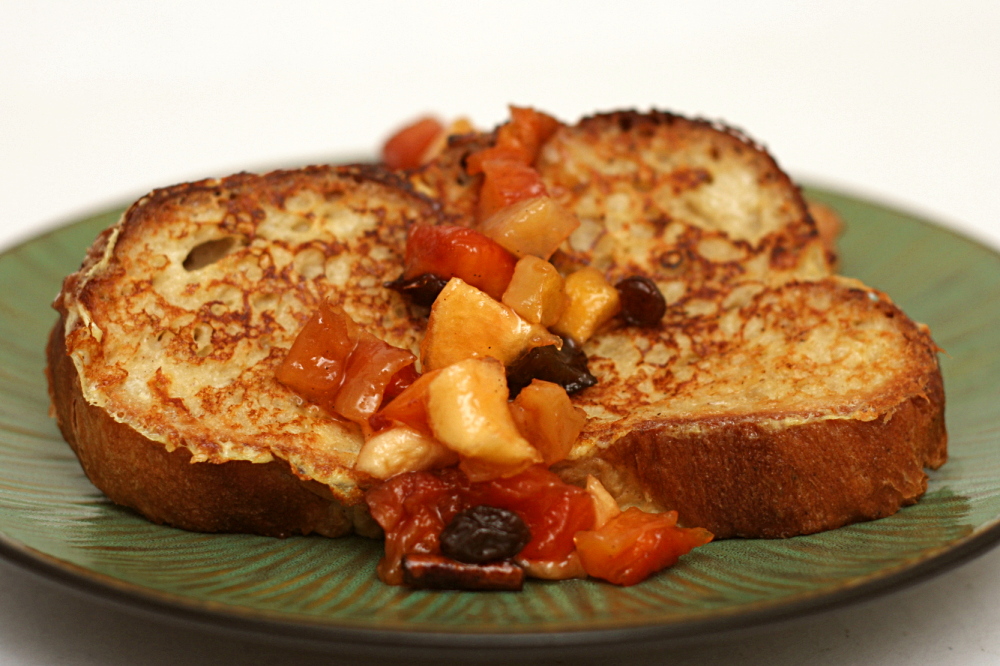
Always looking for an excuse to have wine for breakfast (even wine that’s been cooked for 35 minutes, I suppose), I served the compote with French toast. It was great! Sweet and spiced, but still with a nice tartness from the fruit. It isn’t the most seasonal recipe right now, but come winter, this will be a handy topping to have around.

I don’t know that I’ll continue to accept products for review, but I definitely enjoyed it this time. My experience with Bella Viva Orchards was very positive, from the customer service to the quality of the fruit. I even have my very own coupon code! If you order something from Bella Viva’s website, enter “cookie” as the coupon code to save 10%.

Copy of IMG_6044

One year ago: Chicken with 40 Cloves of Garlic – best chicken ever

Dried Fruit Compote in Spiced Syrup (adapted slightly from Food and Wine)

Makes 10 servings

1½ cups dry white wine
¾ cup (5.25 ounces) sugar
1 cinnamon stick
8 whole cloves
1¼ pounds (20 ounces) mixed dried fruit, coarsely chopped (3 cups)
2 cups cold water
1½ tablespoons pure vanilla extract

In a large saucepan, combine the white wine, sugar, cinnamon stick and cloves and bring to a boil over high heat. Simmer over low heat for 10 minutes. Add the dried fruits, water and vanilla extract and bring to a boil. Simmer over low heat until the fruit is plump and the liquid is slightly syrupy, about 25 minutes. Discard the cinnamon stick and cloves. (The fruit compote can be refrigerated for up to 1 week.)

Copy of IMG_6046

fresh ginger and chocolate gingerbread

copy-of-img_1556

Ah, my sad little gingerbread photos. I had some issues with a tiny step in this recipe that I normally would have just ignored. “Butter the pan.” Pshaw, who butters their pans these days? Nonstick spray, baby!

Since I needed 7⅓ tablespoons of butter for the portion of the recipe that I was making, I figured I would just use the other ⅔ tablespoon to butter the pan. (I used an 8-inch square pan for ⅔ of the recipe.) Then when it came time to remove the cake from the pan, I got stubborn when it stuck. The damn cake would be coming out of the pan!

copy-of-img_1542

Um, yeah, that was dumb. It came out, all right, or about half of it did. The other half, the bottom half, was holding on tight to the pan. I quickly shoveled the broken cake pieces back into the pan and they melded together nicely. If I had been able to resist tasting the cake (through a forkful dug out of the middle), no one would have been the wiser.

copy-of-img_1544

Fortunately, the taste of the cake made up for the troubles. Dave and I both really like gingerbread, and although I had my doubts about combining it with chocolate, in the end I thought it was a good match. I enjoyed the chunks of chocolate in the cake, even though they all sank to the bottom. The bittersweet chocolate glaze was great too. My cake was a little dry, but it’s entirely possible that I overbaked it by a few minutes. Still, next time I’ll use twelve tablespoons of butter instead of eleven (for a full recipe). And I most certainly won’t use butter to grease the pan.

Heather, who chose this recipe for Tuesdays with Dorie, has the recipe posted.

copy-of-img_1553

cranberry orange muffins

copy-of-img_9788

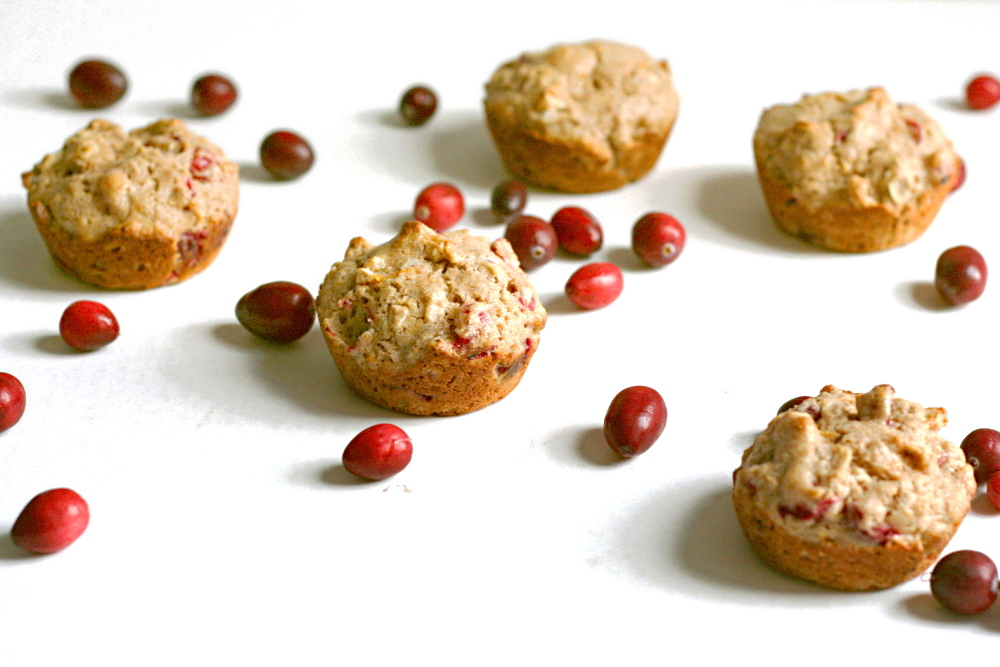
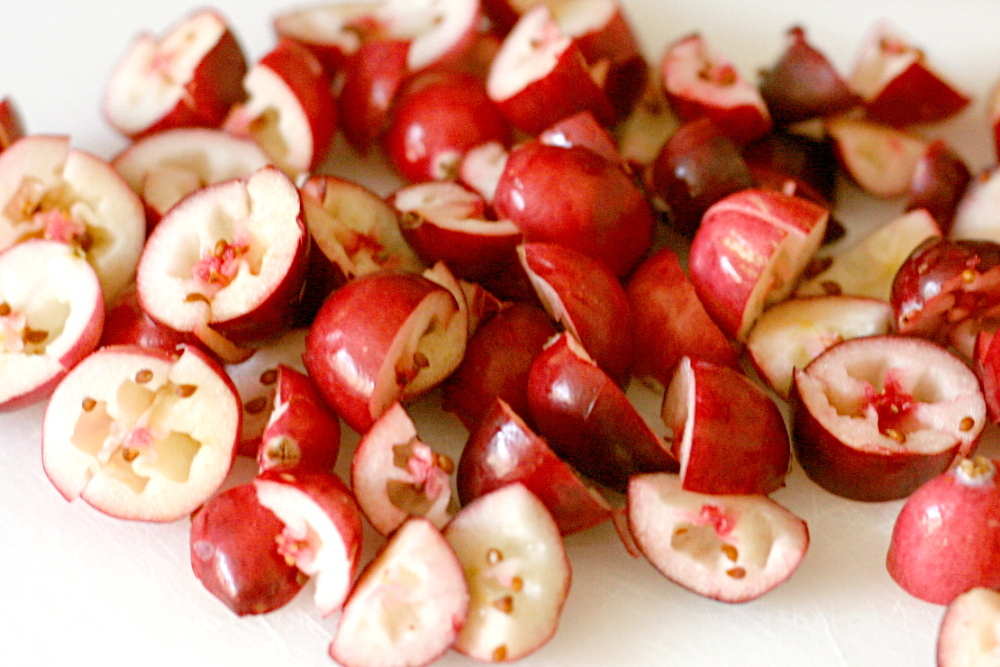
Didn’t I just make muffins? And wasn’t I talking about how I was still on pumpkin? While it’s true that I haven’t moved past pumpkin, I’m definitely excited about cranberries too. Especially cranberry and orange together.

copy-of-img_9771

Seven or eight years ago, I went through a health nut phase where I pretty much eschewed white flour. (You can imagine that that lasted for, like, a week.) I at least substituted half whole wheat flour in most recipes, especially quick breads. I’ve apparently reached a complete turnaround. This recipe calls for 100% whole wheat flour, and I came very close to substituting half of that with white flour.

copy-of-img_9772

But I stuck to the recipe, and I am so glad I did. These muffins rocked, even though I didn’t have quite the right amount of egg (long story), I used traditional instead of quick-cooking oats, and I skipped the glaze. I’m not a huge fan of glaze on muffins – they don’t take to freezing as well, plus it seems too cupcake-like. I also changed the order that the ingredients were added, just like I did with the pumpkin muffins. I added the sugar with the wet ingredients and the zest with the dry ingredients.

copy-of-img_9778

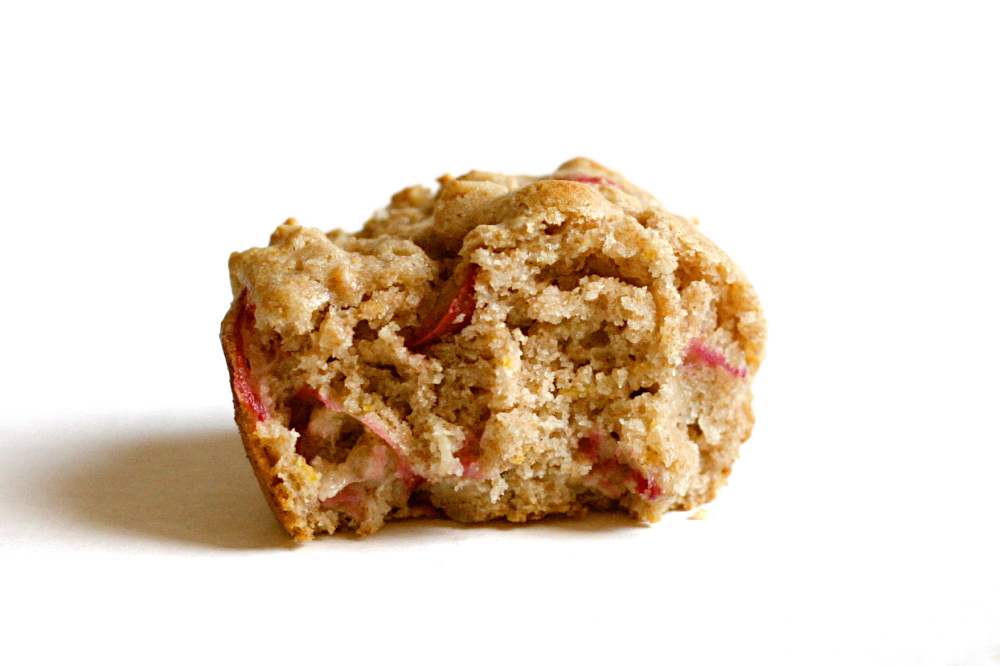
The muffins were nice and light, not at all heavy from the whole wheat flour. The orange flavor was pronounced, which I liked, and the bits of cranberry were perfectly tart and even juicy. All that using 100% whole wheat flour. 2001-me would have been so proud.

copy-of-img_9780

Cranberry Orange Muffins (adapted from King Arthur Flour)

I used traditional oats and didn’t notice any problems, but I could see how quick-cooking oats would incorporate into the dough better. I skipped the nuts because I didn’t have any. I used butter instead of oil. I also skipped the glaze.

Makes 12 muffins

1½ cups whole wheat flour
¾ cup quick-cooking rolled oats
¼ cup buttermilk powder or nonfat dry milk
2 teaspoons baking powder
1 tablespoon orange zest (finely grated orange peel)
½ teaspoon salt
1 cup fresh or frozen cranberries, chopped
½ cup chopped pecans or walnuts (optional)
2 large eggs
⅔ cup (4.67 ounces) sugar
¾ cup milk
⅓ cup melted butter or vegetable oil

Glaze
2 tablespoons orange juice
3 tablespoons sugar

1. Adjust oven rack to middle position and heat oven to 350 degrees. Spray standard muffin tin with nonstick vegetable cooking spray.

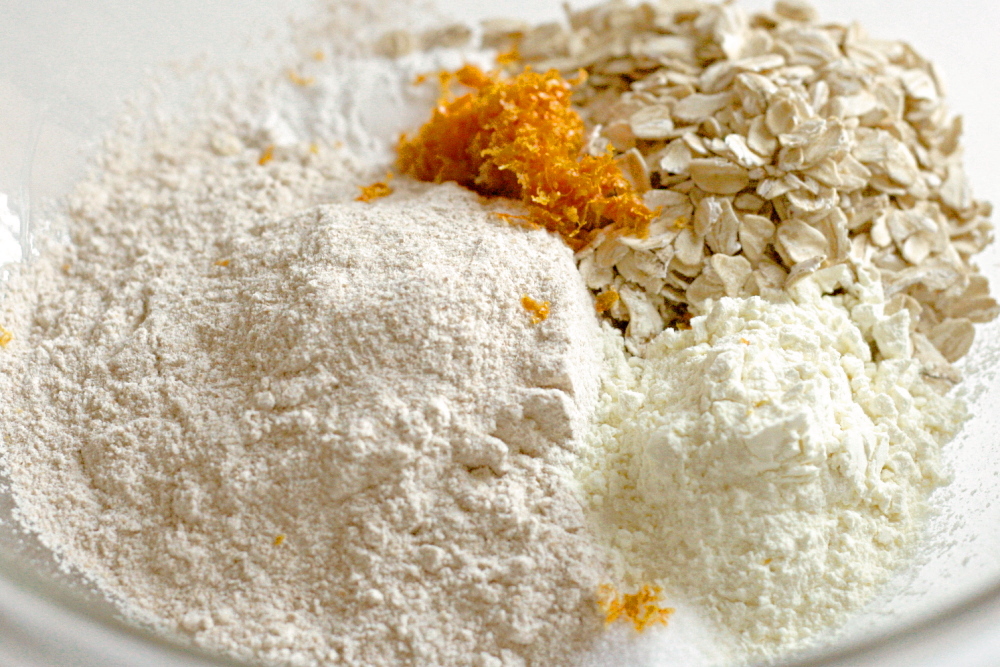
2. Whisk flour, oats, milk powder, baking powder, and orange zest in a large mixing bowl. In a separate mixing bowl, whisk egg until broken up. Add sugar and whisk until combined. Whisk in butter (or oil) and milk.

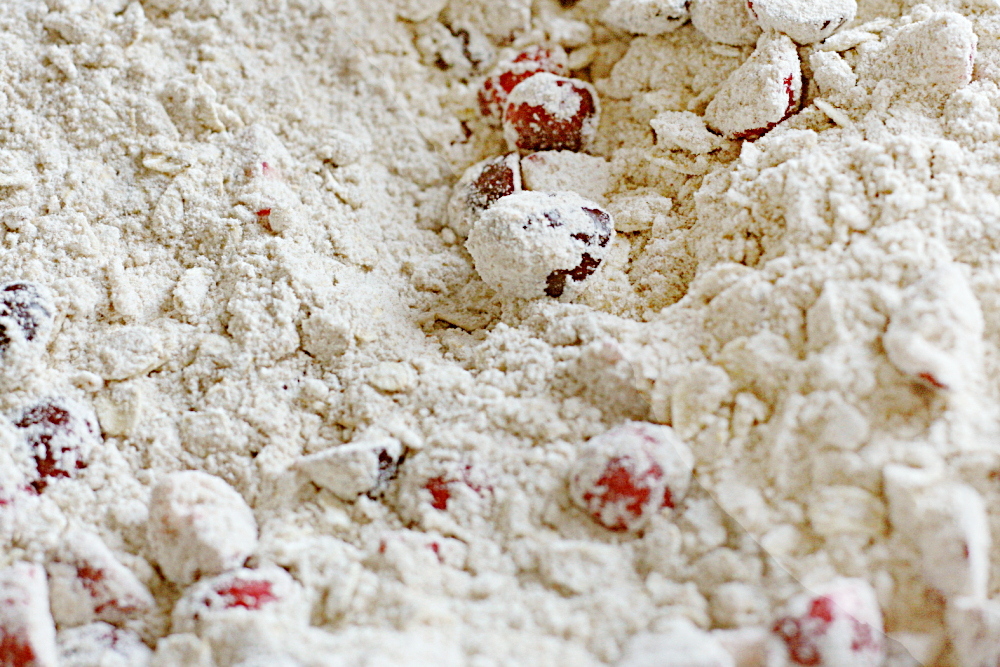
3. Add cranberries and nuts, if using, to dry ingredients and stir to combine. Add milk mixture and fold with rubber spatula until batter comes together. Do not overmix.

4. Divide batter among 12 muffin cups. Bake until toothpick inserted into center of muffin comes out clean, 18-20 minutes. Cool in pan 5 minutes, then transfer them to a rack.

5. If using glaze: In a small saucepan or the microwave, stir together the glaze ingredients. Bring just to a boil, to dissolve the sugar. Dip the tops of the warm muffins into the glaze.

copy-of-img_9783

grandma’s all-occasion sugar cookies

copy-of-img_9846

Believe it or not, I had all of November’s Tuesdays with Dorie recipes baked by November 1st. (And somehow my freezer was still full of desserts by the end the month.) December has been a different story. I did make these cookies last week, but I only finished them one day before leaving to spend a week with my parents. The rest of the month is characteristically busy for December, so I’m sure this trend will continue.

copy-of-img_9800

Fortunately, none of the recipes this month seem to be long involved projects. These sugar cookies are a pretty basic cookie dough recipe with a bit of chilling, then the standard rolling and cutting. And baking and decorating. So I suppose there’s a fair bit of work, but I kept it as simple as possible.

copy-of-img_9817

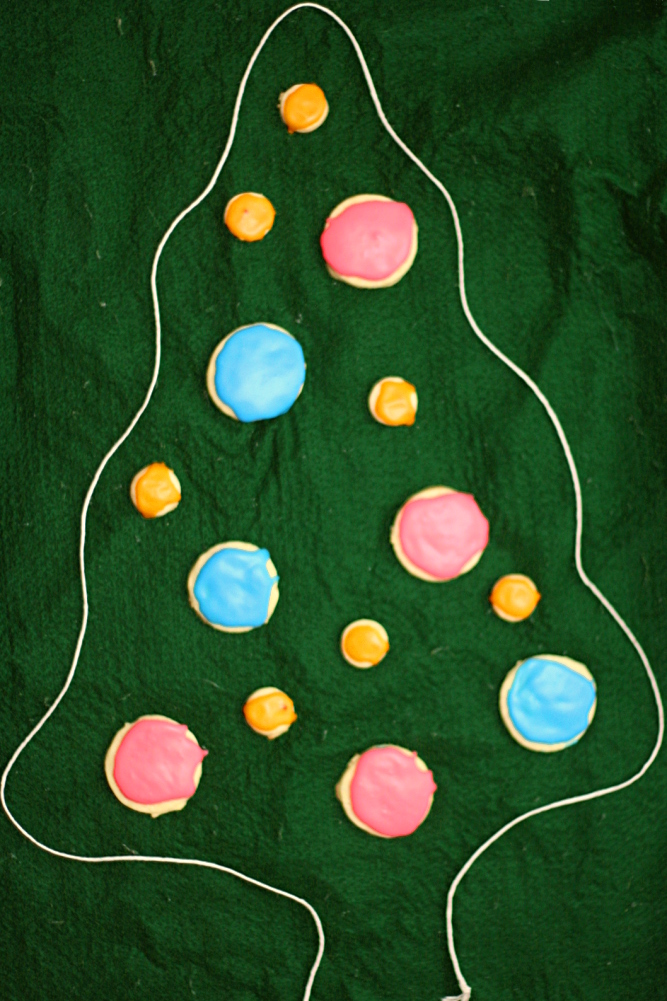
Keeping in mind that I prefer my sugar cookies super tender, I baked these for a little less time than the recipe indicates. Not wanting to struggle with my annoying clingy cookie cutters again, I was left with only one other option (two if you include Halloween cookie cutters, which I don’t in this case) – round biscuit cutters. Dorie suggested a simple cinnamon sugar coating for these cookies, which sounded a little plain. I didn’t have time for elaborate decorations, so I compromised with an easy powdered sugar glaze.

copy-of-img_9829

The cookies were pretty good. I added a bit of lemon zest, although a lot less than the lemon variation recommended. I wasn’t looking for a lemon cookie, just a little flavor besides sweetness. I liked the lemon, although next time I’ll add even less. I do prefer the sugar cookie recipe I made last month to this one. Dorie says in the recipe’s introduction that these are crispy, and even with the shorter baking time, they weren’t as soft as I like. But they were very tasty.

Ulrike has the recipe posted.

copy-of-img_9866

pumpkin ginger muffins

copy-of-img_9794

I am not done with pumpkin. Everyone has moved onto cranberries and is all blasé about pumpkin now. “Pumpkin is so November.” Well, I for one am not done.

copy-of-img_9708

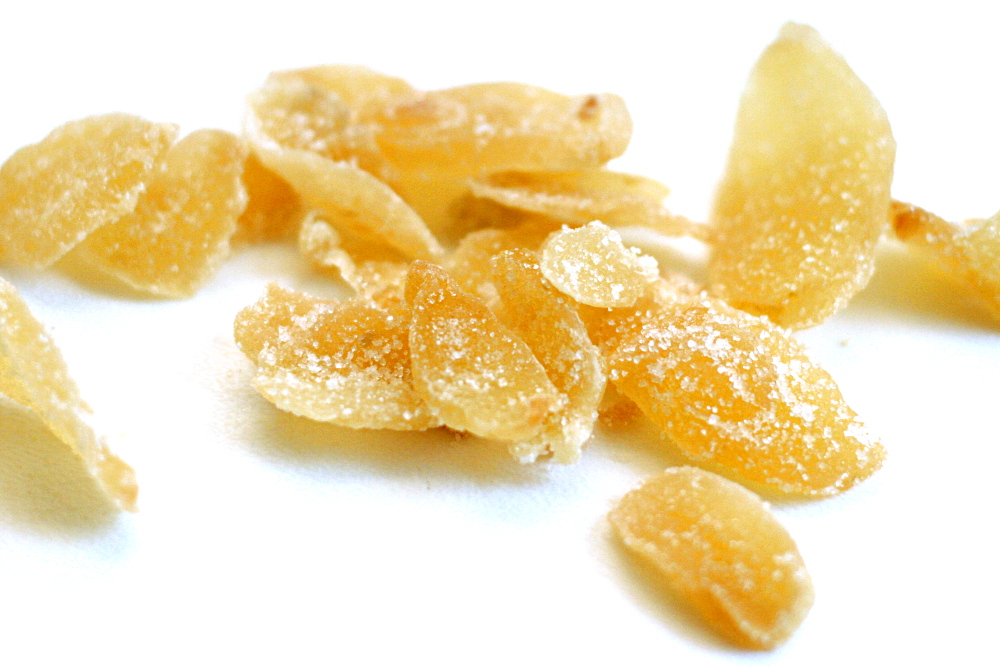
I’ve been looking for a good pumpkin muffin recipe for a while. What has been holding me back is the add-ins – dried cranberries, raisins, and nuts are all fine, but they aren’t the perfect match for pumpkin that I was looking for. I finally figured it out when my friend mentioned that she had a great recipe for pumpkin muffins that included a lot of ginger. Of course – crystallized ginger has just the texture and flavor that I wanted.

copy-of-img_9720

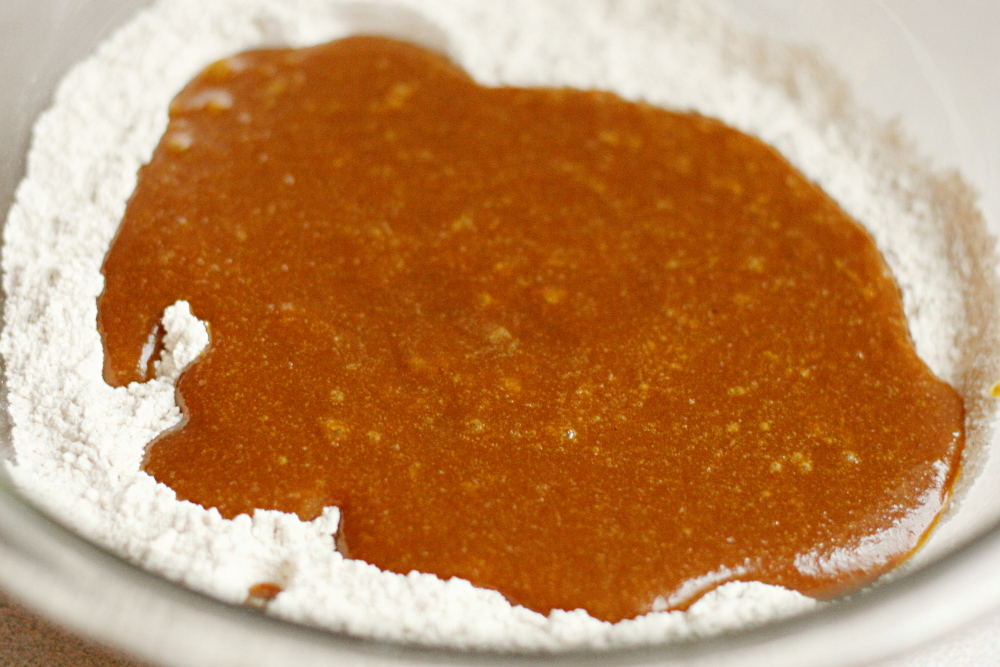
My friend’s recipe uses powdered ginger, which I eliminated in favor of adding the crystallized ginger. It also didn’t include salt, which I thought was weird, so I added some. I also changed the order that the ingredients were mixed, adding the sugar with the liquid ingredients instead of the dry. Also, the original recipe called for half of the flour to be added at the end, after everything else had been mixed. I didn’t understand the point of that, so I just added all of the flour to the dry ingredients.

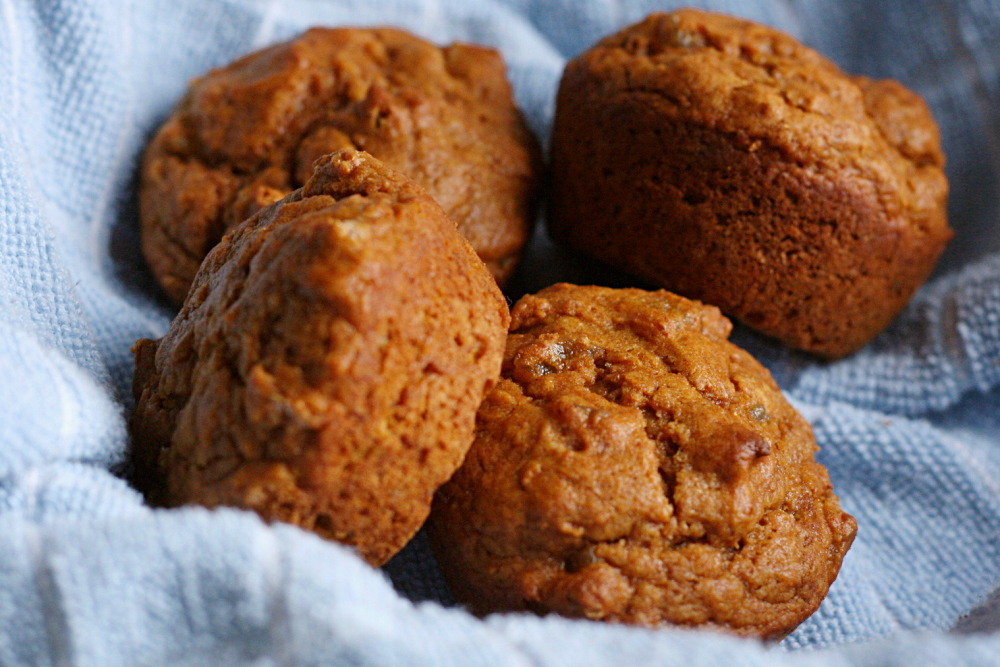
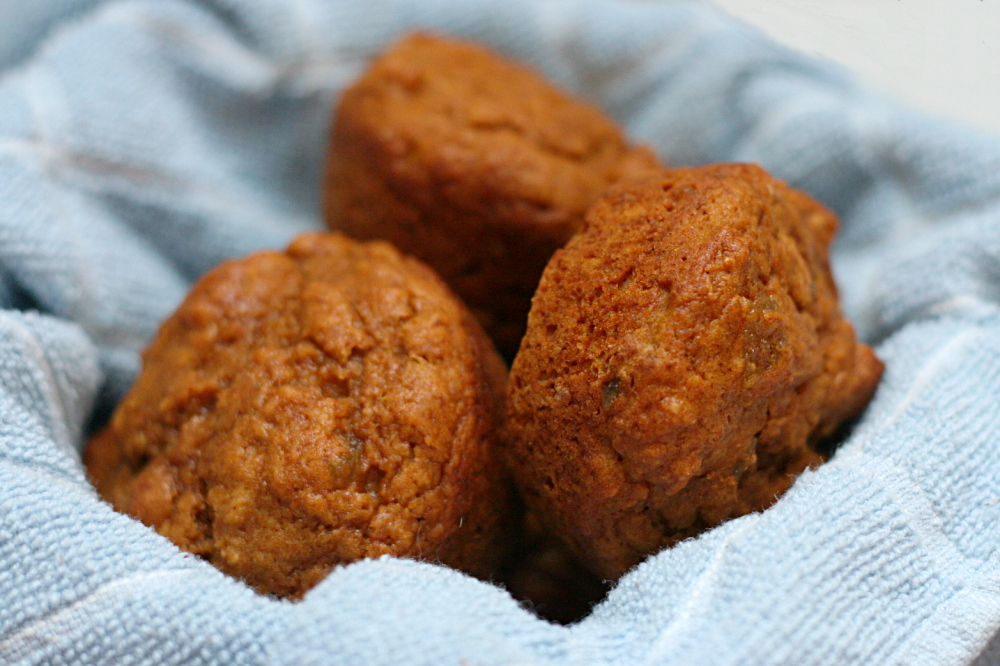
These are the pumpkin muffins I’ve been looking for – pumpkiny and moist and tender with spicy ginger bits. The only thing I would change is adding the powdered ginger back in – without it, the muffins are too sweet, and the crystallized ginger doesn’t provide as much spiciness as I thought it would. And with the addition of molasses, these resemble gingerbread, so they could actually be perfect for everyone who’s ready to move onto December-specific treats.

Ginger Pumpkin Muffins

Makes 8 muffins

1 cup (5 ounces) unbleached flour
1 teaspoon baking powder
¼ teaspoon baking soda
¼ teaspoon salt
1 teaspoon ground cinnamon
1 teaspoon ground ginger
½ cup (2.5 ounces) minced crystallized ginger (optional; or add your preferred mix-in)
1 egg
¼ cup (1.75 ounces) packed light brown sugar
½ cup canned pumpkin
¼ cup molasses
3 tablespoons butter, melted
2 tablespoons milk

1. Adjust oven rack to middle position and heat oven to 350F. Spray standard muffin tin with nonstick vegetable cooking spray.

2. Whisk flour, baking powder, baking soda, salt, ginger, and cinnamon in a large mixing bowl.In a separate mixing bowl, whisk egg until broken up.Add sugar and whisk until combined. Whisk in pumpkin, molasses, butter, and milk.

3. Add crystallized ginger to dry ingredients and stir to combine. Add pumpkin mixture and fold with rubber spatula until batter comes together and ginger is evenly distributed. Do not overmix.

4. Divide batter among 8 muffin cups.Bake until toothpick inserted into center of muffin comes out clean, 20-25 minutes.Cool in pan 5 minutes, then remove from pan and serve.

copy-of-img_9870

decorated sugar cookies

copy-2-of-img_8949

Decorated sugar cookies are a basic recipe that every established baker needs in their arsenal. I’ve got the frosting down, but I’ve haven’t quite found the right cookie.

It’s a tall order. I want a sugar cookie that’s super tender with only, maybe, if absolutely necessary, the smallest bit of crispness to it, just on the edges. I want it to be flavorful enough to eat on its own, but made that much better by frosting. I want it to be easy to roll out. And I want it to use butter and no shortening.

copy-of-img_8910

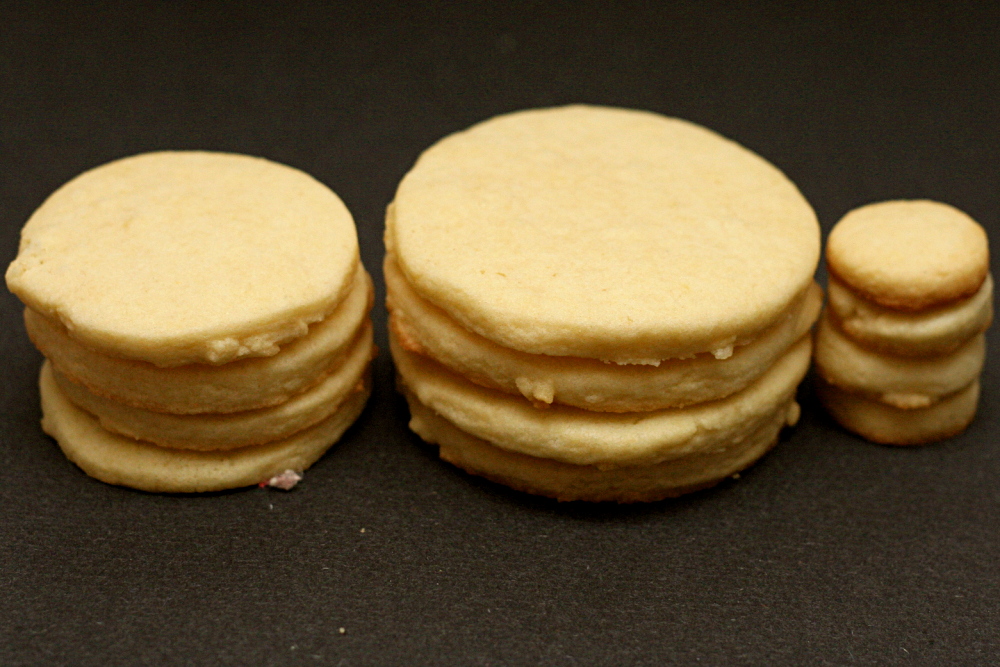
These cookies were described as soft and chewy with great butter flavor, so it seemed like a good recipe to try. Except that they weren’t soft. Damn it. The recipe specifically says bake for 6-9 minutes or they’ll be crisp, and it’s possible that I, um, didn’t bother to set a timer. In my defense, I took them out of the oven when they were just showing a bit of browning on the bottom edge; the bottom of each cookie is a nice light gold.

copy-of-img_8923Whether they’re overcooked or not, I have a feeling this isn’t my ideal sugar cookie recipe. My problem is actually that the dough doesn’t need to be refrigerated before being rolled out. For the dough to be unsticky enough to be rolled without chilling, it has to have quite a bit of flour in it. I think the flour contributes to the crispness of the cookie, and of course it detracts from the butter and sugar flavors that cookies are all about.

copy-of-img_8932

If you have the perfect sugar cookie recipe, please let me know! In the meantime, I’ll be making this one with a half cup less flour. And then trying not to eat frosting by the spoonful.

copy-of-img_8939

Update 11.4.08: I still had dough in the fridge after I posted this entry.  After reading bakingblonde’s comment below, I tried rolling it thicker and was careful to bake the cookies for only 6 minutes.  They were so much better – soft and tender.  I do think next time I’ll reduce the flour just a bit, and I’ll add some lemon zest.  I also plan on going through all of the recipes everyone recommended below (which, from my initial glance at each, are quite similar to this one) and taking my favorite aspects of each.

Famous Sugar Cookies (adapted from bakingblonde)

2¾ cups (13.75 ounces) flour
½ teaspoon salt
2 teaspoons baking powder
16 tablespoons (2 sticks) butter, very soft
1 cup (7 ounces) sugar
1 large egg
1 teaspoon vanilla extract

1. Preheat oven to 375F. In a small bowl, stir together the flour, salt, and baking powder.

2. Beat butter until smooth, about 1 minute. Add sugar and continue beating until light and fluffy, about 3 minutes. Add egg and vanilla and beat until combined, about 30 seconds. Add dry ingredients and beat at low speed until just combined, about 30 seconds, scraping down bowl as needed.

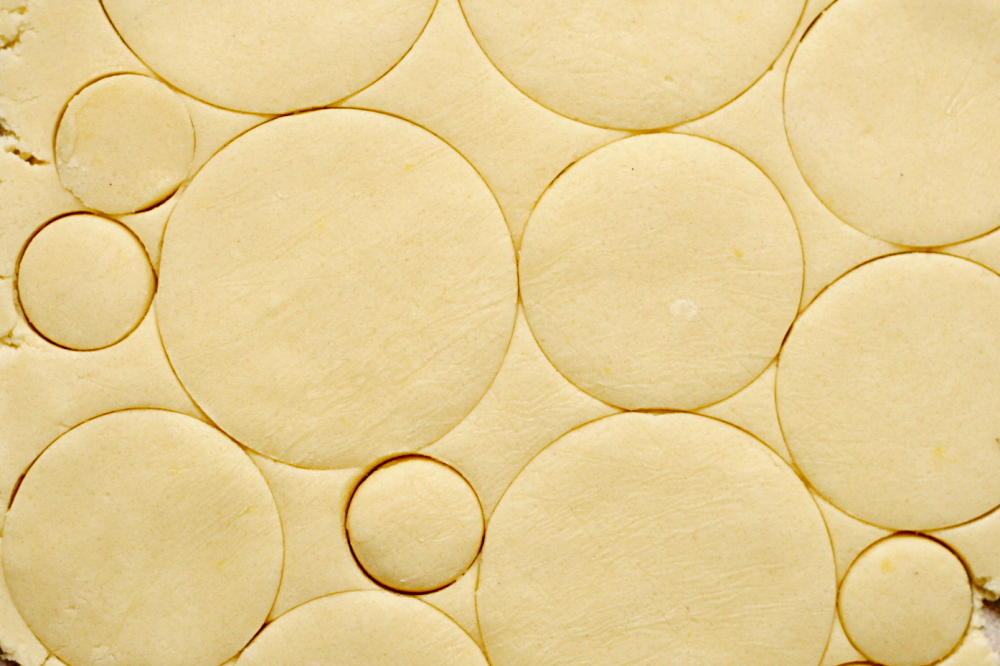
3. Place dough on floured work surface and roll to ⅓-inch thickness. Use cookie cutter to cut desired shapes.

4. Place cookies on baking sheets and bake for 6-9 minutes, until cookies are beginning to brown on bottom and around edges. Don’t overbake or they will be crisp.

5. Transfer to wire racks to cool. Cool completely before frosting.

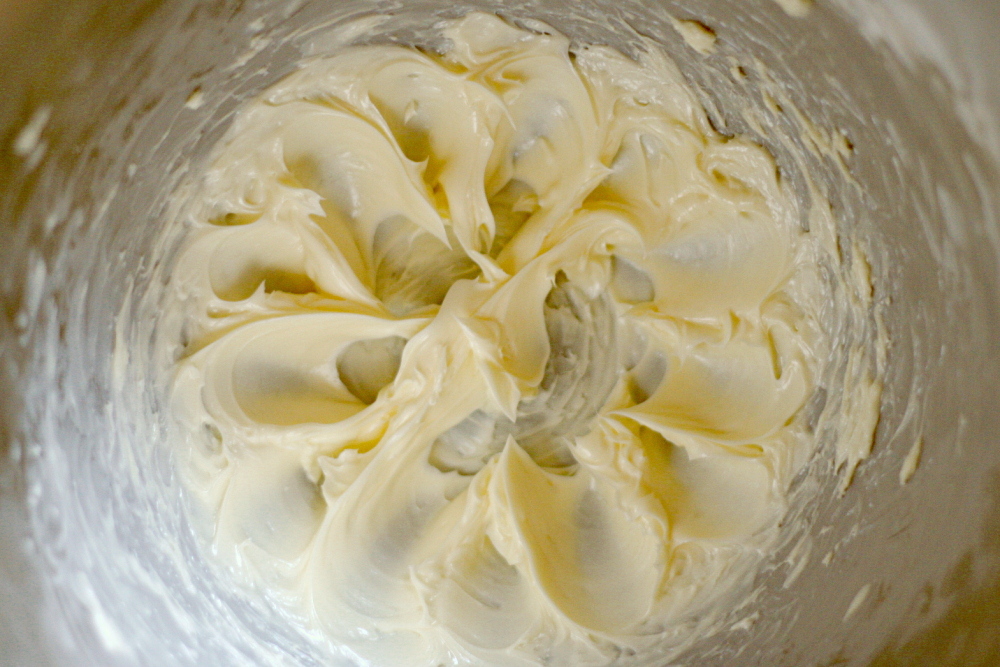
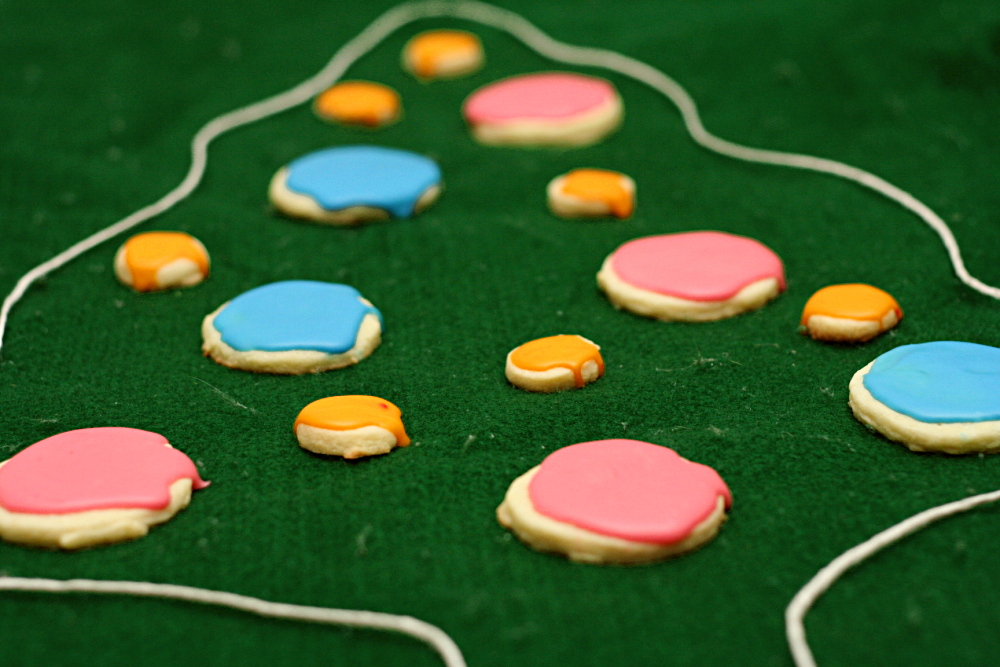
I decorated the cookies with Easy Vanilla Buttercream.

copy-of-img_8953

daring bakers jan 2008: lemon meringue pie

copy-of-dscn2807.jpg

I saw so excited to see that this month’s Daring Baker challenge was lemon meringue pie! Not only do I love lemon, but the one lemon meringue pie I’ve made was several years ago and was only partially successful. It seemed to me like this had to potential to be a fairly difficult challenge – pie crust, lemon curd, meringue. But when Jen of The Canadian Baker revealed this recipe to us, she expressed some concern that it might not be challenging enough for everyone.

She needn’t have worried. As one person after another wrote in to the DB private blog that they had followed the recipe exactly and had lemon meringue soup to show for their efforts, I started to get worried. And it seemed that for every disaster, there was another DBer chiming in that they had followed the recipe exactly and had perfect results. It goes without saying that I was hoping to be in the latter group.

I was not. I, however, cannot claim that I followed the recipe exactly. Because I screwed up.

copy-of-dscn2861.jpg

It was all going swimmingly until I baked the pie at the end. The crust was a bit thicker than I’m used to, and the filling overflowed the crust a bit after I added the meringue, but these are minor qualms. (Ah – I see now that the recipe is developed for a 10-inch pan, and I only have 9-inch pans. That explains it.) The problem arose when I opened the oven to bake the pie and realized that I needed to adjust the racks and add a sheet pan below to catch drips. As I fumbled around with these corrections, I cranked the oven thermometer up to make sure the heater stayed on.

About five minutes after I put the pie in, a smell reminiscent of marshmallows roasting on a campfire reminded me that I hadn’t turned the oven back down. At this point the meringue was a beautiful mix of almost black, tan, and white. Afraid of it turning entirely black, I took the pie out far earlier than the recipe instructed.

And like many DBers, my filling did not set. Is it because I baked the pie at 450 degrees for 5 minutes instead of 375 degrees for 20 minutes? I don’t know. The next day, however, the filling was nice and solid, although the meringue was insufficiently cooked.

copy-of-dscn2868.jpg

I do know that this unsatisfactory pie did not satisfy the desire for lemon meringue pie that I had by now developed. I also knew that I wasn’t taking any chances with the same recipe. Instead, I tried a Cooks Illustrated recipe. Unsurprisingly, it went off without a hitch. Gotta love Cooks Illustrated.

Check to see how the rest of the Daring Bakers pie experiences went!

copy-of-dscn3246.jpg

Lemon Meringue Pie (from Wanda Beaver’s Wanda’s Pie in the Sky)

Makes one 10-inch (25 cm) pie

For the Crust:
¾ cup (180 mL) cold butter; cut into ½-inch (1.2 cm) pieces
2 cups (475 mL) all-purpose flour
¼ cup (60 mL) granulated sugar
¼ tsp (1.2 mL) salt
⅓ cup (80 mL) ice water

For the Filling:
2 cups (475 mL) water
1 cup (240 mL) granulated sugar
½ cup (120 mL) cornstarch

5 egg yolks, beaten
¼ cup (60 mL) butter
¾ cup (180 mL) fresh lemon juice
1 tbsp (15 mL) lemon zest
1 tsp (5 mL) vanilla extract

For the Meringue:
5 egg whites, room temperature
½ tsp (2.5 mL) cream of tartar
¼ tsp (1.2 mL) salt
½ tsp (2.5 mL) vanilla extract
¾ cup (180 mL) granulated sugar

For the Crust: Make sure all ingredients are as cold as possible. Using a food processor or pastry cutter and a large bowl, combine the butter, flour, sugar and salt. Process or cut in until the mixture resembles coarse meal and begins to clump together. Sprinkle with water, let rest 30 seconds and then either process very briefly or cut in with about 15 strokes of the pastry cutter, just until the dough begins to stick together and come away from the sides of the bowl. Turn onto a lightly floured work surface and press together to form a disk. Wrap in plastic and chill for at least 20 minutes.

Allow the dough to warm slightly to room temperature if it is too hard to roll. On a lightly floured board (or countertop) roll the disk to a thickness of ⅛ inch (.3 cm). Cut a circle about 2 inches (5 cm) larger than the pie plate and transfer the pastry into the plate by folding it in half or by rolling it onto the rolling pin. Turn the pastry under, leaving an edge that hangs over the plate about ½ inch (1.2 cm). Flute decoratively. Chill for 30 minutes.

Preheat oven to 350ºF (180ºC). Line the crust with foil and fill with metal pie weights or dried beans. Bake for 20 to 25 minutes. Carefully remove the foil and continue baking for 10 to 15 minutes, until golden. Cool completely before filling.
For the Filling: Bring the water to a boil in a large, heavy saucepan. Remove from the heat and let rest 5 minutes. Whisk the sugar and cornstarch together. Add the mixture gradually to the hot water, whisking until completely incorporated.

Return to the heat and cook over medium heat, whisking constantly until the mixture comes to a boil. The mixture will be very thick. Add about 1 cup (240 mL) of the hot mixture to the beaten egg yolks, whisking until smooth. Whisking vigorously, add the warmed yolks to the pot and continue cooking, stirring constantly, until mixture comes to a boil. Remove from the heat and stir in butter until incorporated. Add the lemon juice, zest and vanilla, stirring until combined. Pour into the prepared crust. Cover with plastic wrap to prevent a skin from forming on the surface, and cool to room temperature.

For the Meringue: Preheat the oven to 375ºF (190ºC). Using an electric mixer beat the egg whites with the cream of tartar, salt and vanilla extract until soft peaks form. Add the sugar gradually, beating until it forms stiff, glossy peaks. Pile onto the cooled pie, bringing the meringue all the way over to the edge of the crust to seal it completely. Bake for 15 to 20 minutes, or until golden. Cool on a rack. Serve within 6 hours to avoid a soggy crust.

The Ultimate Lemon Meringue Pie (from Cooks Illustrated)

Makes one 9-inch pie

Graham Cracker-Coated Pie Shell
1¼ cups unbleached all-purpose flour
½ teaspoon table salt
1 tablespoon granulated sugar
6 tablespoons unsalted butter , chilled and cut into 1/4-inch pieces
4 tablespoons vegetable shortening , chilled
3-4 tablespoons cold water
½ cup graham cracker crumbs

Lemon Filling
1 cup granulated sugar
¼ cup cornstarch
1/8 teaspoon table salt
1½ cups cold water
6 large egg yolks
1 tablespoon lemon zest from 1 lemon
½ cup lemon juice from 2 to 3 lemons
2 tablespoons unsalted butter

Meringue Topping
1 tablespoon cornstarch
¼ teaspoon cream of tartar
½ cup granulated sugar
4 large egg whites
½ teaspoon vanilla extract
1. For the pie shell: Mix flour, salt and sugar in food processor fitted with steel blade. Scatter butter pieces over flour mixture, tossing to coat butter with a little of the flour. Cut butter into flour with five 1 second pulses. Add shortening; continue cutting in until flour is pale yellow and resembles coarse cornmeal with butter bits no larger than a small pea, about four more 1-second pulses. Turn mixture into medium bowl.

2. Sprinkle 3 tablespoons cold water over mixture. Using rubber spatula, fold water into mixture; press down on dough mixture with broad side of spatula until dough sticks together. If dough will not come together, add up to 1 tablespoon more cold water. Shape dough into ball, then flatten into 4-inch-wide disk. Dust lightly with flour, wrap in plastic, and refrigerate for 30 minutes before rolling.

3. Generously sprinkle work area with 2 tablespoons graham cracker crumbs. Place dough on work area. Scatter a few more crumbs over dough. Roll dough from center to edges, turning it into a 9-inch disk, rotating a quarter turn after each stroke and sprinkling additional crumbs underneath and on top as necessary to coat heavily. Flip dough over and continue to roll, but not rotate, to form a 13-inch disk slightly less than 1/8-inch thick.

4. Fold dough into quaarters; place dough point in center of 9-inch Pyrex pie pan. Unfold to cover pan completely, letting excess dough drape over pan lip. To fit dough to pan, lift edge of dough with one hand and press dougn in pan bottom with other hand; repeat process around circumferences of pan to ensure dough fits properly and is not stretched. Trim all around, ½-inch past lip of pan. Tuck ½ inch of overhanging dough under so folded edge is flush with lip of pan; press to seal. Press thumb and index finger about ½-inch apart against outside edge of dough, then use index finger or knuckle of other hand to poke a dent on inside edge of dough through opening created by the other fingers. Repeat to flute around perimeter of pie shell.

5. Refrigerate until firm, about 30 minutes. Use fork to prick shell at ½-inch intervals; press a doubled 12-inch square of aluminum foil into pie shell; prick again and refrigerate at least 30 minutes.

6. Adjust oven rack to lowest position, heat oven to 400 degrees. Bake, checking occasionally for ballooning, until crust is firmly set, about 15 minutes. Reduce oven temperature to 350 degrees, remove foil, and continue to bake until crust is crisp and rich brown in color, about 10 minutes longer.

7. For the filling: Mix sugar, cornstarch, salt, and water in a large, nonreactive saucepan. Bring mixture to simmer over medium heat, whisking occasionally at beginning of the process and more frequently as mixture begins to thicken. When mixture starts to simmer and turn translucent, whisk in egg yolks, two at a time. Whisk in zest, then lemon juice, and finally butter. Bring mixture to a brisk simmer, whisking constantly. Remove from heat, place plastic wrap directly on surface of filling to keep hot and prevent skin from forming.

8. For the meringue: Mix cornstarch with 1/3 cup water in small saucepan; bring to simmer, whisking occasionally at beginning and more frequently as mixture thickens. When mixture starts to simmer and turn translucent, remove from heat. Let cool while beating egg whites.

9. Heat oven to 325 degrees. Mix cream of tartar and sugar together. Beat egg whites and vanilla until frothy. Beat in sugar mixture, 1 tablespoon at a time; until sugar is incorporated and mixture forms soft peaks. Add cornstarch mixture, 1 tablespoon at a time; continue to beat meringue to stiff peaks. Remove plastic from filling and return to very low heat during last minute or so of beating meringue (to ensure filling is hot).

10. Pour filling into pie shell. Using a rubber spatula, immediately distribute meringue evenly around edge then center of pie to keep it from sinking into filling. Make sure meringue attaches to pie crust to prevent shrinking. Use spoon to create peaks all over meringue. Bake pie until meringue is golden brown, about 20 minutes. Transfer to wire rack and cool to room temperature. Serve.

copy-of-dscn3221.jpg

martha martha martha (maple walnut cupcakes)

dscn2685.jpg

For someone who’s been very interested in food and cooking for a large part of her life, I was late catching onto Martha Stewart fanhood. I just didn’t know much about her, for whatever reason. I didn’t watch her show, I didn’t read her magazine, and I hadn’t made any of her recipes. But then last Christmas, my mother-in-law gave me Martha Stewart’s Baking Handbook.

This is a really great book. For one thing, every recipe has a beautiful picture accompanying it. Also, many of the recipes include garnishes. What a relief for someone like me, who is new to caring about garnishes! But more important, of course, are the recipes themselves. There’s a great mix of classics, like chocolate chip cookies and buttermilk biscuits, to more advanced but still familiar recipes, like a wedding cake and croissants, plus a good peppering of more original ideas, like grapefruit cookies and rum-raisin pie. I’m especially excited to make my way through some of the cookie recipes. Whoever heard of grapefruit in cookies? Yum!

I’ve been craving cupcakes for quite some time now, and I wanted something a little bit more…interesting that your standard old chocolate or vanilla. These were perfect! I’m especially happy with the maple buttercream frosting. I had my doubts going in, because I haven’t had the most successful history of working with buttercream. Also, I was only making a third of the recipe. I know buttercream is very temperature sensitive, and this much smaller amount was going to change temperatures a lot faster than the recipe indicates. And, I was worried about the method of combining the maple syrup and the egg yolk. The syrup is heated to 240 degrees (my probe thermometer tops out at 212 degrees, so I guessed and hoped for the best), then drizzled into the egg yolk. 240 degrees is…hot, especially for egg. But, it all seemed to work out! The buttercream did show signs of breaking, but I tried beating it more, and it actually came together very nicely!

The only change I would make to the recipe is to toast the walnuts before mixing them with the batter. Oh, and I wouldn’t spill a quarter of the dry ingredient mixture on the counter and then not notice until the cupcakes were in the oven. All in all, they were really good.  And cute!

dscn2680.jpg

Maple-Walnut Cupcakes (from Martha Stewart’s Baking Handbook)
Makes 2 dozen

2¾ cups (13.75 ounces) unbleached flour
1 tablespoon baking powder
¼ teaspoon salt
1 teaspoon ground cinnamon
16 tablespoons (2 sticks) unsalted butter, room temperature
1 ½ cups (10.5 ounces) granulated sugar
3 large eggs
1 teaspoon vanilla extract
1 cup milk
1½ cups (5.5 ounces) walnuts, toasted, chopped medium-fine
Maple Buttercream

Preheat the oven to 350 degrees. Line two standard 12-up muffin pans with paper liners. Into a large bowl, sift together flour, baking powder, salt, and cinnamon; set aside.

In the bowl of an electric mixer fitted with the paddle attachment, beat the butter and sugar on medium speed until creamy, about 3 minutes. Add the eggs and vanilla, and beat until combined. With the mixer still on medium speed, add the flour mixture in two parts, alternating with the milk and beginning and ended with the flour. Fold in the walnuts.

Divide the batter evenly among he muffin cups, adding about 1/3 cup to each. Bake, rotating the pans halfway through, until cupcakes are golden and a cake tester inserted into the center of a cupcake comes out clean, 18-20 minutes. Transfer the pans to a wire rack to cool slightly. Invert the cupcakes onto the rack; then reinvert and let them cool completely, top sides up. Frost tops with Maple Buttercream. Cupcakes can be refrigerated in an airtight container for up to 3 days.

Maple Buttercream
Makes enough for 2 dozen cupcakes (about 2 cups)

This frosting can be refrigerated in an airtight container for up to three days. Bring to room temperature before using.

3 large eggs yolks
1 cup pure maple syrup
16 tablespoons (2 sticks) unsalted butter, cold, cut into small pieces

In the bowl of an electric mixer fitting with the whisk attachment, beat the egg yolks on high speed until light and fluffy, about 5 minutes; set aside. In a small saucepan set over medium-high heat, bring the maple syrup to a boil, and cook until it registers 240 degrees on a candy thermometer, about 15 minutes. Remove from heat.

With the mixer running, slowly pour syrup down the side of the bowl in a slow, steady stream, until completely incorporated, about 1 minute. Continue beating until bowl is just slightly warm to the touch, 4 to 5 minutes. Add butter, one piece at a time, until thoroughly incorporated and the frosting is fluffy, about 4 minutes more.

dscn2688.jpg

a handful of vagueness (pasta with meyer lemon, creme fraiche, and parmesan)

dscn2150.jpg

My next Meyer lemon experiment was a savory recipe from Amanda Hesser’s Cooking for Mr. Latte. This is the type of recipe that drives me crazy – a handful of this and a few handfuls of that. Seriously? I don’t see anything wrong giving exact measurements – of course everyone adjusts recipes to their own tastes, but you want to at least give your readers a starting point. Especially when you say something like “quickly fold in the ingredients, adding more to taste.” I’m supposed to fold, taste, fold, taste, fold, when I’m in a hurry?

Anyway. Somewhere along the line when I was reading about Meyer lemons, I read that one reason that their availability is often limited is that they aren’t as hardy as regular lemons. Apparently, this is true. I bought the lemons on Saturday and figured I had plenty of time to use them, but by Tuesday, they weren’t looking so hot, so I rushed to use them that day.

dscn2141.jpg

This recipe involved another new ingredient for me – crème fraiche. Pretty good stuff. Kind of like mellow sour cream.

Not only are the ingredient amounts basically useless, but the method for this recipe didn’t really work either. Hesser instructs the reader to grate “a handful” of parmesan cheese into a bowl along with some lemon zest, then add “three handfuls” of arugula. (Grr.) The cooked pasta is added to the bowl, then the crème fraiche and some of the pasta cooking water is stirred in. The problem is that the hot pasta melted the cheese into clumps, and I couldn’t get them to melt into a smooth sauce. The lemon zest clumped with the parmesan clumps, so there really wasn’t an even distribution of flavors.

dscn2145.jpg

All that being said, the recipe has lots of potential. The flavors were good, although I needed more arugula, more parmesan (of course!), and more zest. And, unlike with the lemon bars, I think the Meyer lemons may be important to the recipe. I’m actually hesitant to try it with regular lemons, although it’s probably worth the experiment. It’s a great weeknight meal, because all of the other ingredients can be prepared while the pasta is cooking. Just don’t expect Hesser’s recipe to help you along at all!

Pasta with Meyer lemon, crème fraiche, and parmesan (adapted from Amanda Hesser’s Cooking for Mr. Latte)
Serves 4

The amounts listed for each ingredient are loosely based on Hesser’s recipe. However, it is expected that your personal tastes may vary and you may want to adjust the quantities accordingly.

1 pound pasta (any shape)
salt
3 ounces arugula, chopped
zest from 2 lemons
juice from 2 lemons
½ cup crème fraiche
½ ounce parmesan cheese, grated
ground black pepper

1. Bring 4 quarts of water to a boil. Add 1 tablespoon salt and pasta. Cook until al dente. Drain, reserving ½ cup of the water.

2. Mix hot pasta with remaining ingredients, making sure to add cheese after crème fraiche to avoid clumps. Stir in reserved water if pasta is sticky. Serve in heated pasta bowls.

dscn2151.jpg