beef barbacoa

barbacoa 8

I am going through a taco phase, and it might have started out with these. Well, mostly I just really like tacos, because who doesn’t, but things have ramped up in recent weeks. We’ve had all sorts of tasty fillings recently, but it’s hard to beat barbacoa.

barbacoa 2

Barbacoa has so many satisfying flavors – it’s a little sweet, a little sour with a squeeze of lime juice, plenty meaty of course. It definitely has a spicy kick. It’s coated in a rich layer of sauce that delivers loads of flavor, with nothing left behind in the pot.

barbacoa 3

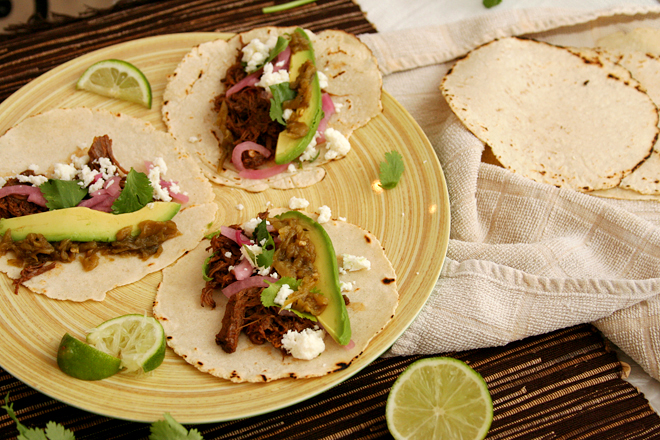
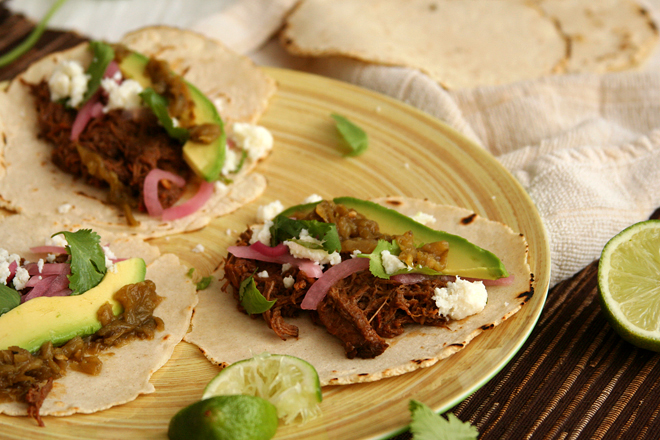
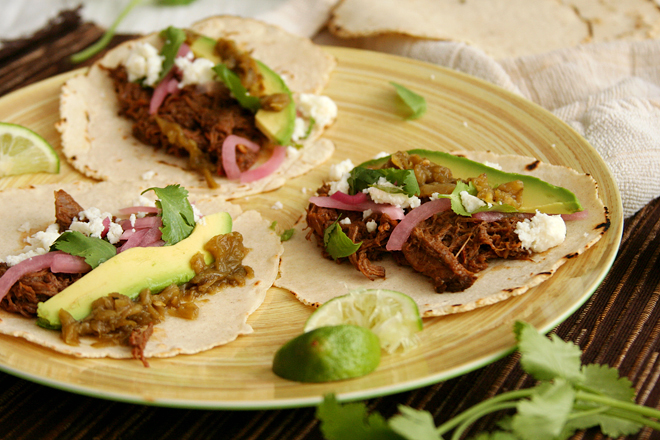
It only gets better with toppings. Avocado is arguably my favorite part of most tacos (not these; the barbacoa wins by a mile), and queso fresco is the perfect salty fresh compliment to the rich meat. Those two and a wedge of lime are my only requirements, but pickled onions and a smattering of cilantro are nice too.

barbacoa 4

This isn’t a hard recipe, although it’s far from fast. The long ingredient list looks worse than it is. There’s a lot of spices, chiles, and condiments, but nothing other than an onion and some garlic require a cutting board. Not even the beef needs to be sliced or cut into cubes. What I thought was going to be a significant project took me about half an hour.

barbacoa 6

Of course, you don’t actually get to eat until almost 5 hours layer, after the beef has become tender and rich and the broth has been reduced down to a sauce. It’s getting warm out and you might not want to leave your oven on for four hours while the beef cooks, but the result is worth some air-conditioning. Plus, it reheats great, maybe even better than it was the first day. I have to admit that I haven’t really been in a taco phase, just a barbacoa phase. I’ve got one more batch stored in the freezer, and I can’t wait.

barbacoa 9

One year ago: California Roll Burgers
Two years ago: Basic Coleslaw
Three years ago: Quinoa Tabbouleh
Four years ago: Fresh Strawberry Scones
Five years ago: Ricotta Spinach and Tofu Ravioli

Printer Friendly Recipe
Beef Barbacoa
(very slightly adapted from The Food Lab on Serious Eats)

About 6 servings

I think the crockpot is a definite possibility here, but it’ll take you a lot longer to reduce the liquid to a sauce after the cooking time.  You’ll still need to brown the oxtails and onions beforehand, because that adds tons of flavor.  That’s an easy tradeoff to save 4 hours of oven use when the weather’s warm!

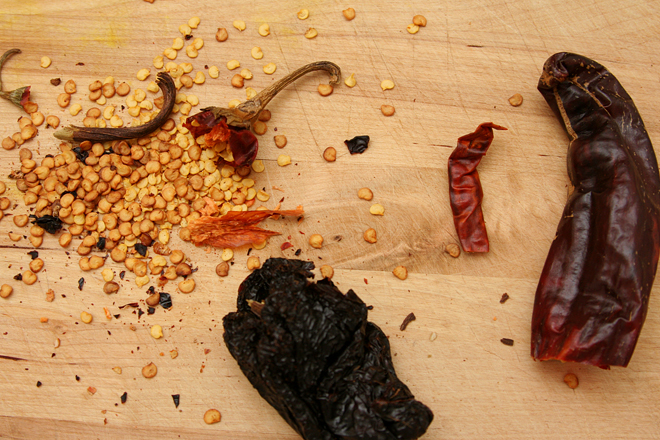
If you can’t find these exact types of chiles, any combination of mild, fruity and bright-tasting chiles will do, such as guajillo or Colorado.  I used a New Mexico, an ancho, and an arbol chile.  I couldn’t find oxtails either, so I used beef ribs.

1 whole dried New Mexico, costeño, or choricero chili, seeds and stem removed
1 whole chile ancho or pasilla, seeds and stem removed
1 whole chile negro, seeds and stem removed
4 cups low-sodium chicken stock, divided
3 tablespoons vegetable or canola oil, divided
1 pound oxtails
1 small onion, diced
6 medium cloves garlic, peeled and smashed
2 teaspoons ground cumin
½ teaspoon ground cloves
2 teaspoons dried oregano
4 chipotle chiles packed in adobo, chopped, with 2 tablespoons adobo sauce
¼ cup apple cider vinegar
2 teaspoons fish sauce
1 whole chuck roast (about 4 pounds)
Kosher salt and freshly ground black pepper
2 whole bay leaves
Kosher salt
Warm corn tortillas, avocados, queso fresco, pickled onions, cilantro, salsa, limes, and other condiments for serving

1. Adjust an oven rack to the lower-middle position and preheat the oven to 275 degrees. Place the dried chiles in the bottom of a large Dutch oven and heat over high heat. Cook, turning the chiles with tongs occasionally, until fragrant and toasted, about 3 minutes. Transfer the chiles to a small saucepan and cover with 2 cups of chicken broth. Bring to a boil over high heat, reduce to a simmer, and cook until chiles are completely tender, about 15 minutes. Set aside.

2. Meanwhile, heat 1 tablespoon of oil in the now-empty Dutch oven over high heat until shimmering. Cook the oxtails until they’re well-browned on all sides, about 8 minutes total. Remove the oxtails and set aside. Reduce the heat to medium.

3. Add the remaining two tablespoons oil and heat along with the onions and garlic, and cook, stirring frequently, until deep brown and just starting to burn, about 10 minutes. Add the cumin, cloves, and oregano, and cook, stirring constantly until fragrant, about 30 seconds. Add the chipotle chiles, vinegar, and remaining chicken broth. Scrape up the browned bits from the bottom of the pan, simmer until reduced by about half, then transfer the entire contents to the jar of a blender.

4. Add the soaked chiles and their liquid to the blender along with the fish sauce. Start the blender on low (be careful of blowups!) and slowly increase the speed to high. Puree until smooth, about 1 minute. Set aside.

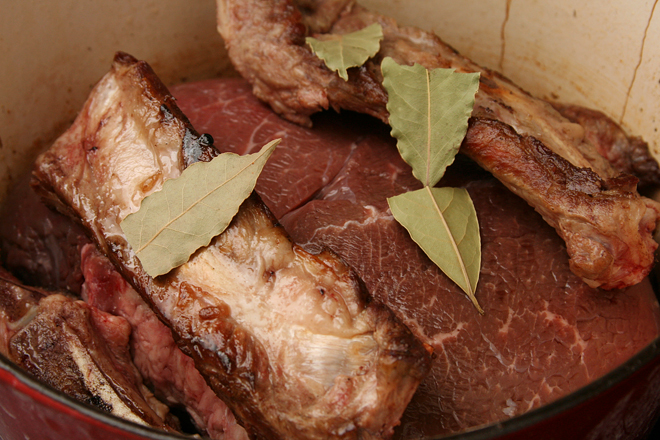
5. Place the beef roast in the Dutch oven. Add the browned oxtails, 2 teaspoons salt, 1 teaspoon black pepper, the bay leaves, and the sauce. Bring to a boil over high heat. Place the lid on the pot, slightly cracked, then transfer to the oven. Cook, turning the beef occasionally, until completely tender and a cake tester or metal skewer inserted into the meat shows little to no resistance, about 4 hours. Discard the bay leaves and oxtails (meat from oxtails can be eaten if desired). Transfer the chuck to a large plate. Return the Dutch oven to the stovetop, and cook, stirring frequently, over medium-high heat until the liquid is reduced to about 1½ cups, about 5 minutes.

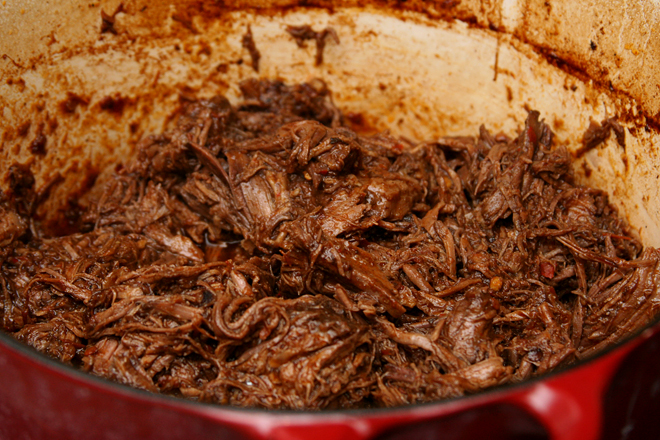
6. Beef can be shredded and served immediately or transferred to a sealed container along with the liquid and refrigerate up to five days. When ready to serve, shred into large chunks with your fingers or two forks. Return the beef to a pot along with the sauce. Bring to a simmer and cook, gently stirring and folding until the beef is hot, tender, and coated in sauce. Season to taste with salt. Serve immediately, piling the beef into warm corn tortillas with onions, queso fresco, avocados, cilantro, salsa, limes, or other condiments as desired.
barbacoa 10

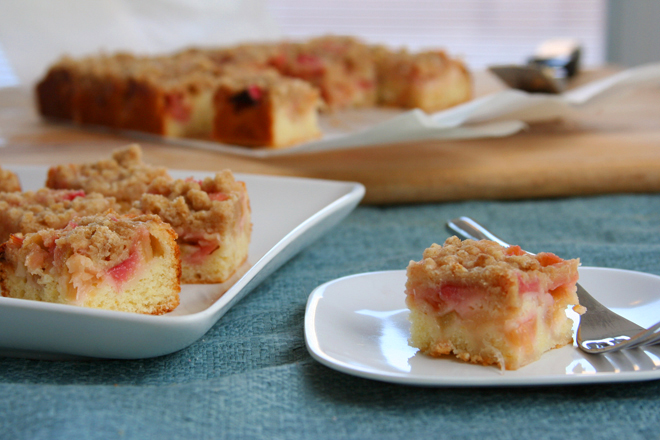
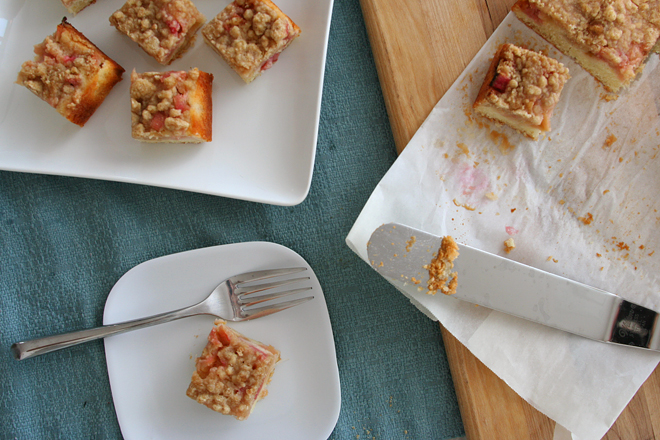
rhubarb snack cake

rhubarb cake 5

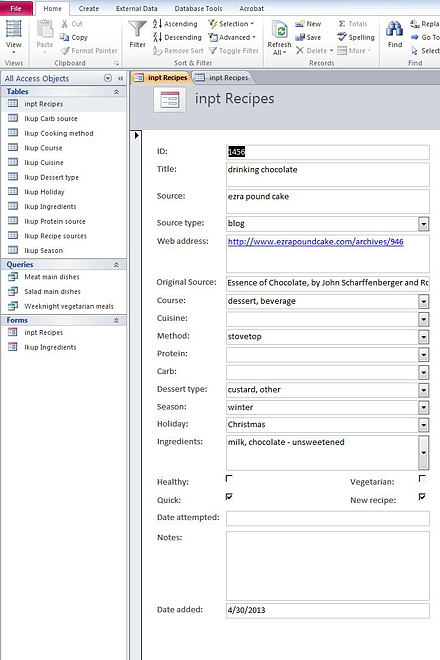
I never got around to telling you about my New Awesome Recipe Database back when it was new. It’s still awesome. But now that it’s well over a year old and has over 1500 recipes entered into it, it definitely isn’t new.

rhubarb cake 2

I love it. I built it myself, something I’d wanted to do for at least a decade. I remember getting Microsoft Access for Dummies from the library shortly after I moved out of my parents’ house for graduate school. But without anything to really push me or anyone around to help me, the project never got off the ground. It wasn’t until I had to use databases at work that it finally clicked.
rhubarb cake 3

I seem to have a bit of a natural aptitude for them, probably because I love organizing things and playing with data. There were a couple online recipe databases I could have downloaded and built upon, but they didn’t have all of the categories and features that I was looking for, so I made my own database from scratch. And almost a year and a half later, I still absolutely love it.

rhubarb cake 8

One of the ways it’s so useful is that when the grocery store carries relatively fresh-looking rhubarb, I snatch it up whether I have a plan for it or not. And then I can go to my Not-New Awesome Recipe Database and do a search of all the recipes I’ve saved over the last few years that include rhubarb.  Narrowing down to the one that only includes ingredients I already have and can be made after work takes no time at all.  The only problem, other than the tedium of entering recipes (my goal is 6 per weekday), is that searching for recipes is so easy and fun with my database that I hardly use my beautiful and inspiring cookbook collection anymore.  Until someday, when I enter those recipes into my Awesome Recipe database, and then I’ll have the best of both worlds.

rhubarb cake 7

One year ago: Shrimp Ricotta Ravioli
Two years ago: Barbecued Pulled Pork
Three years ago: Cream Cheese Spritz
Four years ago: Orange-Oatmeal-Currant Cookies
Five years ago: Snickery Squares

Printer Friendly Recipe
Rhubarb Snack Cake (adapted from Smitten Kitchen)

Makes about 24 servings

Crumb:
1 cup (4.8 ounces) all-purpose flour
¼ cup (1.75 ounces) light brown sugar
⅛ teaspoon table salt
¼ teaspoon ground cinnamon
4 tablespoons unsalted butter, melted

Cake:
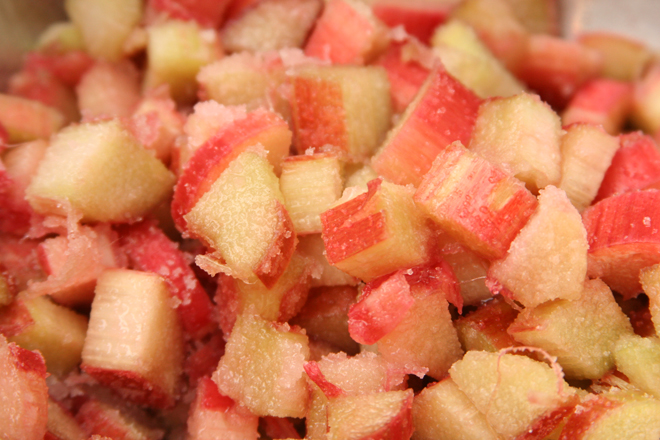
1¼ pounds rhubarb, trimmed and cut into ½-inch lengths
1 tablespoon lemon juice
1⅓ cup (9.65 ounces) granulated sugar, divided
8 ounces (1 stick) unsalted butter, softened
½ teaspoon finely grated lemon zest
2 large eggs
1⅓ cups (6.4 ounces) all-purpose flour
1 teaspoon baking powder
¾ teaspoon table salt
¼ teaspoon ground ginger
⅓ cup (2.75 ounces) sour cream

1. To make the crumb mixture: In a small bowl, whisk the flour, brown sugar, salt, and cinnamon together, then stir in the melted butter. Set aside.

2. Heat the oven to 350 degrees. Spray the bottom and sides of a 9-by-13-inch baking pan with nonstick cooking spray, then line the bottom with parchment paper, extending the lengths up two opposite sides of the pan to form a sling. In a medium bowl, stir together rhubarb, lemon juice and ⅔ cup (4.67 ounces) sugar; set aside.

3. For the cake: In the bowl of a stand mixer fitted with the paddle attachment (or in a medium-sized mixing bowl with a hand-held mixer), beat the butter, remaining ⅔ cup (4.67 ounces) sugar, and the lemon zest until light and fluffy. Add the eggs, one at a time, scraping down the sides after each addition. In a small bowl, whisk together the flour, baking powder, salt and ground ginger. Add one-third of this mixture to the batter, mixing until just combined. Continue beating, adding half of the sour cream, half of the remaining flour mixture, the remaining sour cream, and then the remaining flour mixture, mixing between each addition until just combined.
4. Spread the batter in the prepared pan. Pour the rhubarb mixture over the batter, spreading it into an even layer. Scatter the crumbs evenly over the rhubarb layer.

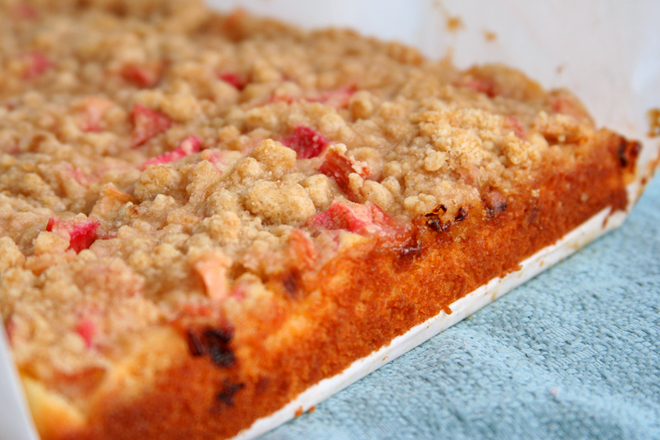
5. Bake the cake for 50 to 60 minutes, or until a tester comes out free of the cake batter. It will be golden on top. Cool completely in the pan on a rack. To serve, use the parchment sling to remove the cake from the pan; cut into 2-inch squares.

rhubarb cake 6

braised potatoes

braised potatoes 5

I don’t live in a world (okay, a town) where there are duck fat fries. People are always raving about them – except for the few who claim they’re not all that – but my opportunities to try duck fat anything have been limited. So I do what I usually do when I can’t find a restaurant to serve me something I want to try: I make it myself.

duck fat potatoes 3

Not that I set out to cook with duck fat; mostly I just stumbled onto a container of it at Whole Foods on my last visit to see my parents in Albuquerque. Also I didn’t exactly make fries, but close enough.

braised potatoes 1

On my first attempt to discover what makes potatoes cooked in duck fat so popular, I simply melted a half-inch or so of the fat in a nonstick pan, added the potatoes cut-side down, and let them cook until they were tender inside and nicely browned on the flat edges. They were just fine, but I didn’t see what the fuss was about.

braised potatoes 2

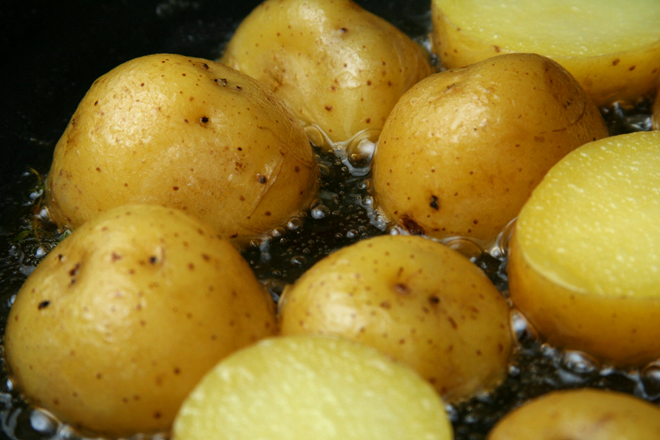
I was planning to give it another try one evening – after all, I had a container of duck fat with no other plans for it – when, a few hours before dinner, I read about Cook’s Illustrated’s braised new potato recipe in their latest issue. In this technique, the potatoes are cooked in a mixture of water, seasonings, and fat (the original recipe uses butter). The water tenderizes the potatoes, and when it evaporates, the potatoes brown in the fat.

braised potatoes 3

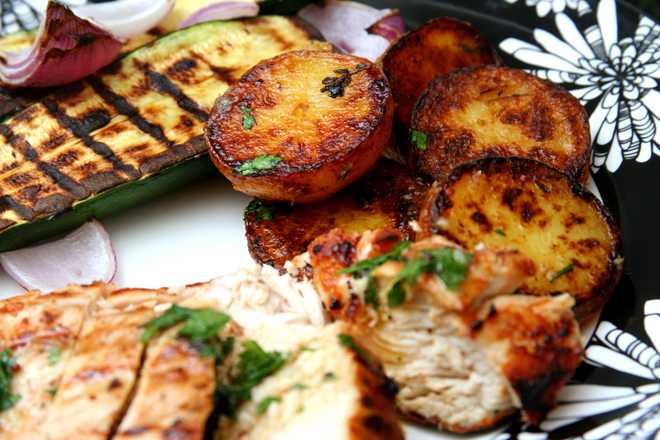
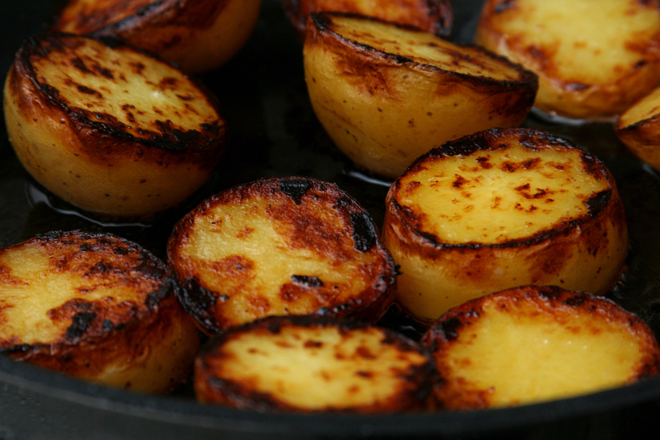
These are now a contender for my favorite potatoes ever. I still haven’t tried it with butter, which I’m sure is delicious, but the duck fat makes the kitchen smell like the best of Thanksgiving.  The inside of the potatoes are soft and creamy, and the flat edge is crisp and browned.  I see what all the fuss is about now.

braised potatoes 4

One year ago: California Roll Burgers
Two years ago: Lemon Bar (comparison of 3 recipes)
Three years ago: Grilled Artichokes
Four years ago: Fresh Strawberry Scones
Five years ago: Asparagus and Arugula Salad with Cannellini Beans and Balsamic Vinegar

Printer Friendly Recipe
Braised Red Potatoes with Lemon (from Cooks Illustrated)

Did I mention that they’re almost entirely hands-off?

1½ pounds small red potatoes, unpeeled, halved
2 cups water
3 tablespoons unsalted butter
3 garlic cloves, peeled
3 sprigs fresh thyme
¾ teaspoon salt
1 teaspoon lemon juice
¼ teaspoon pepper
2 tablespoons minced fresh chives

1. Arrange the potatoes in a single layer, cut-side down, in a 12-inch nonstick skillet. Add the water, butter, garlic, thyme, and salt and bring to a simmer over medium-high heat. Reduce the heat to medium, cover, and simmer until potatoes are just tender, about 15 minutes.

2. Remove the lid and use a slotted spoon to transfer the garlic to a cutting board; discard the thyme. Increase the heat to medium-high and vigorously simmer, swirling pan occasionally, until the water evaporates and the butter starts to sizzle, 15-20 minutes. When it’s cool enough to handle, mince the garlic to a paste.  Transfer the paste to a bowl and stir in the lemon juice and pepper.

3. Continue to cook the potatoes, swirling the pan frequently, until the butter browns and the cut sides of the potatoes turn spotty brown, 4 to 6 minutes longer. Off the heat, add the garlic mixture and chives and toss to thoroughly coat. Serve immediately.

braised potatoes 7

carrot cake pancakes

carrot cake pancakes 5

I’ve mentioned before that carrot cake isn’t really my thing. Vegetables, I believe, do not belong in cake. On the other hand, I’ve enjoyed carrot cake-inspired cookies and muffins, so pancakes seemed acceptable.

carrot cake pancakes 1

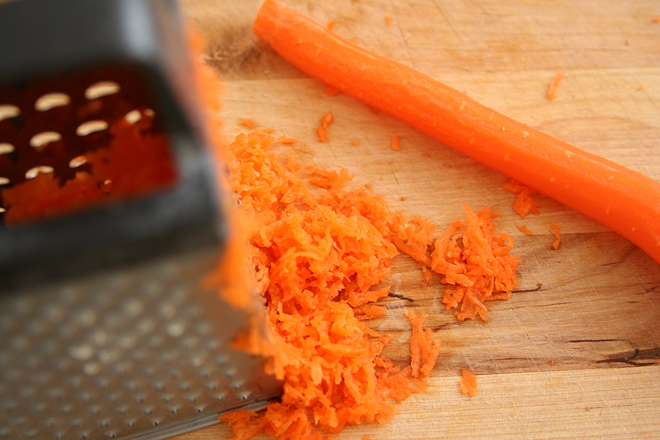
The problem with this recipe then, isn’t that it contains carrots, it’s that they have to be finely shredded. The shredding disc on your food processor isn’t fine enough; the shreds are too big to soften in the five minutes or so the pancakes cook. So I diligently shredded the carrots by hand. It was slow and tedious, and if this was required every time I had to make this recipe, it would be a dealbreaker.

carrot cake pancakes 2

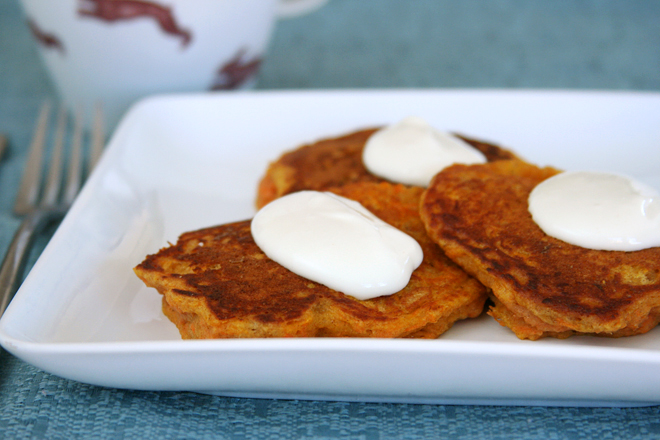
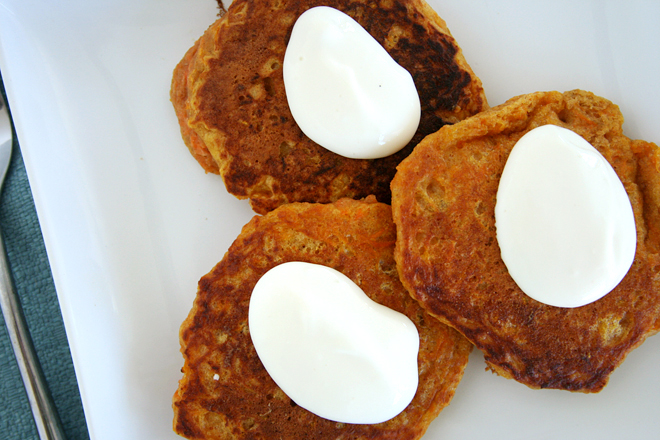
And that would be a shame, because there aren’t many opportunities to have cream cheese frosting for breakfast, and those opportunities should be maximized. Also, my dad loves carrot cake, so I’d love to make these for him – without spending half an hour shredding enough carrots to make pancakes for the whole family.

carrot cake pancakes 3

The key is back to the food processor. It’s true that the shreds made from the disc will be too big for pancakes, but all those shreds require is a couple pulses with the regular blade attachment to chop them down to size. (I suspect processing the carrots directly with the blade would create an uneven combination of mush and chunks.) And with that, cream cheese frosting for breakfast is back on the menu.

carrot cake pancakes 7

One year ago: Pizza with Lamb Meatballs, Caramelized Onions, and Parsley
Two years ago: Strawberry Cheesecake
Three years ago: Corned Beef Hash
Four years ago: Orange Oatmeal Currant Cookies
Five years ago: Double (or Triple) Chocolate Cookies

Printer Friendly Recipe
Carrot Cake Pancakes (slightly adapted from the Joy the Baker Cookbook via Smitten Kitchen)

Makes about 12 to 16 4-inch pancakes

Jokes about cream cheese frosting for breakfast aside, these aren’t much of an indulgence. There is no fat in the pancakes themselves beyond what’s used to cook them, and there’s cream cheese but not butter in the topping. The sugar in the topping is fairly restrained, with plenty of milk to keep it loose and sauce-like. And, of course, each serving contains about one small carrot.

Pancakes:
1 cup (4.8 ounces) all-purpose flour
1 teaspoon baking powder
½ teaspoon baking soda
½ teaspoon table salt
½ teaspoon ground cinnamon
½ teaspoon freshly grated nutmeg
⅛ teaspoon ground ginger
1 large egg
2 tablespoons packed brown sugar
1 cup buttermilk
1 teaspoon vanilla extract
2 cups finely grated carrots (from about ¾ pound bundle whole carrots)
oil

Cream cheese topping:
4 ounces cream cheese, at room temperature
¼ cup (about 1 ounce) powdered sugar
4 tablespoons milk
½ teaspoon pure vanilla extract

1. In a large mixing bowl, stir together the flour, baking powder, baking soda, salt, and spices. In a separate mixing bowl, whisk the egg until thoroughly combined, then add the sugar, buttermilk, and vanilla. Stir the carrots into the wet ingredients, then add the wet ingredients to the dry ingredients. Whisk gently until the batter is mostly mixed but still contains small lumps of flour. Let the batter rest while the pan heats, about 5 minutes.

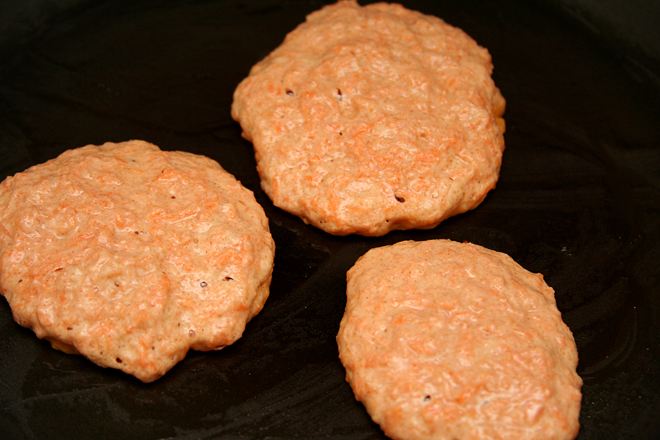
2. Heat a 12-inch non-stick skillet or a griddle over medium heat. Add about a teaspoon of oil and spread it over the bottom of the pan. Spoon 2 tablespoons of pancake batter onto the hot griddle. When the pancakes are golden brown, after about 2-3 minutes, flip to cook the other side another 2-3 minutes. Keep warm in oven heated to 200 degrees.

3. To make the cream cheese topping: In a small bowl, beat or whisk the cream cheese until fluffy and smooth. Add the powdered sugar, milk, and vanilla; mix until smooth.

carrot cake pancakes 6

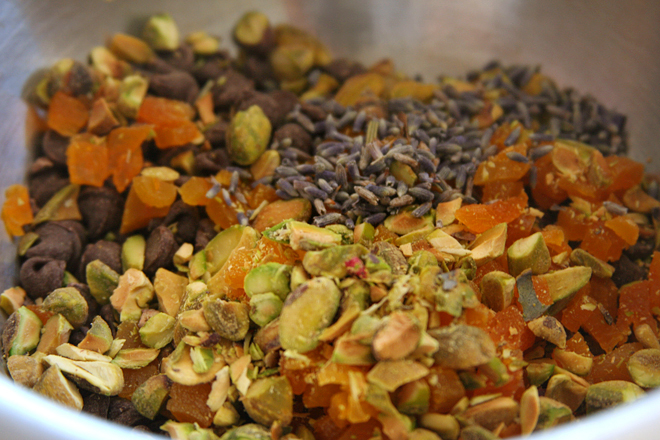
whole wheat biscotti with pistachios, apricots, chocolate, and lavender

pistachio apricot biscotti 7

Sometimes you want the comfortable and familiar. You want brownies. You want vanilla or strawberry ice cream. And who am I to begrudge you a good ol’ chocolate chip cookie craving?

pistachio apricot biscotti 1

Sometimes, though, maybe you want something more interesting, maybe even a bit challenging. You want something more adult. But you should keep the chocolate. This is dessert we’re talking about here, a treat, not a chore.

pistachio apricot biscotti 3

For those times, you can add fruit. Nuts, maybe. Use whole grains and unrefined sugar. Add…flowers?  Why not?

pistachio apricot biscotti 4

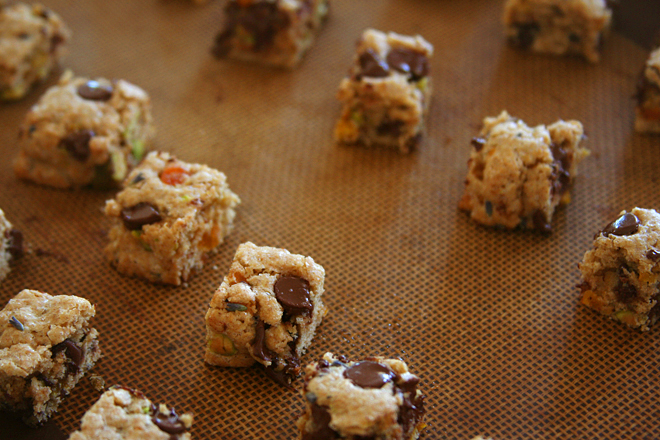
I made a half batch of these for a gathering of myself, Dave, and two of our guy friends. They were all gone (except one, which was perfect with coffee the next morning) by the end of the evening, and I swear I didn’t eat them all myself! Grown-up food isn’t so bad.

pistachio apricot biscotti 5

One year ago: Ginger Fried Rice
Two years ago: Green Pea Ravioli with Lemon Broth
Three years ago: Pizza with Figs, Prosciutto, Gorgonzola, Balsamic, and Arugula
Four years ago: Pan-Roasted Asparagus
Five years ago: Sichuan Green Beans

Printer Friendly Recipe
Whole Wheat Biscotti with Pistachios, Apricots, Chocolate, and Lavender
(adapted from 5 Second Rule)

Makes 72 1-inch bites

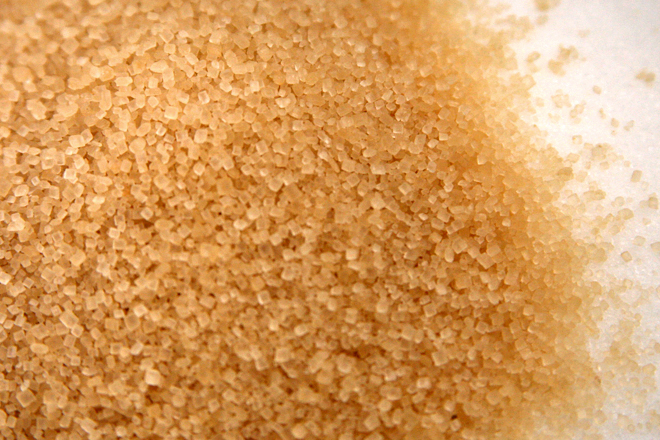
You can probably choose one type of sugar and one type of flour. I was hedging my bets on the healthier additions.

I used 6 ounces of chocolate, and it was delicious but too much for the dough to hold onto, so I’ve reduced it slightly.

1 cup (4.8 ounces) whole wheat flour
½ cup plus 2 tablespoons (3 ounces) all-purpose flour
¼ cup (1.75 ounces) turbinado sugar
¼ cup (1.75 ounces) brown sugar
1 teaspoon baking powder
½ teaspoon salt
2 extra-large eggs
3 tablespoons olive oil
2 teaspoons vanilla extract
4 ounces (¾ cup) semisweet chocolate chips, chopped
½ cup finely diced dried apricots
½ cup pistachios, rough-chopped
1 teaspoon dried lavender

1. Heat the oven to 350 degrees. Line a baking sheet with a silicone baking mats or parchment paper.

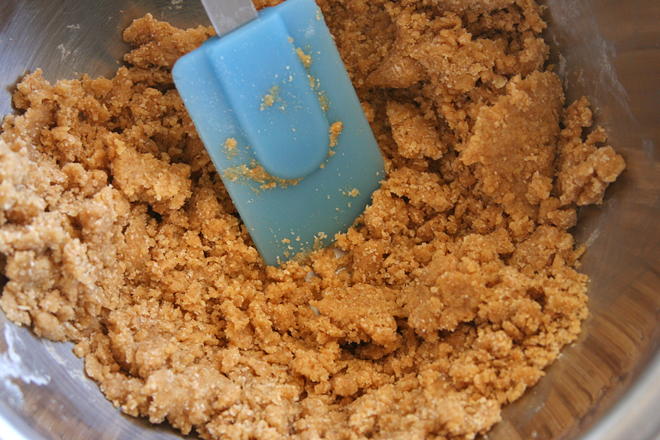
2. In a large mixing bowl, whisk the flours, sugars, baking powder, and salt. In a separate bowl, whisk the eggs until well combined, then add the olive oil and vanilla extract. Pour the egg mixture into the flour mixture and use a rubber spatula to stir the ingredients until the dry ingredients are evenly moistened. Stir in the chocolate, apricots, pistachios, and lavender.

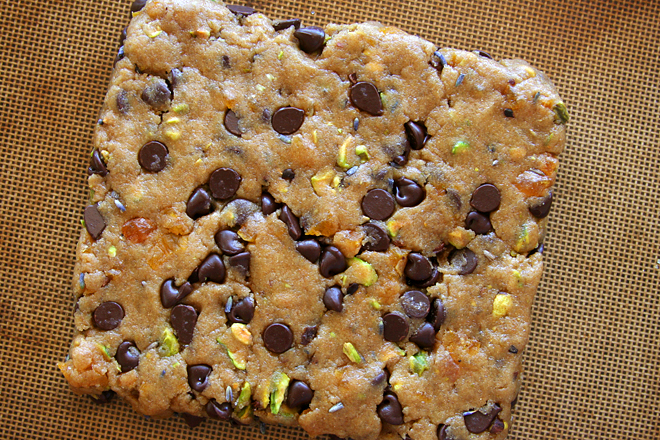
3. On a dry work surface, knead the dough until it’s no longer sticky. Transfer it to the prepared baking sheet and press into a ½-inch thick rectangle measuring about 10 by 6 inches. Bake for 22 to 25 minutes, or until the top no longer looks raw. Transfer the baking sheet with the dough to a cooling rack. Let dough cool for at least 5 minutes.
4. Transfer the dough to a cutting board. Cut each block into 6 long strips, then cut each strip at 1-inch intervals to form squares. Transfer the pieces back to the baking sheet. Bake for 10-14 minutes, until the squares just begin to brown at the edges. Transfer the cookies to a cooling rack to cool completely.

pistachio apricot biscotti 6

brisket and brie tacos

brisket tacos 5

My stubbornness knows no bounds or logic, as was evident in the cooking of this brisket. First, I refused to buy Dr. Pepper to use as a braising liquid. Dave and I don’t drink soda, and I’m not really into the whole high fructose corn syrup thing, so I didn’t want to buy a bottle only to use a fraction of it. Beer and honey would provide all the acidity and sweetness the brisket needed.

brisket tacos 2

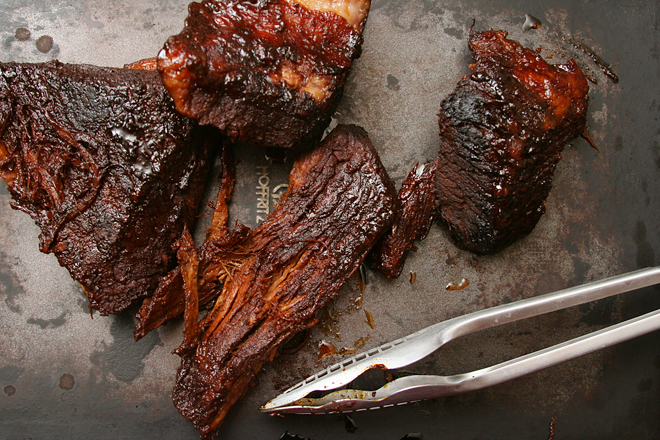
I’m also not all that into the crockpot. I like it for certain things, particularly broth, but if I’m home anyway, usually I like the firmer texture and added browning of braising meats in the oven. This has always worked great for pot roast and stews, but I’m not sure it was the best method for much leaner brisket, which can more easily dry out.

brisket tacos 4

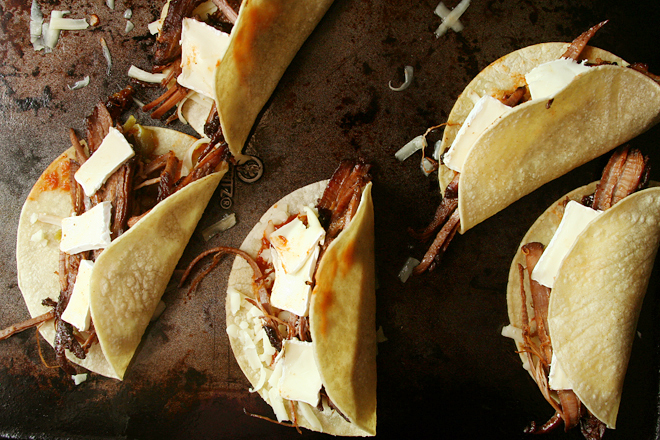
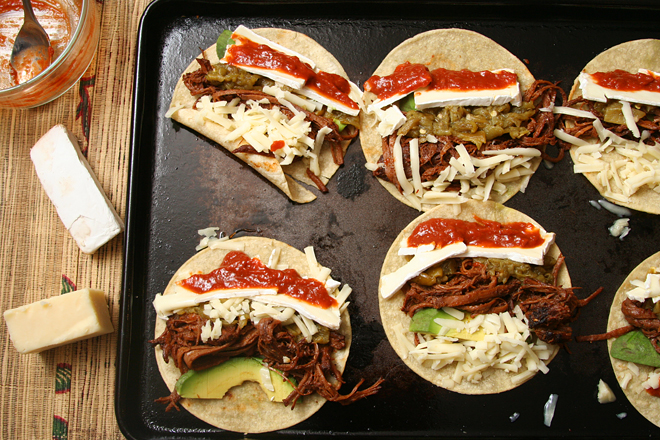
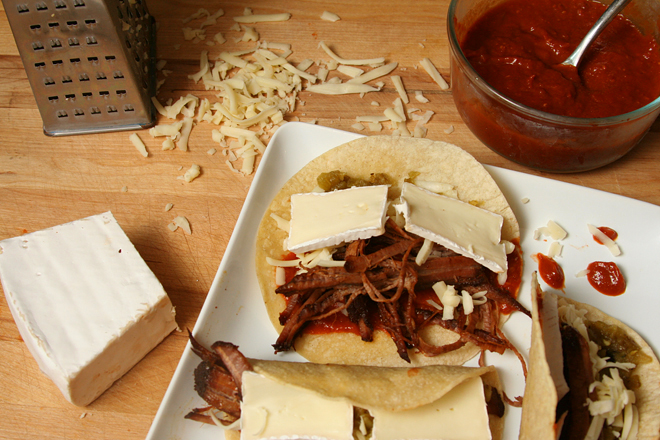
Not that I have any complaints though. Topping the tacos with brie certainly solves any potential problems the low fat content of the meat might have introduced. With a sweet and spicy barbecue sauce, stretchy Monterey jack cheese, and slices of creamy avocado, these tacos had plenty going on, despite or because of my stubborn changes.

brisket tacos 9

One year ago: Pizza with Prosciutto, Goat Cheese, and Roasted Tomatoes
Two years ago: Strawberry Daiquiri Ice Cream
Three years ago: Chicken Fajitas
Four years ago: Pasta with Roasted Red Pepper Sauce
Five years ago: Blueberry Poppy Seed Brunch Cake

Printer Friendly Recipe
Brie and Brisket Tacos (adapted from Rebecca Rather’s Pastry Queen via Confections of a Foodie Bride)

Serves 4, with leftover brisket

No one seems to brown brisket. I don’t know why that is, but I browned mine.

Brisket:
1 tablespoon canola or vegetable oil
1 (3-pound) brisket
salt
ground black pepper
1 tablespoon chili powder
3 cloves garlic, minced or pressed through a garlic press
1 (12-ounce) medium-dark beer
2 tablespoons honey

Raspberry chipotle barbecue sauce:
1 tablespoon olive oil
1 medium yellow onion, chopped
2 cloves garlic, minced or pressed through a garlic press
½ cup ketchup
1 chipotle chile in adobe sauce, minced
2 tablespoons lemon juice
¼ cup raspberries, fresh or frozen
1½ tablespoons Worcestershire sauce
1½ teaspoons dijon mustard
½ teaspoon salt
¼ teaspoon black pepper

Toppings:
12 corn tortillas, warmed
4 ounces brie, thinly sliced
1 cup (4 ounces) Monterey jack cheese

1. For the brisket: Heat the oven to 325 degrees. Heat the oil in a 5-quart Dutch oven over medium-high heat. Pat the meat dry, season it generously with salt, pepper, and the chili powder. Transfer the brisket to the Dutch oven and cook, without moving, for about 3 minutes, until deeply browned. Flip and brown the second side. Transfer the meat to a plate. Discard any fat in the pan (but leave the cooked-on brown bits).

2. Add the garlic to the pan and cook, stirring constantly, until fragrant, about 30 seconds. Pour the beer into the pot, scraping up the sticky brown bits on the bottom of the pot. Stir in the honey, then add the meat. Bring to a simmer over medium-high heat. Cover the Dutch oven and transfer it to the oven. Cook for 3 hours, turning every hour or so.

3. For the sauce: In a medium saucepan over medium heat, heat the oil until it runs like water when the pan is tilted. Add the onion; cook, stirring occasionally, until it just starts to brown around the edges, about 8 minutes. Add the garlic and cook, stirring constantly, until fragrant, about 30 seconds. Add the ketchup, chile, lemon juice, raspberries, Worcestershire sauce, mustard, salt, and pepper. Bring to a simmer, then reduce the heat to low, cover, and cook for 10 minutes. Puree, either with an immersion blender in the saucepan or by transferring the sauce to a blender.

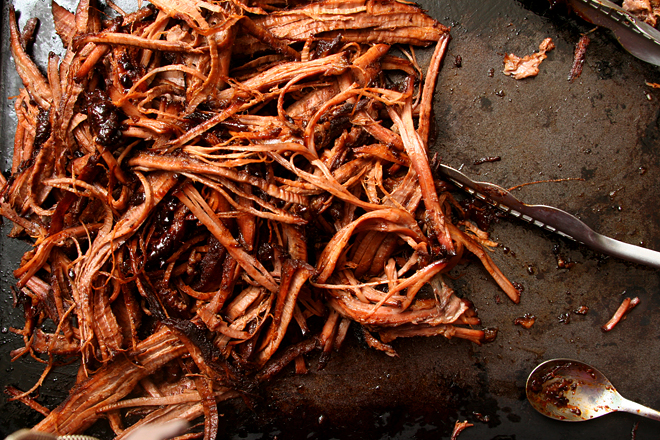
4. When the brisket is tender, either slice it or shred it, leaving behind large chunks of fat. Layer brisket, sauce, brie, and Monterey jack cheese in the tortillas (plus Hatch green chile and avocado if you can’t imagine tacos with them). Serve immediately.

brisket tacos 6

stuffed mascarpone strawberries

mascarpone strawberries 7

We moved into the new house! And less than a week later, we went on vacation! And now we’re back, and although we don’t have internet or television at home, and there are no curtains or pictures hung, and we haven’t bought mirrors for the bathrooms, it’s safe to say that we’re settling in. The kitchen is unpacked and has been through multiple rounds of tweaking, and what else matters?

mascarpone strawberries 4

With the move, the vacation, and a couple big projects at work, March got a little crazy. It started off with a visit from a friend, here to interview for a job at our company. Which, by the way, she got, so she and her husband will be moving out to our little New Mexican town sometime this summer. After her interview, we showed her around town, but there really isn’t much to see, so we spent most of the evening hanging out at home, drinking wine and eating a nice meal.

mascarpone strawberries 2

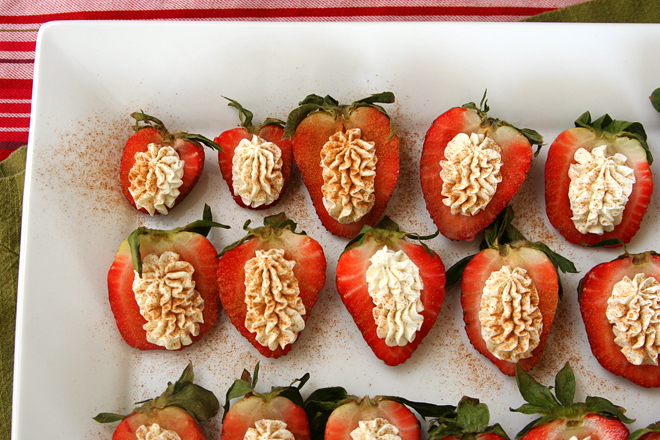
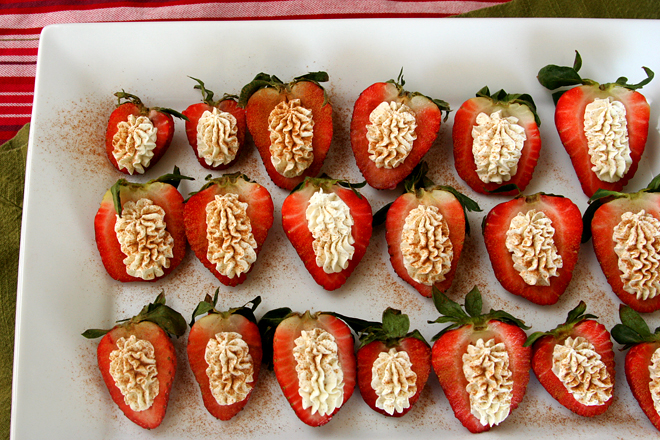
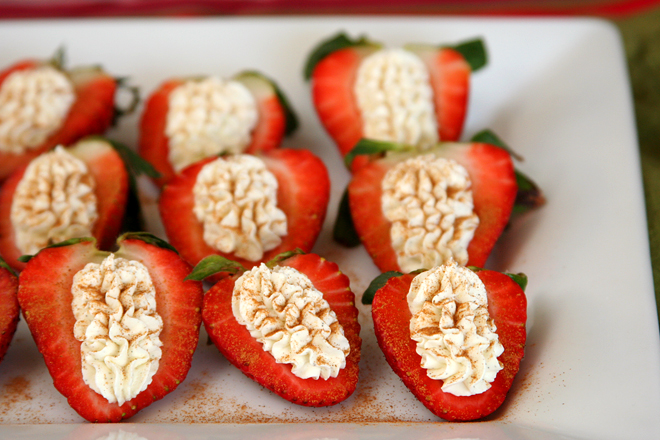
I’d forgotten that she eats like a bird, so I’m glad I kept dessert light. Fruit is a nice ending to a meal of salad, shrimp, bread, and lasagna, but plain fruit is a snack that I eat several times a day. Stuffing the berries with a lightly sweetened and spiced creamy mixture was the perfect way to make these a treat worthy of being called dessert. Plus, it was easy, and last month, easy was extremely important.

mascarpone strawberries 8

One year ago: Strawberry Lemonade Bars
Two years ago: Chocolate Chunk Oatmeal Cookies with Dried Cherries and Pecans
Three years ago: Vodka Gimlet
Four years ago: Black Bean Squash Burritos
Five years ago: Scotch Eggs

Printer Friendly Recipe
Stuffed Mascarpone Strawberries (adapted from The Quinces and the Pea via Pink Parsley)

1 pound strawberries, rinsed and dried
½ cup mascarpone cheese
⅓ cup heavy whipping cream
2 tablespoons sugar
1 vanilla bean, scraped
½ teaspoon cardamom
cinnamon, for sprinkling

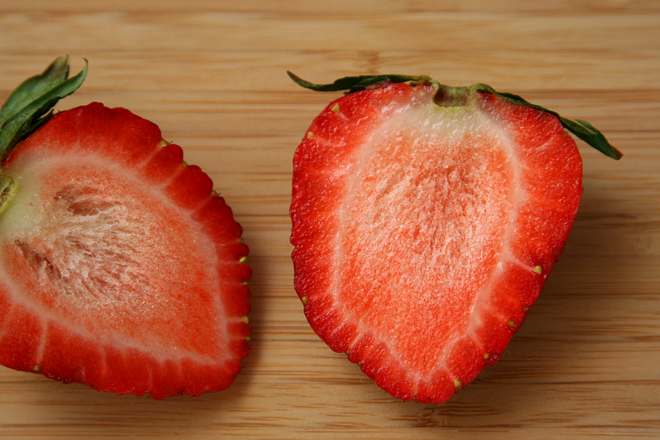
1. Halve each strawberry through the stem-end, and use a melon baller or paring knife to scoop out part of the middle.

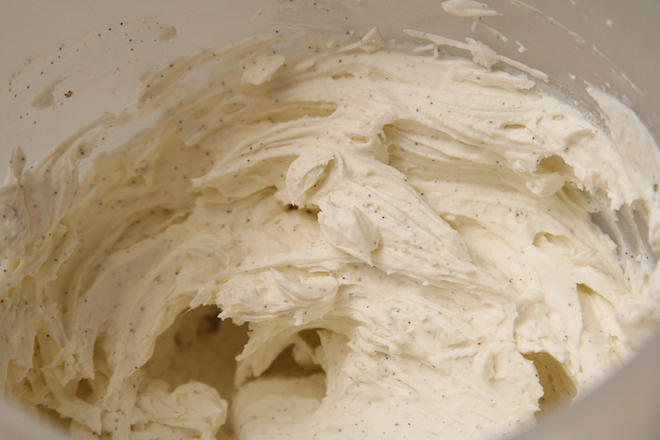
2. In a medium bowl, beat the mascarpone, cream, sugar, vanilla, and cardamom until soft peaks form. Using a piping bag fitted with corner snipped off (or a round tip), fill each strawberry with the cream. Sprinkle lightly with cinnamon; serve.

mascarpone strawberries 6

pasta with broccoli, chickpeas, and garlic

broccoli chickpea pasta 5

Have I told you that we’re moving? In just a few days, in fact. It isn’t a big move as far as distance, as our new house is just a 15-minute drive away from our old one, but it is big as far as life steps. Having spent the majority of our twenties in graduate school, we watched our friends buy houses while we were still solidly in apartment mode. We’ve rented a nice little house for the last three years since we moved to New Mexico, but now, finally, we’re acting like grown-ups and buying our own place.

broccoli chickpea pasta 1

The process hasn’t been without its hiccups. Who knew that ordering lighting fixtures would be so complicated? I keep telling myself that, when we’re settled and I have bright and colorful pendants hanging over the breakfast bar, it’ll be worth it, but for now, I just wish we could find lights that aren’t actually purple when the website says they’re cobalt, or lights with cords that are long enough, or lights that work with the slopes of our vaulted ceilings. Not to mention the hours of packing, visits to the bank, trips to Lowe’s, and oh yeah, we’re going on vacation a week after closing.

broccoli chickpea pasta 2

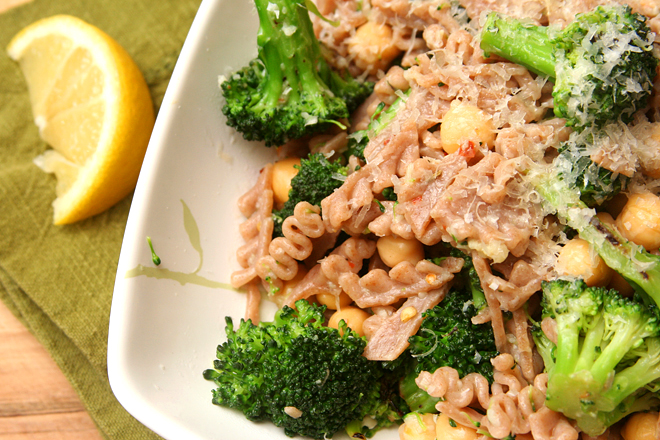
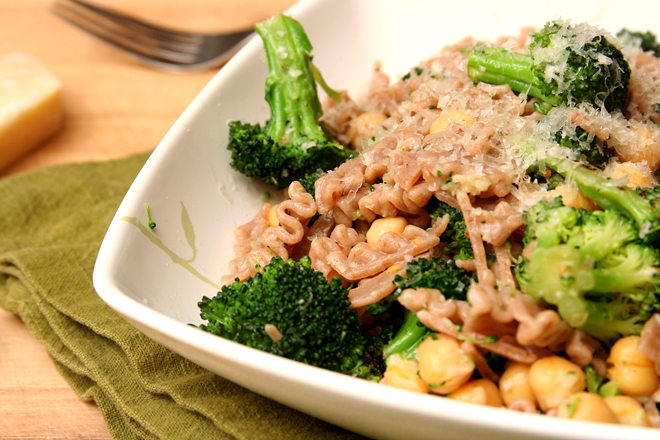
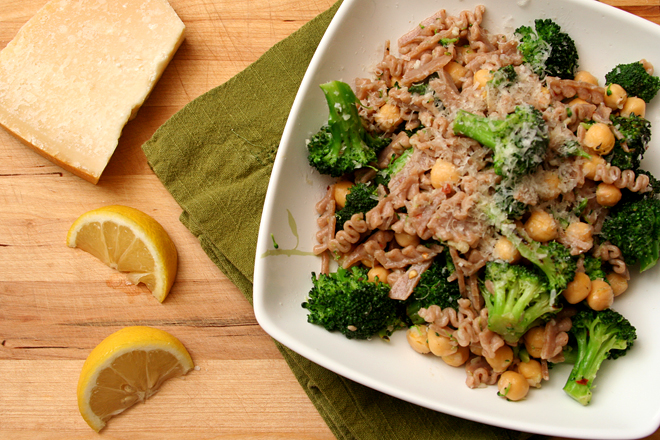
When we’re not eating leftovers from the freezer, we’ve been eating a lot of quick meals like this one. Even better, I’ve gotten in the habit of buying those bags of pre-cut broccoli, which shaves another ten minutes off of prep time. At that point, it’s just an issue of boiling pasta while pan-roasting broccoli, pressing garlic into the pan with a pinch of red pepper flakes, and mixing everything together with a whole lot of lemon juice and parmesan to up the flavor ante. Dinner is served in no time at all, which means I can get back to procrastinating on packing by shopping for light fixtures.

broccoli chickpea pasta 4

One year ago: Star Wars Cookies
Two years ago: Cream Cheese Pound Cake
Three years ago: Roll-out Sugar Cookies (comparison of 3 recipes)
Four years ago: Roasted Kale
Five years ago: Spaghetti and Meatballs

Printer Friendly Recipe
Pasta with Broccoli, Chickpeas, and Garlic (adapted from Gourmet via epicurious)

Serves 6

Pasta dishes like this tend to cool quickly after being transferred to serving dishes, so I like to warm the empty bowls in an oven heated to about 200 degrees.

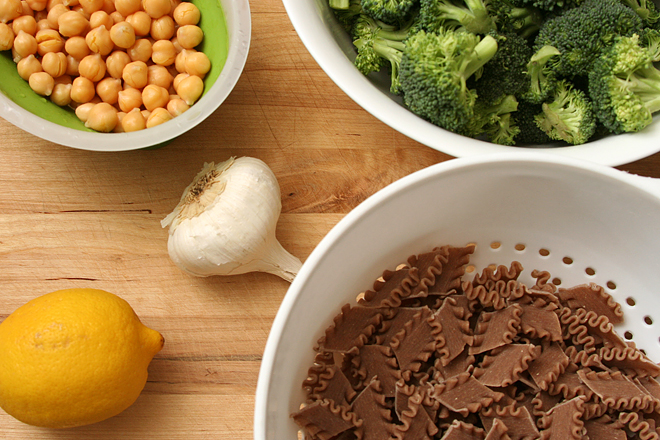
16 ounces whole wheat pasta
salt
3 tablespoons olive oil, divided
2 (12-ounce) bags fresh chopped broccoli (or 3 heads of broccoli, chopped into bite-sized pieces)
12 garlic cloves, minced or pressed through a garlic press
1 teaspoon dried hot red pepper flakes
2 (15-ounce) cans chickpeas, rinsed and drained
juice from 1 lemon
1 cup (2 ounces) finely grated parmesan, plus more for garnish

1. Bring 4 quarts water to a rapid boil over high heat. Add 1 tablespoon salt and the pasta. Cook according to package instructions. Before draining the cooked pasta, put about 1 cup pasta cooking water in a separate bowl and set aside. Return the drained pasta to the cooking pot.

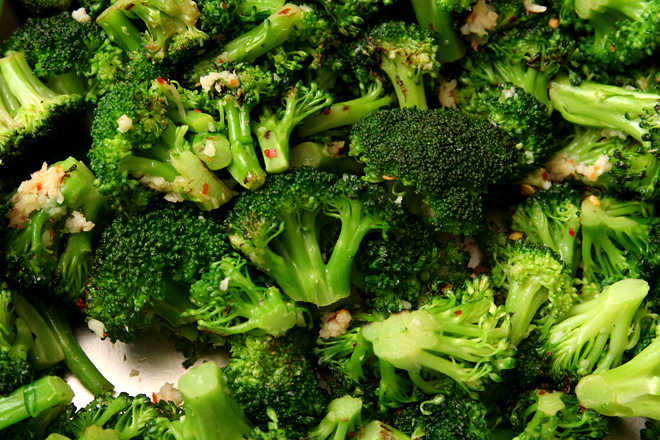
2. Meanwhile, heat 2 tablespoons olive oil in a 12-inch skillet over medium-high heat. When hot, add the broccoli and a pinch of salt and cook, stirring occasionally, until bright green and browned in spots, 4-5 minutes. Add ¼ cup water; cover the pan for 1 minute to cook the broccoli through. Remove the lid and push the broccoli to the edges of the pan. Add the remaining tablespoon of oil, the garlic, and the red pepper flakes to the center of the pan. Cook, stirring constantly and excluding the broccoli as much as possible, for about 1 minute, then add the chickpeas and stir the mixture into the broccoli. Add the lemon juice and 1 teaspoon salt.

3. Transfer the broccoli to the pot with the pasta, stirring to incorporate. Add about half of the reserved pasta cooking water and 1 cup of cheese, stirring until the cheese melts evenly over the pasta. Taste and adjust for seasoning with more salt, lemon juice, or parmesan. Add more pasta cooking water if the pasta seems dry. Serve immediately in warmed bowls.

broccoli chickpea pasta 3

chipotle shrimp

chipotle shrimp 4

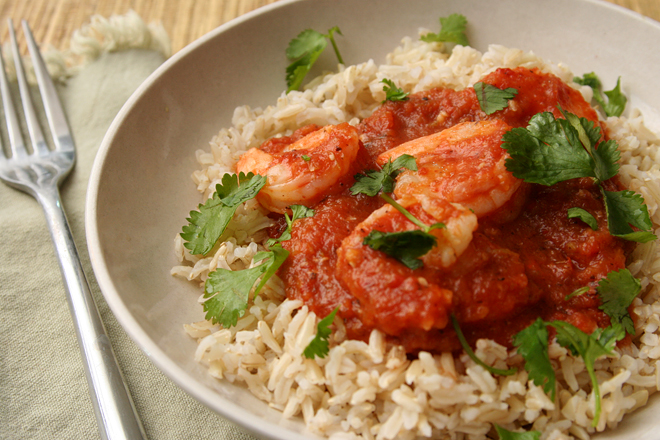
One of the disadvantages-that-isn’t of living in New Mexico is that, with year-round access to a freezer full of Hatch green chiles, pretty much every other chile gets neglected. In the first three years after we moved here, I didn’t cook with poblanos, serranos, anaheims, or even chipotle chiles.  Hatch green (and, not as often, red) chile was the focus.

chipotle shrimp 1

This year we spent four hours peeling, seeding, chopping, and freezing Hatch green chiles only to realize afterward that this batch was a dud, with no flavor at all.  It’s unfortunate, but our pizzas, burgers, and beans have all been disappointing since we’ve started rationing out last year’s far superior chiles.  We’re impatient for next year’s harvest, but we’ve got five months to go.

chipotle shrimp 2

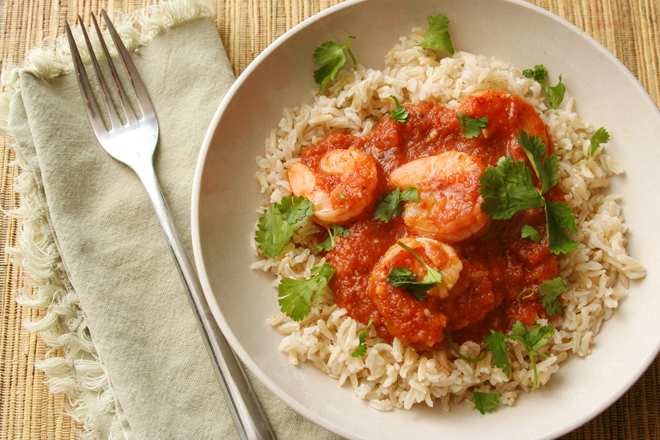
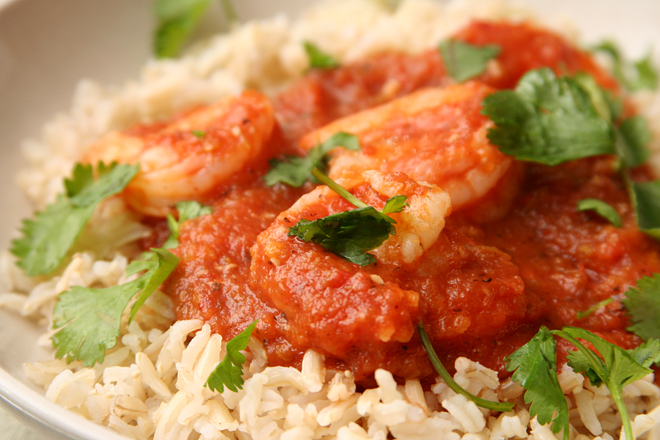
The upside is a resurgence of alternate chiles in our kitchen. Last week I made some smoky guacamole with roasted red peppers and poblanos, and chipotles are no longer languishing in the back of the freezer, forgotten. This recipe is a significant contribution to the disappearing chipotles, because any dish that takes twenty minutes to deliver a healthy bowl of spicy sauce and shellfish is going to be a favorite. Next year, it’ll be even better, when I use chipotles together with Hatch chiles, but for now, chipotles are all I’ve got.

chipotle shrimp 3

One year ago: Tomato and Four Cheese Lasagne
Two years ago: Shrimp Canapés a la Suede
Three years ago: Mediterranean Pepper Salad
Four years ago: Chocolate Whiskey Cake
Five years ago: Raspberry Bars

Printer Friendly Recipe
Chipotle Shrimp (adapted from Rick Bayless’s Mexican Everyday via Pink Parsley)

Serves 4 as a main course

1 (28-ounce) can diced fire-roasted tomatoes in juice
2-3 canned chipotles en adobo
1 tablespoon chipotle canning sauce
1 tablespoon vegetable oil
3 garlic cloves, minced or pressed through a garlic press
salt
2 pounds shrimp, peeled and deveined
1 cup rice, cooked (about 3 cups cooked rice)
about ¼ cup loosely packed, roughly chopped cilantro

1. Process the tomatoes, chipotle chiles, chipotle sauce, and ½ teaspoon salt in the blender until pureed.

2. Heat the oil in a large skillet over medium heat. Add the garlic and stir until fragrant, about 1 minute. Add the tomato mixture and cook, uncovered, for about 5 minutes, stirring frequently. Taste and season with salt if necessary.

3. Add the shrimp to the pan, and cook, stirring constantly, until the shrimp are pink and curled up, about 6 minutes. Serve over rice with cilantro.

chipotle shrimp 5

manchego cheese and garlic hot dogs

garlic hot dogs 5

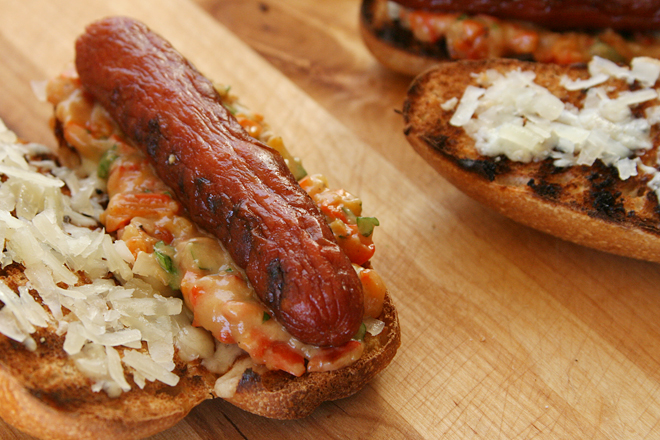
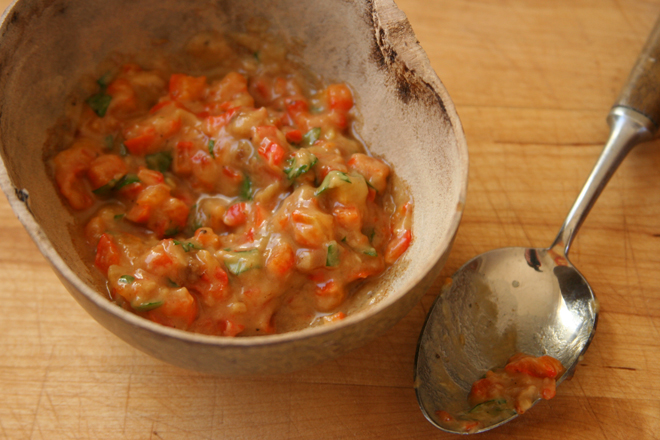
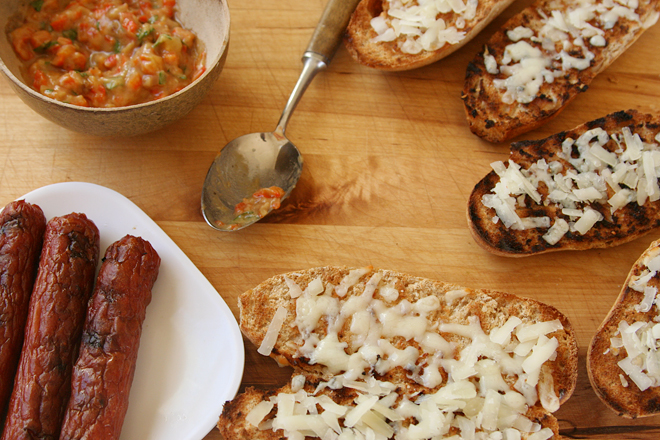
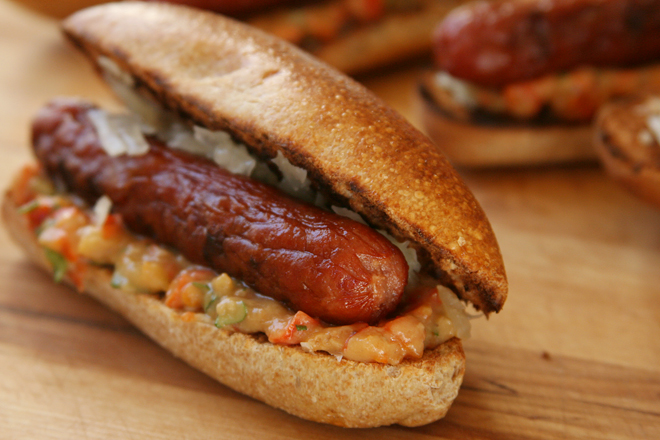
Maybe I shouldn’t play favorites between four fun and delicious hot dog recipes, but this one had roasted garlic, so…it’s my favorite.

garlic hot dogs 1

One thing I found through making four types of hot dogs in four days was that most hot dogs benefit from being topped with something vinegary to cut through the fat of the meat. Mustard and pickle relish are the traditional choices. In this recipe, it’s sherry vinegar, mixed into a relish of roasted garlic and roasted red peppers.

garlic hot dogs 3

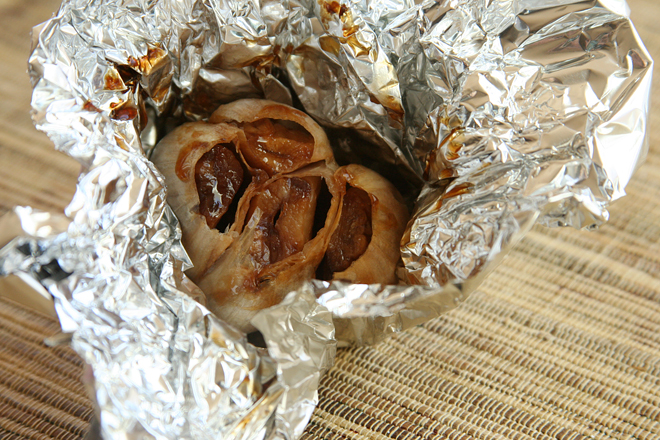
Roasted garlic is always sweet and creamy and delicious, and a hot dog was just as good as a vehicle for serving it as my other favorite – plain rustic bread. It’s no wonder this ended up my favorite of the hot dogs from our Hot Dog Week. The roasted garlic made it a shoo-in.

garlic hot dogs 2

One year ago: Pasta with Salmon in Pesto Cream Sauce
Two years ago: Chocolate Frosting (comparison of 3 recipes)
Three years ago: Bacon-Wrapped Goat Cheese and Almond-Stuffed Dates
Four years ago: Honey Yogurt Dip
Five years ago: Green Chile Chicken Enchiladas

Printer Friendly Recipe
Manchego Cheese and Garlic Hot Dogs (adapted from Bon Appétit via Annie’s Eats)

Makes 6 hot dogs

Relish:
2 large heads of garlic, top ½-inch cut off
5 teaspoons extra-virgin olive oil, divided
½ cup diced drained roasted red peppers
1 tablespoon chopped fresh parsley
Coarse kosher salt
Ground black pepper
Sherry wine vinegar or balsamic vinegar

Hot dogs:
6 grilled hot dog buns
6 grilled all-beef hot dogs
2 ounces Manchego cheese, grated

1. For the relish: Heat the oven to 400 degrees. Place each head of garlic, cut side up, in the center of a square of foil; drizzle each with 1 teaspoon of oil; enclose the garlic in the foil. Place the packets on the oven rack; roast until the garlic is tender, about 45 minutes. Open the packets; cool 15 minutes.

2. Squeeze the garlic cloves into a small bowl; mash. Mix in 3 teaspoons oil, the red peppers, and parsley. Season with salt, pepper, and sherry vinegar.

3. For the hot dogs: Arrange the buns on plates. Top each with a grilled hot dog, then cheese and garlic relish. Serve immediately.

garlic hot dogs 6